
Welcome, fellow game day enthusiasts and eco-conscious party planners! Are you eager to throw a football-themed bash that scores big on both creativity and sustainability? Look no further, as I’ve got an exciting and innovative idea to share with you today! In this instructional blog post, I’ll show you how to turn humble recycled cardboard into stunning decorations that will make your football party the talk of the town.
Not only will you save money by using recycled materials, but you’ll also be making a positive impact on the environment and inspiring others to adopt eco-friendly practices. So, let’s huddle up and prepare to take our football-themed celebration to a whole new “green” dimension!
Let’s get crafting!
.
Step One – Gather Supplies
- Pieces of cardboard (cut from old boxes)
- Brown and white acrylic paint
- Twine or string or yarn
- Paintbrushes
- Scissors
- Printed football templates (see step 2 below)
- Pen or pencil
- Newspaper (or something to protect your work surface)

.
Step Two – Create Football Templates
Download this file and print out your football template sheet:
Cut out the individual football shapes in the size(s) you want to use.

.
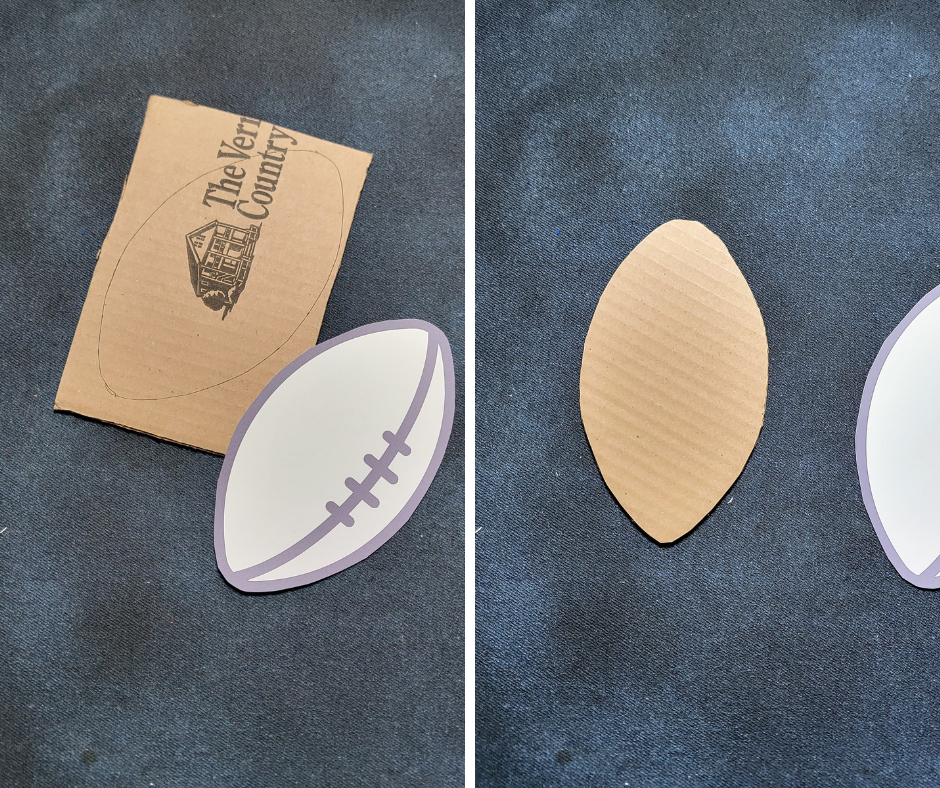
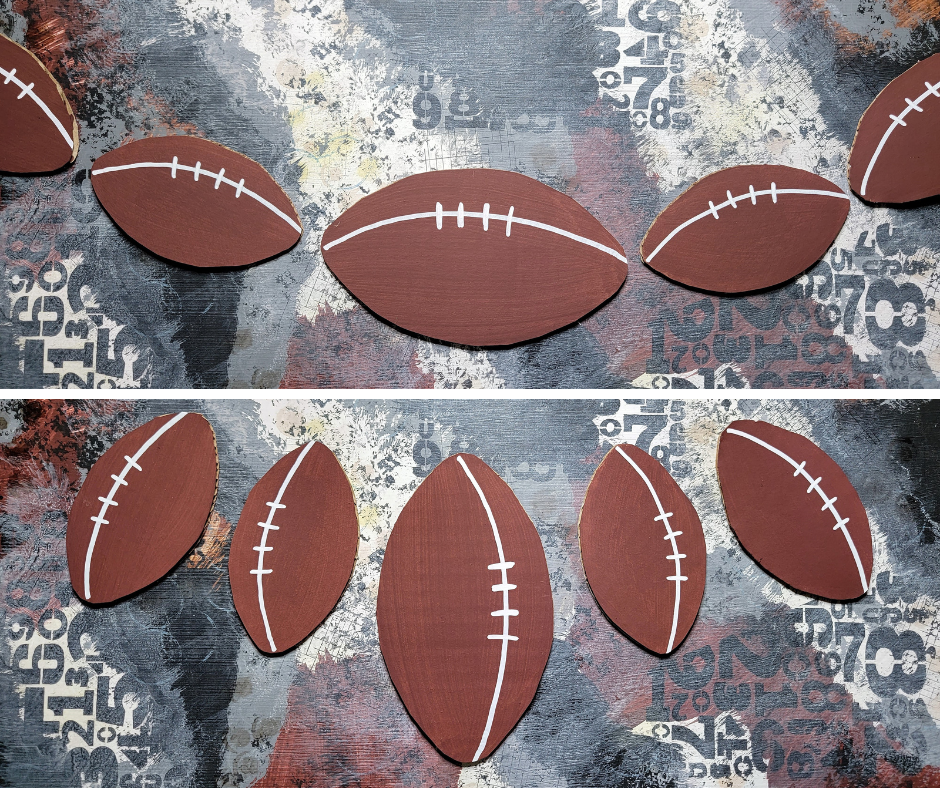
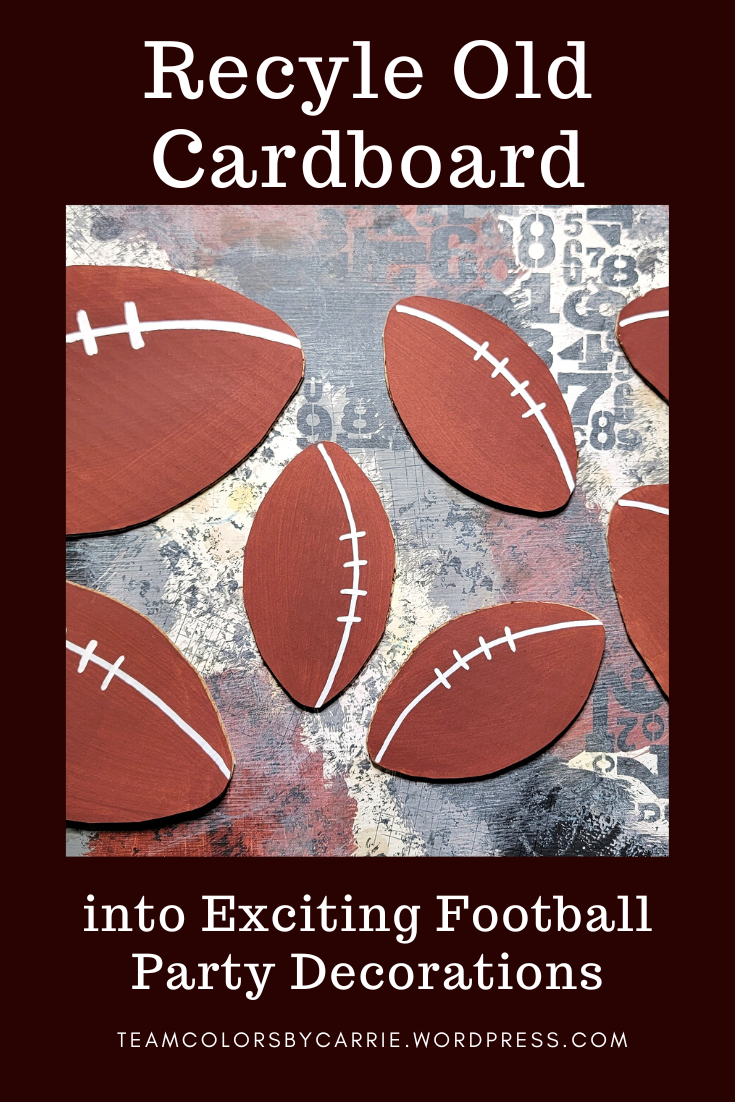
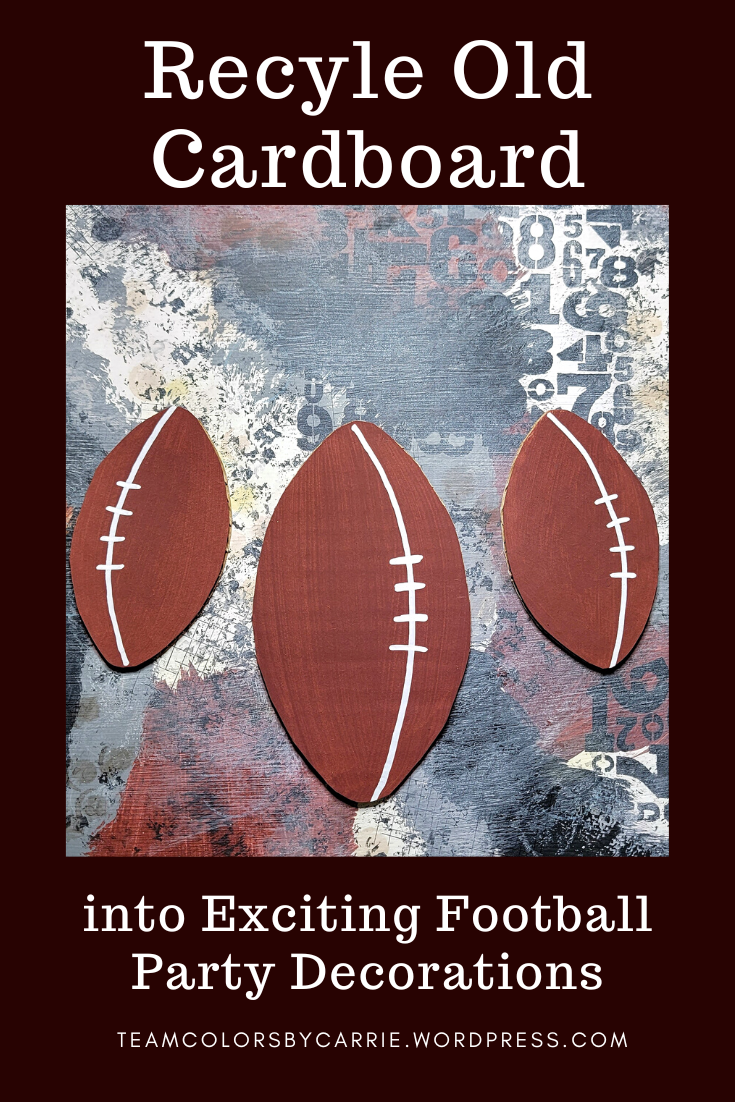
Step Three – Make the Cardboard Footballs
Trace your football templates onto pieces of cardboard. I suggest tracing your football on the side of the cardboard that was the outside of the box it came from (where there might be printing or dirt marks). That way, the front side of your football will be clean, and if you don’t cut perfectly on the lines, they’ll be on the back.
Cut them out.
.
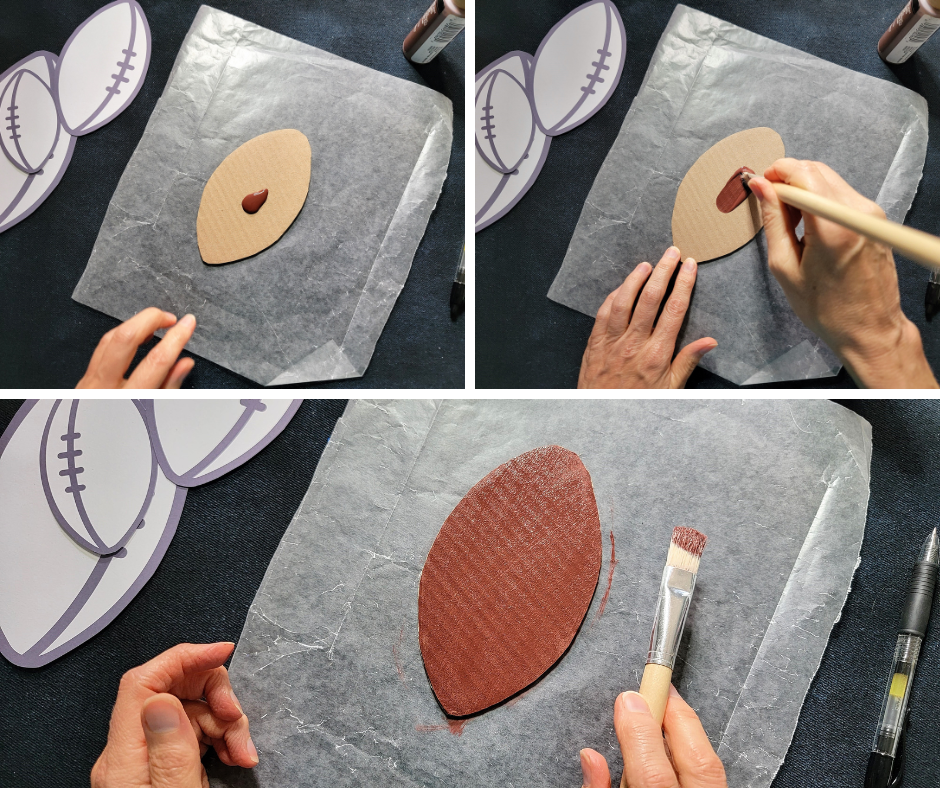
Step Four – Paint the Brown Basecoat
Spread out several layers of newspaper to protect your work surface. I had some waxed paper handy, so I just used that.
Squeeze some brown paint directly onto a football.
Use your paintbrush to spread the paint evenly.
Repeat for remaining footballs.
Clean your paintbrush, and let the paint dry completely.
.
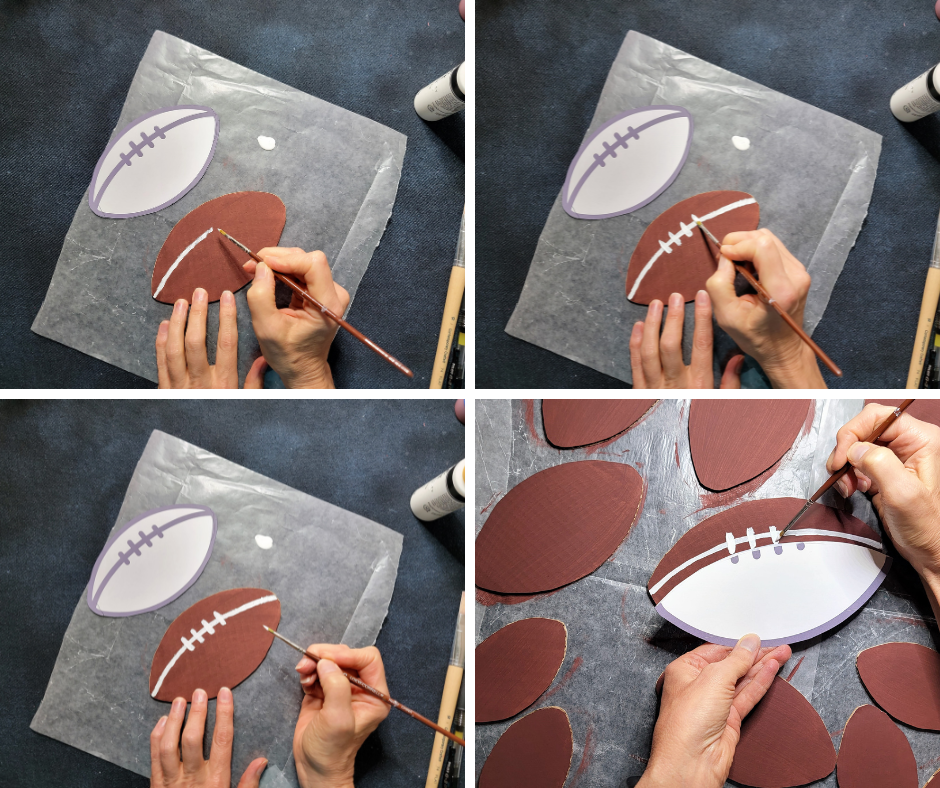
Step Five – Add the White Laces
Squeeze out some white paint onto your newspaper.
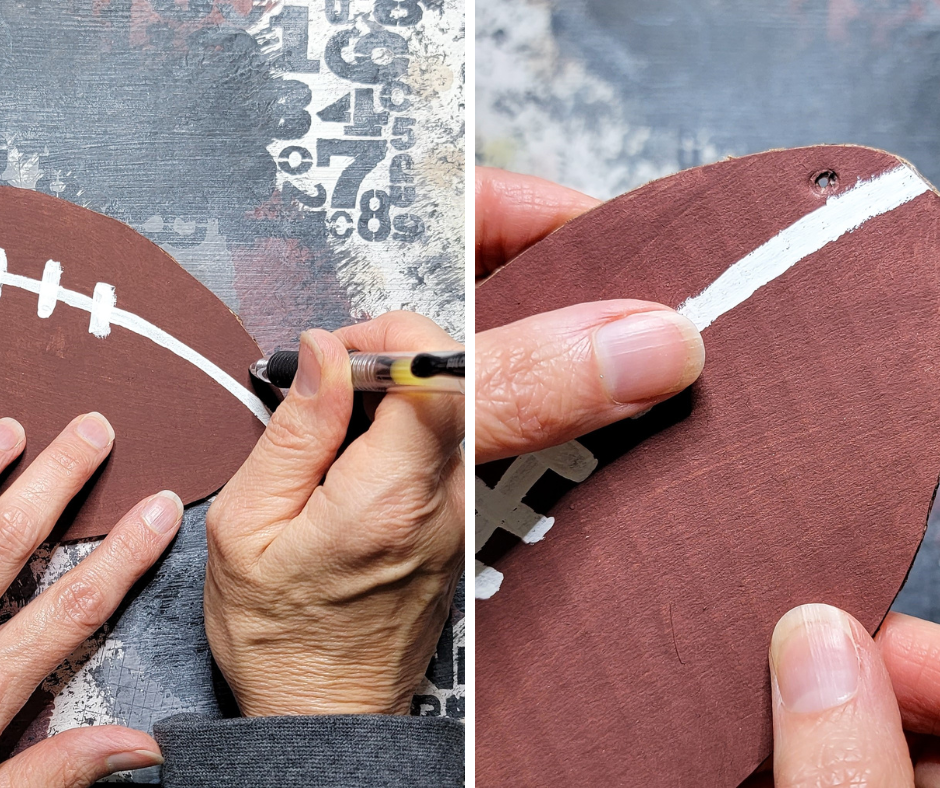
Use a small paintbrush to pick up some white paint, then draw the long line from one end of the football to the other. Add more paint as needed to get a smooth line.
Paint the 4 smaller lines for the laces.
Note that you can cut off the smaller, top section of your football template, and use the lace lines on it as a guide (see bottom right picture).
Let the paint dry completely (and don’t forget to clean your paintbrush).
.
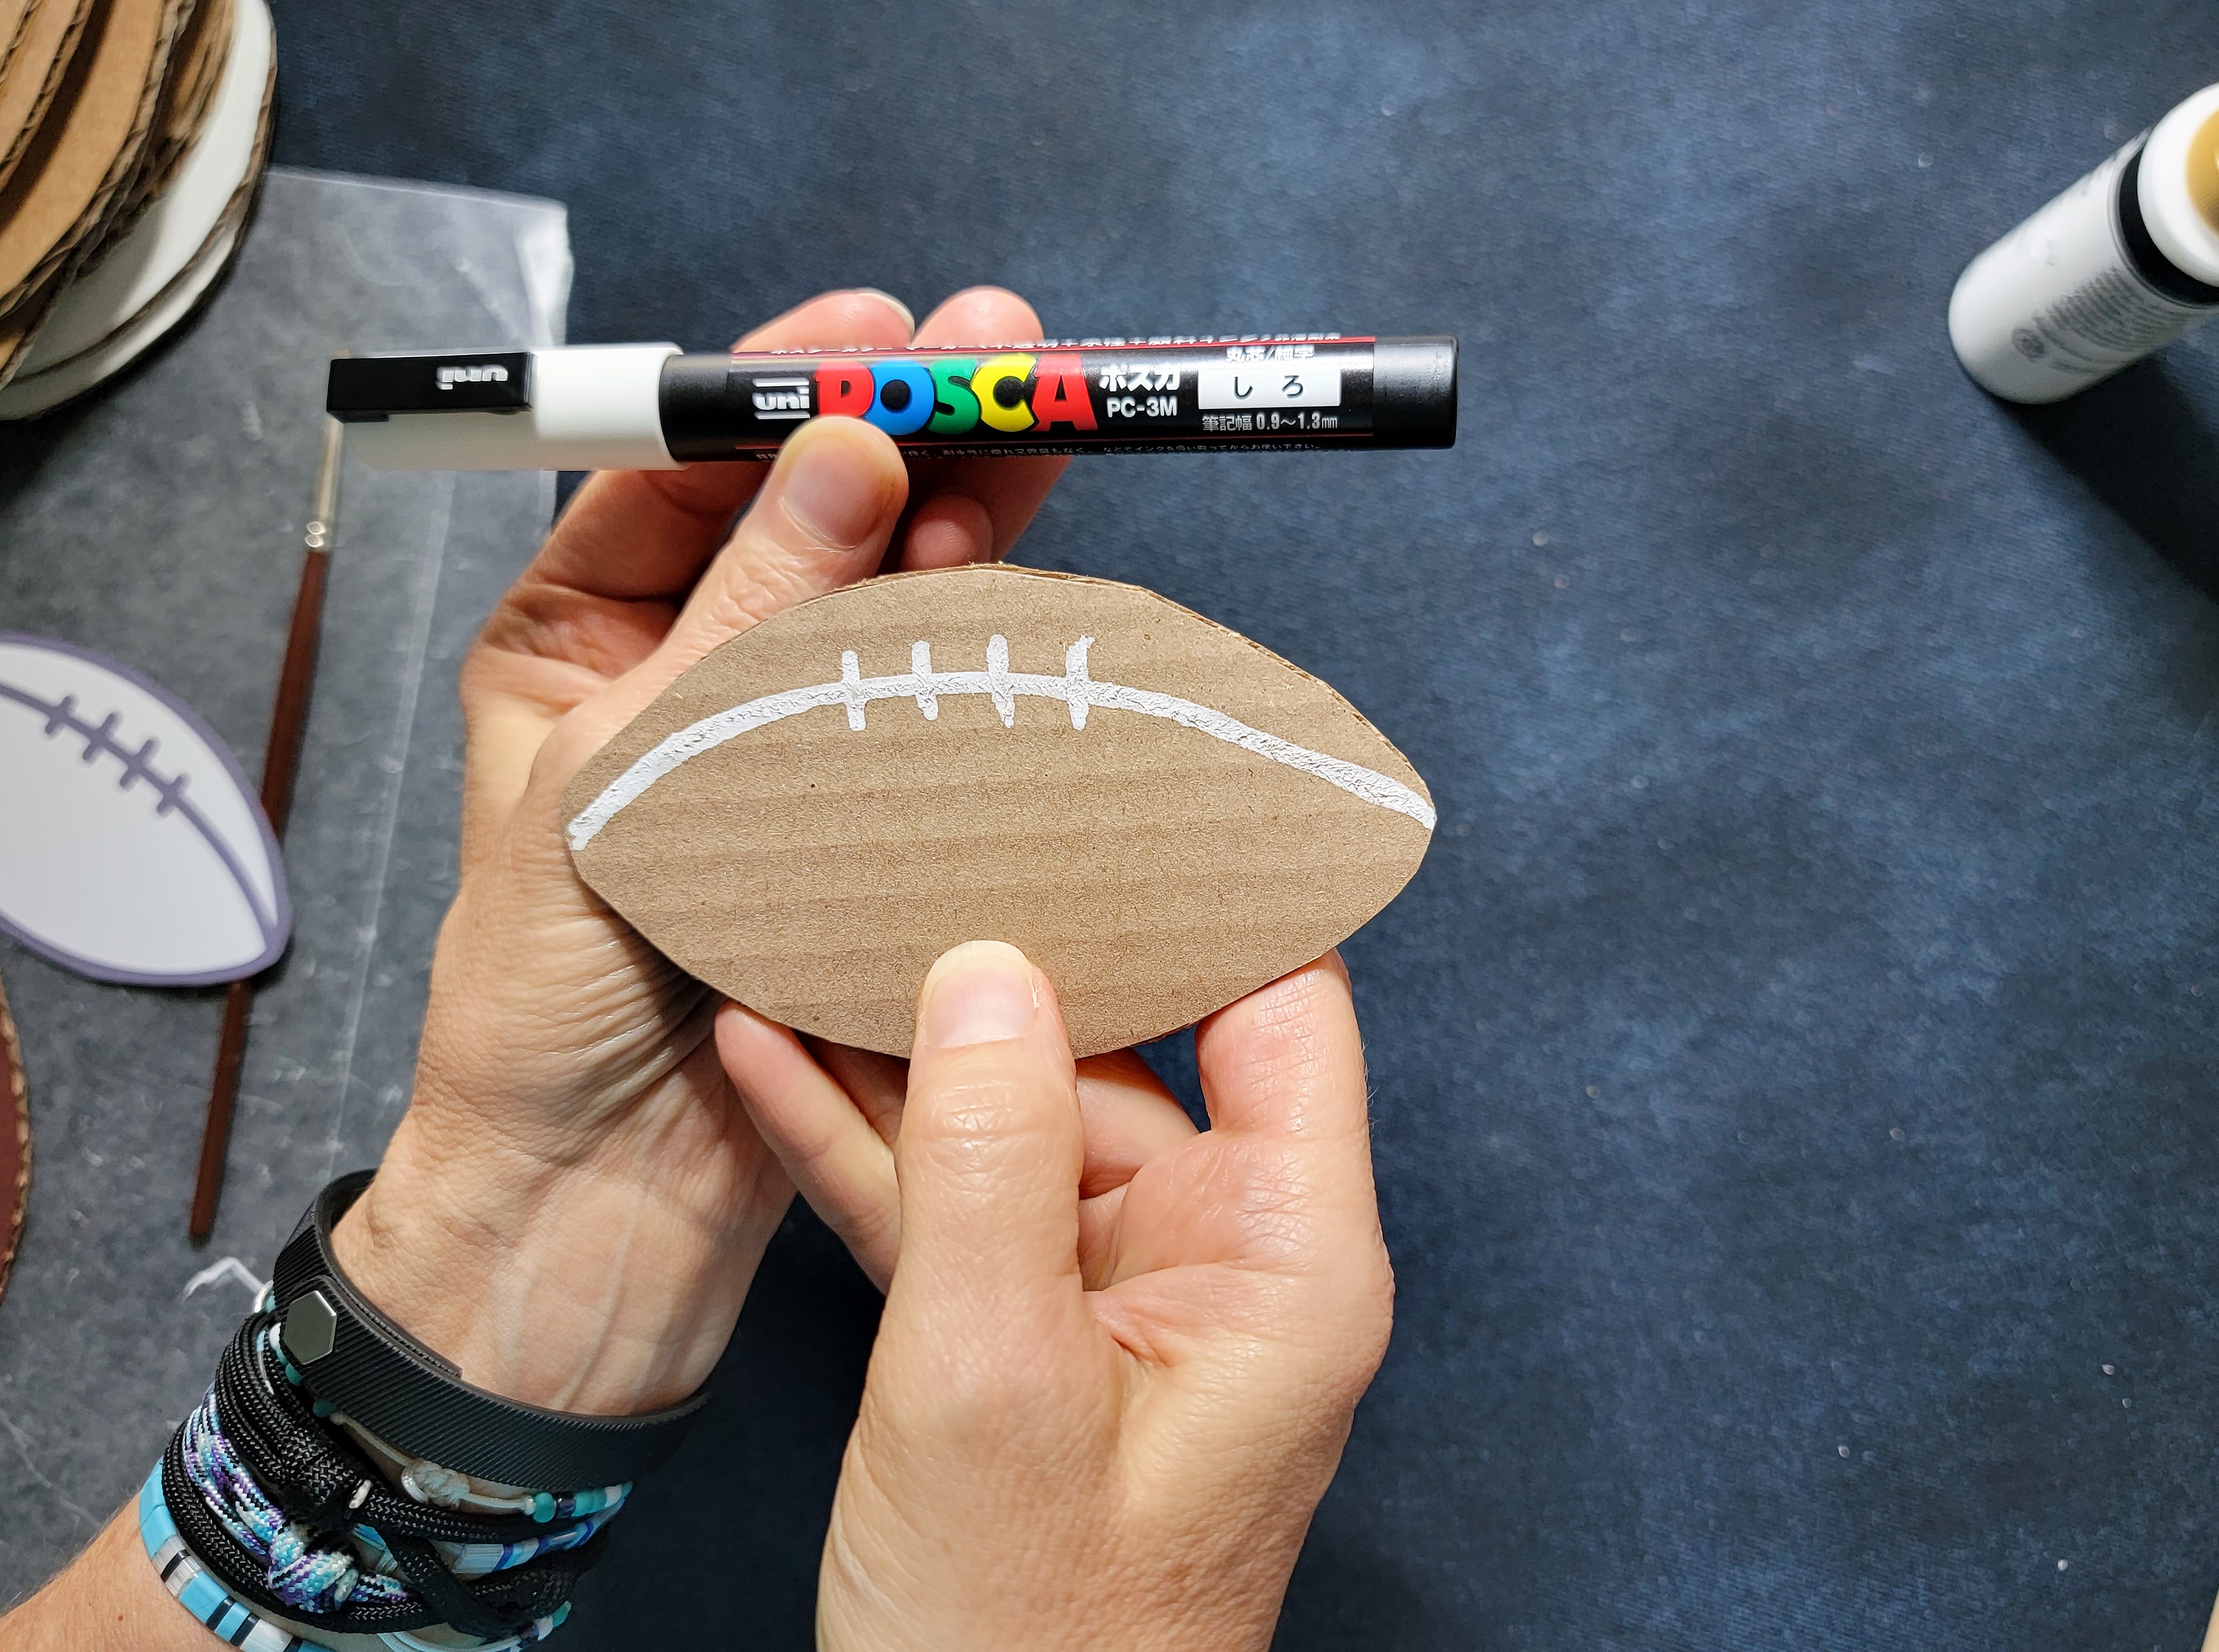
NOTE: if you prefer, you can leave the cardboard unpainted, and just paint on the laces. Here’s a comparison for the cardboard I used:

Optional: for the laces, you may like using a paint pen instead of paint and a paintbrush. They aren’t cheap, but I really like Posca paint pens, and they create nice smooth lines:
.
Step Six – Finishing Up
Determine which direction you are going to use your footballs. You can great a garland using them end to end, or hanging from the top.
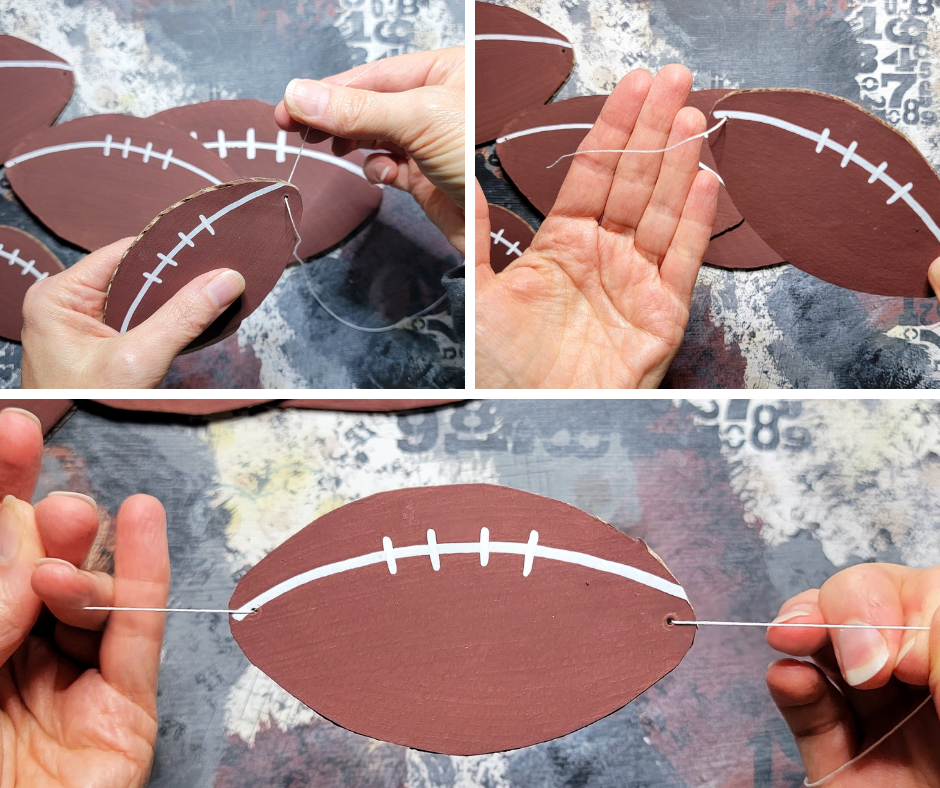
Use your pen to punch holes for stringing. For an end to end garland, punch holes on each end, slightly above center. For a top hanging garland, or individual hanging ornament, punch a hole just at one end, in the center.
For a garland, cut a piece of twine or string long enough for the area you plan to cover.
Run your string from front to back on one end of the football, then from back to front on the other, so the string is behind the football. Repeat for remaining footballs, sliding them along the string as needed.
For individual hanging footballs, just run a short piece of string through the hole, and tie a knot to create a loop.

.
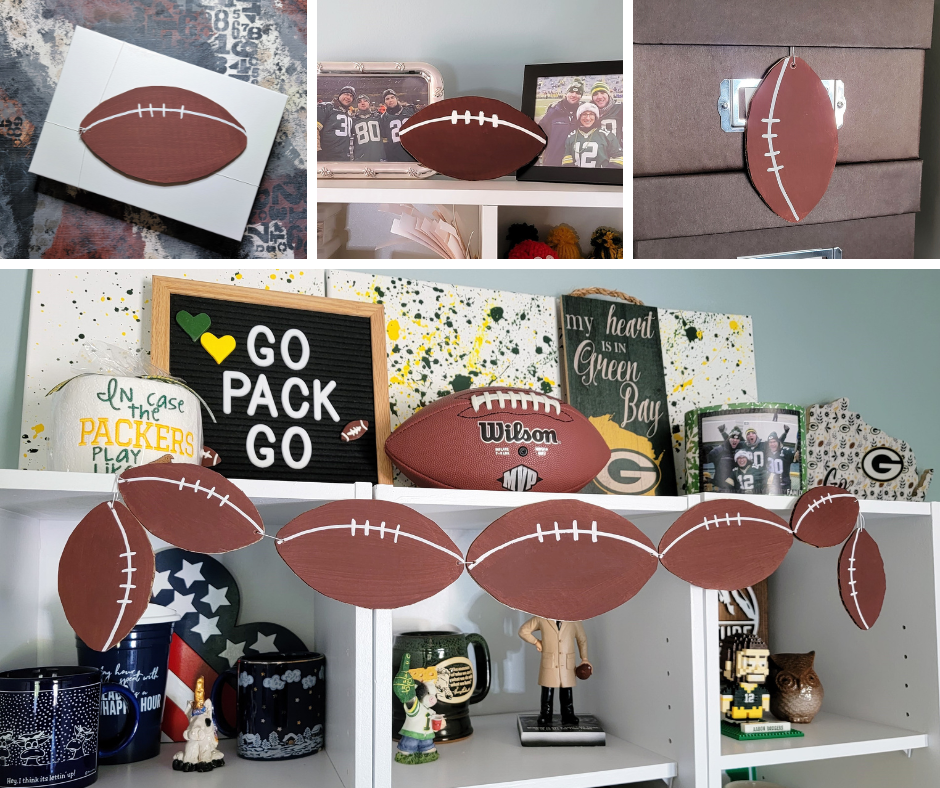
Step Seven – Time to Decorate!
How you use these fun footballs is up to you!
I used some as gift package tie-ons. I used others to hang from storage containers and knick-knacks sitting on the shelves in my office. And I used a bunch to hang from a string to create a garland!
Those are just some suggestions to get you started, and I’d love to hear about any creative uses you come up with!
.
Let me know if you give this project a try!
See you next time,
Carrie

