The college football season has started, and the NFL season gets going in just a few days. And with so many of us hosting tailgate or “homegating” game day parties, it seemed like a good time to show you my latest adventure with paper straws.
Look at your favorite party supply store, discount store or online, and you’ll be able to find tons of options in all kinds of colors and patterns.
I chose black and white for my garland, so it matches my office colors, but you can choose your favorite football team colors for the perfect game day party decor!
Ready to give it a try? Here’s what you are going to need:
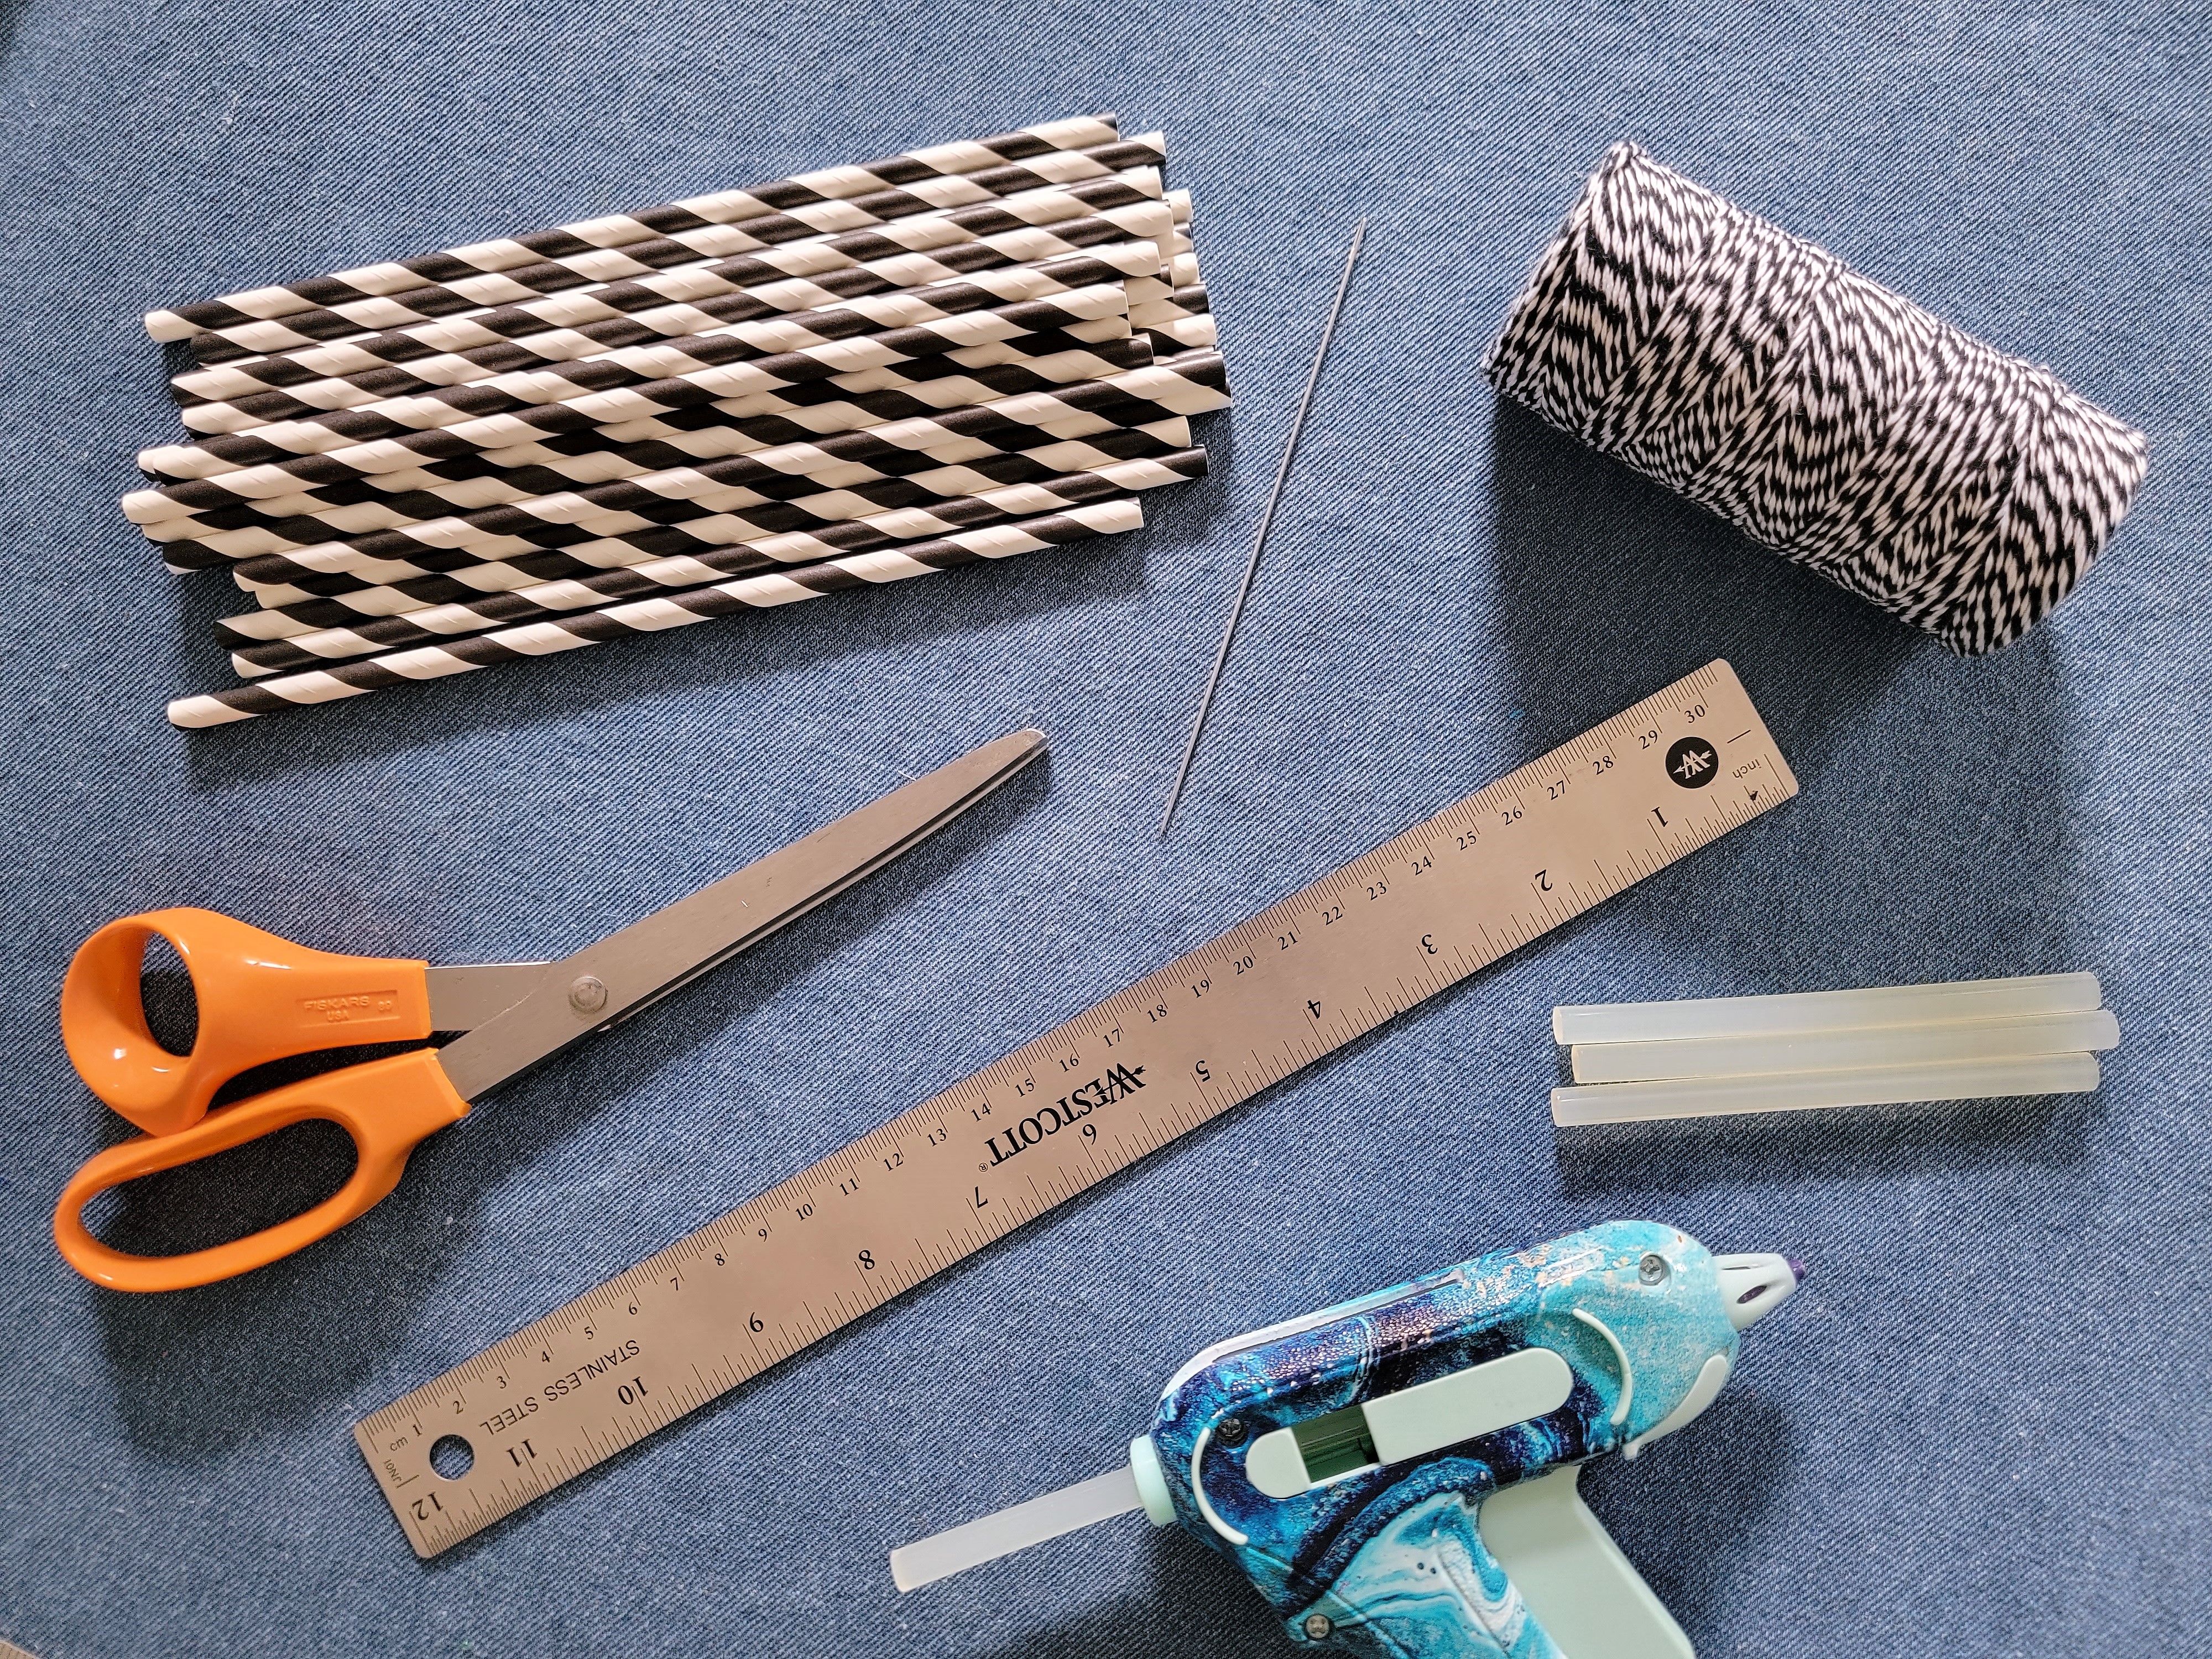
- paper straws (2 packs of 24 for a 4 foot garland)
- string or twine in your choice of color
- sharp scissors
- ruler
- glue gun and glue sticks OR large sewing needle
.
Step One – Determine Garland Length
Measure the width of the area you want to cover with your garland. I’m hanging mine between these 2 windows, which are 54” apart. You can also just hold up your string or twine to fit the area, instead of measuring.
Add about 12” to allow the garland to drape, plus another 6” to create a loop at each end for hanging.
Cut the twine to this total length. Mine was 54” + 12” + 6” = 72”.
.
Step Two – Determine Number of “Flags”
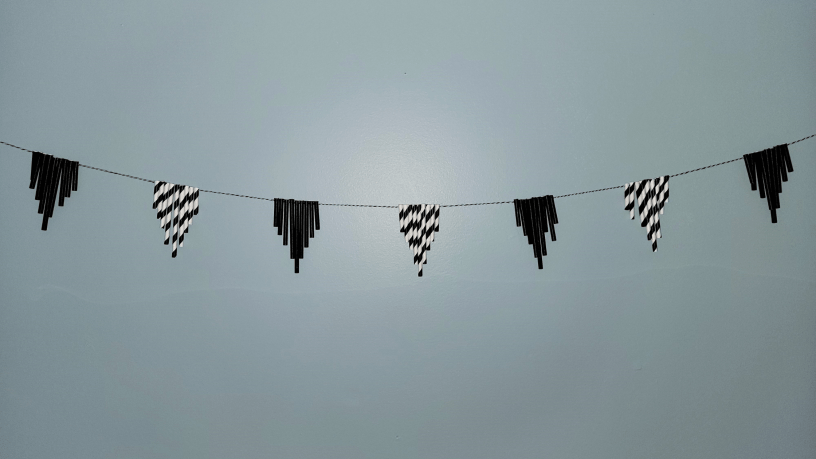
Each flag will be about 2” wide, and you’ll need to leave some space in between each flag. An odd number works best, so you have a flag in the center instead of a gap.
I left a space of 4” between flags and 6” on each end, and decided on 7 flags.
.
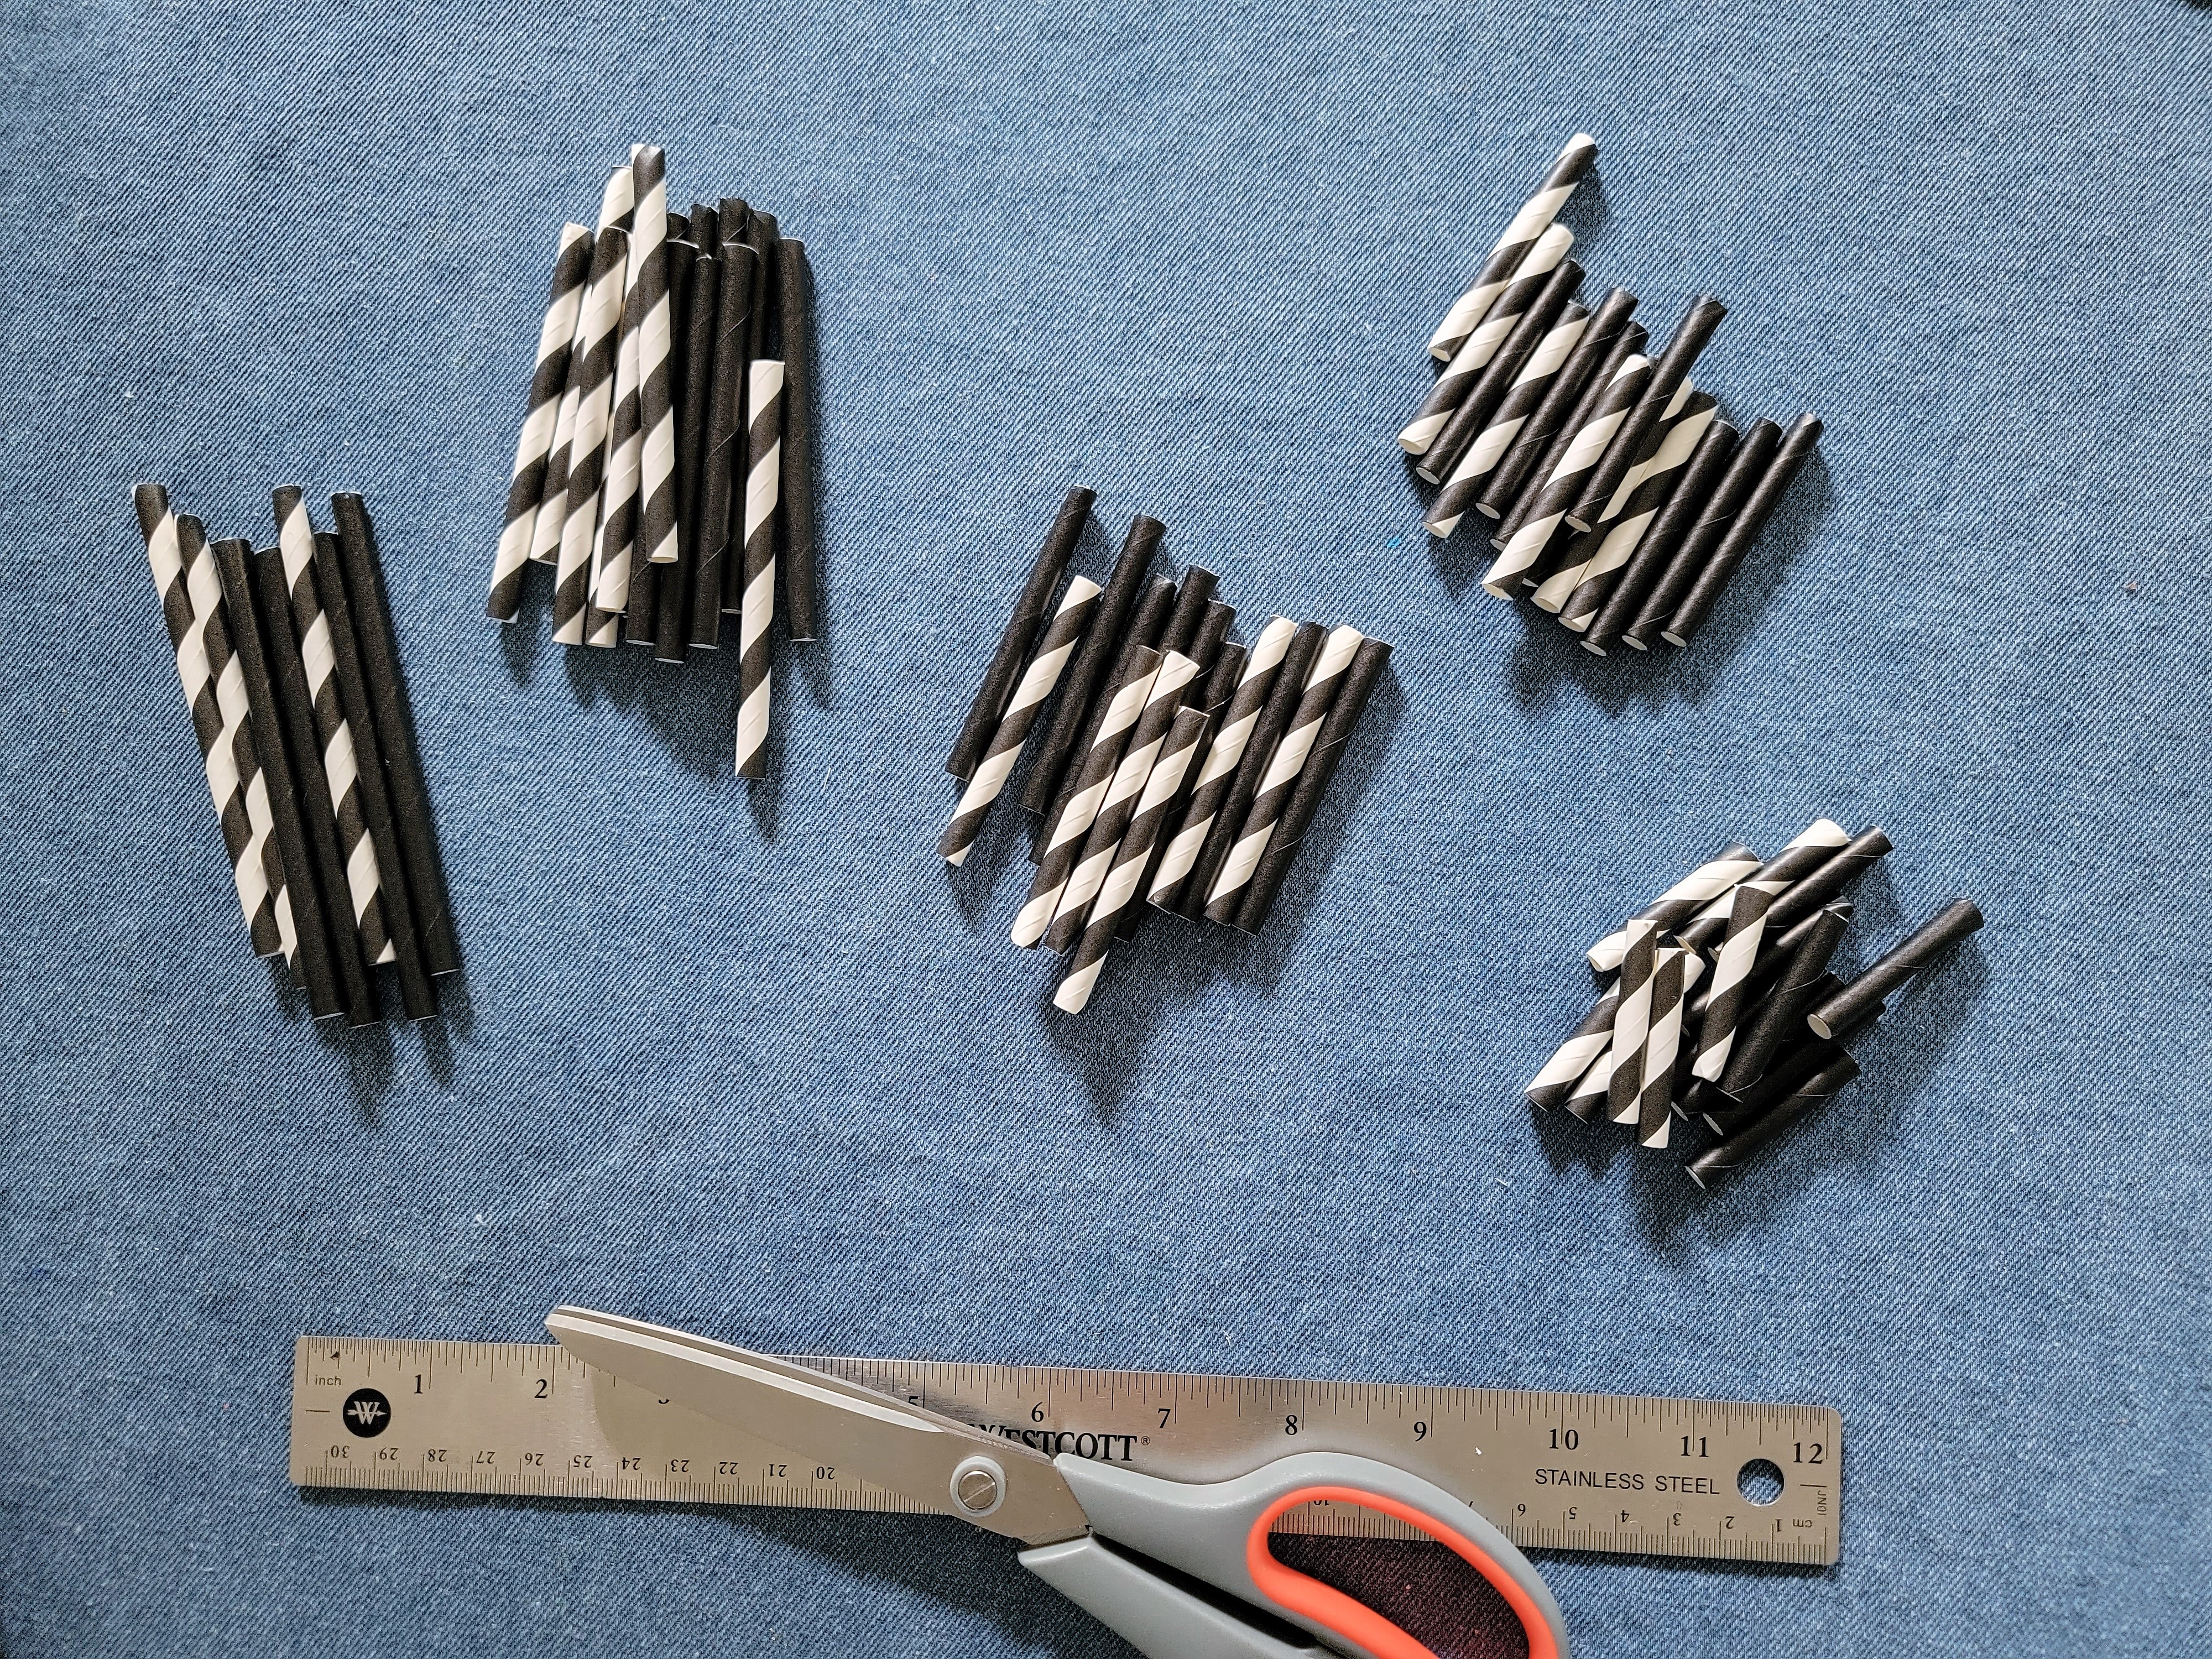
Step Three – Cut Your Straws
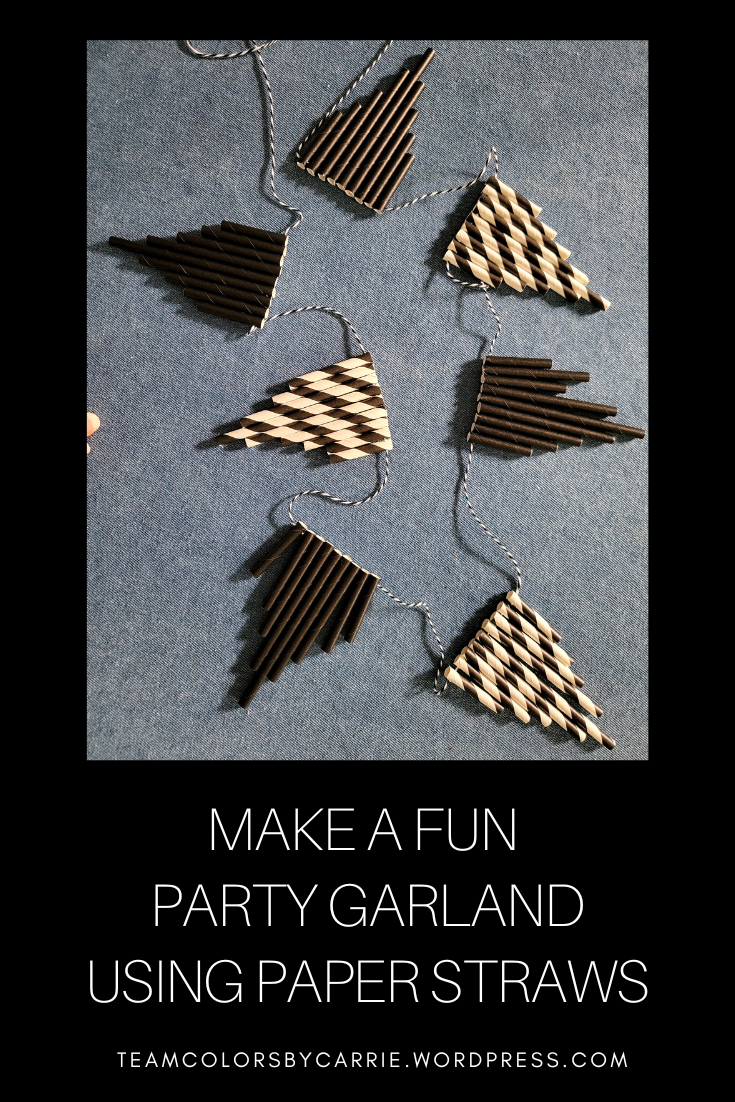
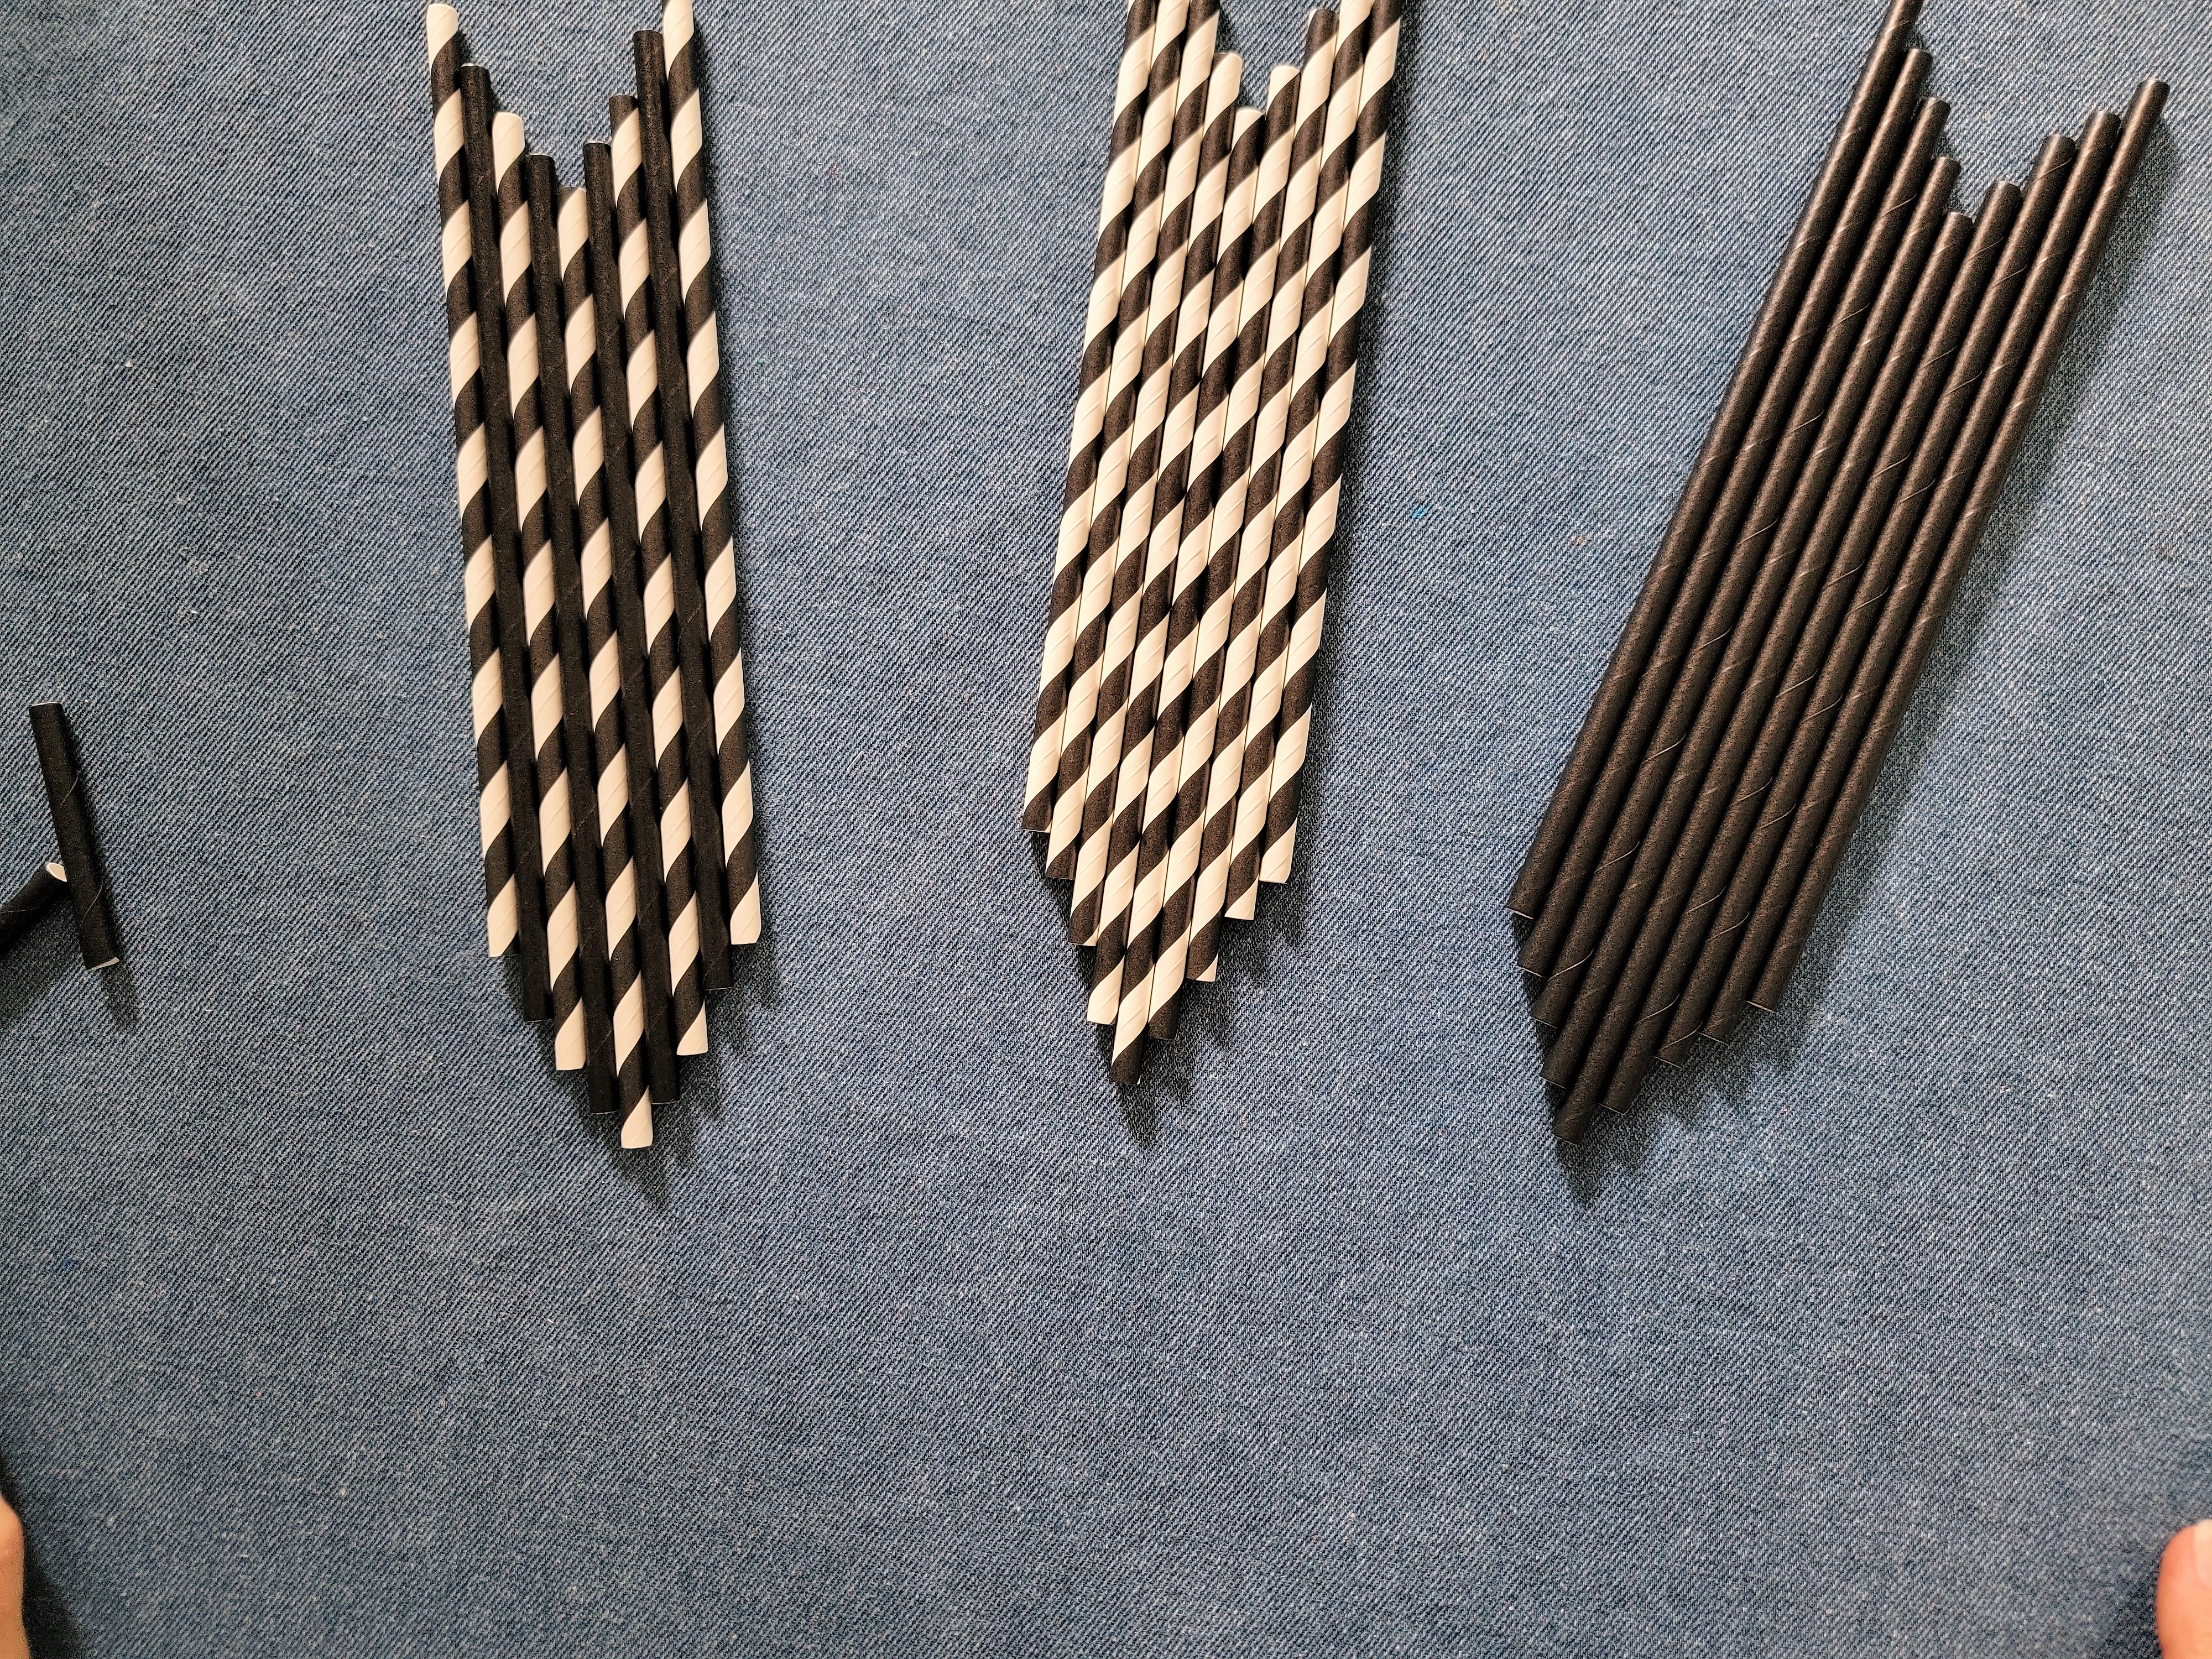
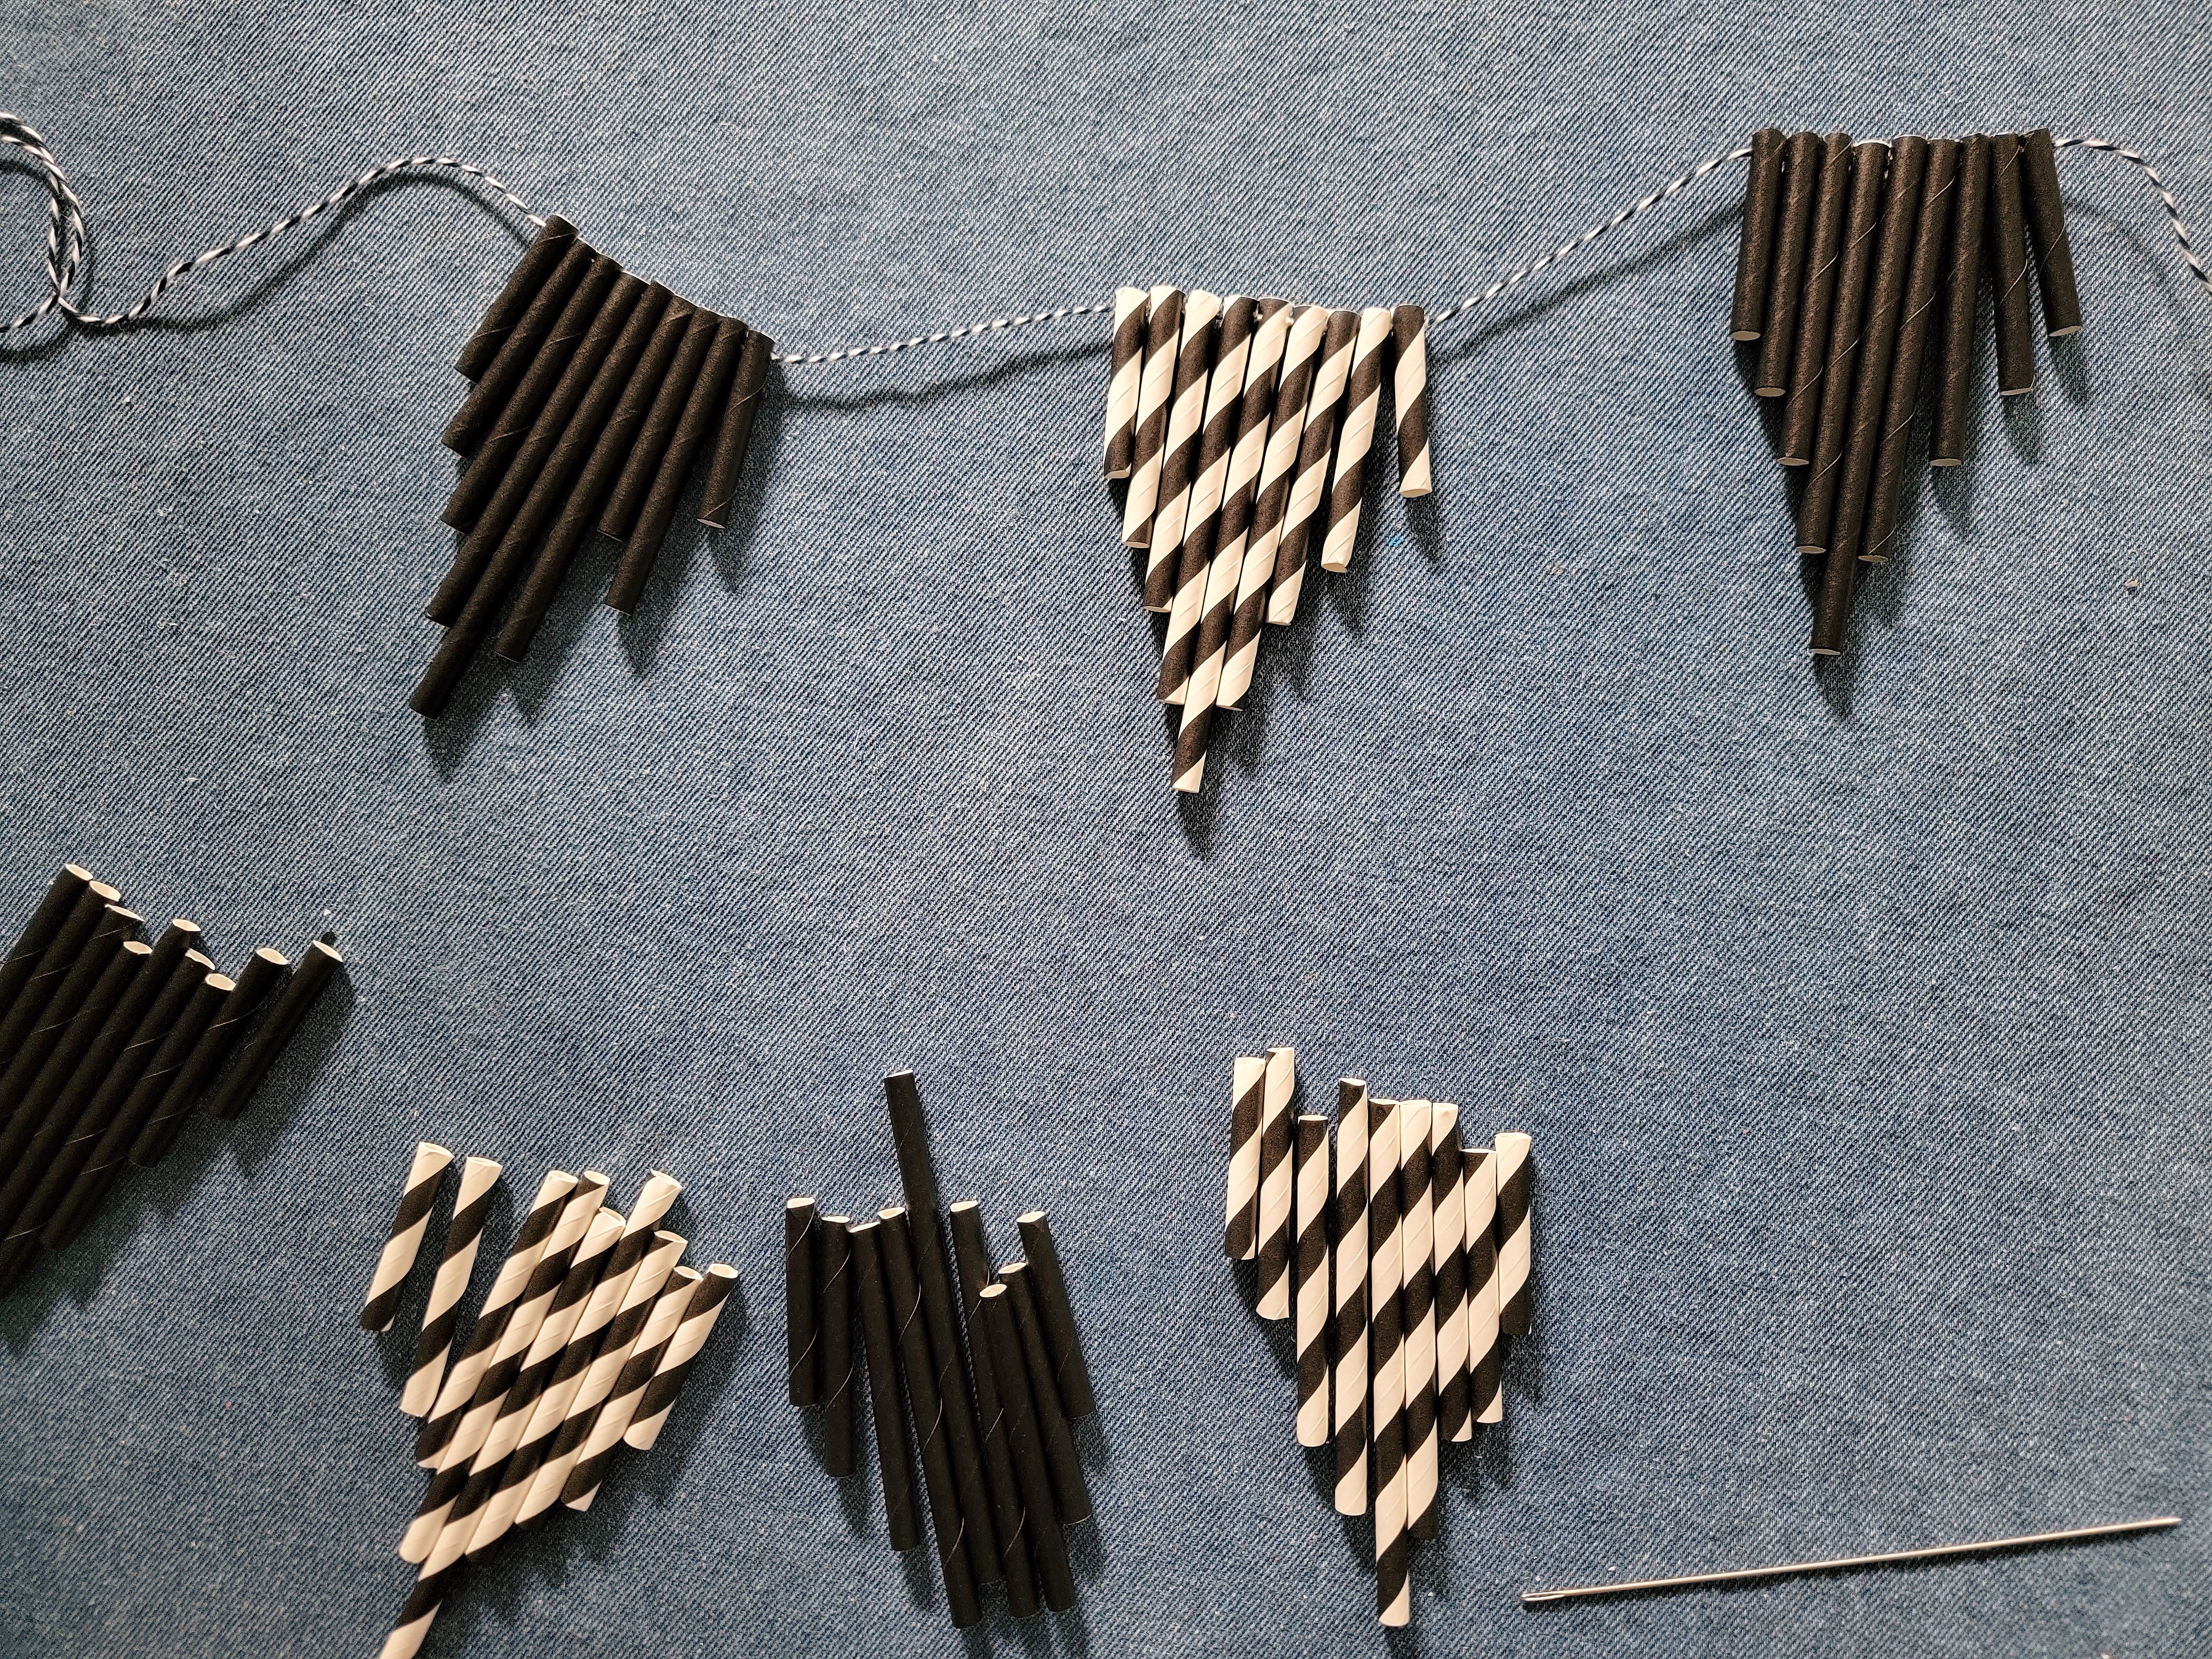
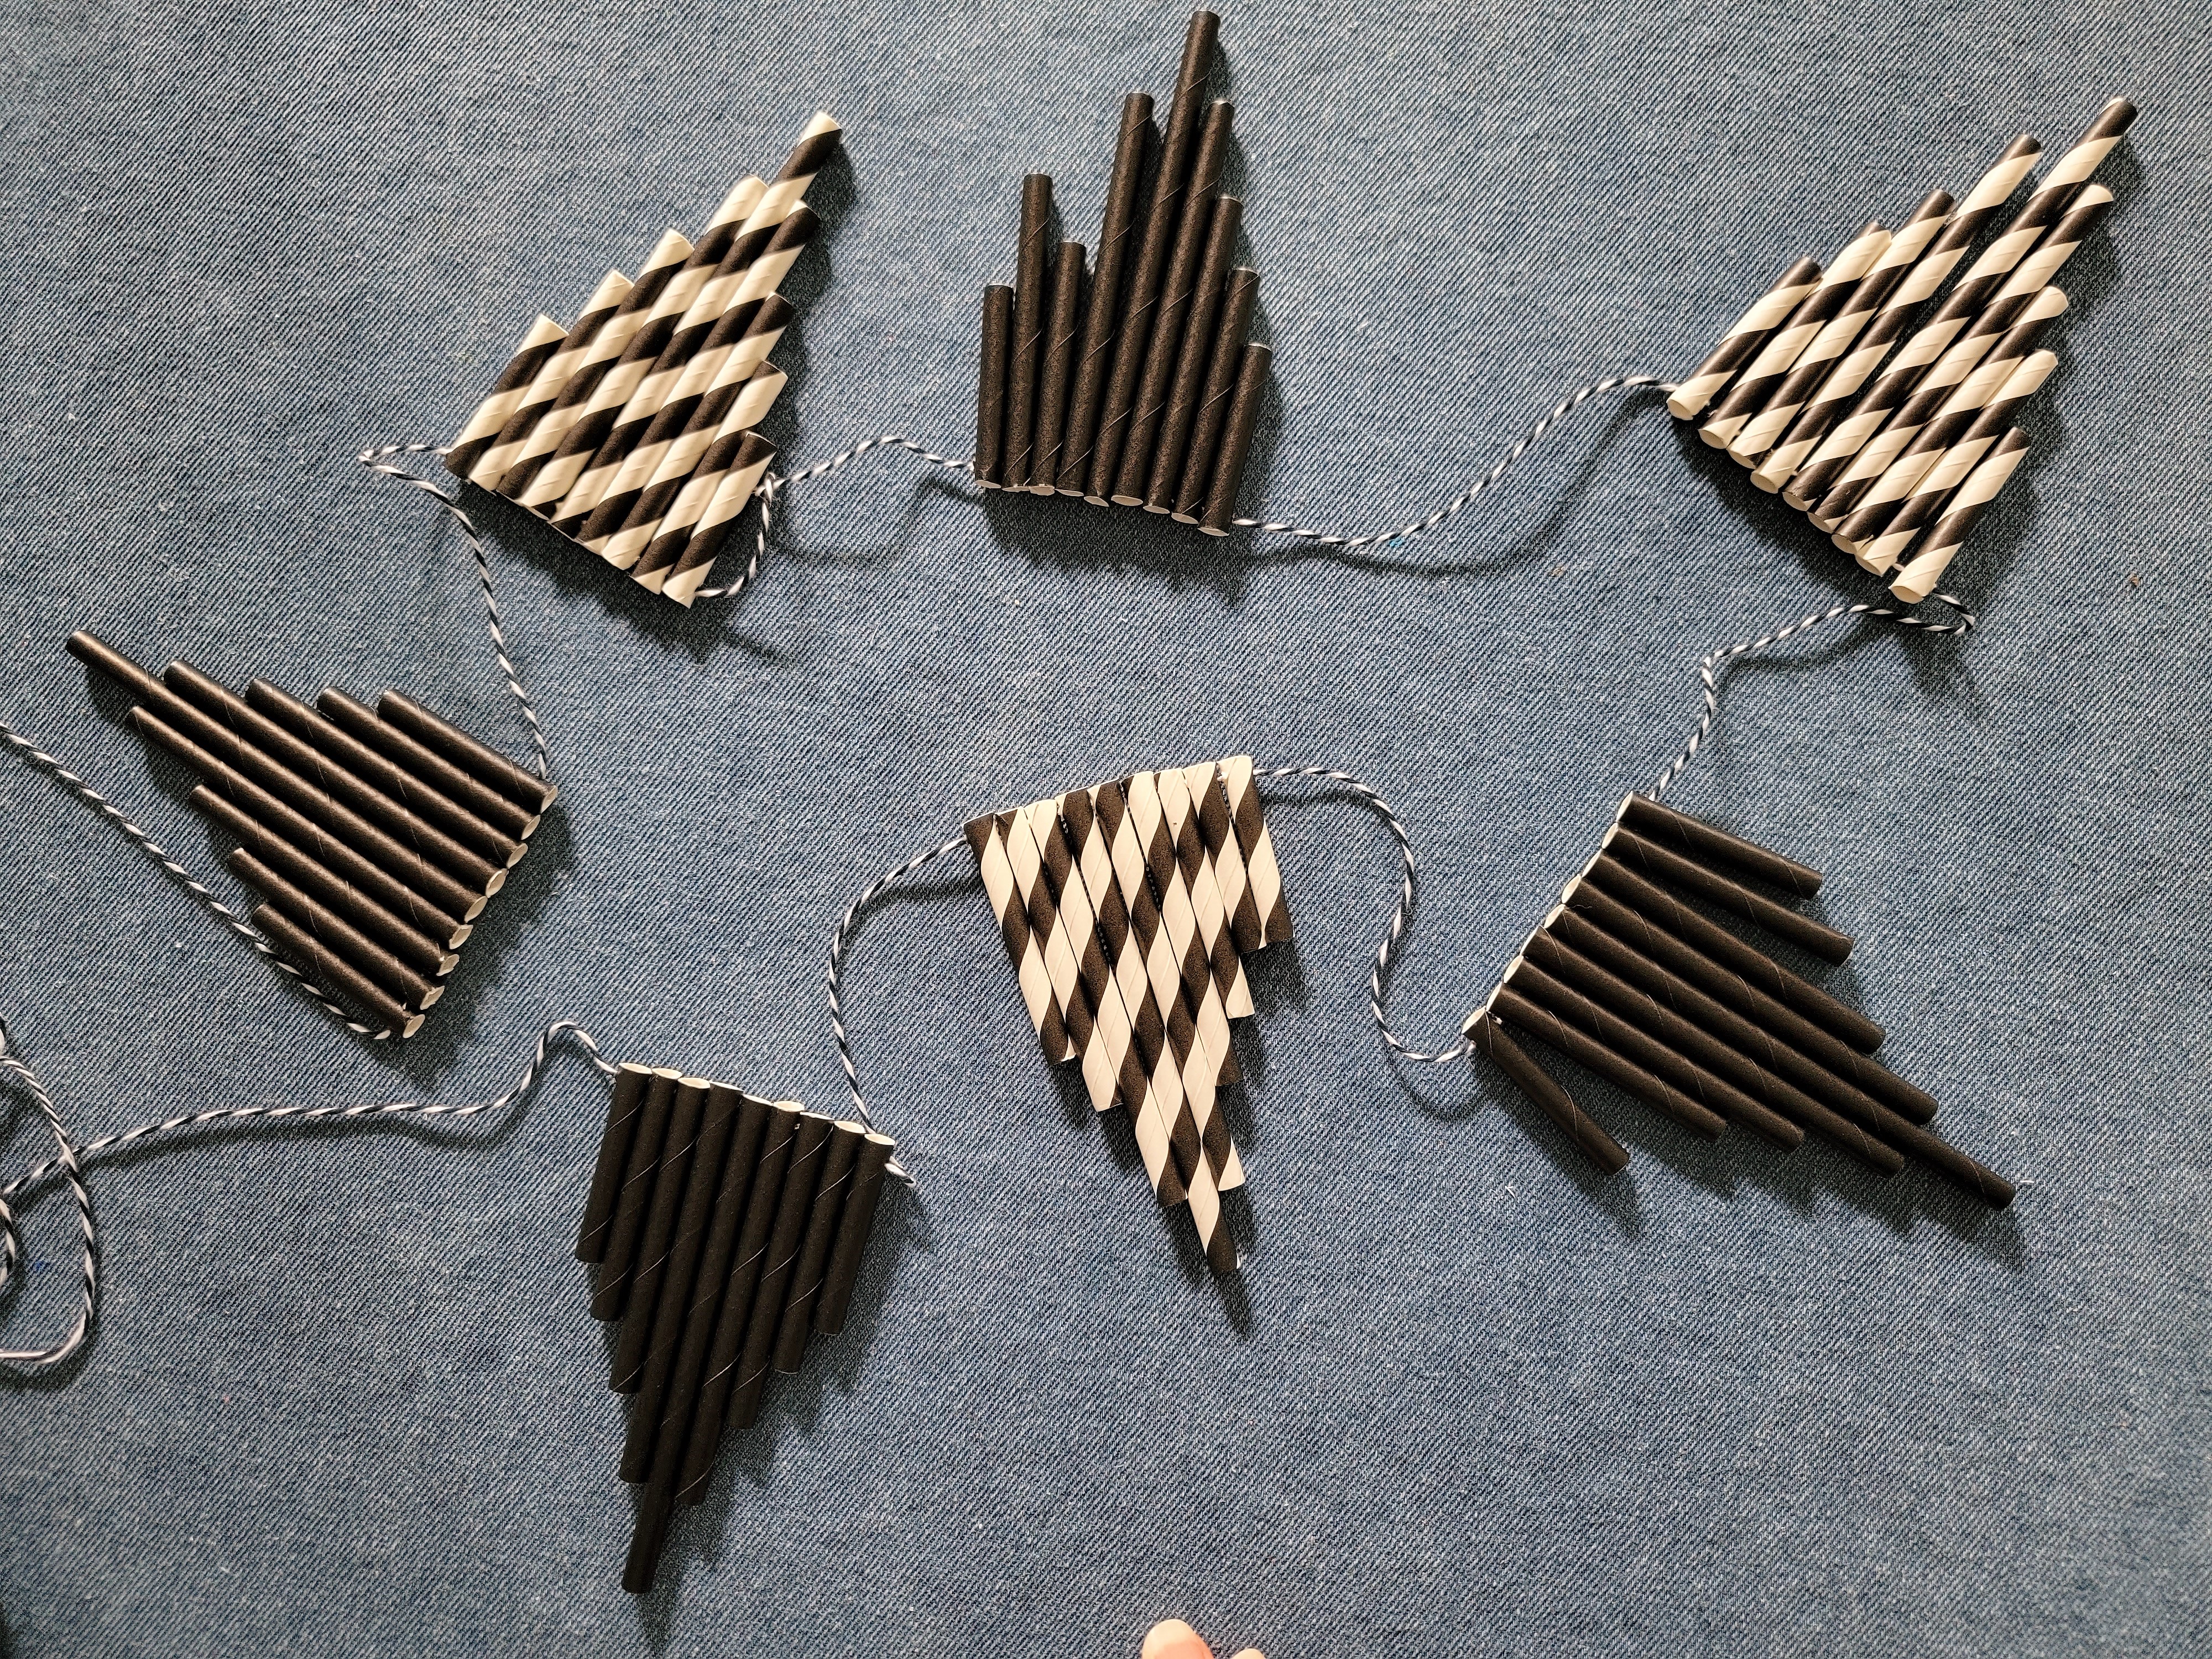
If you are using more than 1 straw color or pattern, you’ll first need to determine how you want your flags to look. You could mix colors/patterns within each flag (like the one on the left), or stick with just one color/pattern in each flag, then alternate the flags (like flags in the middle and on the right).
.
For each flag you’ll need to cut the following straw lengths:
- 1-1/2 inch (x2)
- 2 inch (x 2)
- 2-1/2 inch (x 2)
- 3-1/4 inch (x2)
- 4 inch (x1)
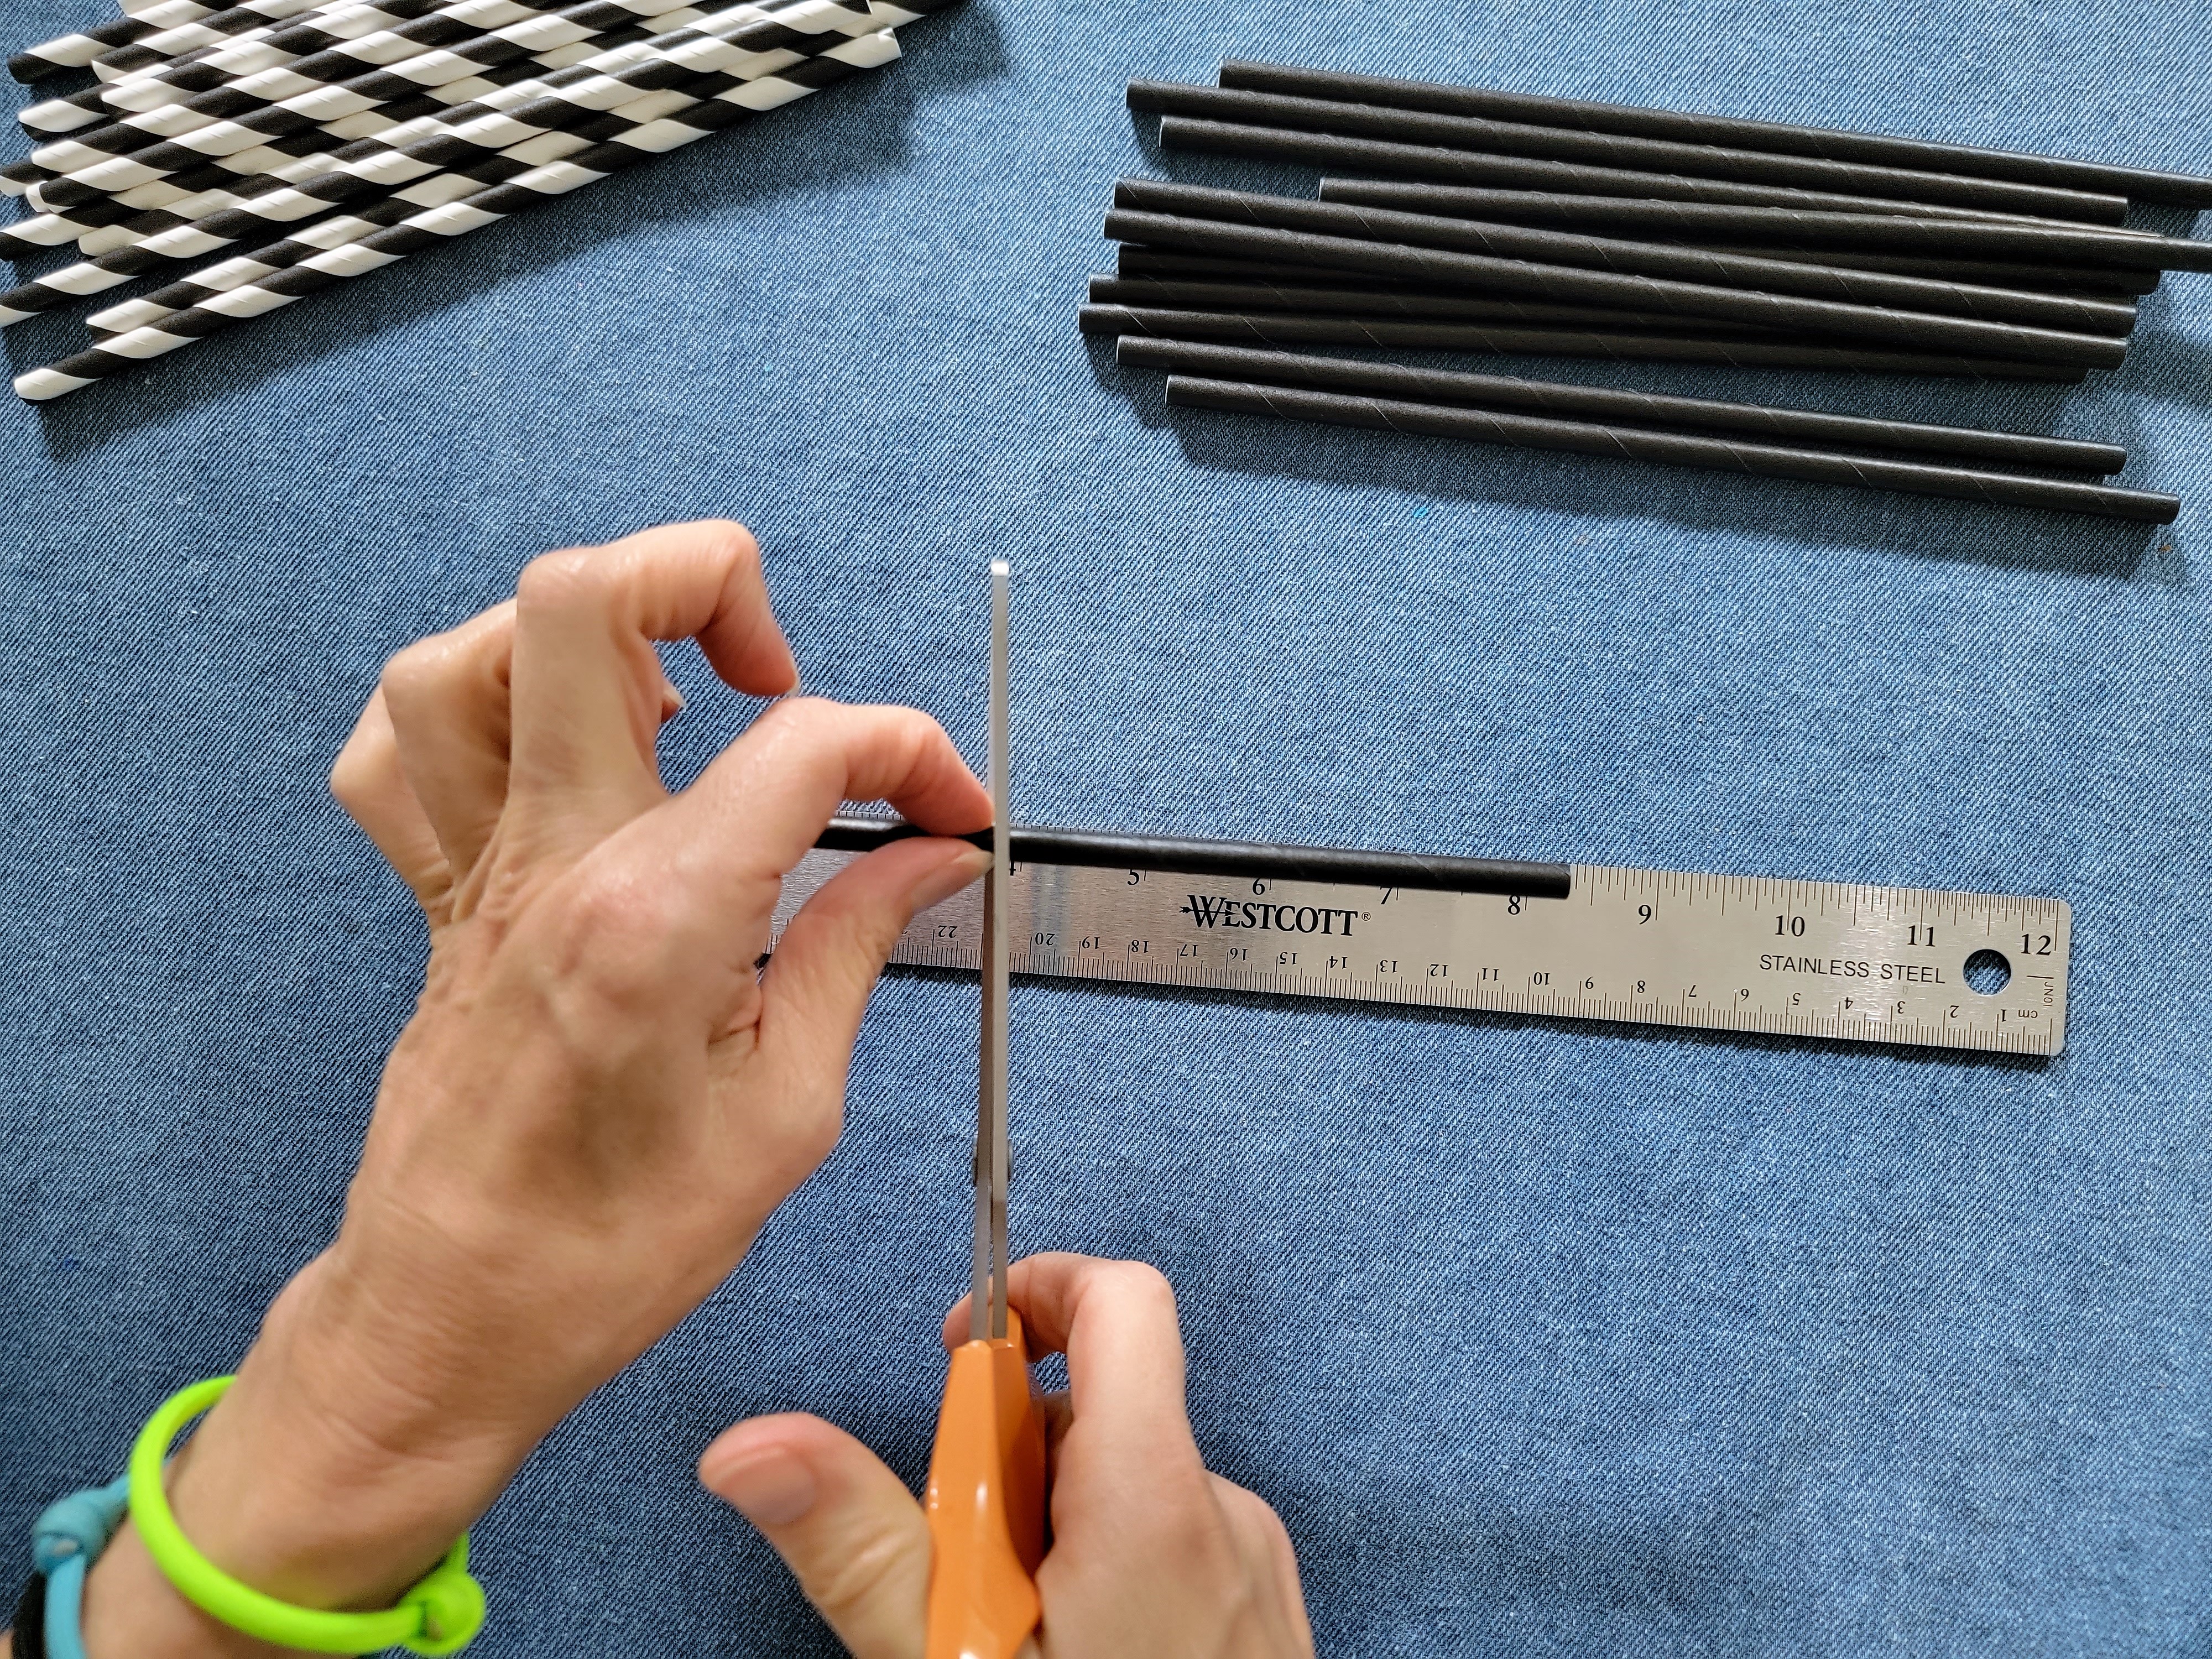
Repeat for as many flags as you want for your garland.
.
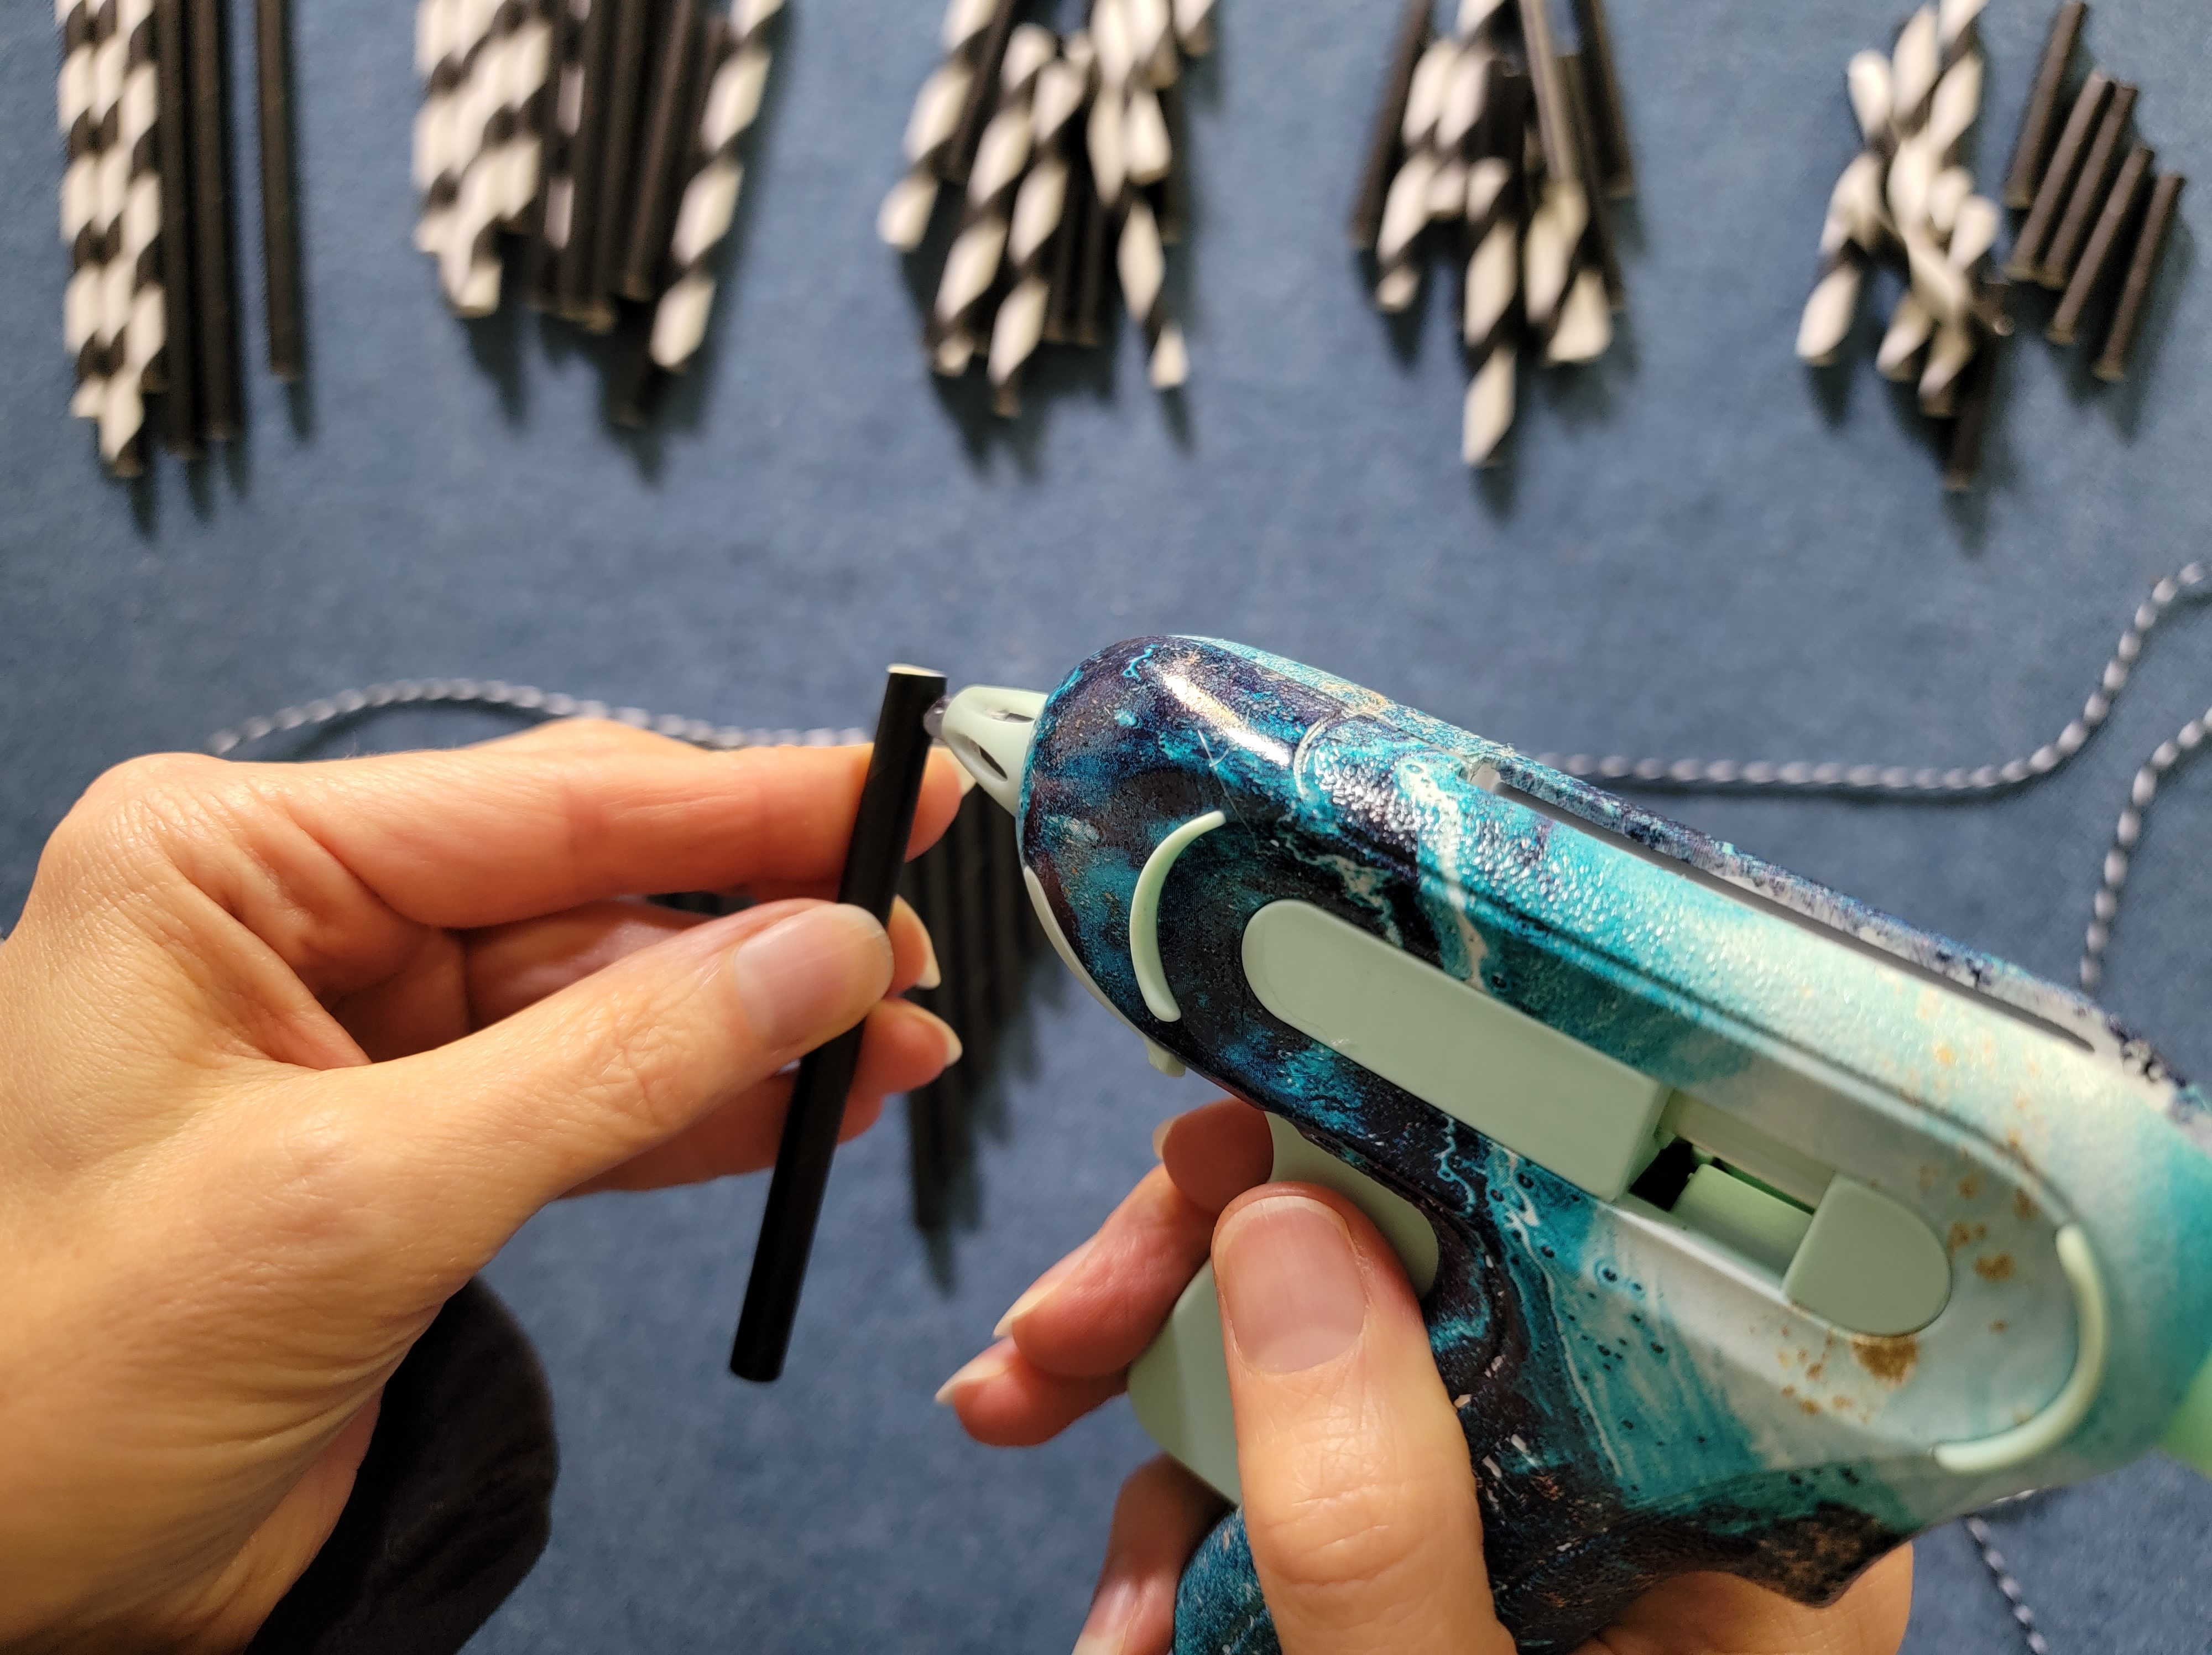
Step Four – Glue or Thread Straws onto String
Start in the center of your string, and start gluing on the straws. I found it easiest to glue the middle straw first, then work my way out.

I also found it less messy to apply just a dot of hot glue about 1/4″ from the end of the straw, and then press the straw onto the string.
Repeat for each of the flags on your garland, making sure to leave consistent spacing between the flags.
.
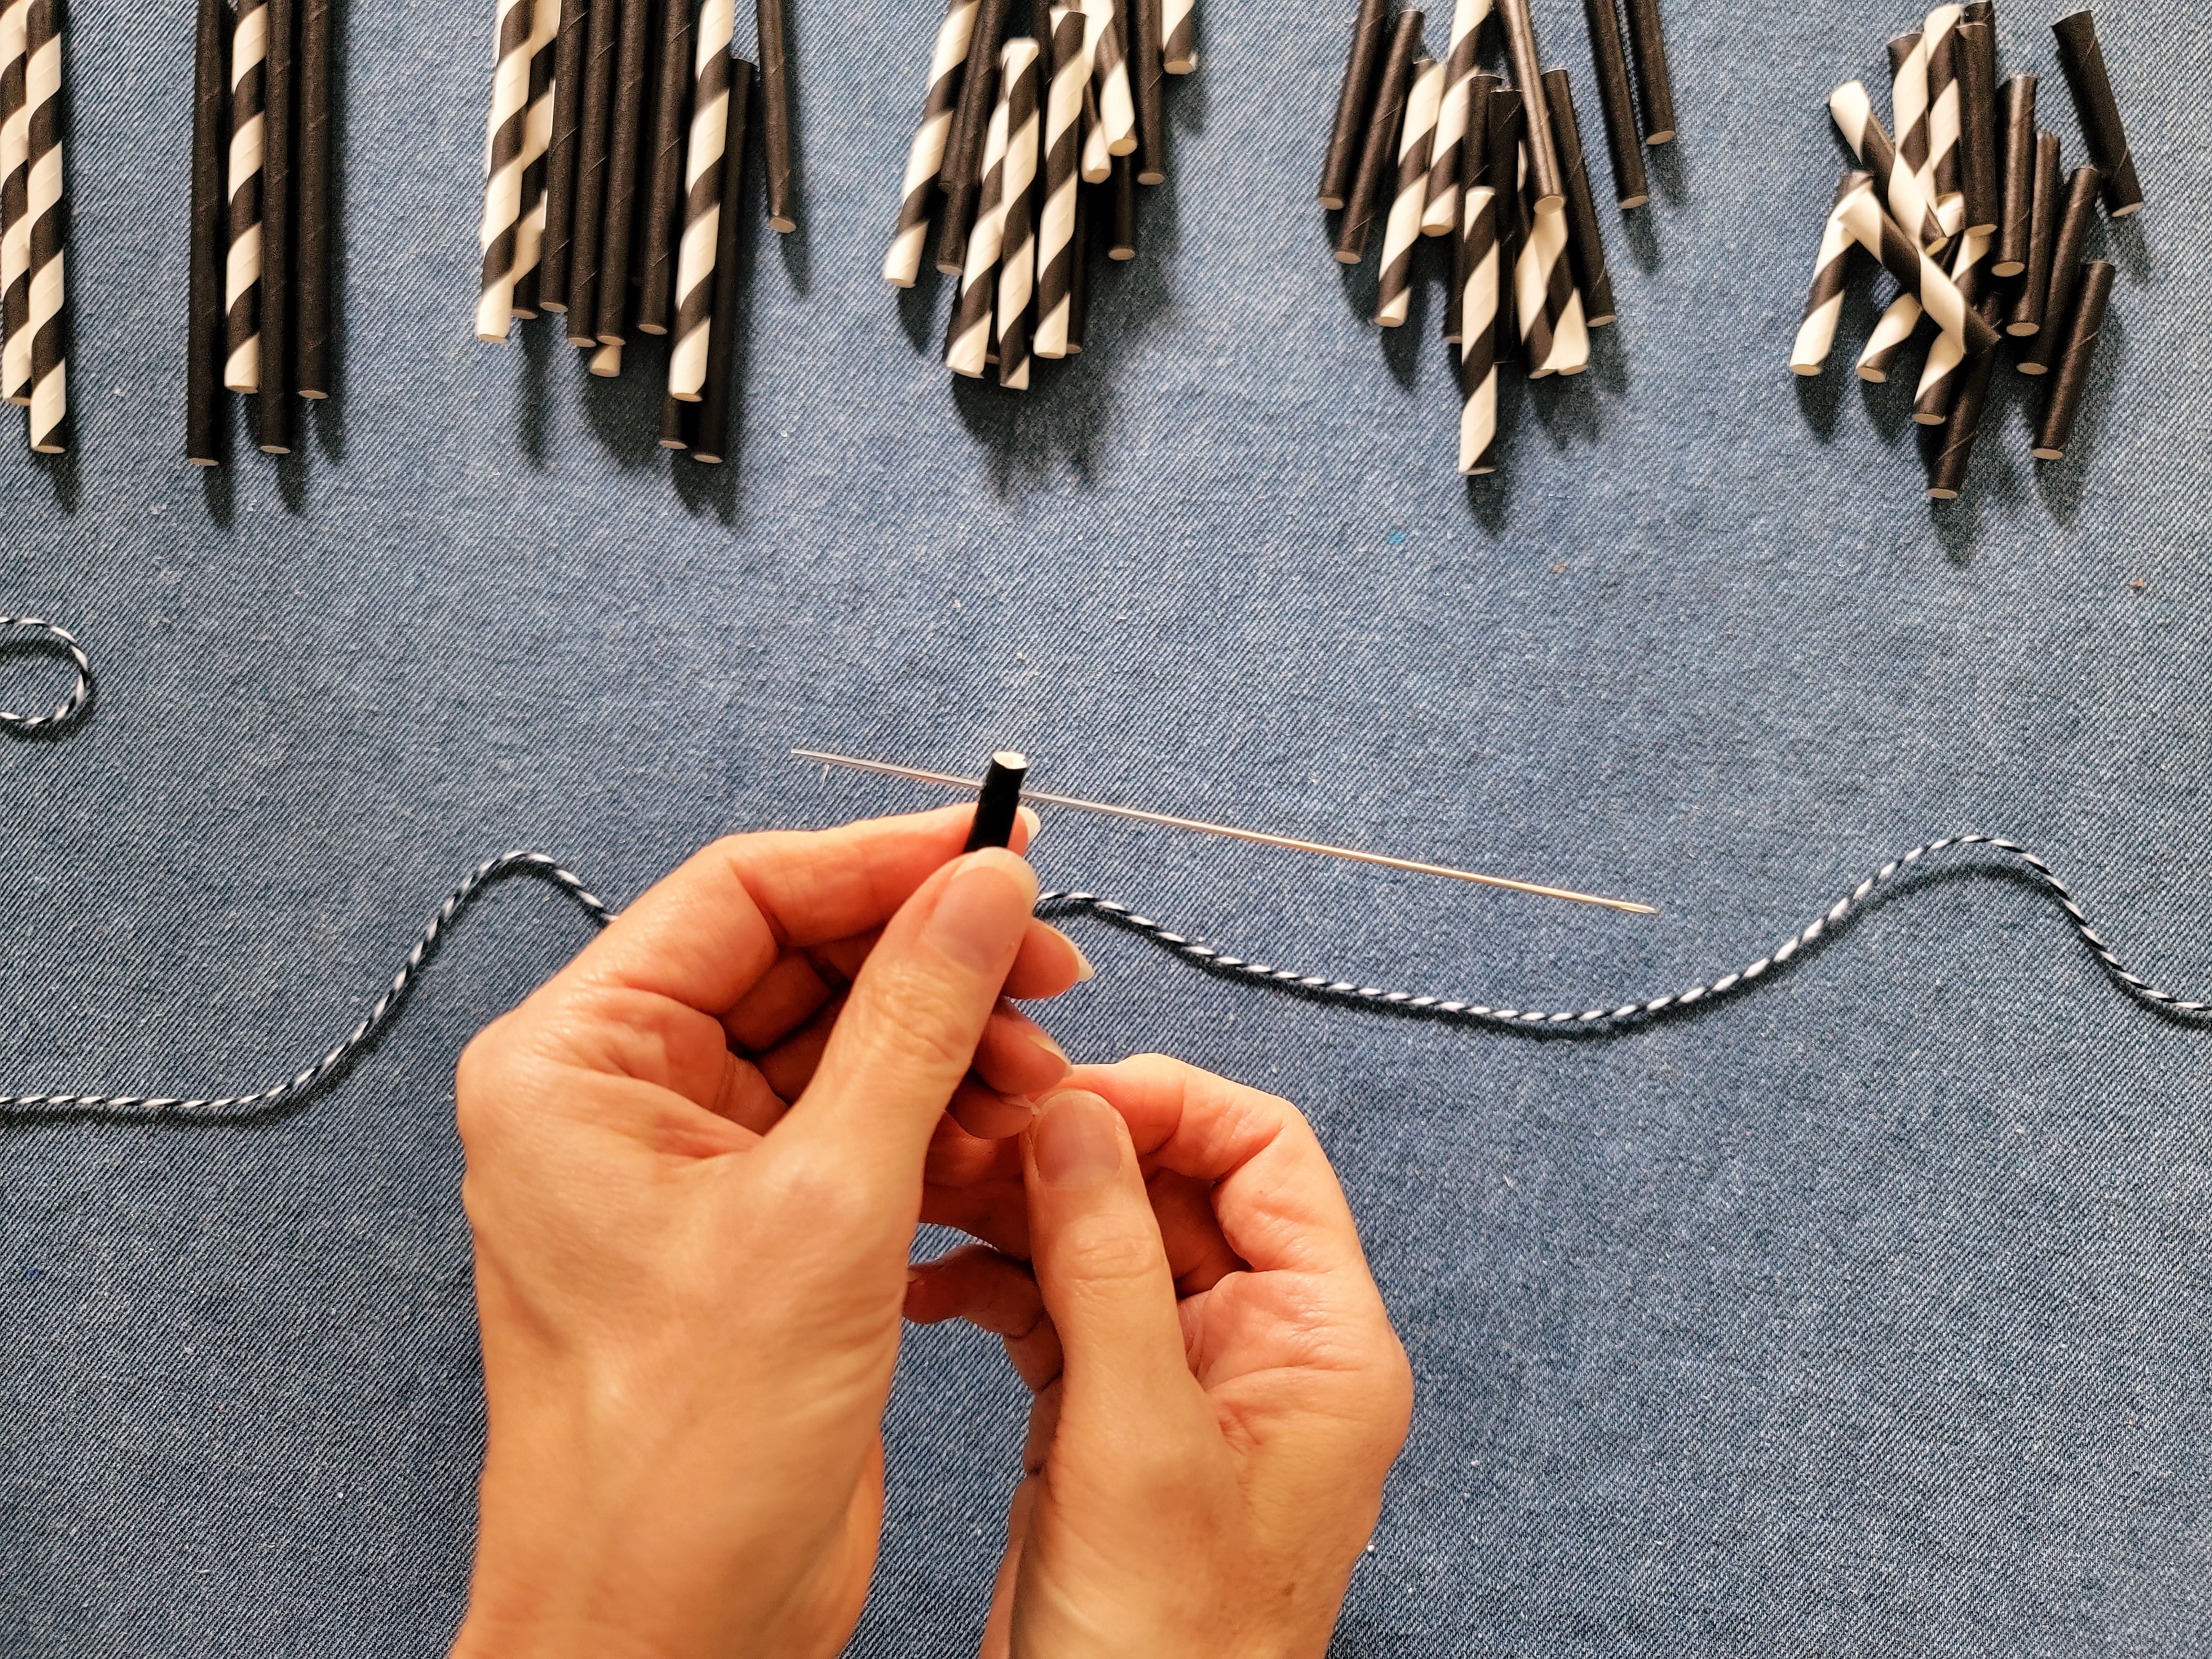
Alternative for using a needle:
Thread the string through the eye of the needle, then use the needle to pierce all the way through both sides of the first straw, about ¼” from the top. Pull the needle and string all the way through the straw, and then move onto the next straw piece.
NOTE: You’ll need to work left to right (or right to left) across the flag, and NOT start with the center straw like you would with the glue process above.
I did discover that in addition to being less messy than hot glue, a benefit of the needle method is that you can adjust the spacing of the straws after the garland is done. And if you mess up the order of the straws in one of the flags (see the one in the middle of the picture below?), you can unstring it and do it again!
.
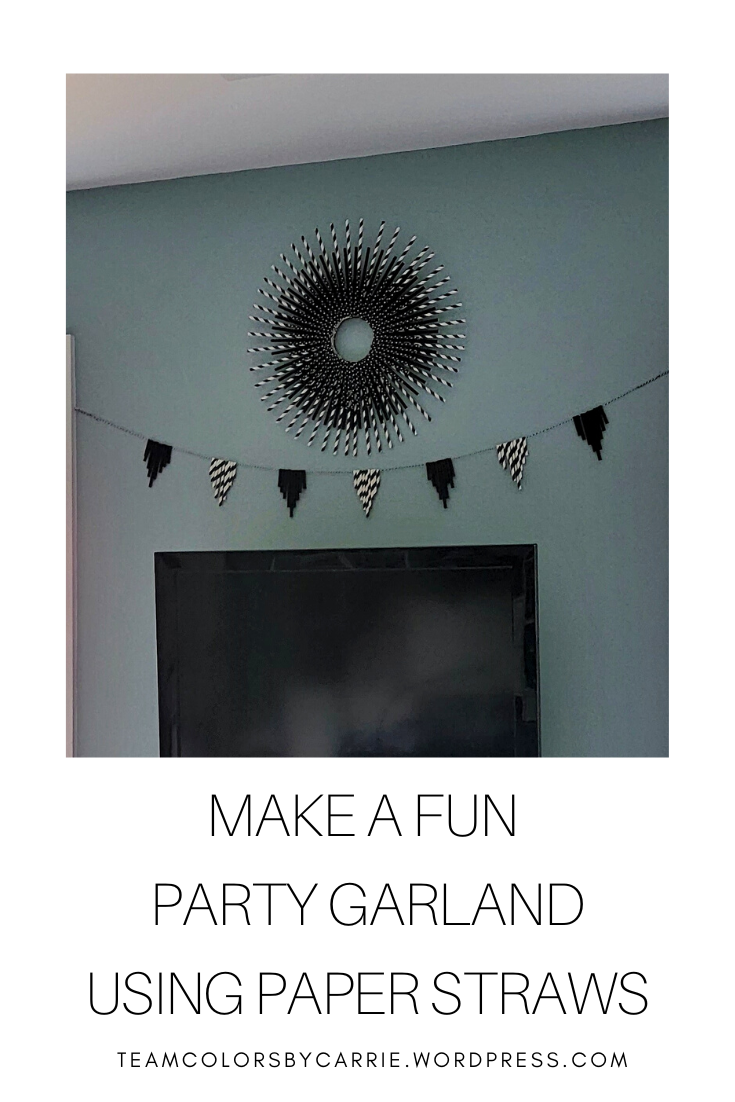
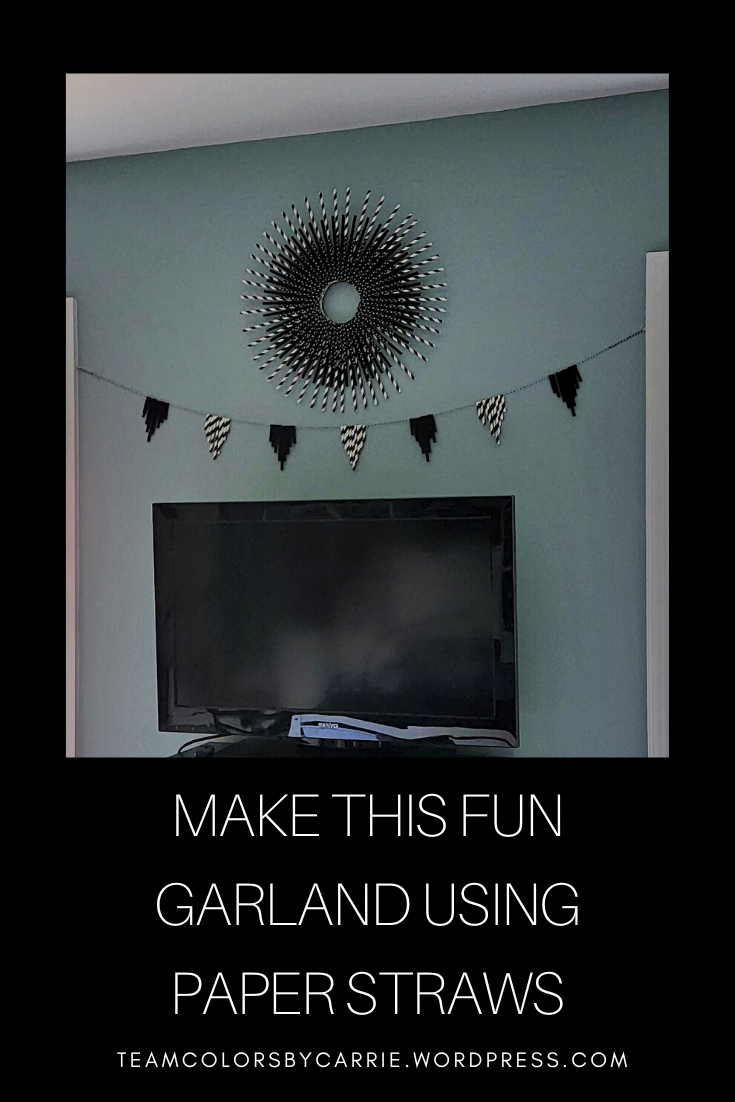
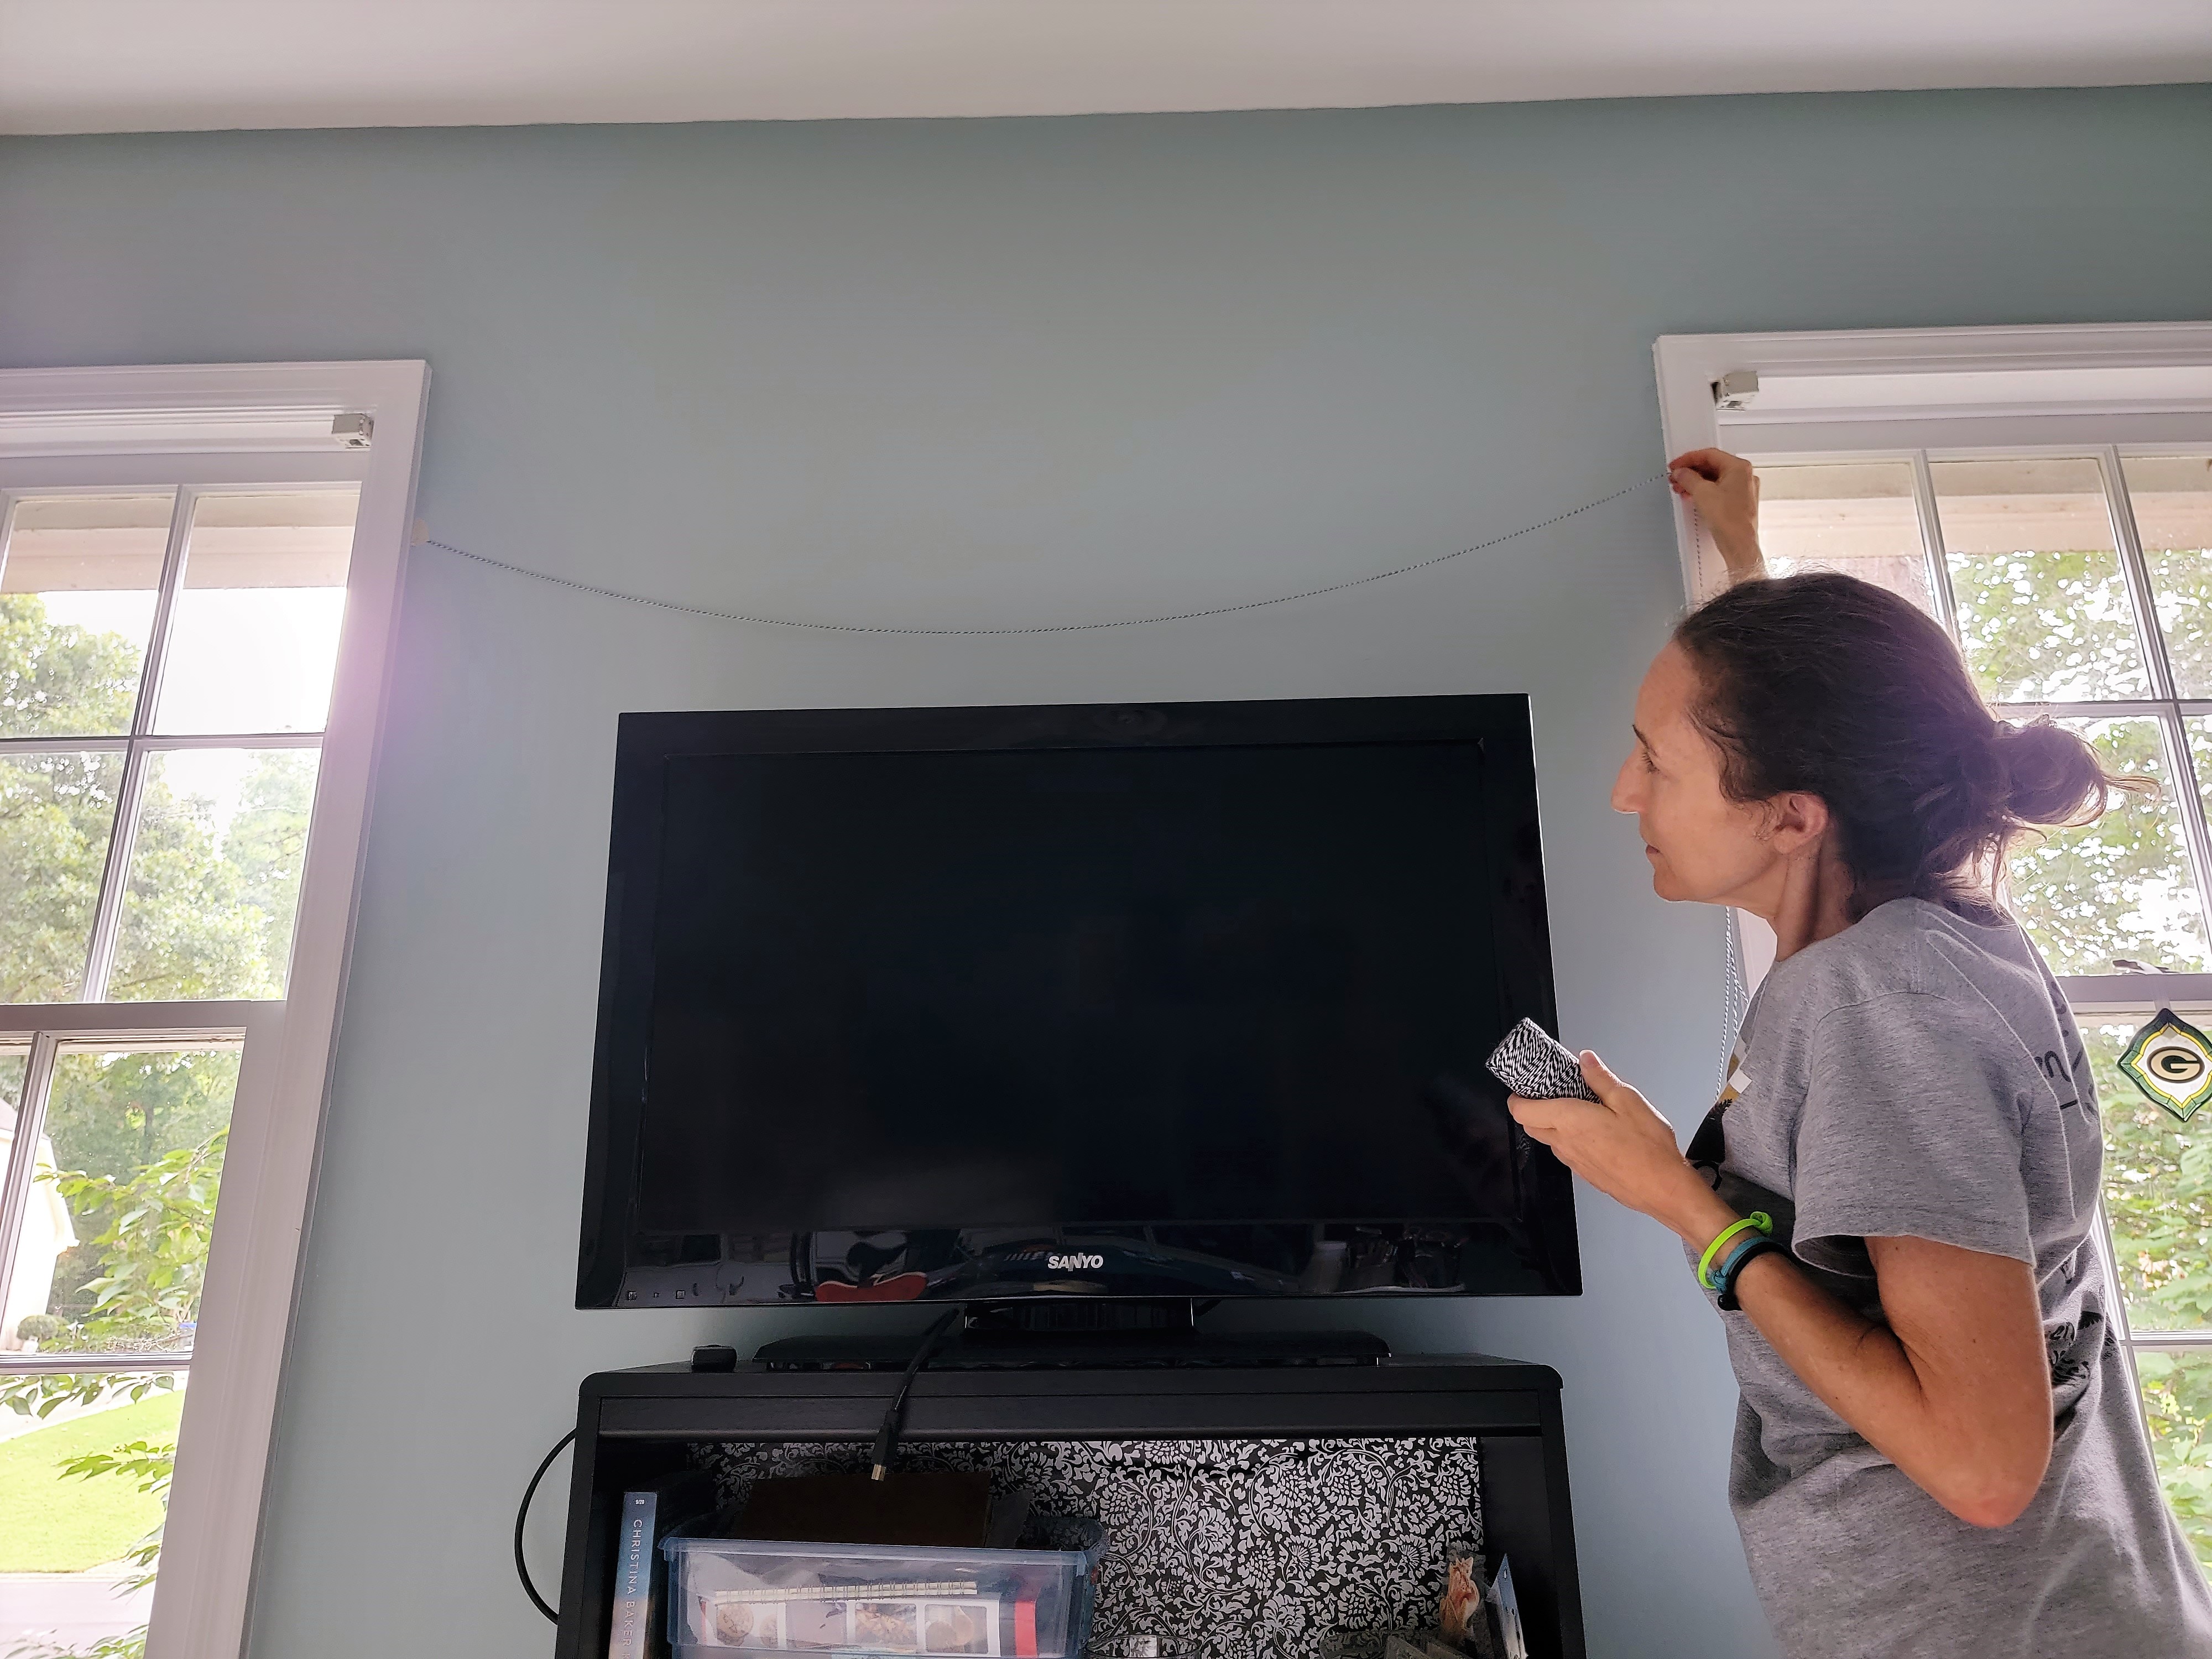
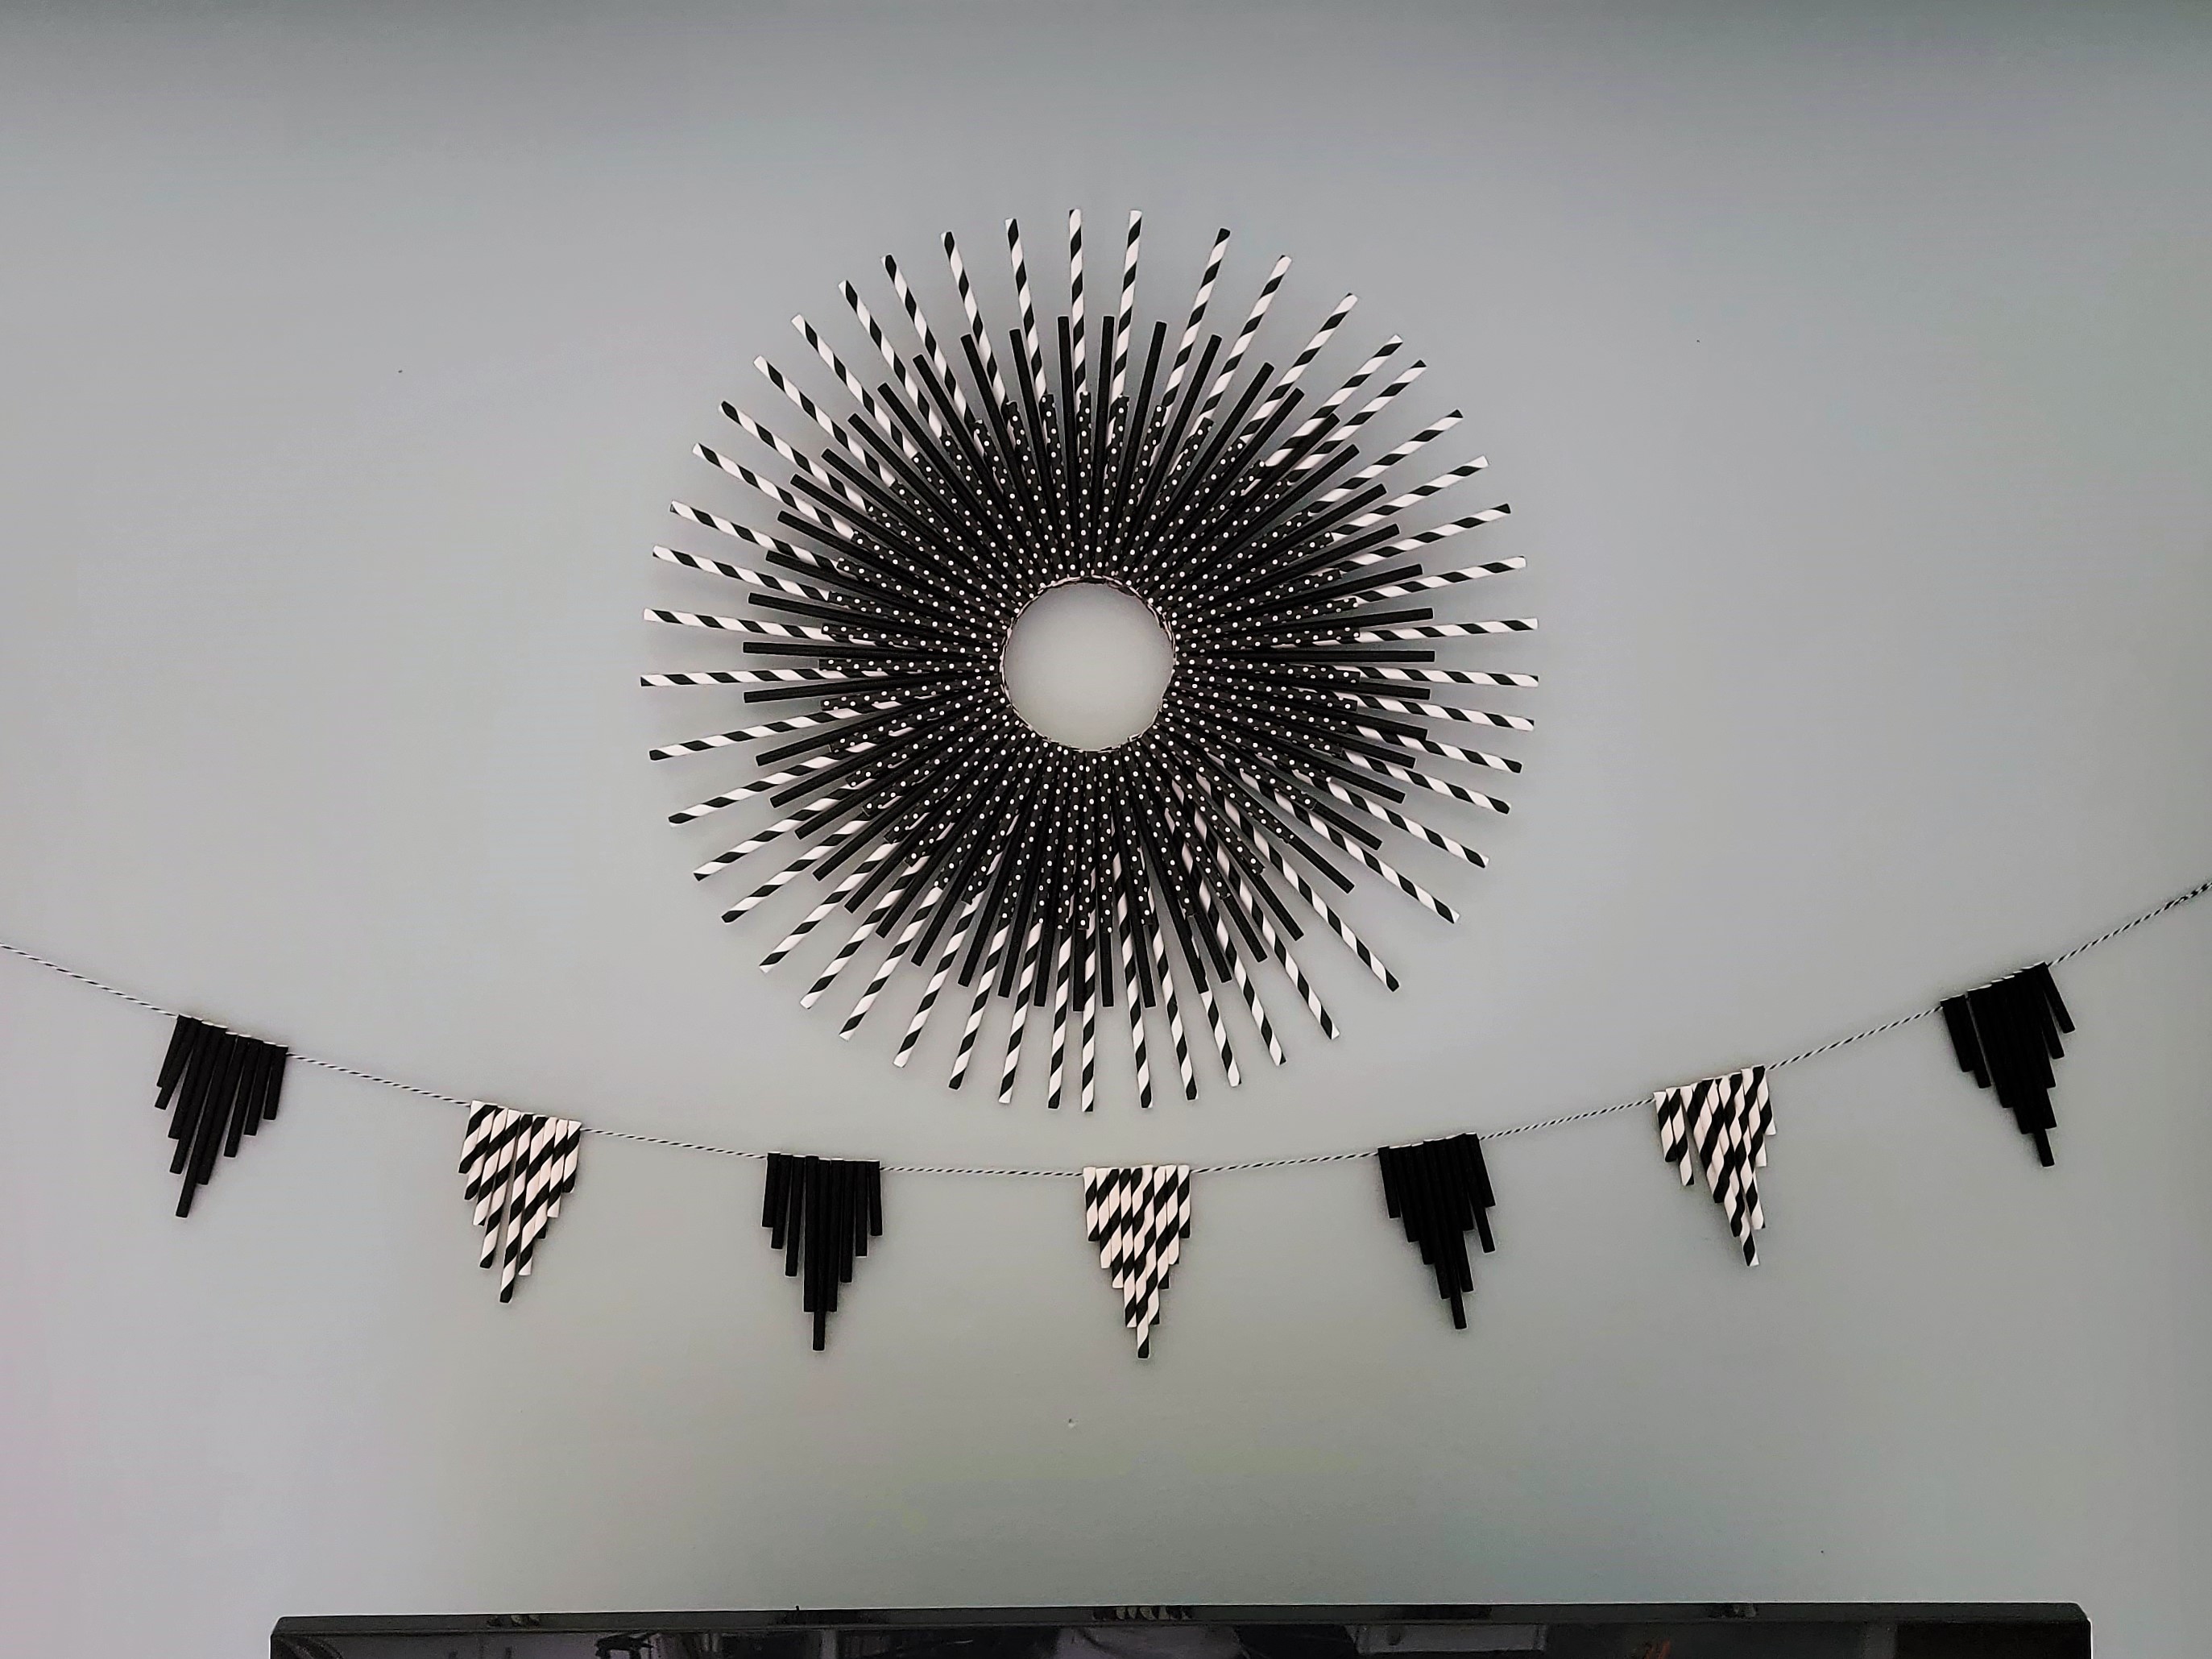
Step Five – Hang the Garland
I tied simple loops at each end of my garland, and used push pins to hang mine on the wall! Easy peasy!
And doesn’t it look nice with the Paper Straw Wreath I showed you how to make a few weeks ago?
.
Let me know if you have any questions, or if you give this a try!
Have a great week, and I’ll see you back here soon!
Carrie
.