
Hey, sports fans!
Did you go on a closet cleaning binge this year? I hope you didn’t throw out all those of old team t-shirts you don’t wear anymore, because I’ve got a great idea for giving them new life, and transforming them into something exciting and totally trendy!
Tie dye shirts are everywhere right now, and reverse tie dyeing is a fun twist on that traditional tie dye. Instead of adding color to a white t-shirt, you remove the color from a dark t-shirt with bleach.
Ready to give it a try?
What You Need:
- Bleach (I used Soft Scrub with Bleach, but toilet bowl cleaner with bleach, or just a jug of regular liquid bleach can also be used)
- Rubber bands or old hair ties
- Water
- Shirts
- Spray bottle (if using regular liquid bleach)

Step 1 – Wet the shirt
Completely soak the shirt, then squeeze out excess water so your shirt is damp, but not dripping wet. The water helps the bleach to be applied evenly.
Step 2 – Scrunch up the shirt
There are many ways to fold up your shirt. You can just scrunch it up, fold it or swirl it. There really isn’t a right or wrong way … the bleach trend is supposed to look messy, so just go with it!
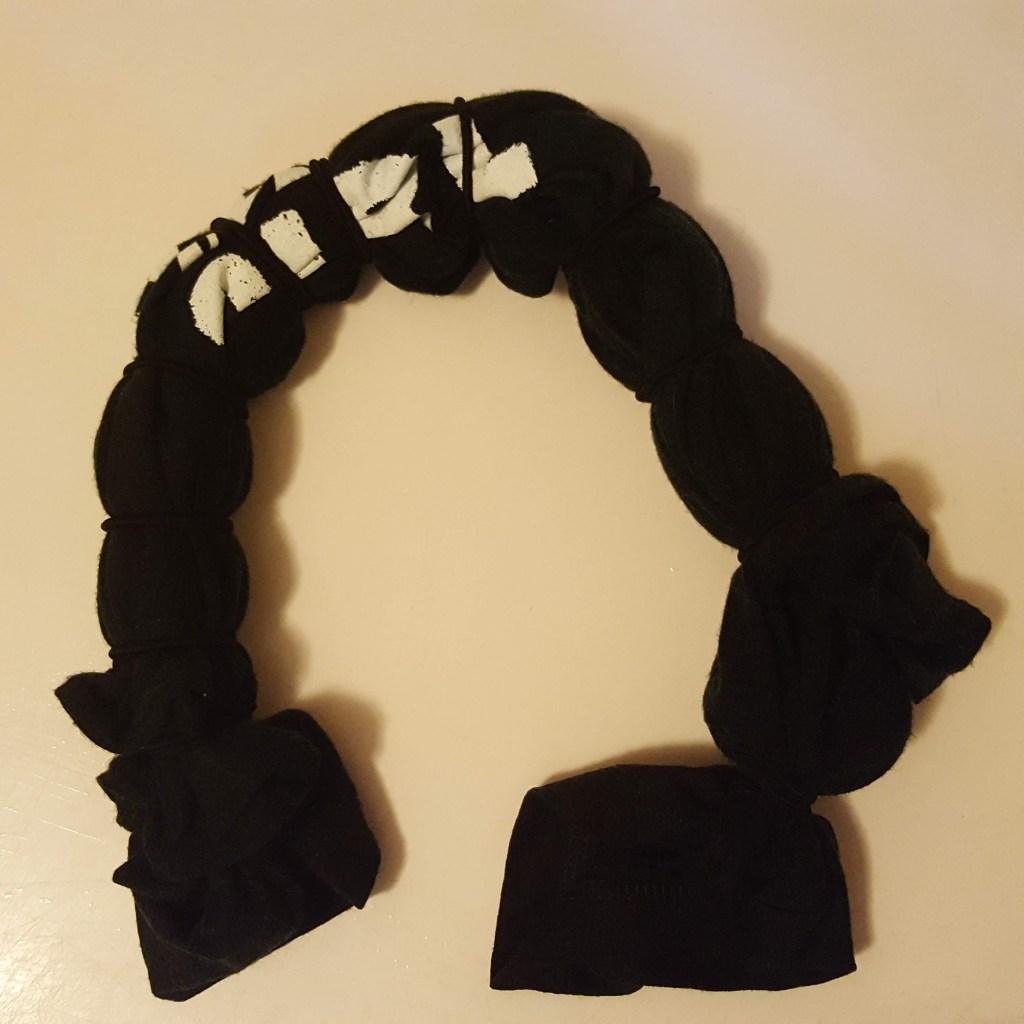
Add some rubber bands to keep the shirt together, and to prevent the bleach from getting on everything (the fabric that is tucked inside will mostly remain the color of the shirt, while the bleach gets on the outside.)
Here’s what I did:
- Black shirt – grabbed a spot on the shirt over the screenprinted area, and twirled it around
- Dark Green shirt – accordion folded starting at the bottom and working toward the top
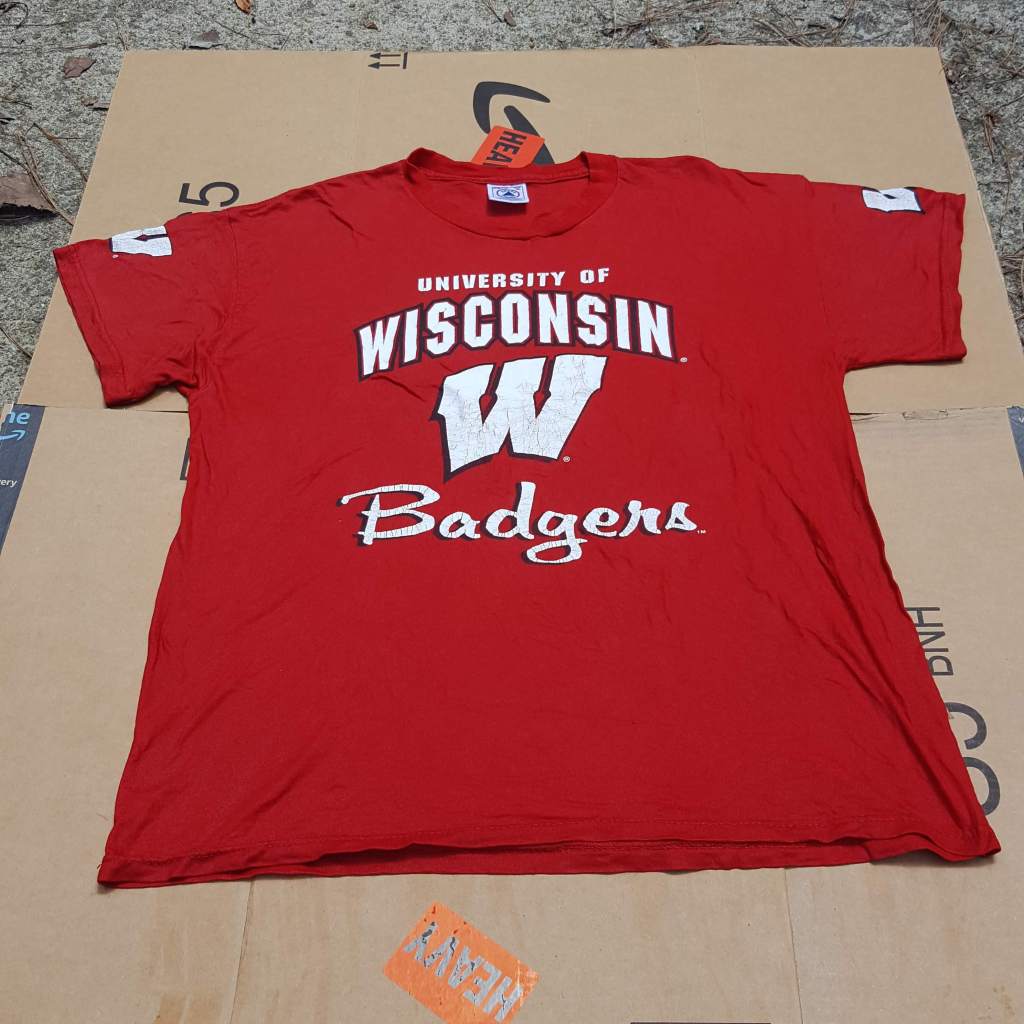
- Red shirt – used the spray bottle method, and didn’t fold or scrunch the shirt at all

Step 3 – Add the Bleach
Place the shirt in a sink or bathtub in a well ventilated area (or take it outside).
Drizzle bleach over the top. It’s totally up to you how much bleach you use!
Cover one side and then flip over and cover the other side.
NOTE: If using straight bleach, mix about 50% bleach and 50% water in a spray bottle, and spray it on from there.


Step 4 – Watch it
Bleaching time is going to vary for each shirt, depending on thickness, color and material.
Start checking after about 20 minutes.
Light colored shirts might take only 20 – 30 minutes. Dark ones could take several hours.
Here’s how long I let my shirts sit:
- Dark green – 1-1/2 hours
- Black – 3 hours
- Red – 1 hour total (I added more bleach after 20 minutes then flipped it over and sprayed more bleach on the back)


Step 5 – Rinse
When you are happy with the colors changes, rinse the bleach out (this prevents it from spreading onto the rest of the fabric when you wash the shirt).
Rinse the shirt really well, remove the rubber bands and rinse the shirt again.
Rinse until the water runs clear to get rid of that dye you just bleached out!
Step 6 – Wash and Dry
Throw the shirt in the washing machine and run it through a cycle (or two) to rinse out any remaining bleach and get rid of the bleach smell.
If you made more than one tie dye project, you can throw them all in together, but I wouldn’t add in any other laundry.
When the washer is done, throw your shirt in the dyer.
When dry, pull it out and enjoy your totally cool shirt!


This process is really fun, because you don’t know exactly what you are going to get until after you are done! I’m already thinking about a few other shirts in my closet that are going to get the bleach tie dye treatment!
How about you? What shirt are you going to try first?
Have a great week, and I’ll see you back here soon!
Carrie


