Thanksgiving week is here, and I can’t begin to tell you how grateful I am for all of you following along as I share team spirit ideas, DIY crafts and lots of quotes, among other things. Thank you for being here!
Now that Thanksgiving is here, it means that the holiday madness is upon us! But no need to panic if you aren’t doing a family photo card this year, but still want to send out something special to everyone on your list.
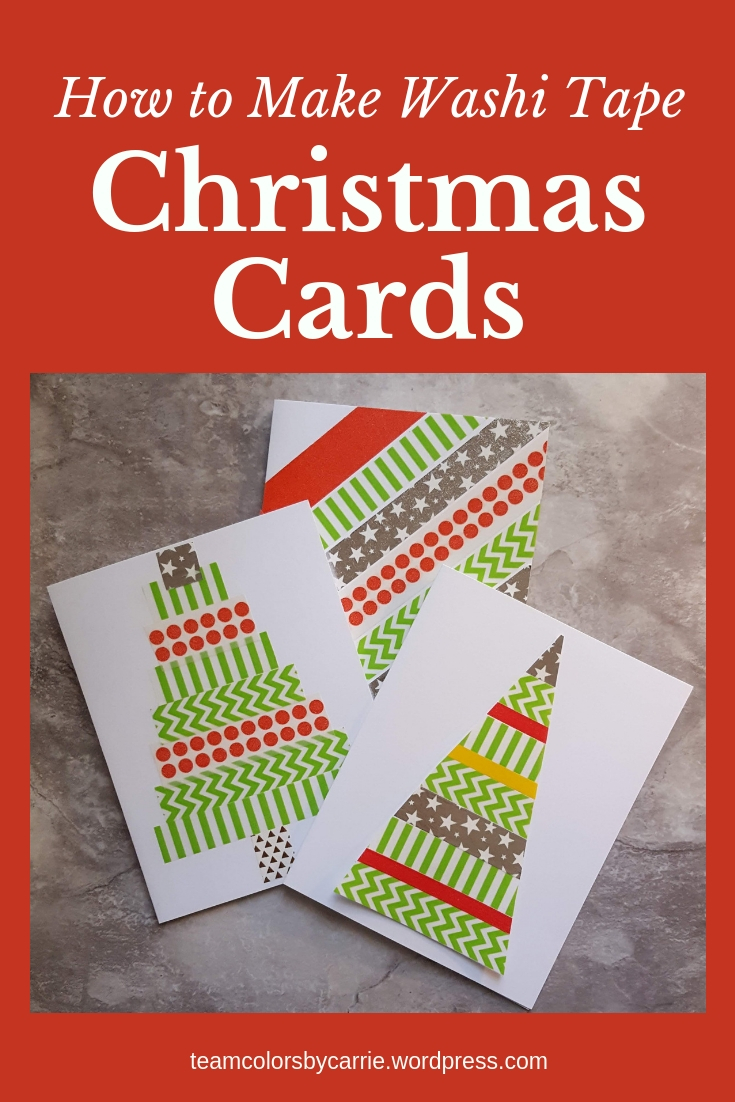
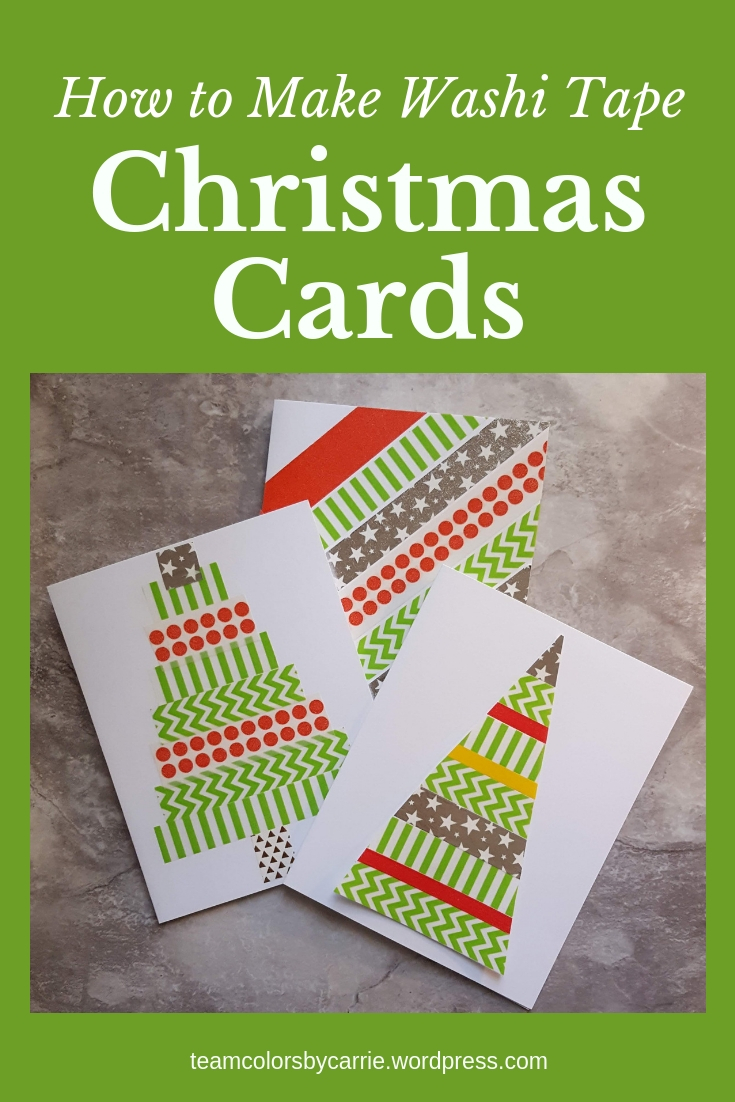
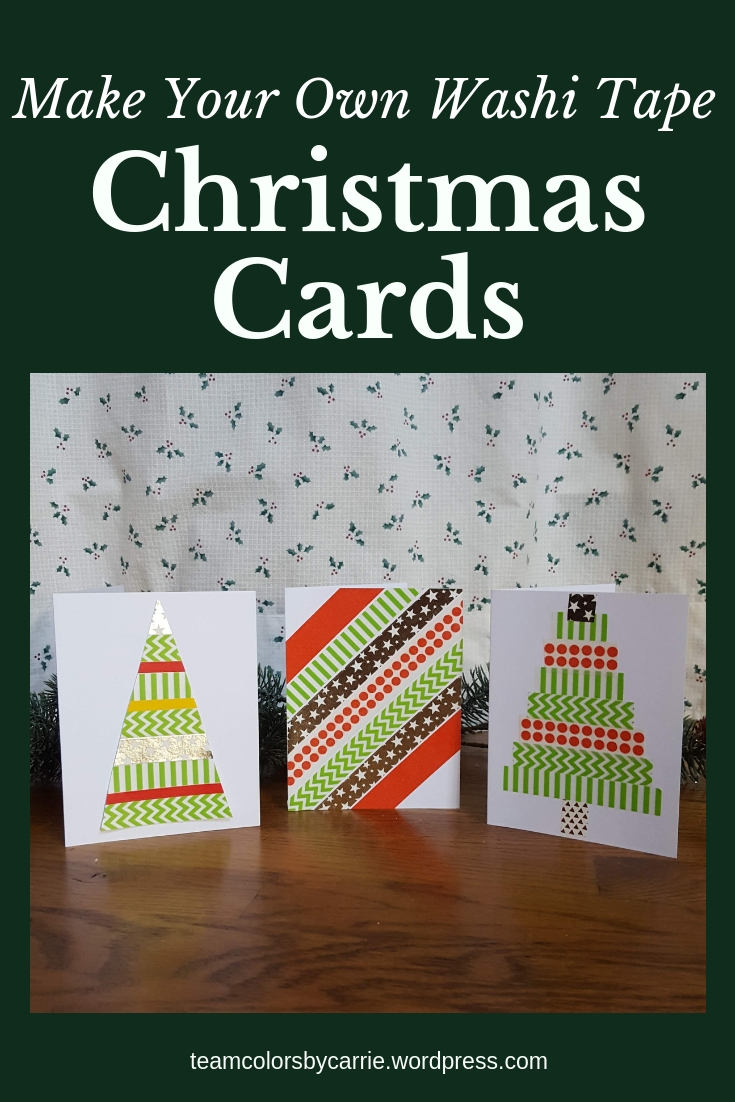
Today I’m going to show you a really easy way to make your own Christmas cards, using purchased card blanks and washi tape, available at any craft store! You could also use this technique for birthday or every day cards, and once you see how it easy it is, you might just want to send one in your favorite team colors to that sports fan who supports a rival team (you have to have a little fun, right?)
Are you ready to give them a try?
Step 1 – Gather supplies
You will need the following:
- Blank cards and envelopes (mine are 4-1/4” by 5-1/2”, but use whatever you like)
- Washi tape in holiday colors (the choice is up to you)
- Scissors

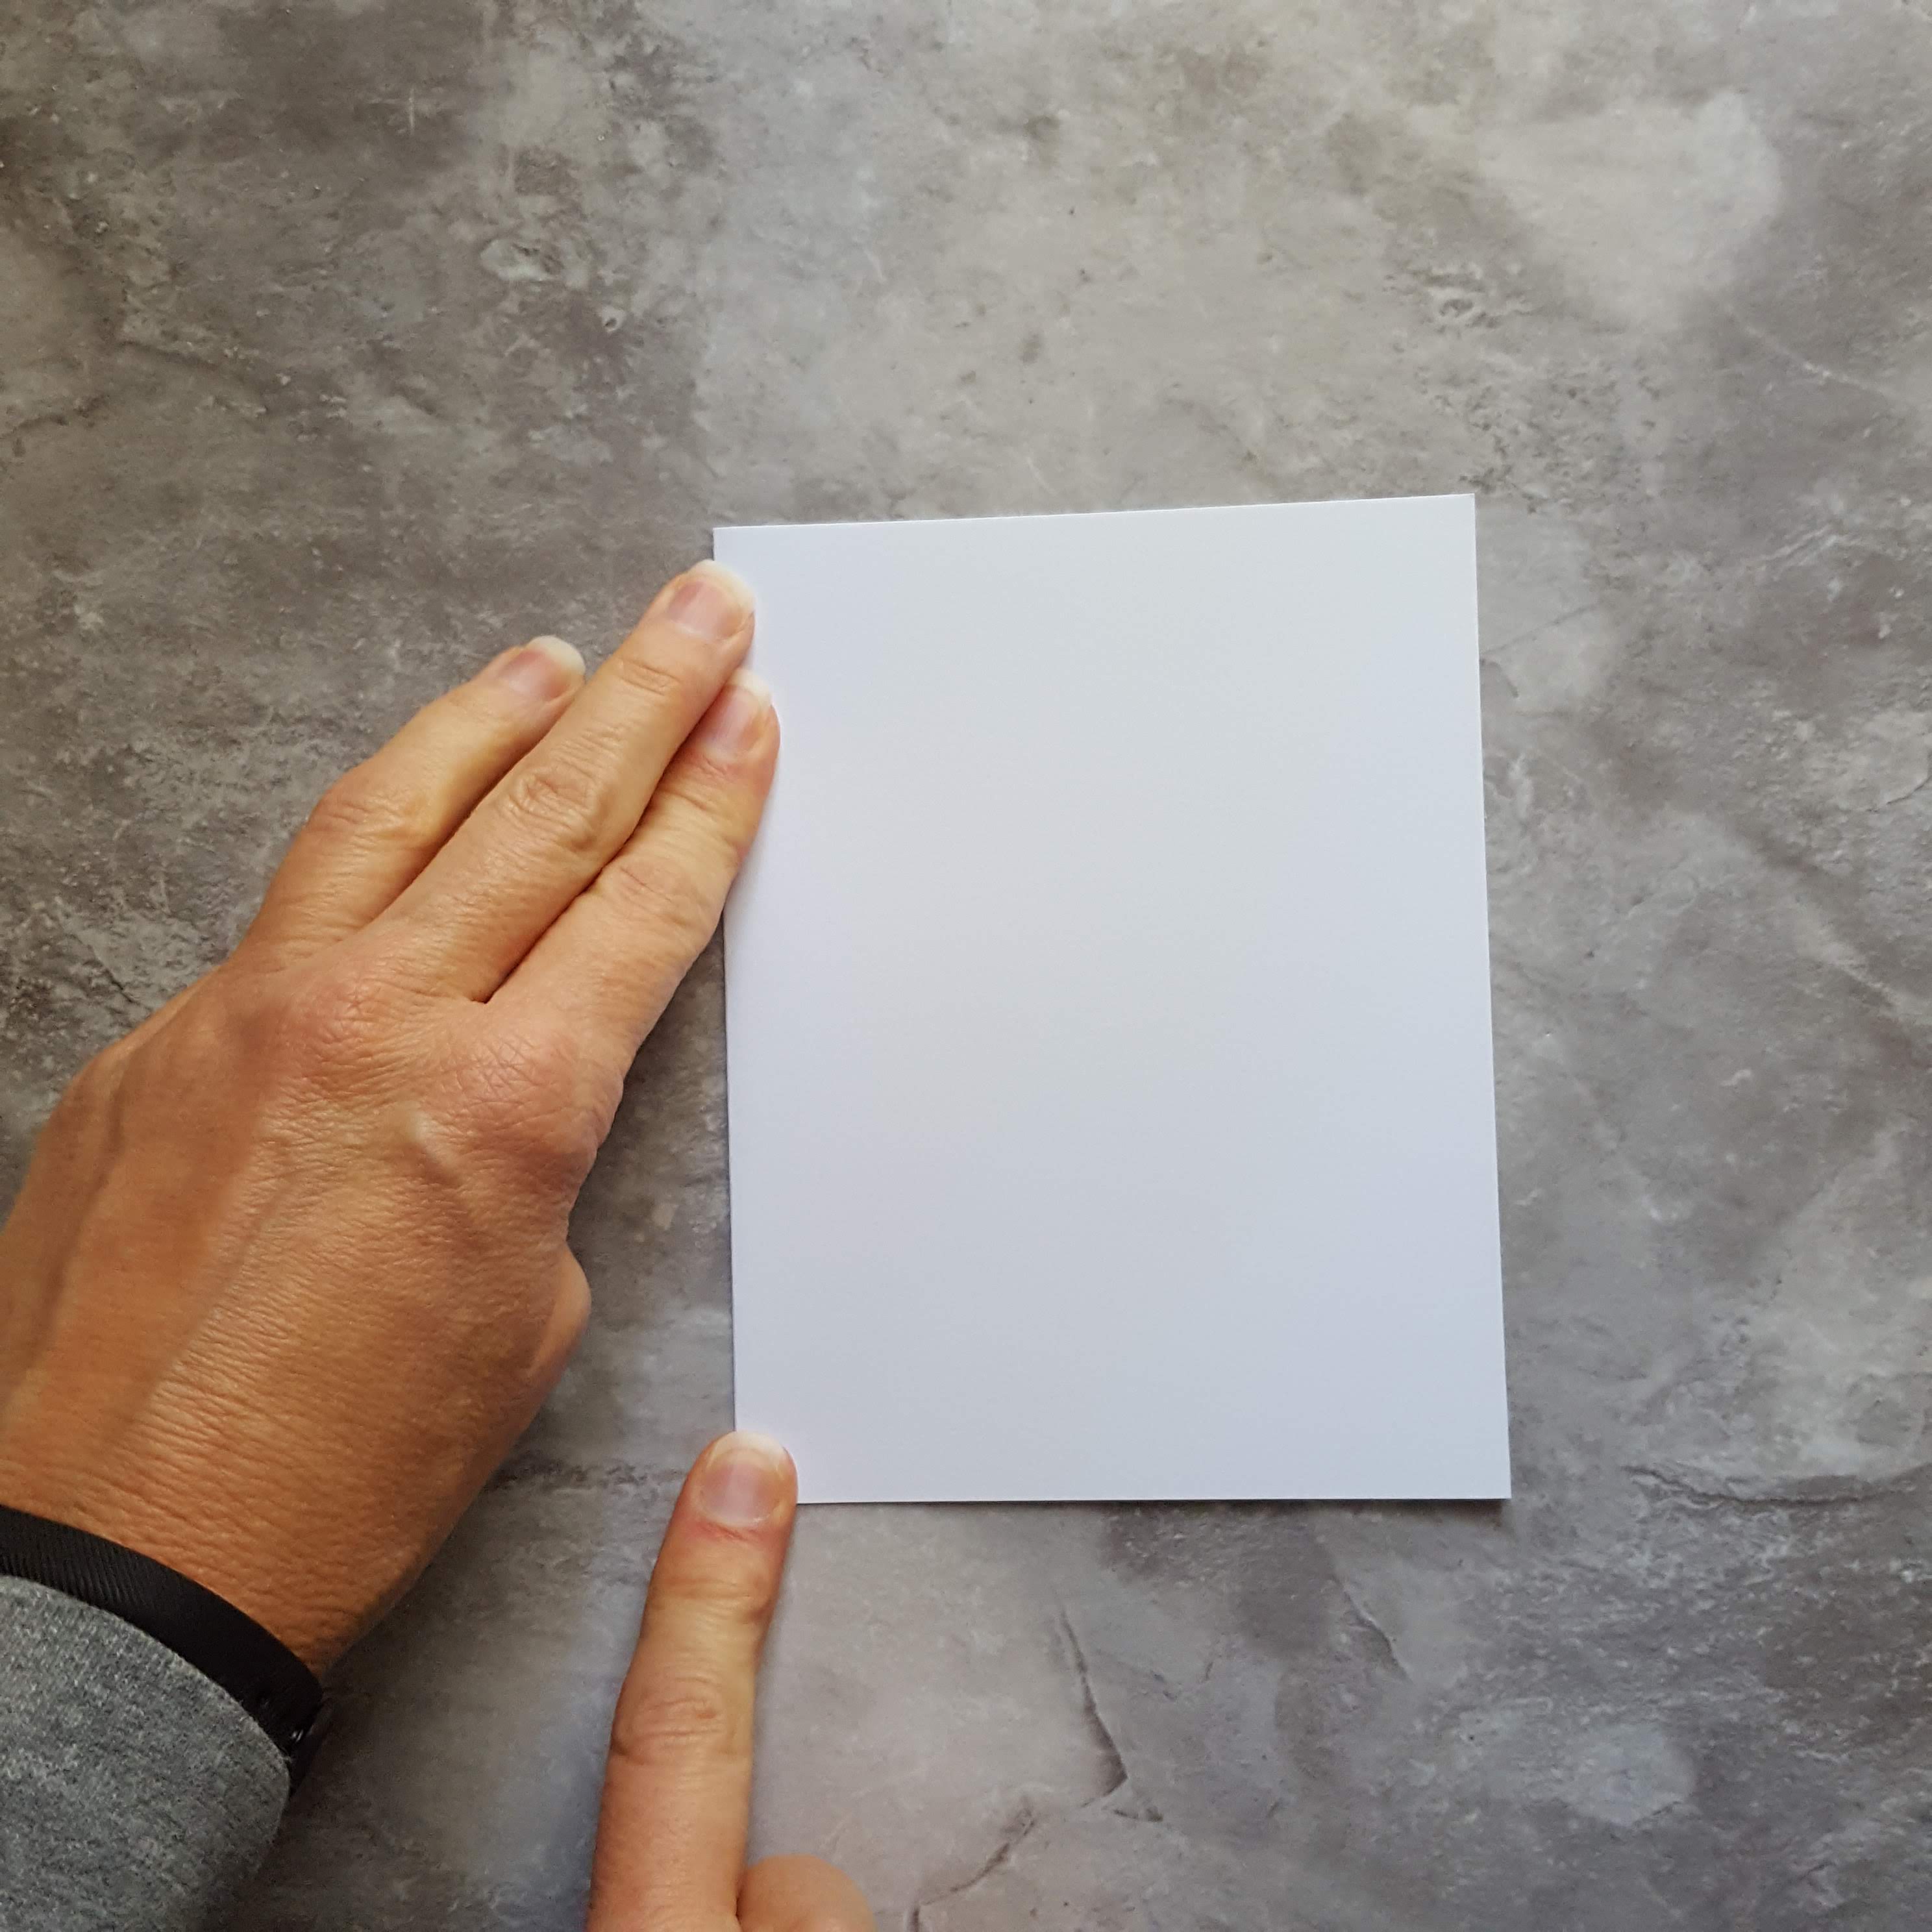
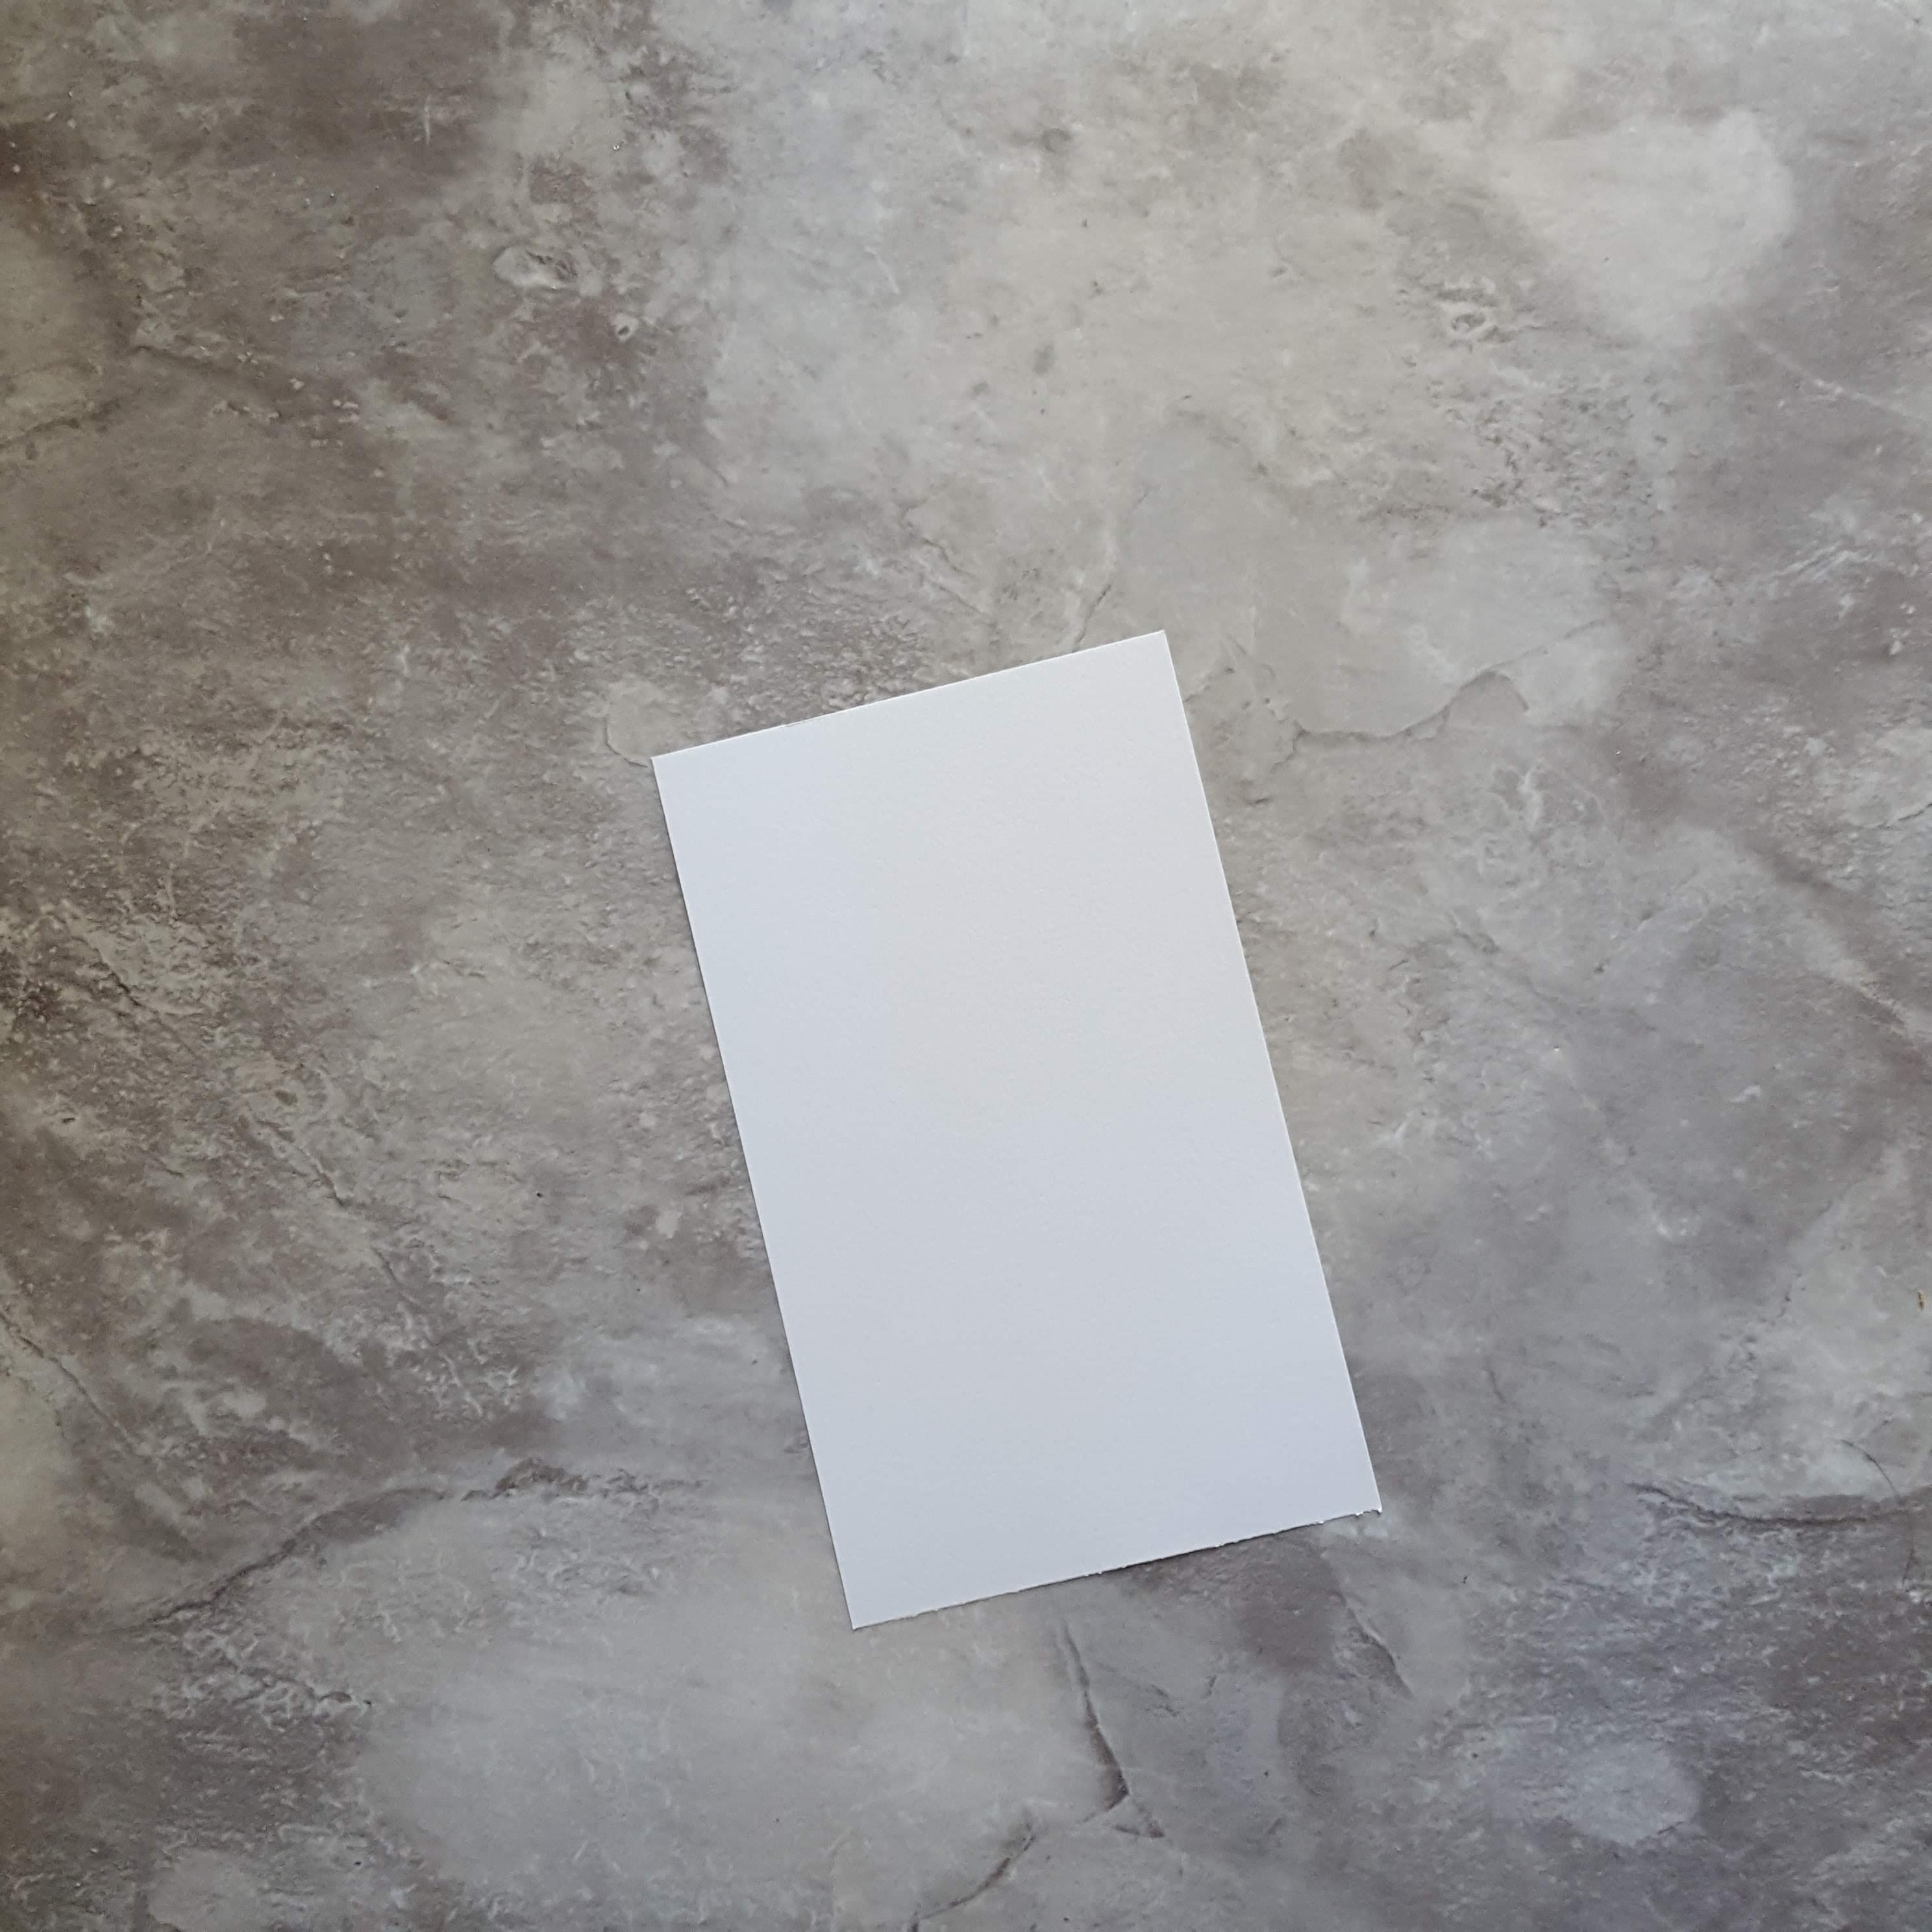
Step 2 – Fold the card
- Remove one card blank from the package
- Fold it on the pre-creased line
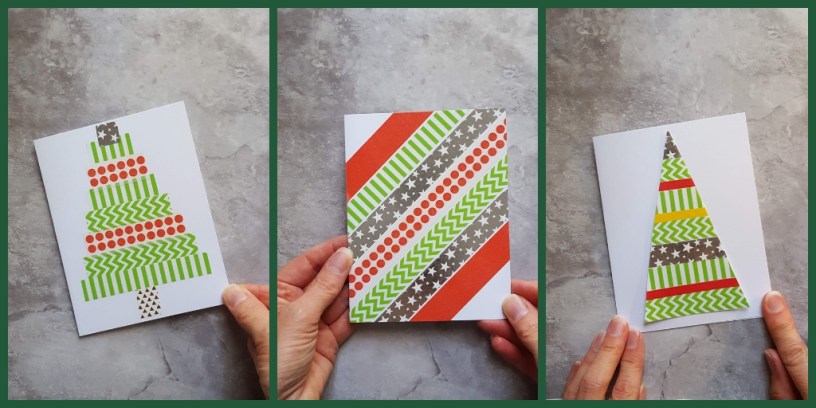
Step 3 – Design 1 – Washi Tape in Stripes
- Lay your folded card on a flat surface
- Place a piece of washi tape angled across the card
- If you don’t get it lined up straight on the first try, just pull it off and try again!

- Take another piece of washi tape, and line it up with the first
- You can put the edges right next to each other, or leave some space in between
- Continue adding pieces of washi tape, in any order you like, until the card is as covered as you prefer

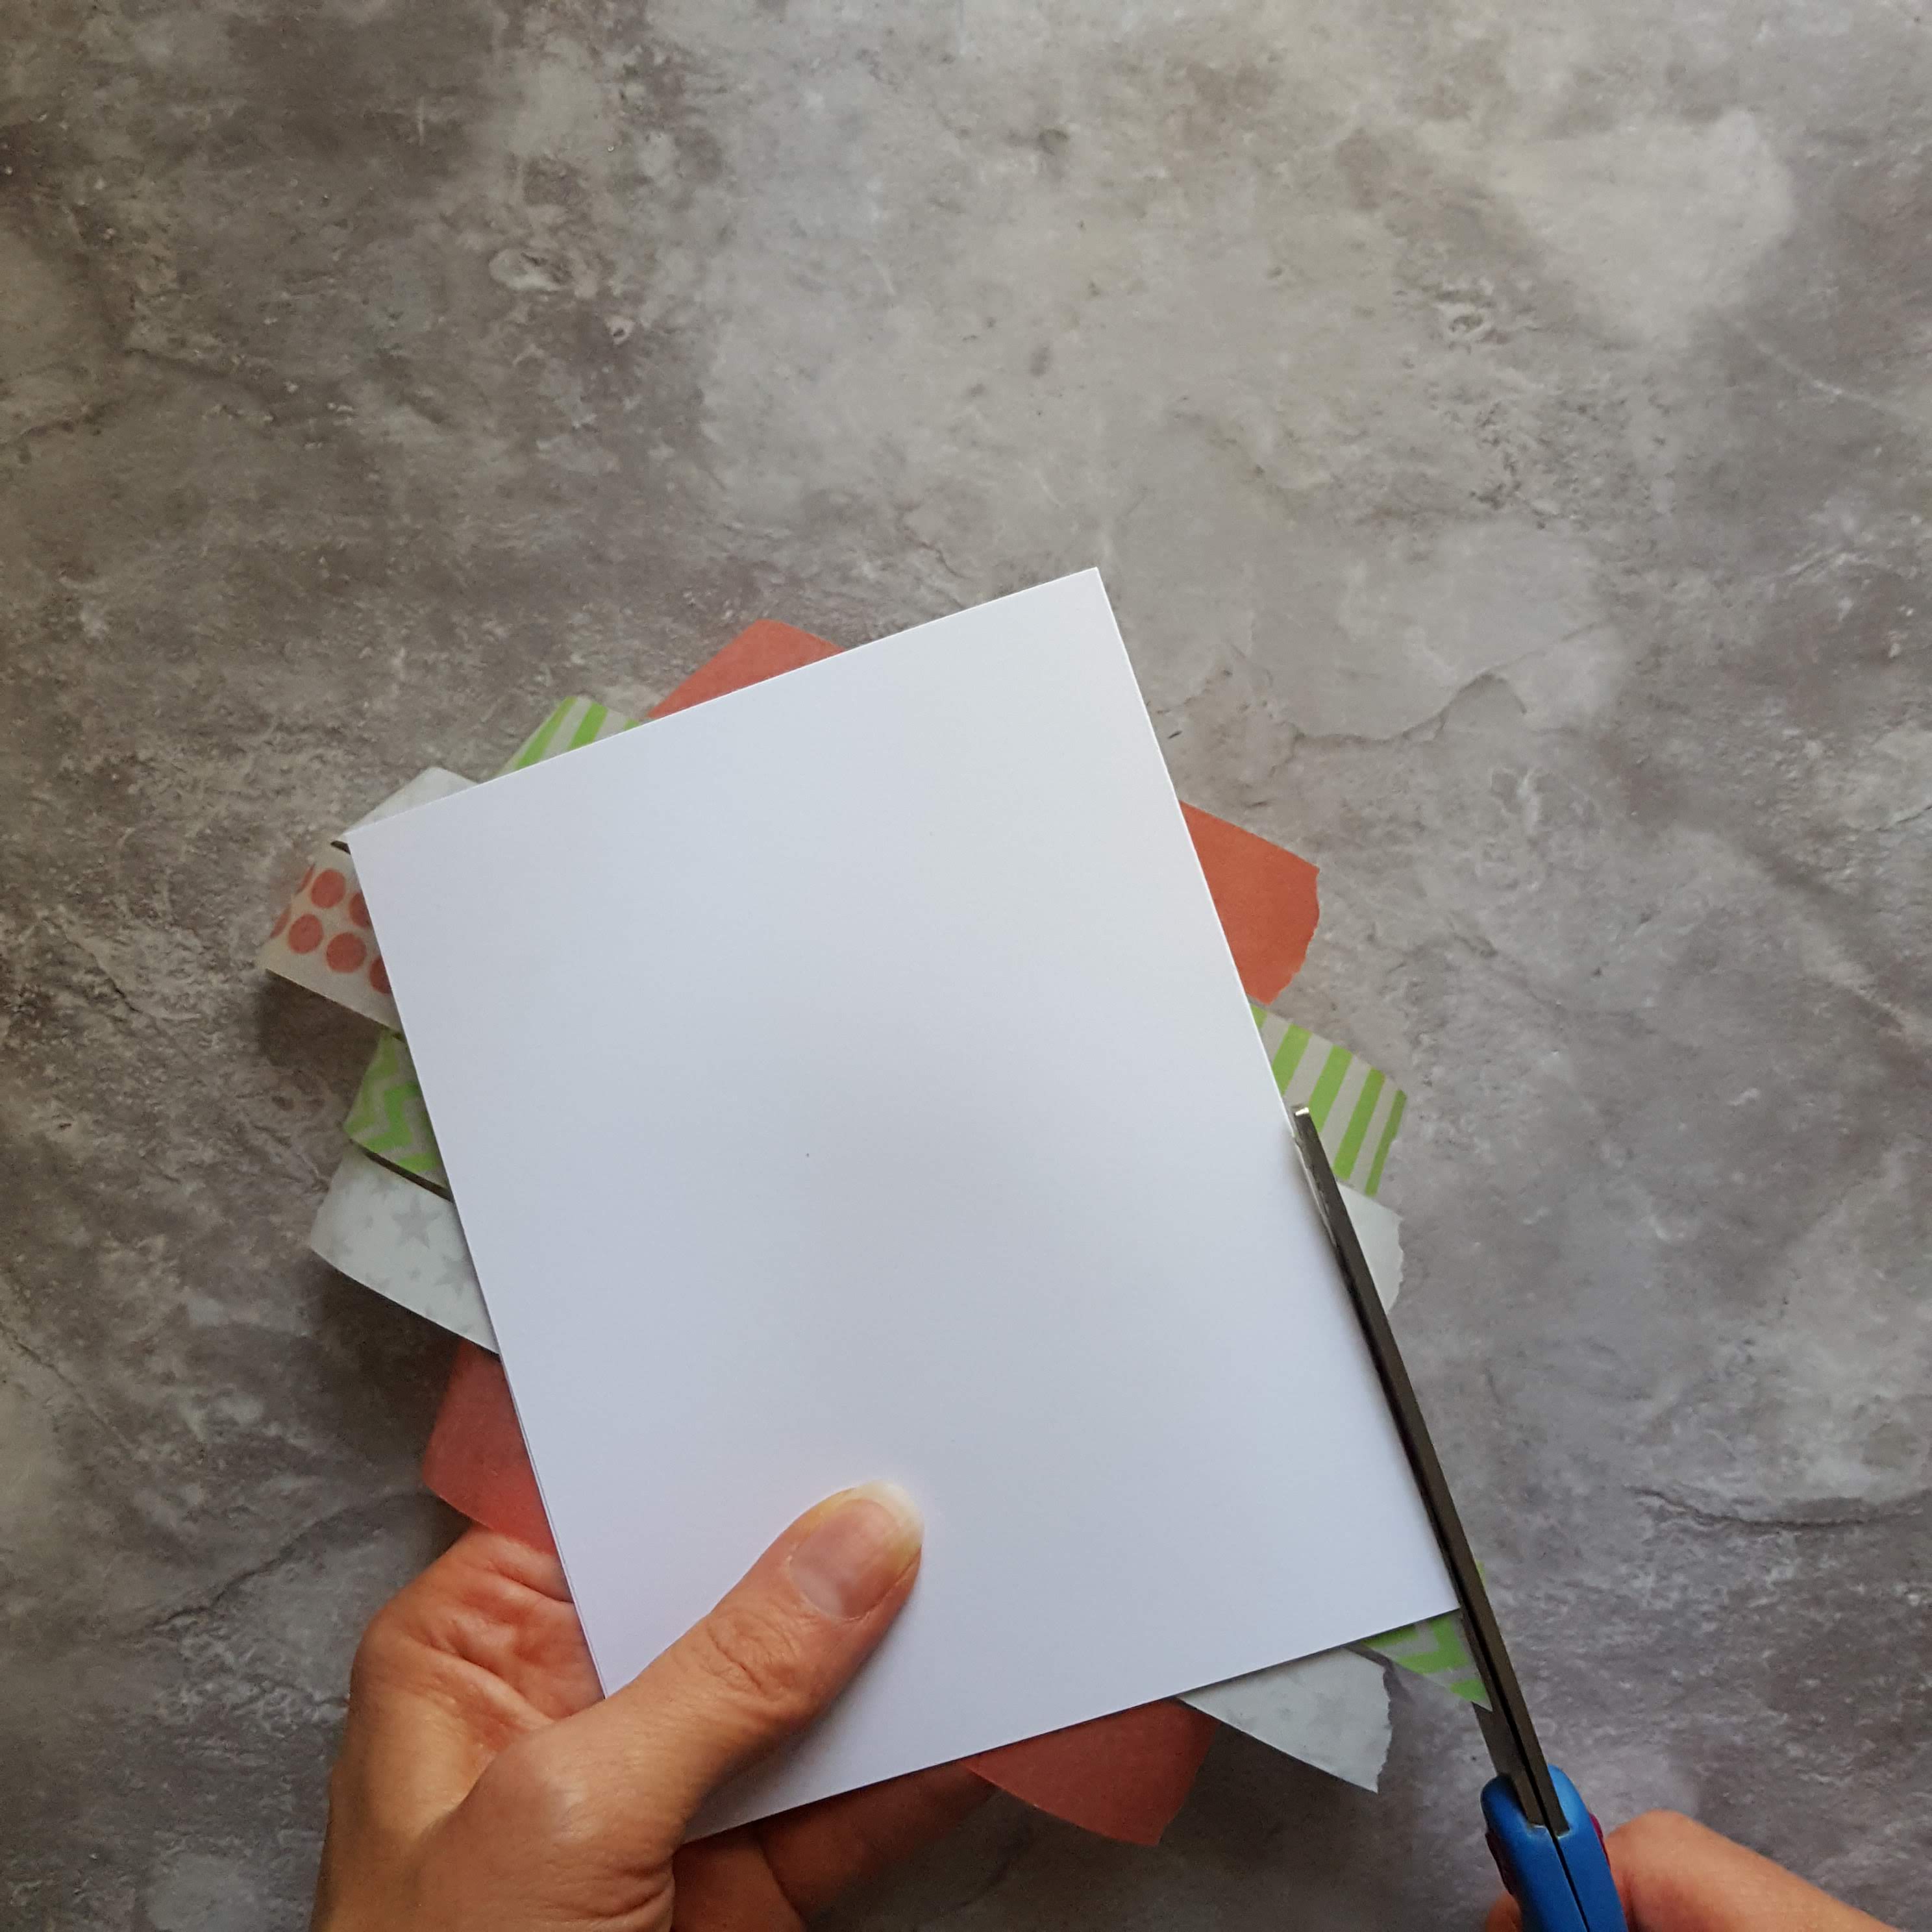
- Flip the card over, and trim the ends of the washi tape even with the edge of the card.
- And there you have it!

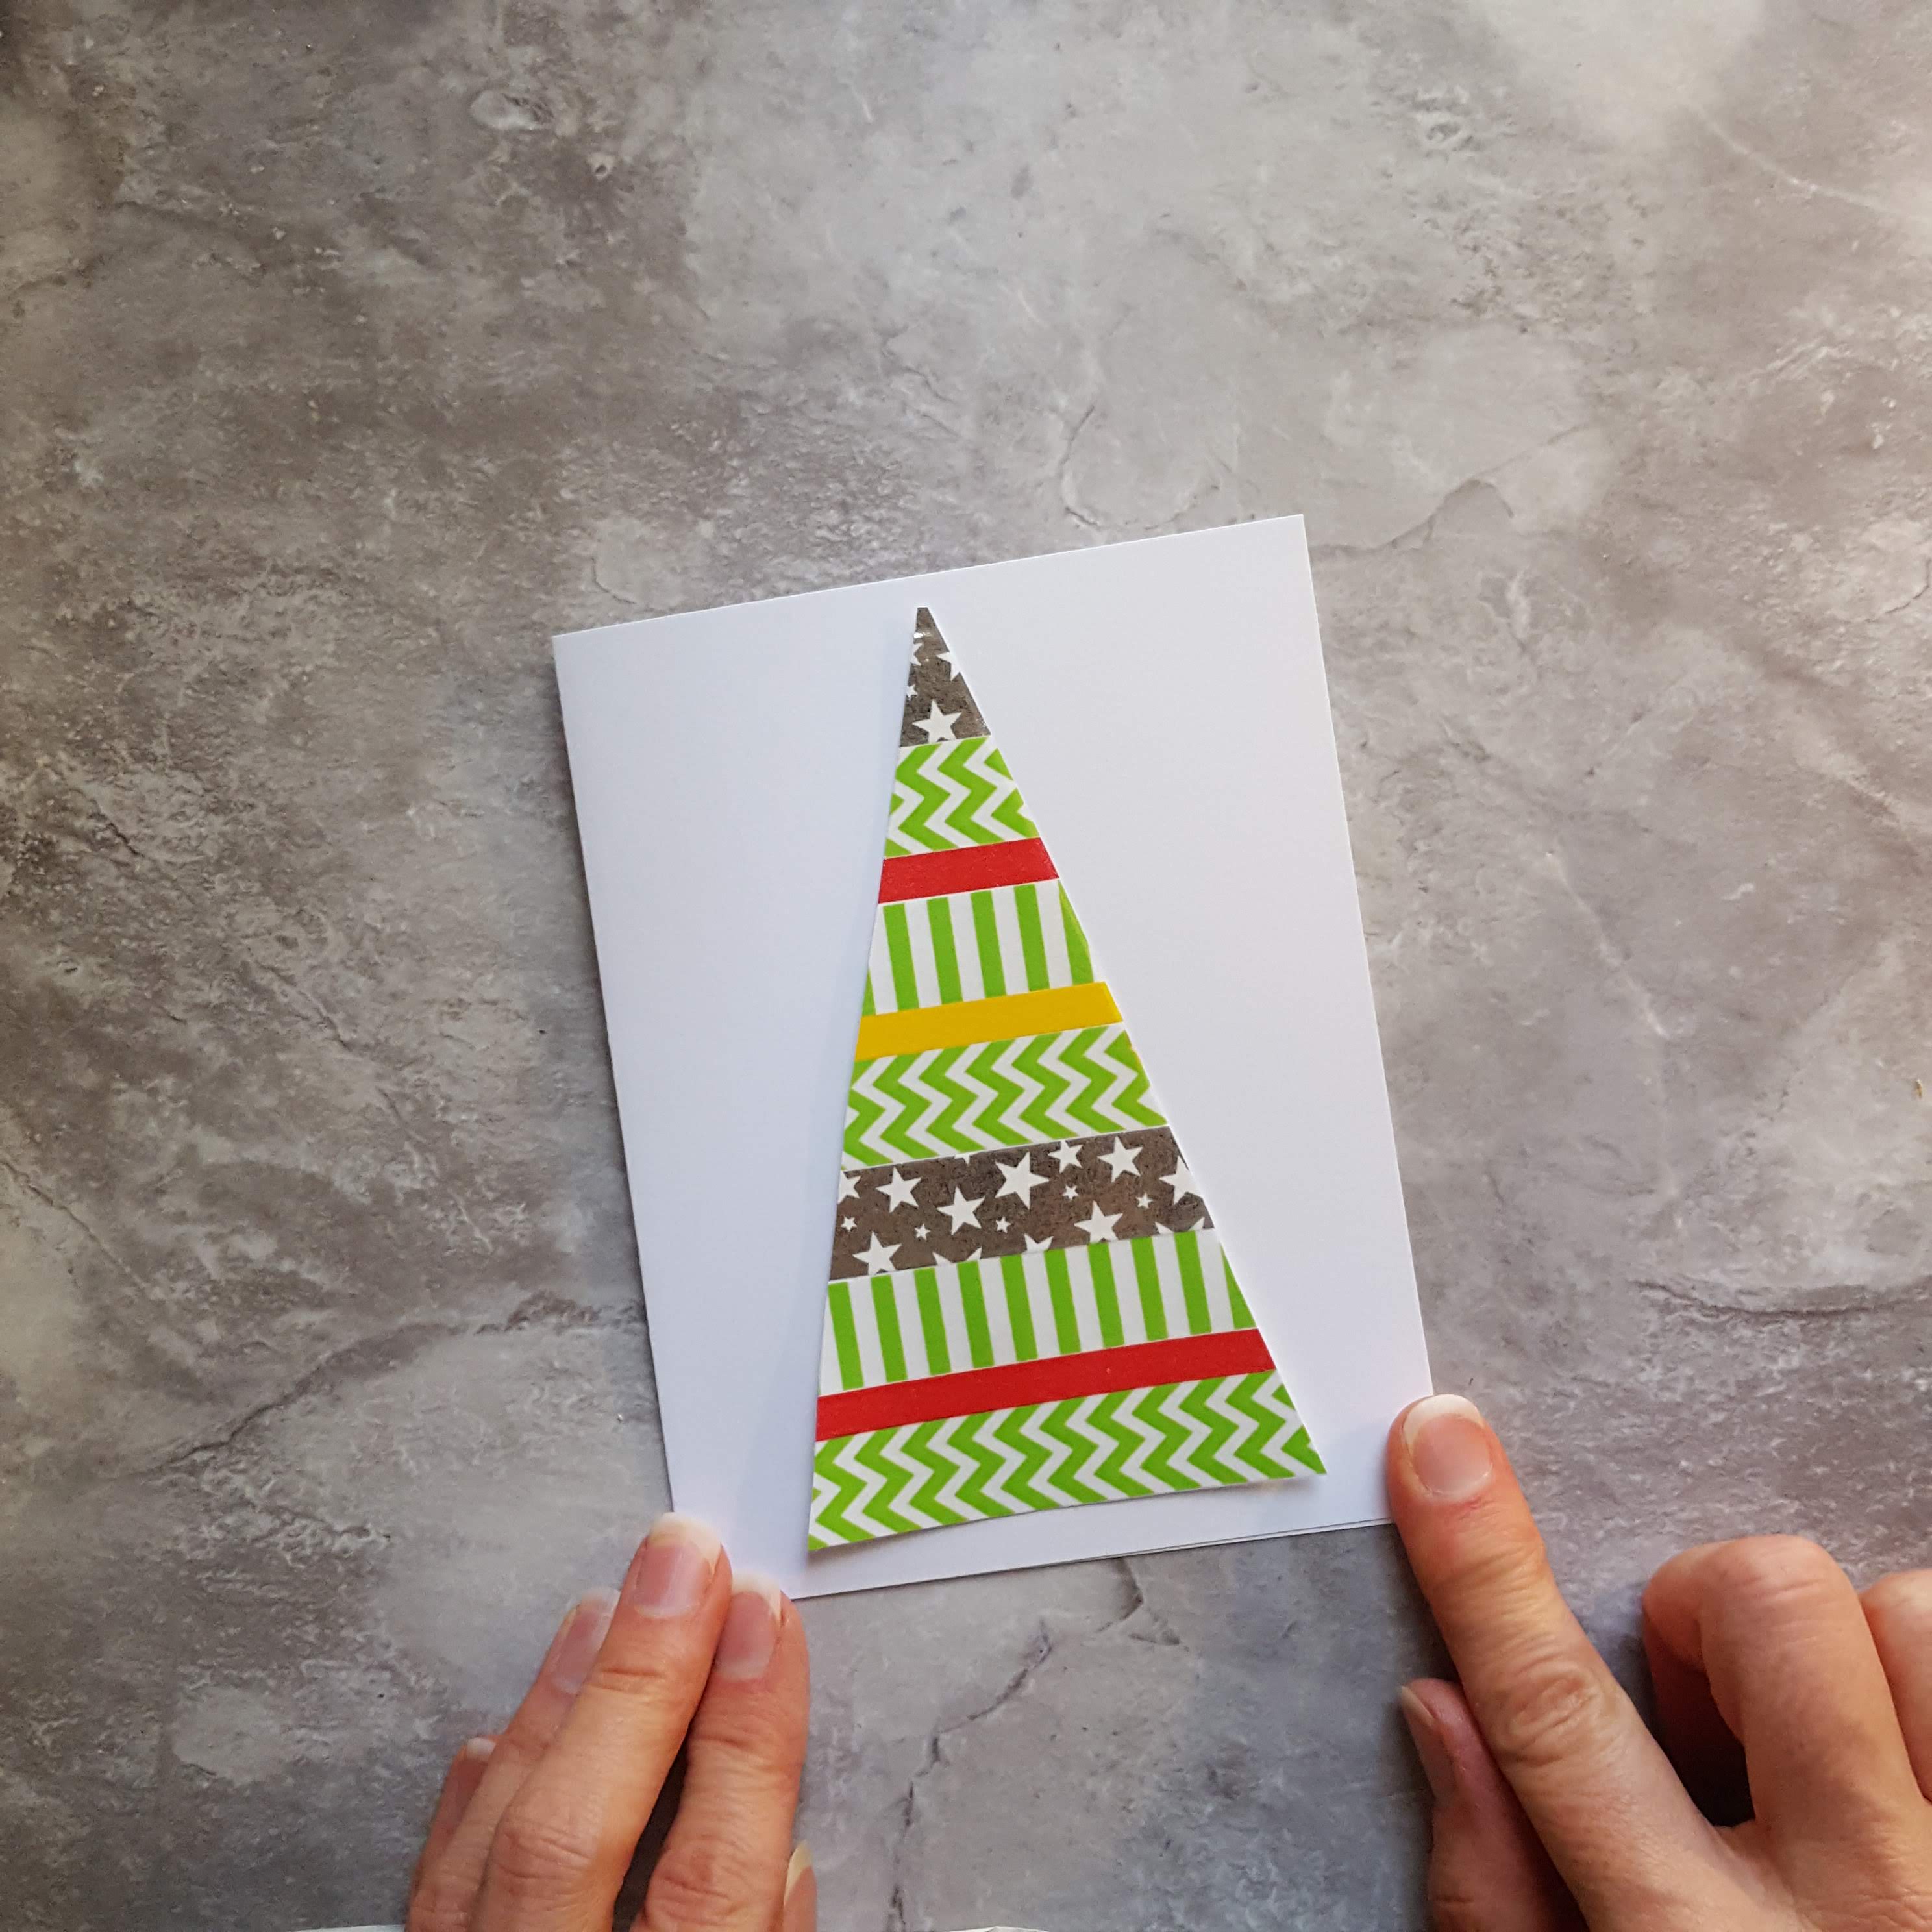
Step 4 – Design 2 – Christmas Tree
- Lay another card on a flat surface
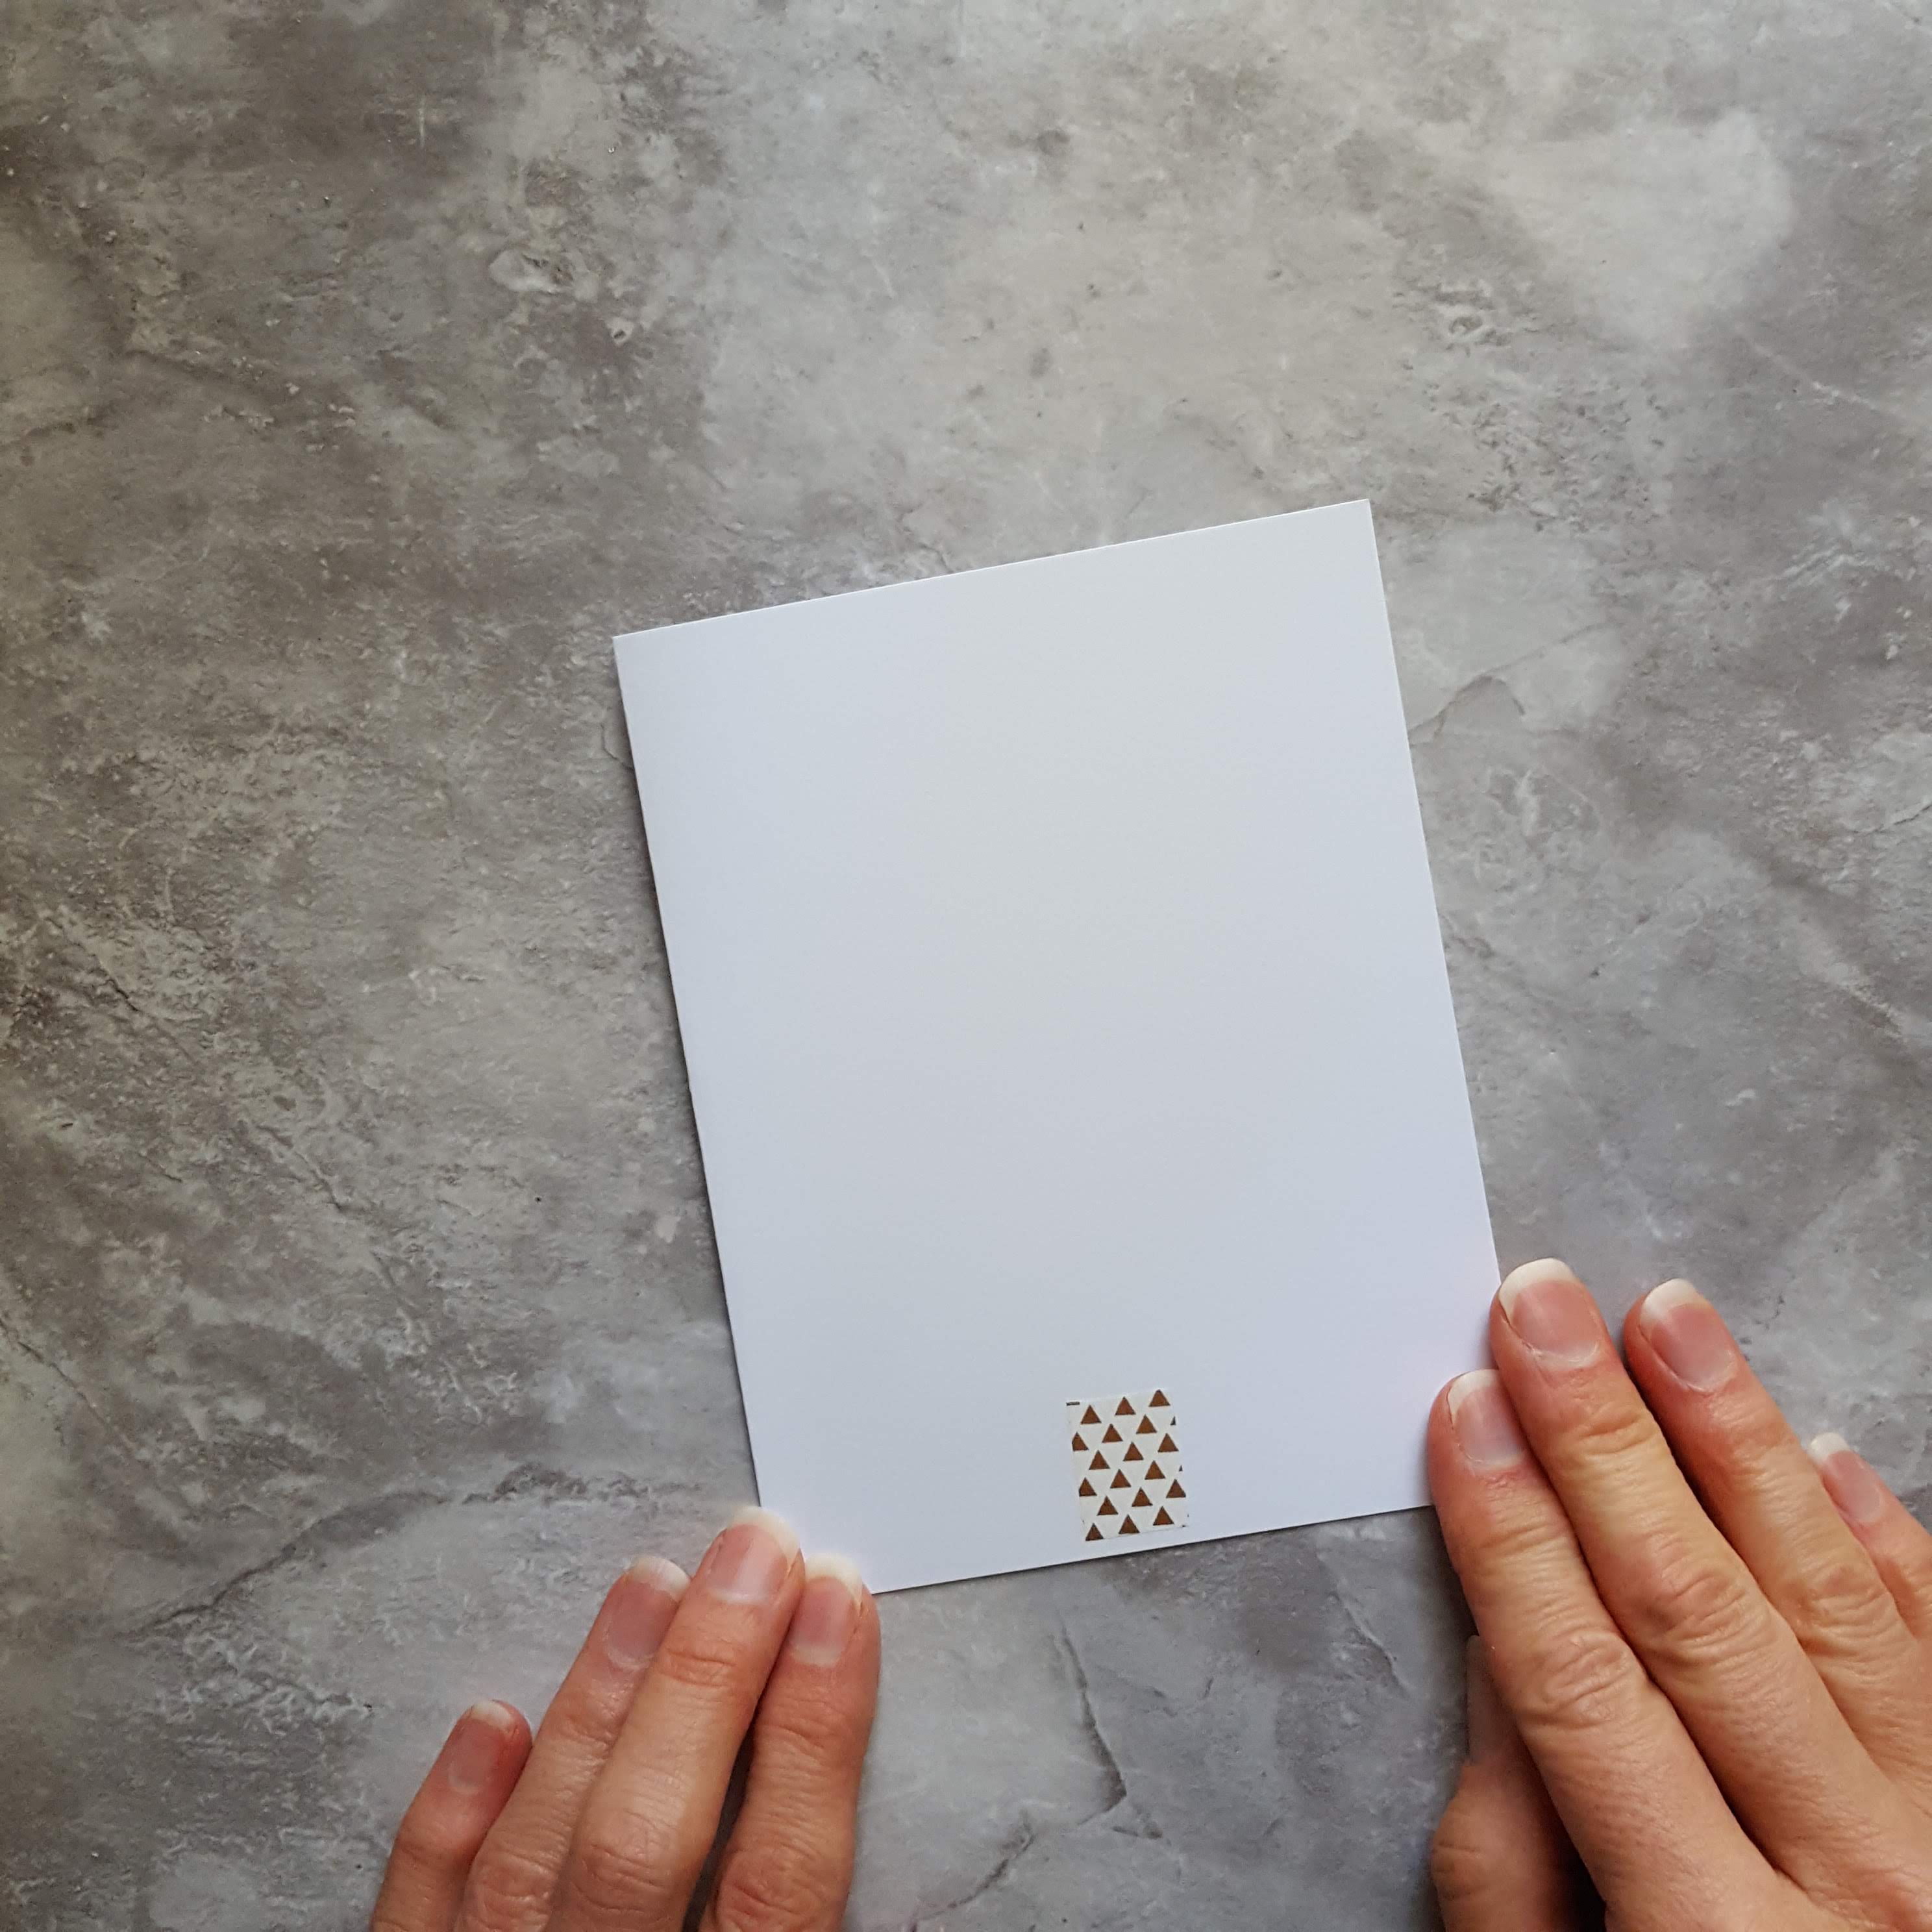
- Cut a small piece of washi tape for the tree trunk
- Cut a longer piece of washi tape for the bottom of the tree
- Continue adding pieces of washi tape, in shorter and shorter pieces, until you are near the top of the card
- Add one small piece of tape for the “star” at the top


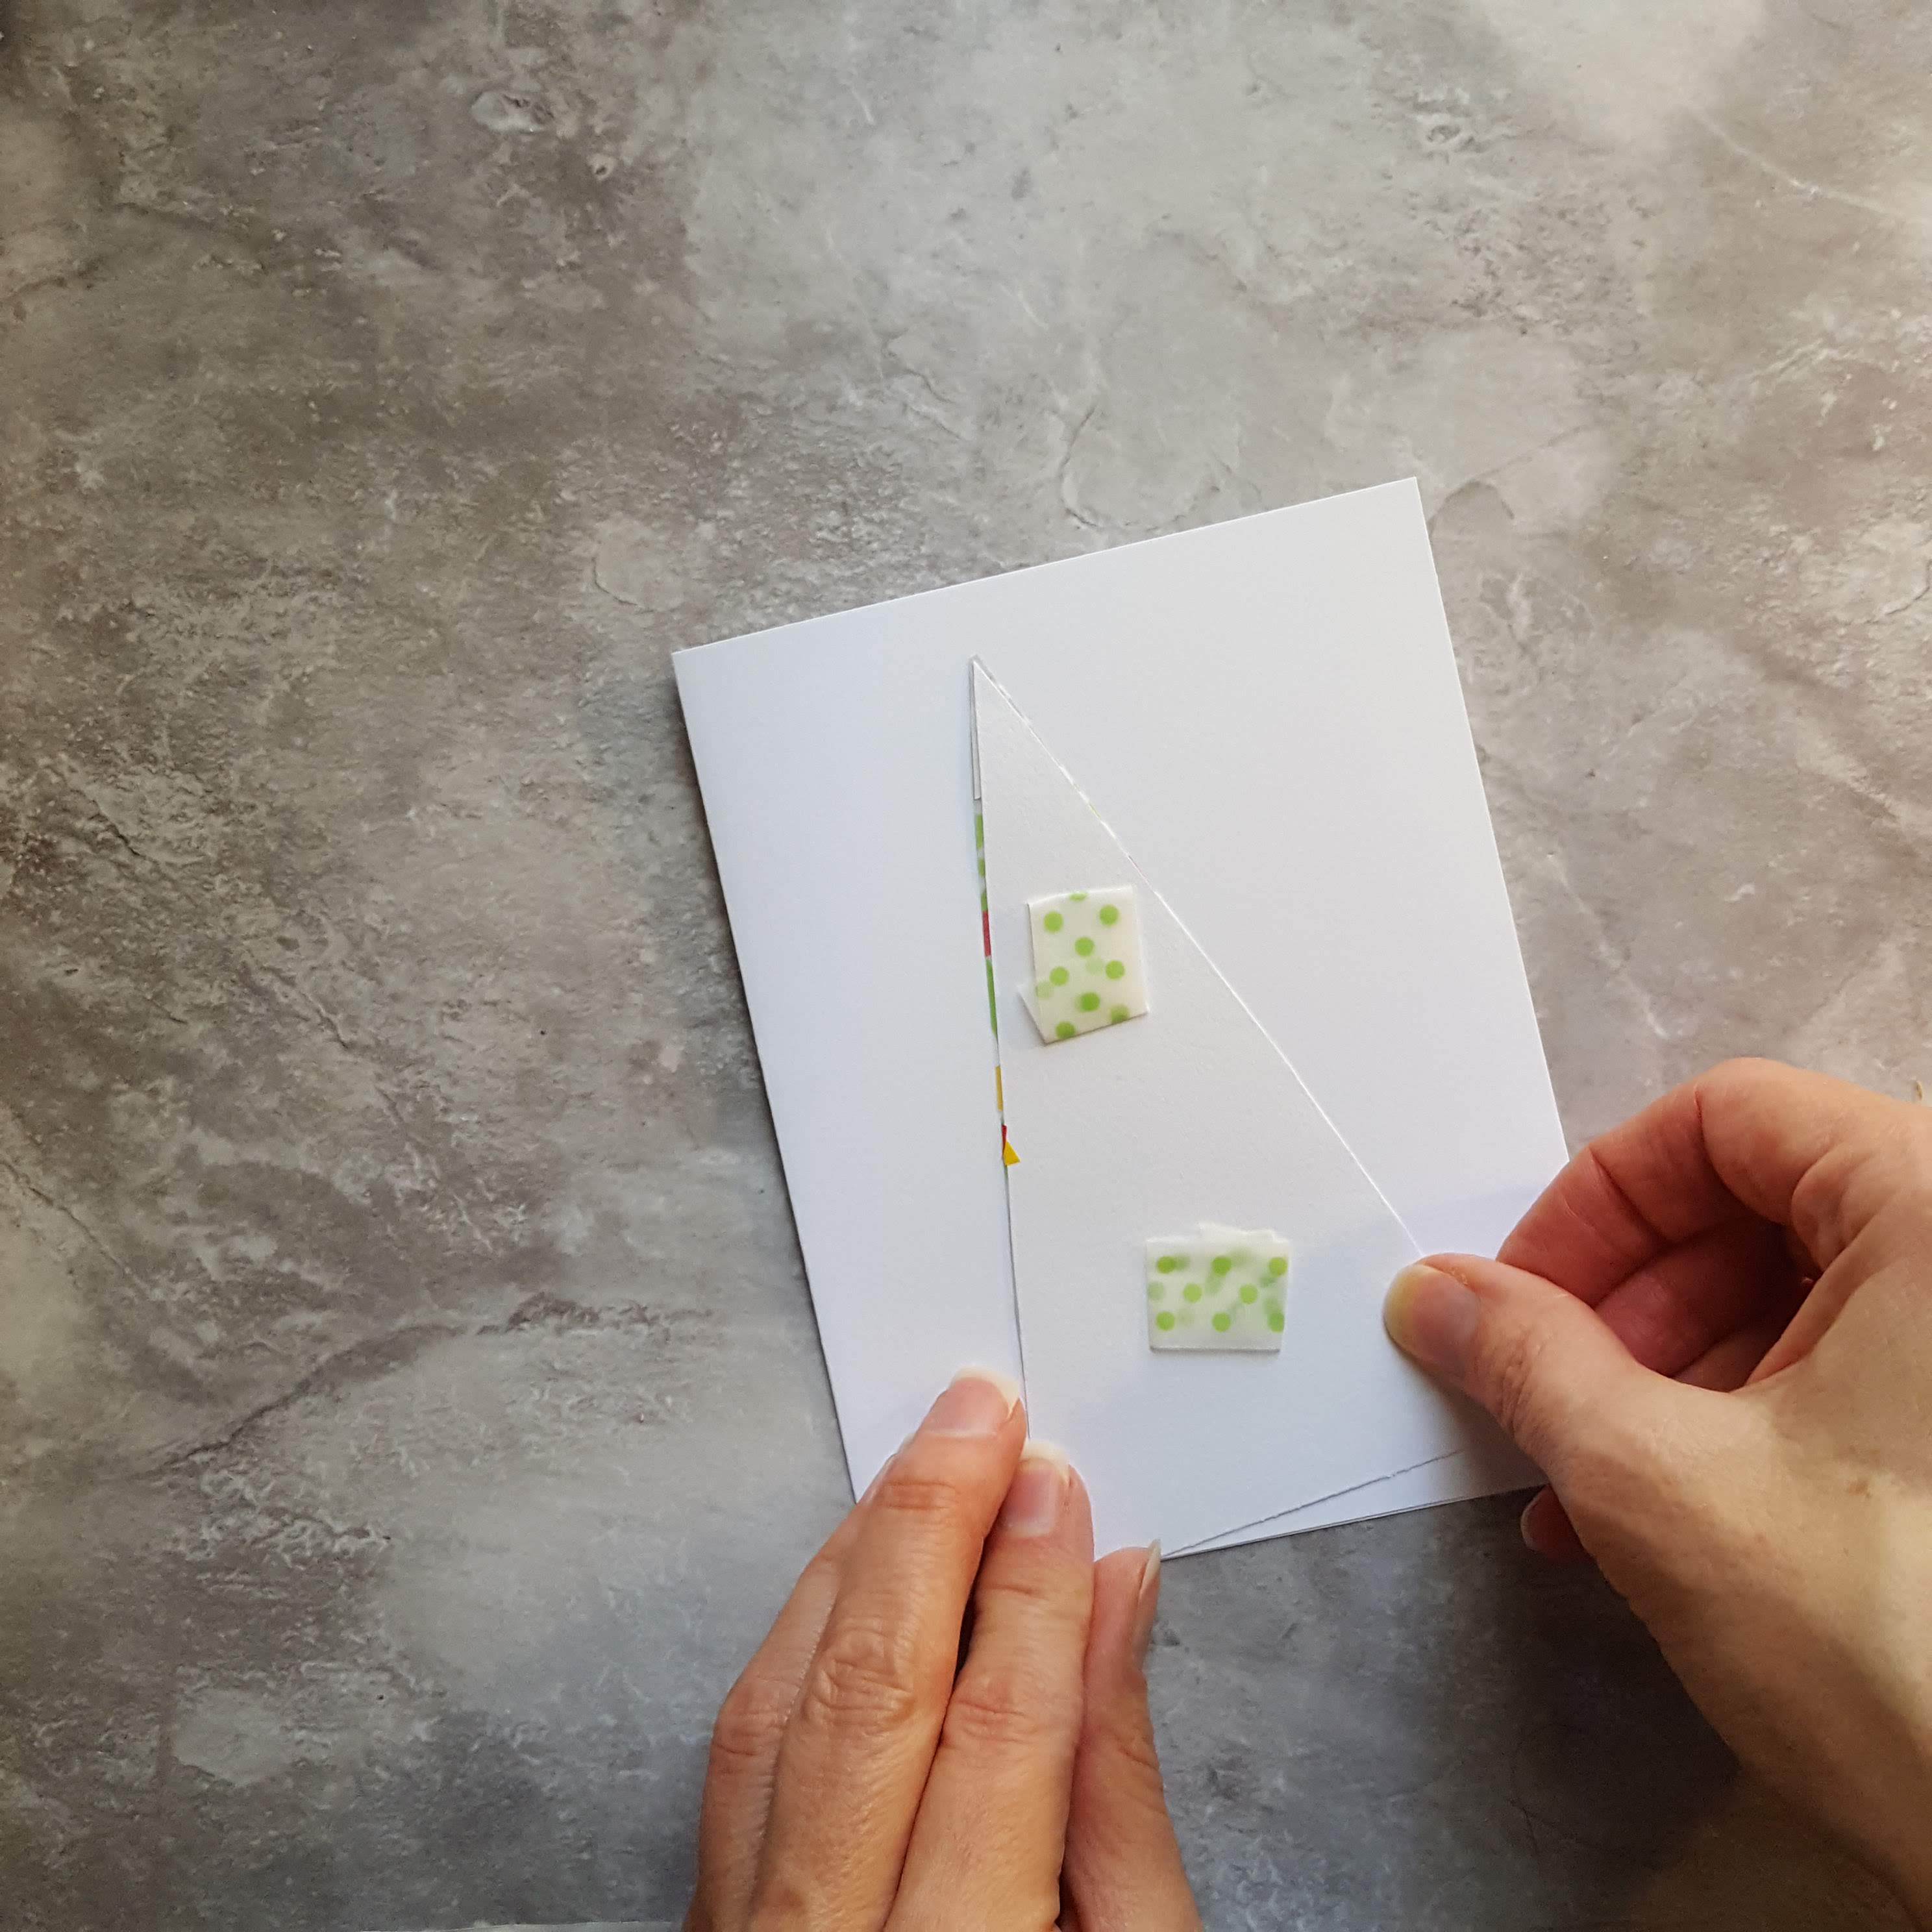
Step 5 – Design 2 – Christmas Tree 2
- Find a piece of scrap paper that is smaller than your cards (I used an index card)
- Cut the paper into a triangle shape

- Add pieces of washi tape, until the entire triangle is covered
- Flip the paper over, and trim the washi tape
- Use small pieces of rolled washi tape to attach the tree to the front of the card

Washi tape comes in many colors and patterns, so the possibilities for cards and other projects are endless!
I’ll be back next week with some more ideas for Washi tape cards, so make sure you are subscribed to the blog so you don’t miss anything! And share with a friend who might like these (and other) crafts too!
Until next week,
Carrie
P.S. If you love working with Washi tape, check out these previous posts for more ideas:
Beginners Guide to Washi Tape Bookmarks

Love the Washi tape Christmas cards! Will tuck this one away for next year, or till I get some more ideas for some other holidays. I could handle this crafty material and have fun doing it, I think! Thanks for the ideas.
LikeLike
Thank you for the wonderful idea!
LikeLike
You are very welcome!
LikeLike