Hello fellow sports fans!
How are things going with your team(s)?
I am disappointed that my Wisconsin Badgers lost in the Big 10 Championship game, and won’t be part of the College Football Playoffs this year. But it was still a pretty amazing season, as they improved every single week, and won many more games than I ever thought they would!
As for my Packers, they have somehow managed to stay in the hunt for an NFL playoff spot without their star quarterback. And Aaron Rodgers could come back this weekend, so you never know what might happen!
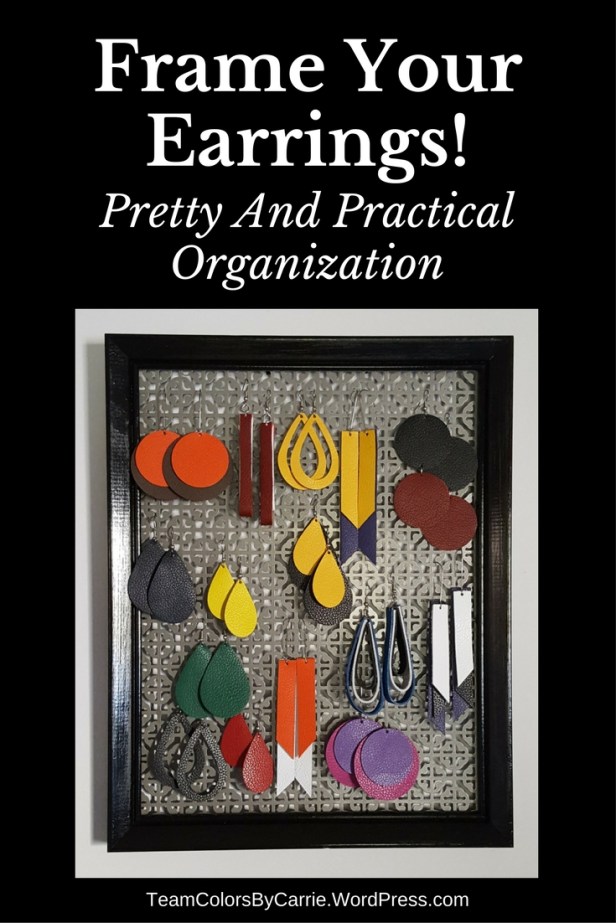
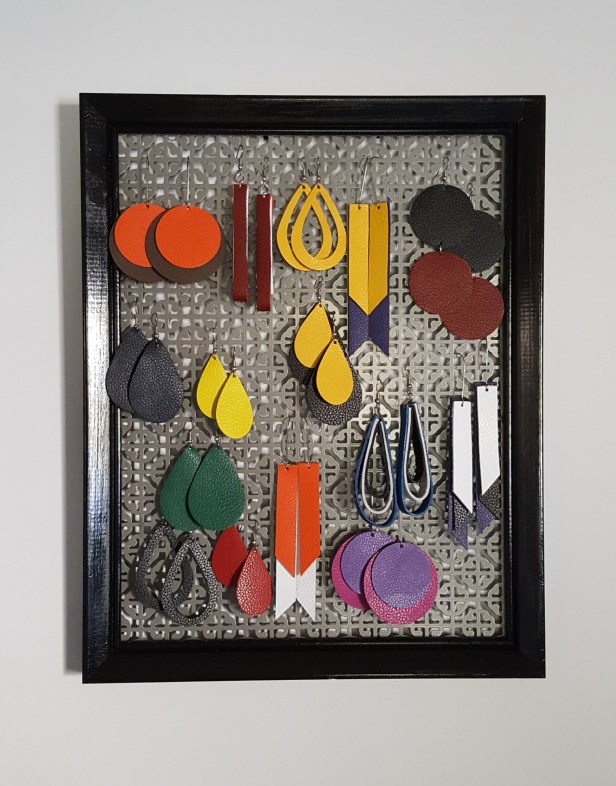
This week I wanted to share a little DIY project I just completed for my studio. I had been looking for an interesting way to display some of my favorite Team Colors By Carrie earrings, and couldn’t find anything I really liked.
So what’s a girl to do? Create her own organizer, that’s what!
You could create one (or more) for yourself, or to give as a gift, so let’s get started!
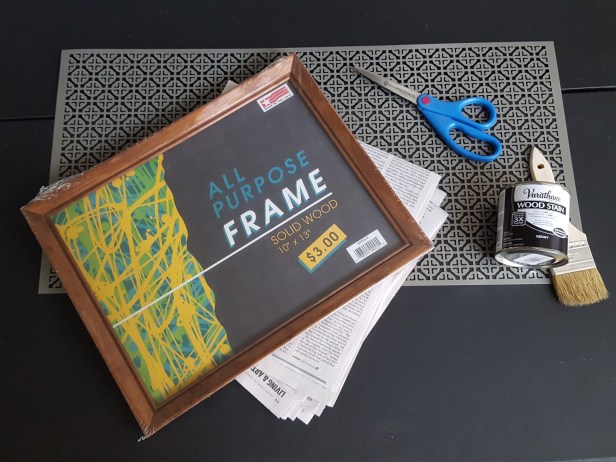
Step 1 – Gather the Supplies
Here’s what you need:
- A picture frame (it can be new or used, and you don’t need the glass)
- Decorative aluminum sheet metal (from your local hardware or home improvement store)
- It comes in various sizes, so be sure to get a piece at least as big as your picture frame
- Scissors (to cut the metal)
- Black marker
Optional (if you want to change the color of your frame)
- Wood stain or paint
- A paintbrush
- Newspapers (to protect your work area)
Step 2 – Stain or paint the frame (skip to step 3 if you don’t choose to do this)
- Lay some sheets of newspaper on your work area
- Remove the backing and the glass from the frame
- Follow the directions on your stain or paint to cover the frame
- Let dry thoroughly


Step 3 – Cut the sheet metal
- Lay the backing from the picture frame on the sheet metal
- Use your marker to trace around the sides of the frame backing
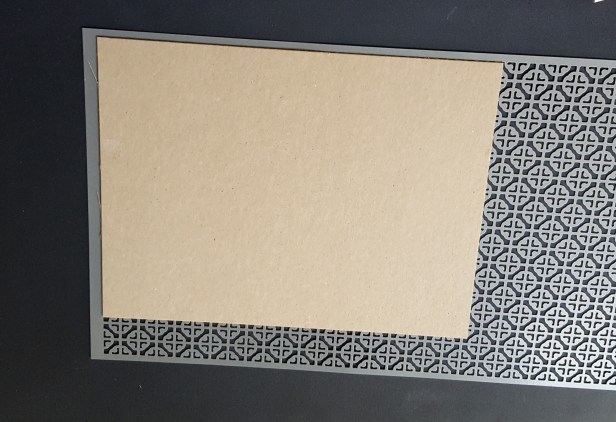
- Cut just inside the marker lines on the metal, so it is just slightly smaller than the backing
- Handle with care, because the edges are sharp!


Step 4 – Put the sheet metal in the frame
- Lay the picture frame face down
- Place the sheet metal into the frame
- Close the tabs to hold in the sheet metal
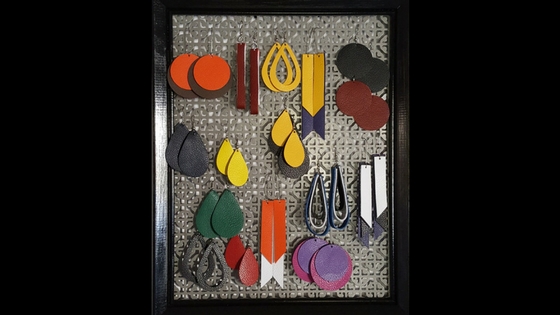
- Turn the frame over to admire your new earring organizer!


Step 5 – Hang it and add your earrings!
- Hang your new organizer on the wall
- I just used 2 push pins for mine!
- Hang the earrings by dropping the ear wires through the holes in the sheet metal
- Have fun with your arrangement!
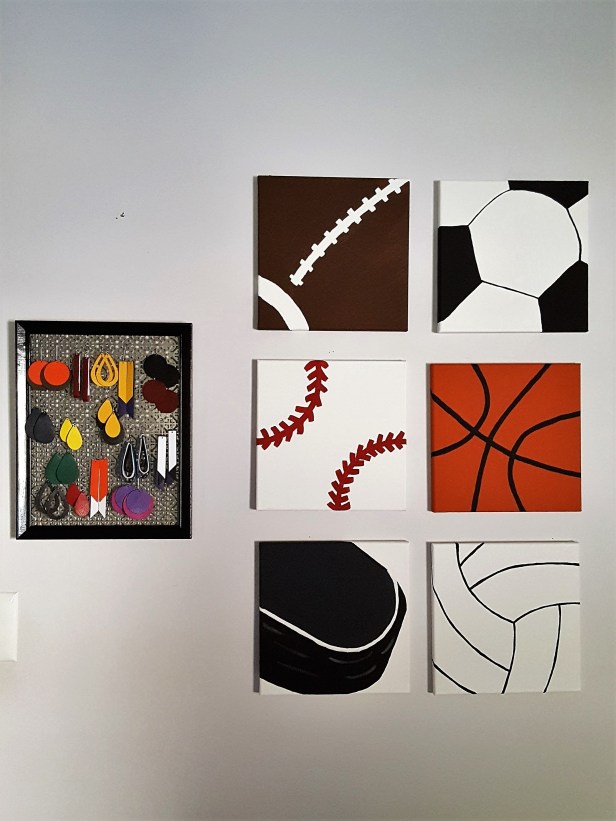
This is what one of mine looks like in my studio, next to the sports wall art I created over the last few months! I’m excited about how this wall is starting to come together!
Until next week ,
Carrie