
Hello fellow sports fans!
Do you consider yourself to be a casual sports fan? Or are you someone more on the fanatic side?
Sometimes I can be a casual fan, like when I’m watching the MLB playoffs and don’t have a dog in the fight. But other times, I definitely display those fanatic tendencies, like any time there’s a Packers – Vikings game! Do you have a team that you feel strongly about?
Now, how about something for you soccer fans to put a smile on your face?

I’m back today with part 4 of the sports wall décor series, this time with some soccer ball wall art.
Have you tried any of the earlier pieces in the series? In case you missed them, we did football, baseball and basketball already.
Are you ready to get started on your soccer ball masterpiece?
Step 1 – Gather the Supplies
Here’s what you need:
- Stretched canvas in the size of your choice (I recommend ones that are primed with gesso)*
- Paints in black and white (I recommend acrylic for easy clean-up)
- Wide paint brush – a 1” or 2” brush is great for large areas
- Small paint brush – a ¼” brush is good for the detail
- Newspapers (to protect your work area)
- A pencil
- A black magic marker with a narrow tip (optional)
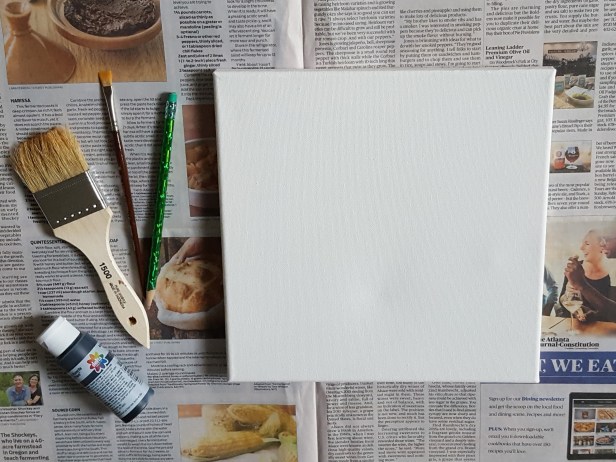
Step 2 –Preparation
- Lay some sheets of newspaper on your work area, along with your supplies
Step 3 – Draw the outline
- Use your pencil to draw the outlines of the soccer ball shape
- Use a soccer ball as a model (if you have one) or the pictures below as your guide.


Step 4 – Paint the outlines
- Shake your black paint well before starting
- Squirt a little paint on the newspaper
- Dip your narrow brush in the paint, and use the edge to draw the outlines
- Start on the edges, then lay the canvas flat to complete the top
- You will get a smoother line if you keep the paintbrush loaded with paint
- Let dry (read the directions on the paint for dry time).
- Wash your brush (acrylic paint washes up with soap and water, but read your directions).
OPTIONAL OUTLINE METHOD
- Use the black magic marker to draw the outlines, instead of painting them
- Unless you have really steady hands, it is easier to get nice, even lines this way


Step 5 – Fill in the black sections
- Shake the black paint again before starting
- Squirt a little paint into one of the black sections, and use the wide brush to spread the paint to cover the area (and don’t forget the sides)
- Repeat with the remaining black sections
- Let dry
- Apply a second coat of black paint if desired, and let dry.


Step 6 – Touch Up (if needed)
- Shake the white paint
- Squirt a little paint onto the newspaper
- Dip the narrow brush in the paint, then use it to smooth the edges of the black paint, or to touch up any paint that may have ended up where it wasn’t supposed to be
- Let dry
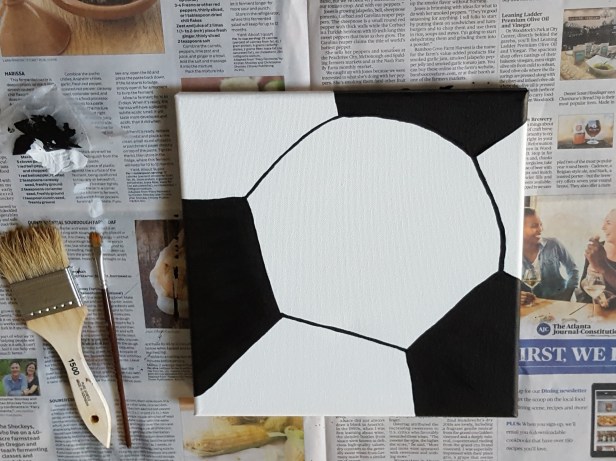
That’s it! Your work of art is ready to hang on the wall!

I’m getting close to completing the whole series, and can’t wait to hang them in my office / art studio. Do you have someone who would love one or more of these in their den, man cave, or children’s bedroom?
Stay tuned for the rest of this series, and make sure you are following the blog don’t you don’t miss out!
Until next week,
Carrie

