Hello, my fellow sports enthusiasts!
I’m thrilled to be back with the third installment of my sports wall décor series. If you’ve been following along, we’ve already explored the world of football and baseball wall art. And let me tell you, if you tackled those projects, you’re more than ready for what’s coming next.
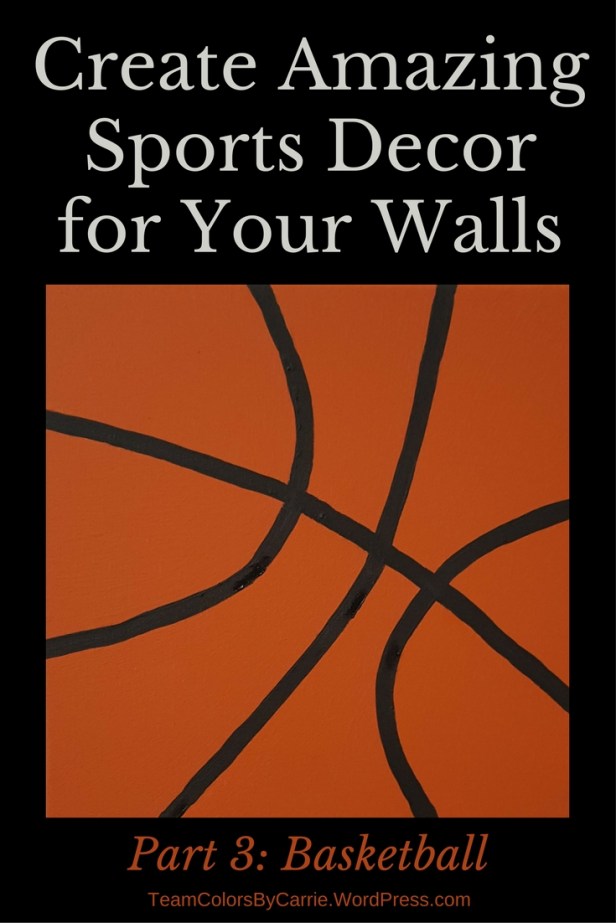
Today, we’re taking a leap onto the basketball court as we dive into the creation of a stunning basketball wall art piece. Trust me, if I can master the canvas-painting game, anyone can! Let’s channel our inner artists and bring the spirit of the game to life on your walls.
.
Are you ready to get started?
Step 1 – Gather the Supplies
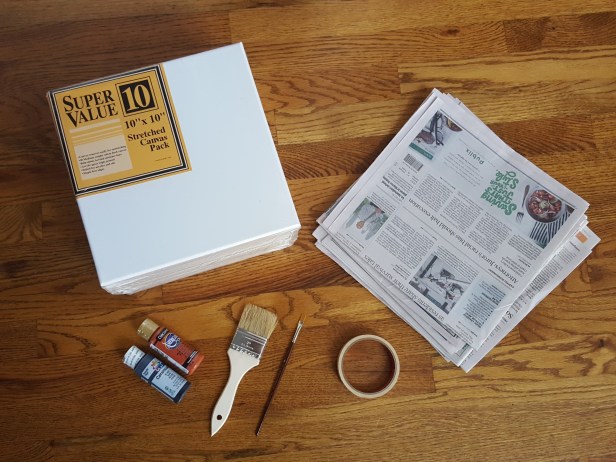
Here’s what you need:
- Stretched canvas in the size of your choice (I recommend ones that are primed with gesso)*
- Paints in orange and black (I recommend acrylic for easy clean-up)
- Masking tape (I used ¼” wide)
- Wide paint brush – a 2” brush is great for the background
- Small paint brush – a ¼” is good for the detail
- Scissors (to cut the tape)
- Newspapers (to protect your work area)
- A pencil (optional)
Step 2 –Preparation
-
- Lay some sheets of newspaper on your work area, along with your supplies

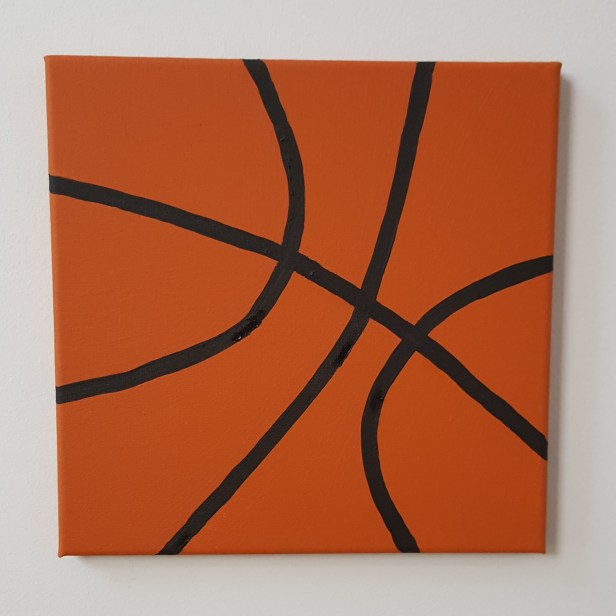
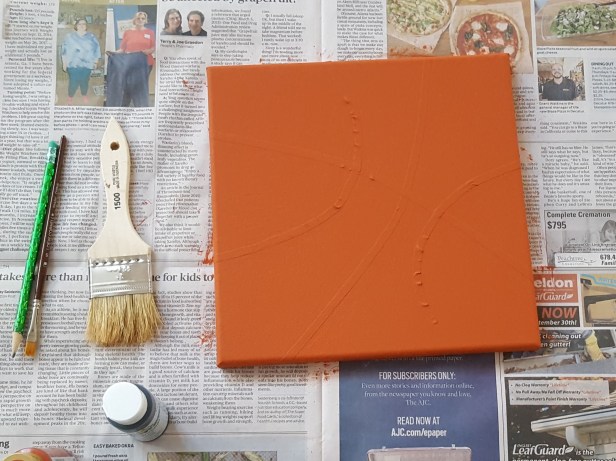
- Use the masking tape to cover the areas that will be black on the finished “basketball.” This helps with laying out the design, and makes it easier to paint the areas black later (use the photos as a guide).NOTE: you can sketch out the lines with pencil first, if that is easier for you.


")

- Step 3 – Paint the basketball orange
- Shake your orange paint well before starting
- Squirt a little paint on one edge of the canvas, and use the wide brush to spread the paint to cover
- Repeat with the remaining 3 sides
")


- Lay the canvas flat on the newspaper
- Squirt more paint on the front of the canvas, and continue using the wide brush to cover


- Let dry (read the directions on the paint for dry time).
- Wash your brush (acrylic paint washed up with soap and water, but read your directions).
- Apply a second coat of orange paint if desired, and let dry.
- Step 4 – Add the detail
- Carefully remove all of the masking tape


- Don’t worry if some of the orange paint seeped under the tape, and you don’t have perfectly straight lines!
- Shake your black paint
- Working in one area at a time, squirt a small amount of paint into the black areas, and use the small brush to paint over these areas.


- Let dry
- Wash out your brush
- Add a second coat of black paint if desired, and let dry
- Touch up with orange, if needed to fix any smudges or black areas that got uneven or too big!
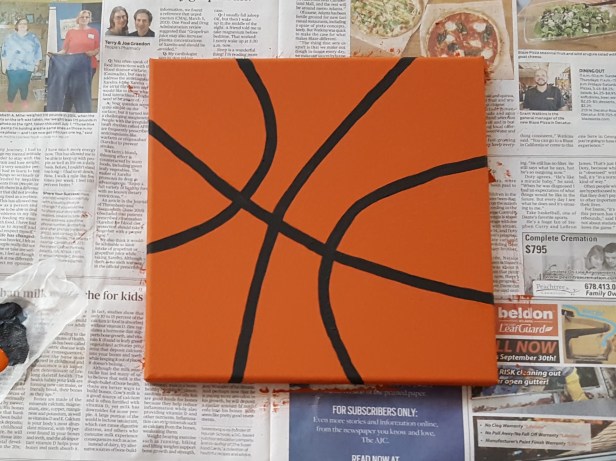
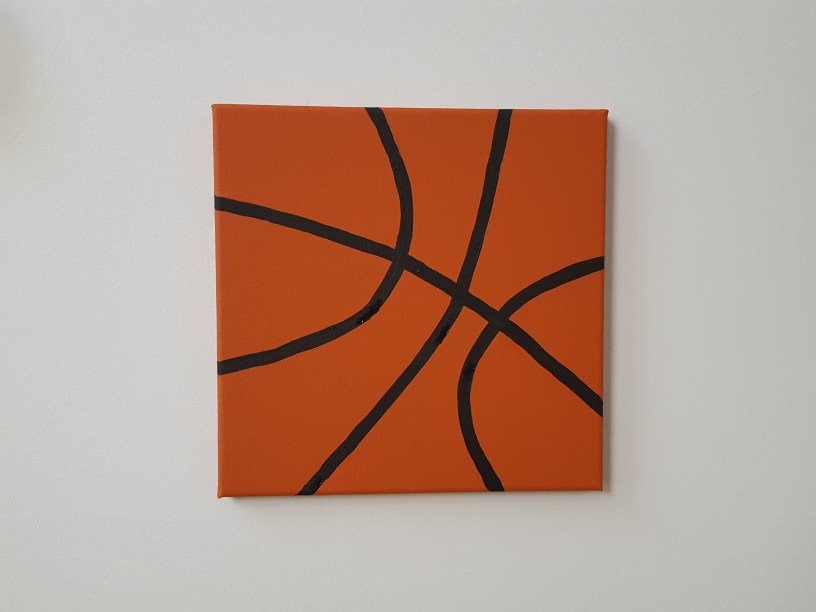
That’s it! Your work of art is ready to hang on the wall!
I can’t wait to complete the whole series, and hang them in my office / art studio. Wouldn’t they also look great in a man cave, or in a little boy’s room?
I’ve still got plans for Soccer, Hockey and Volleyball, so stay tuned for the rest of this series, and make sure you are following the blog don’t you don’t miss out!
Until next week,
Carrie
- Carefully remove all of the masking tape