A few week’s ago, I showed how to make some fun macramé bracelets. And you loved them!
But many of you asked if it was possible to make the bracelet using 2 colors instead of just 1 color. The answer is YES, and I’m happy to show you how to do that today.
Ready? Let’s get started!
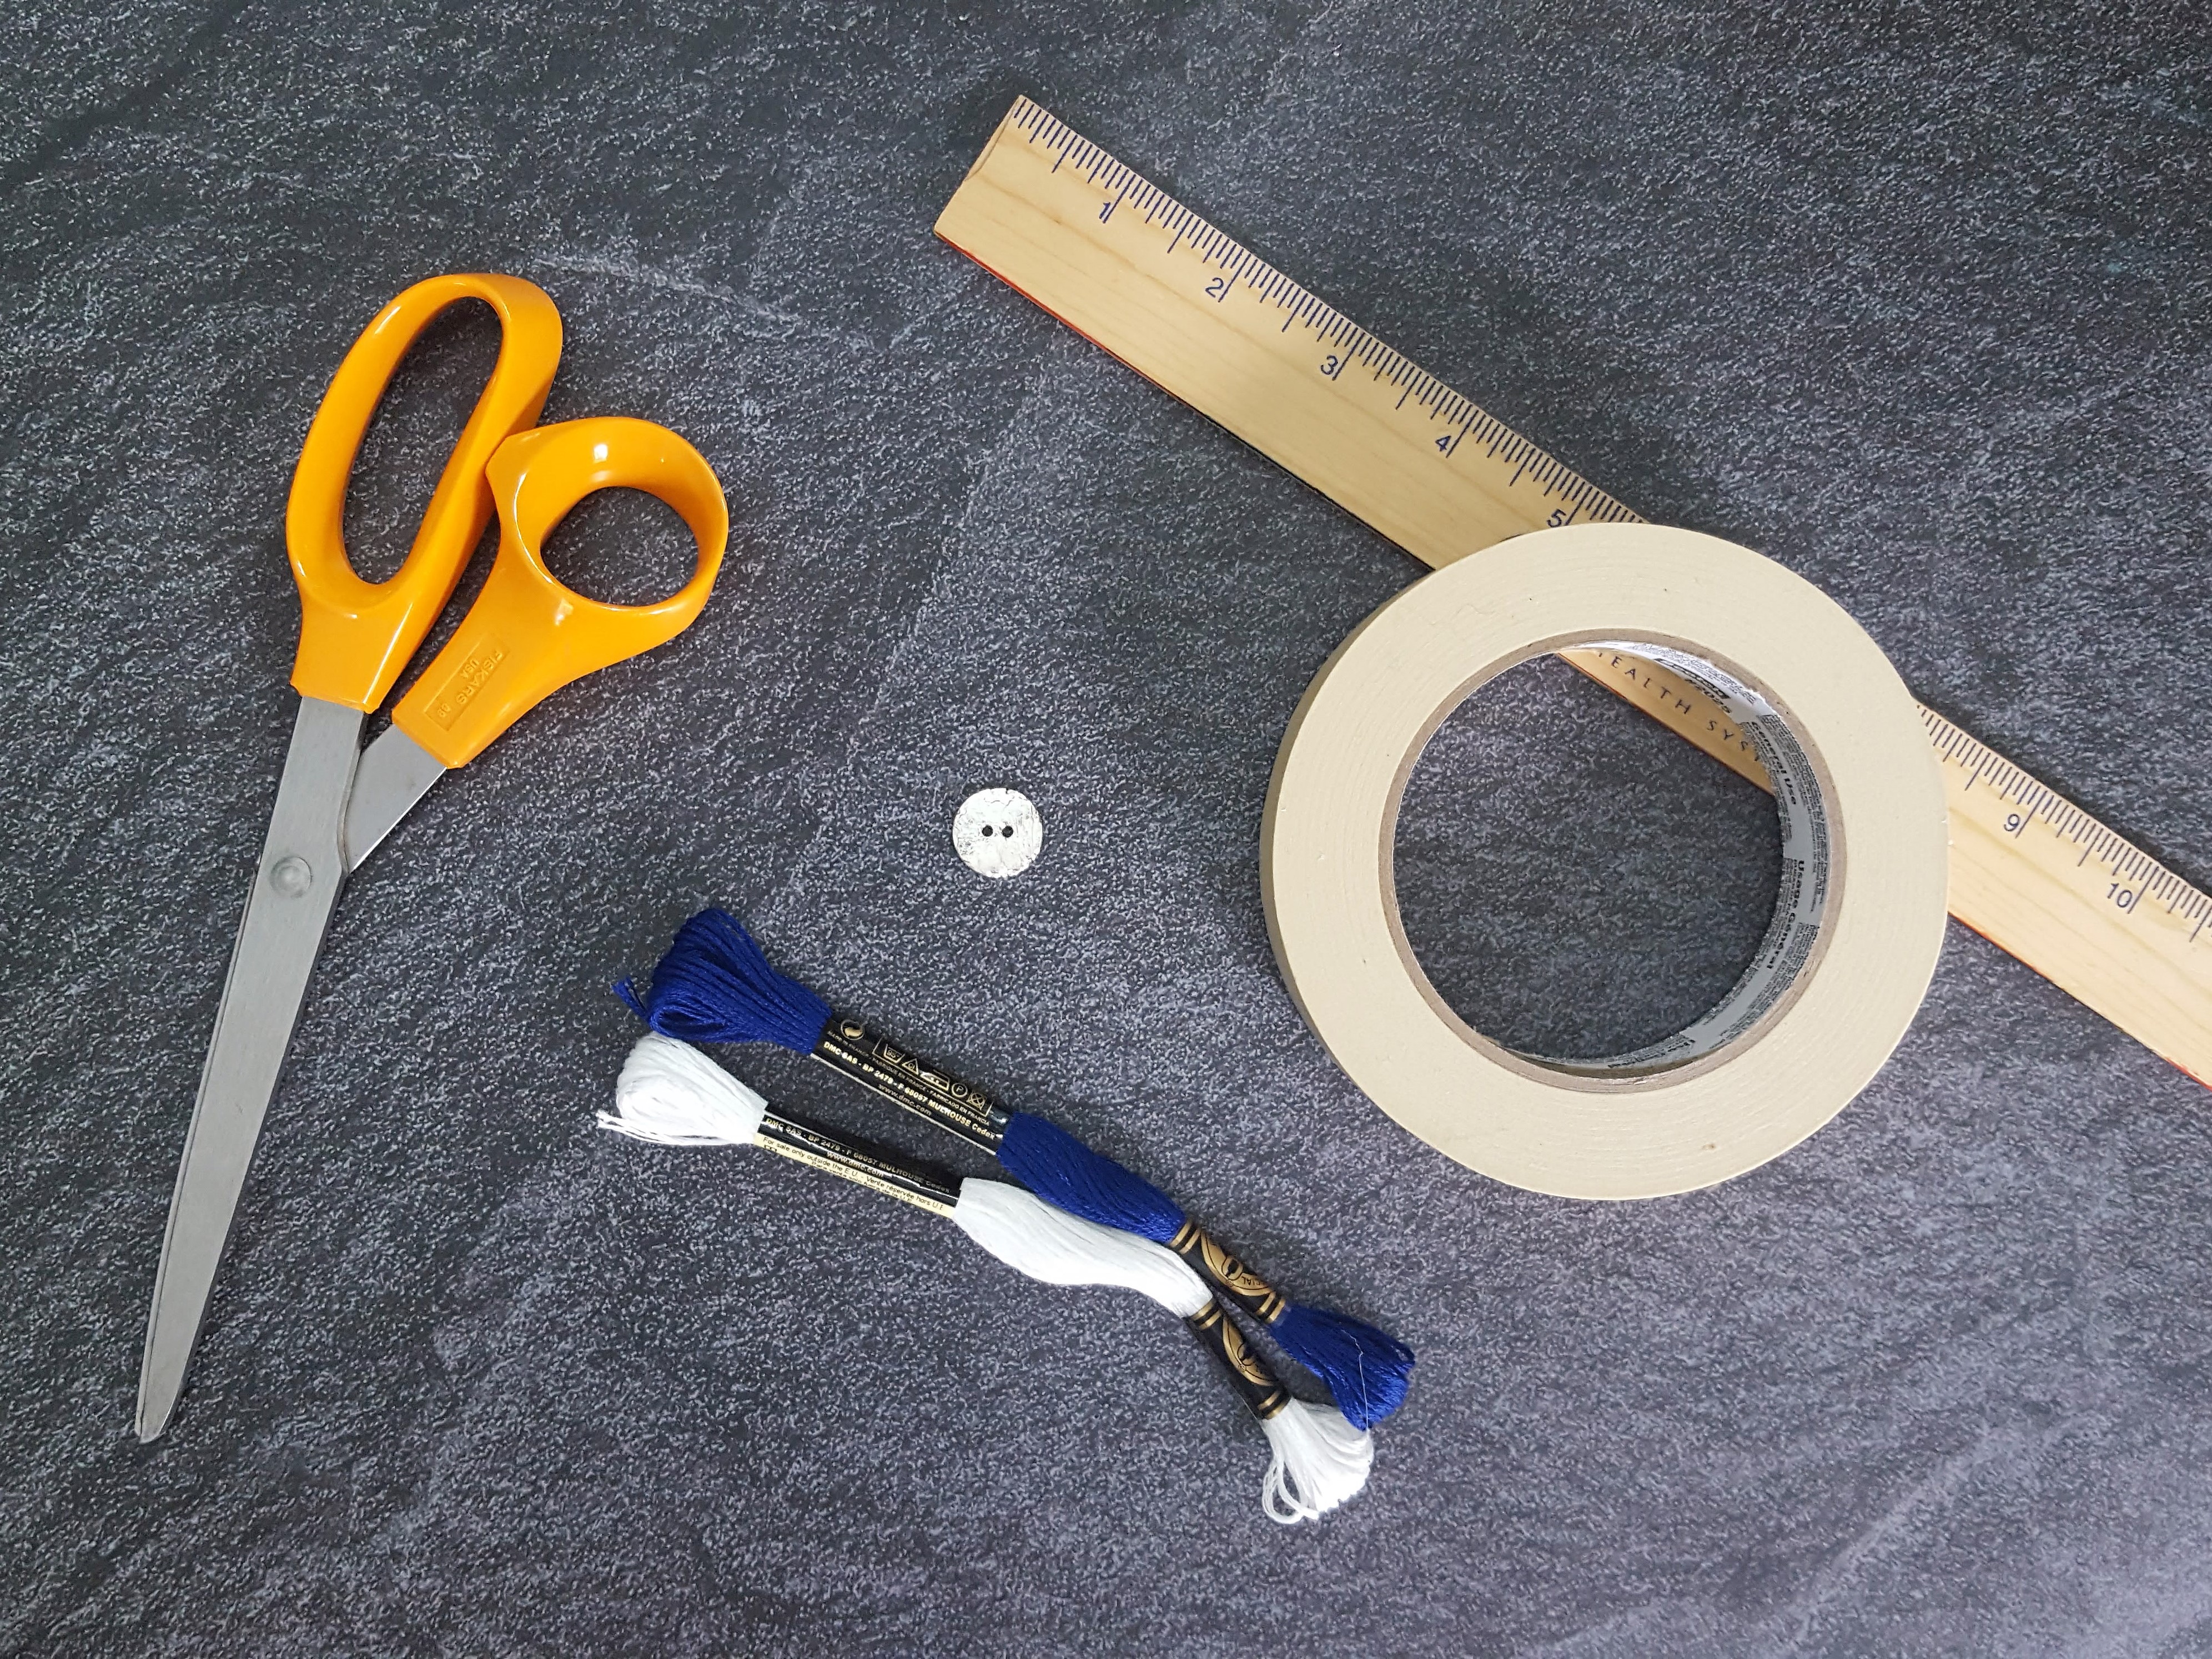
Step One – Gather Your Materials
- 2 colors of cord: embroidery floss, 1mm knotting cord or hemp
- Button
- Ruler
- Scissors
- Tape
.
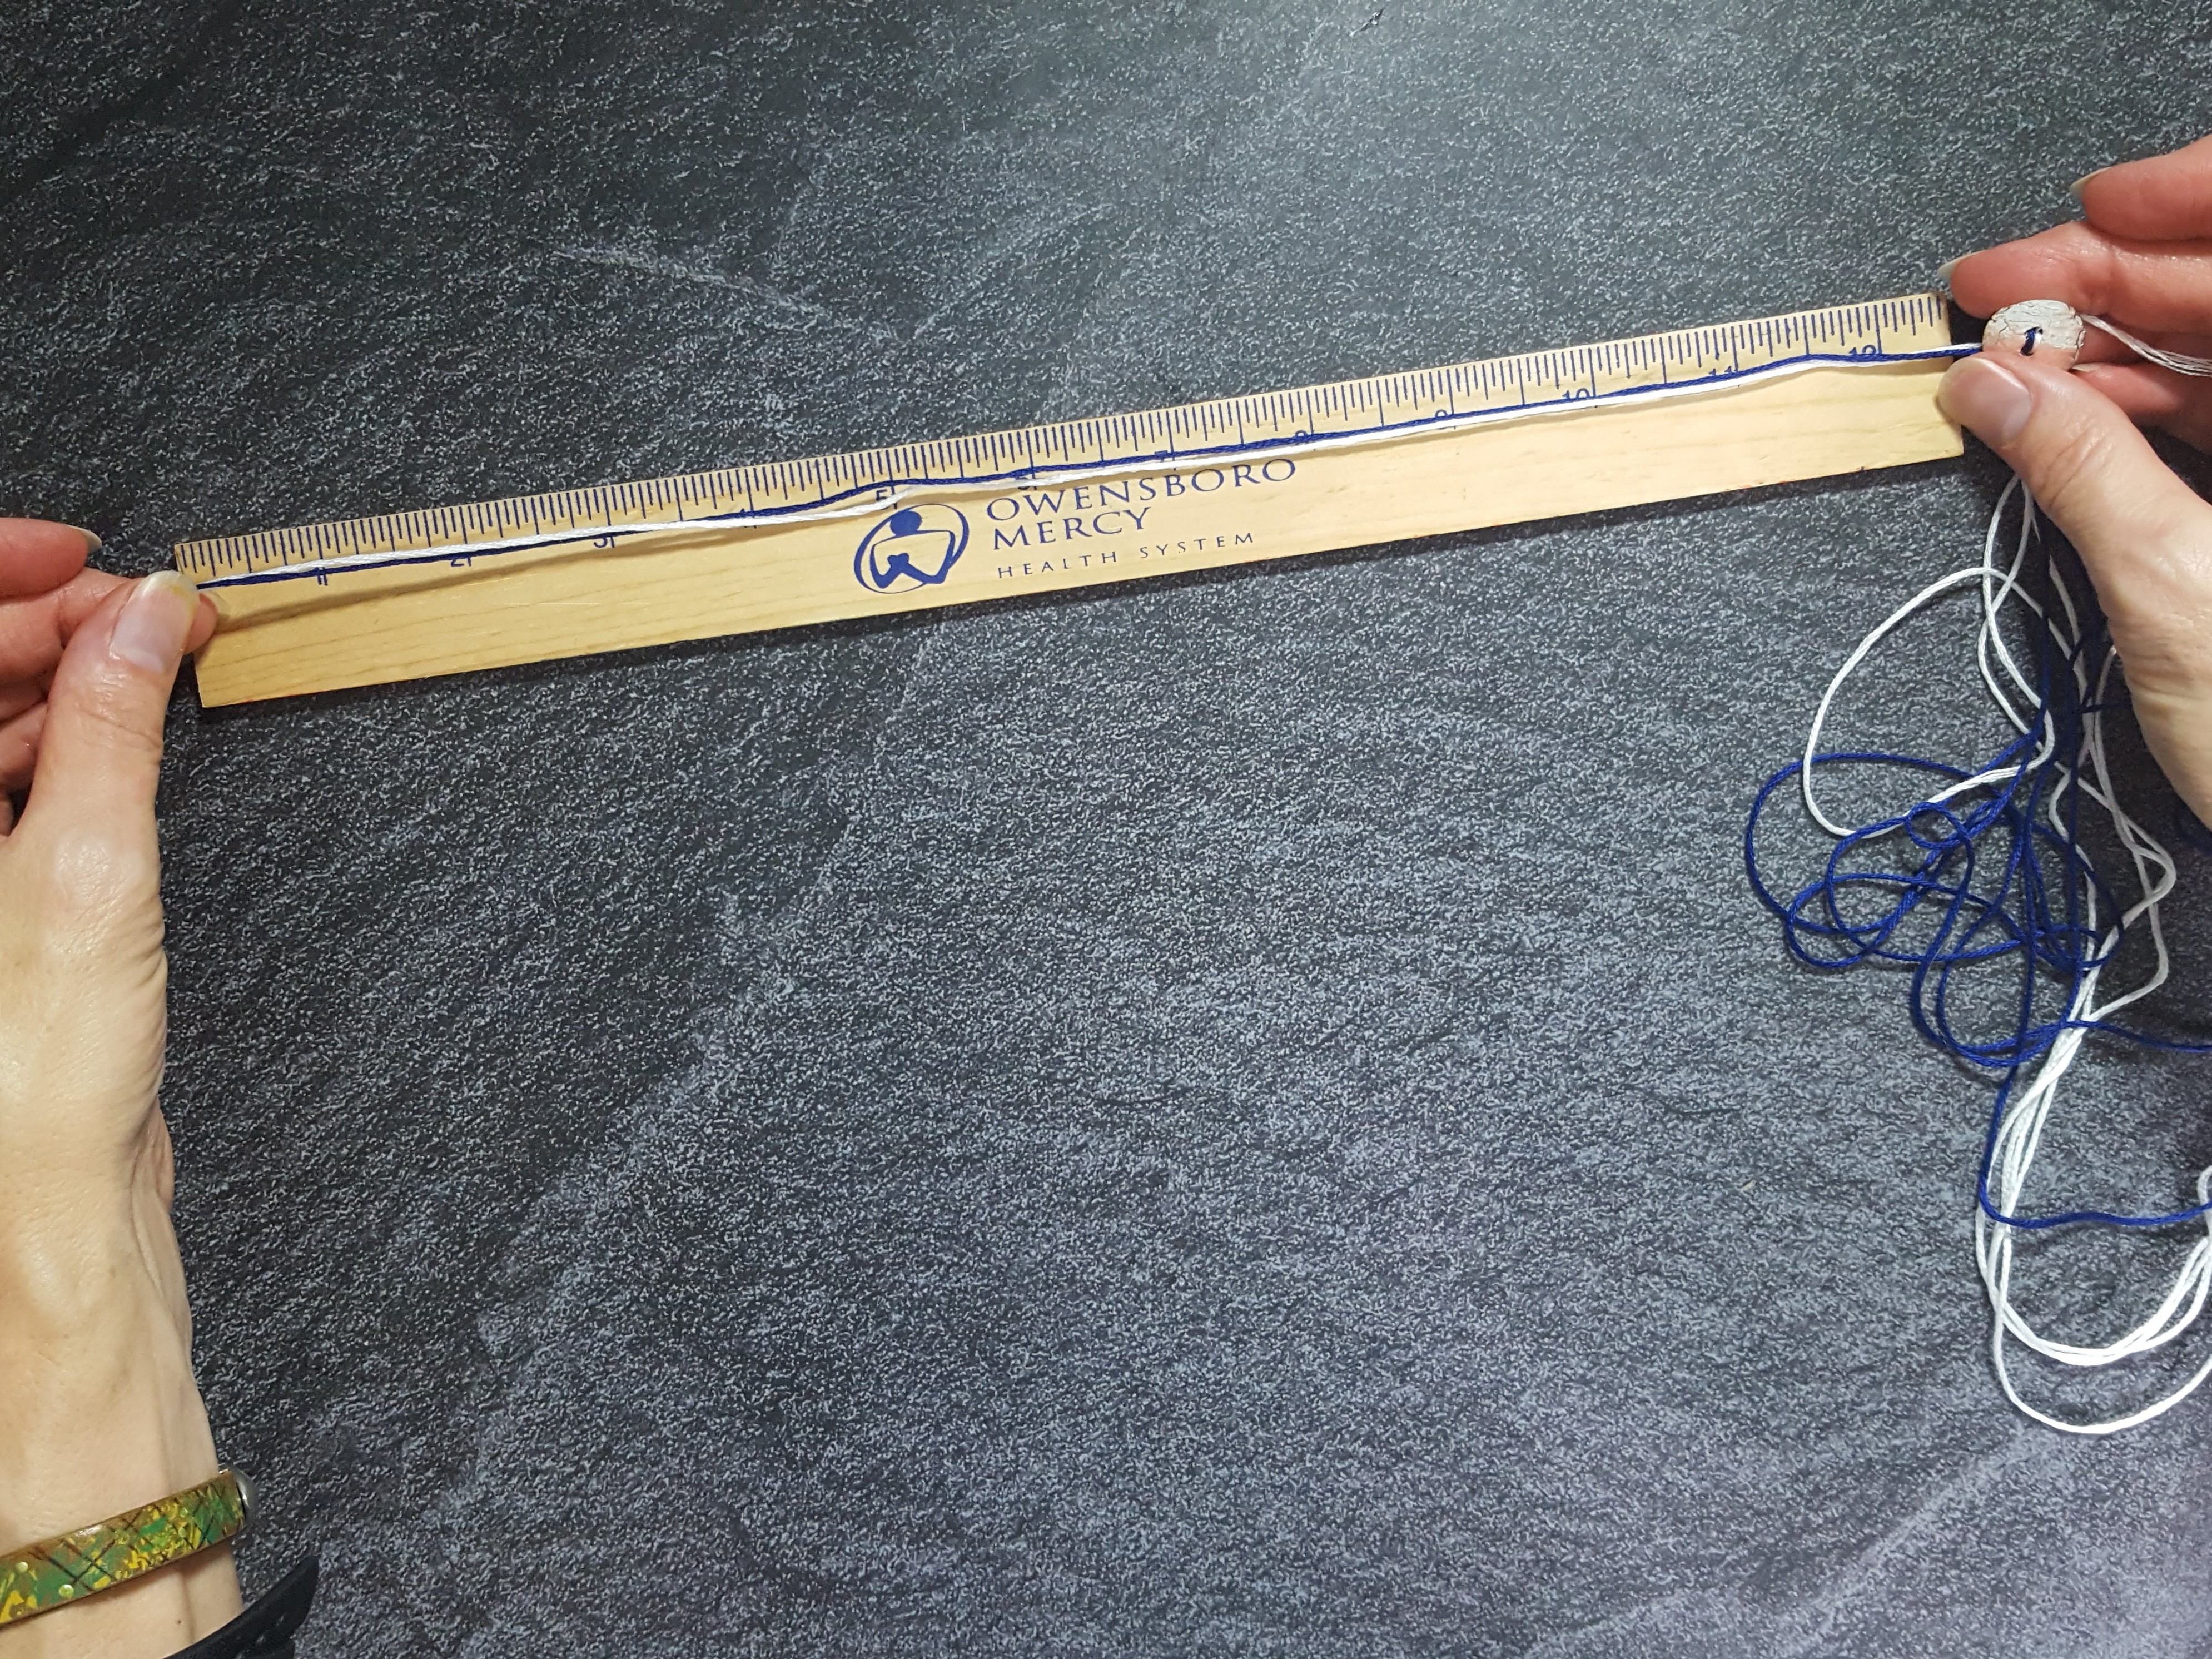
Step Two –Start with the Button
Cut 5-foot long pieces of each of your cord colors. Five feet is enough for a 6″ to 7″ bracelet, but cut 6 feet for a larger bracelet.
Match up the ends, and run both through the holes in your button:

Pull the ends until you have 12” of those 2 cords:
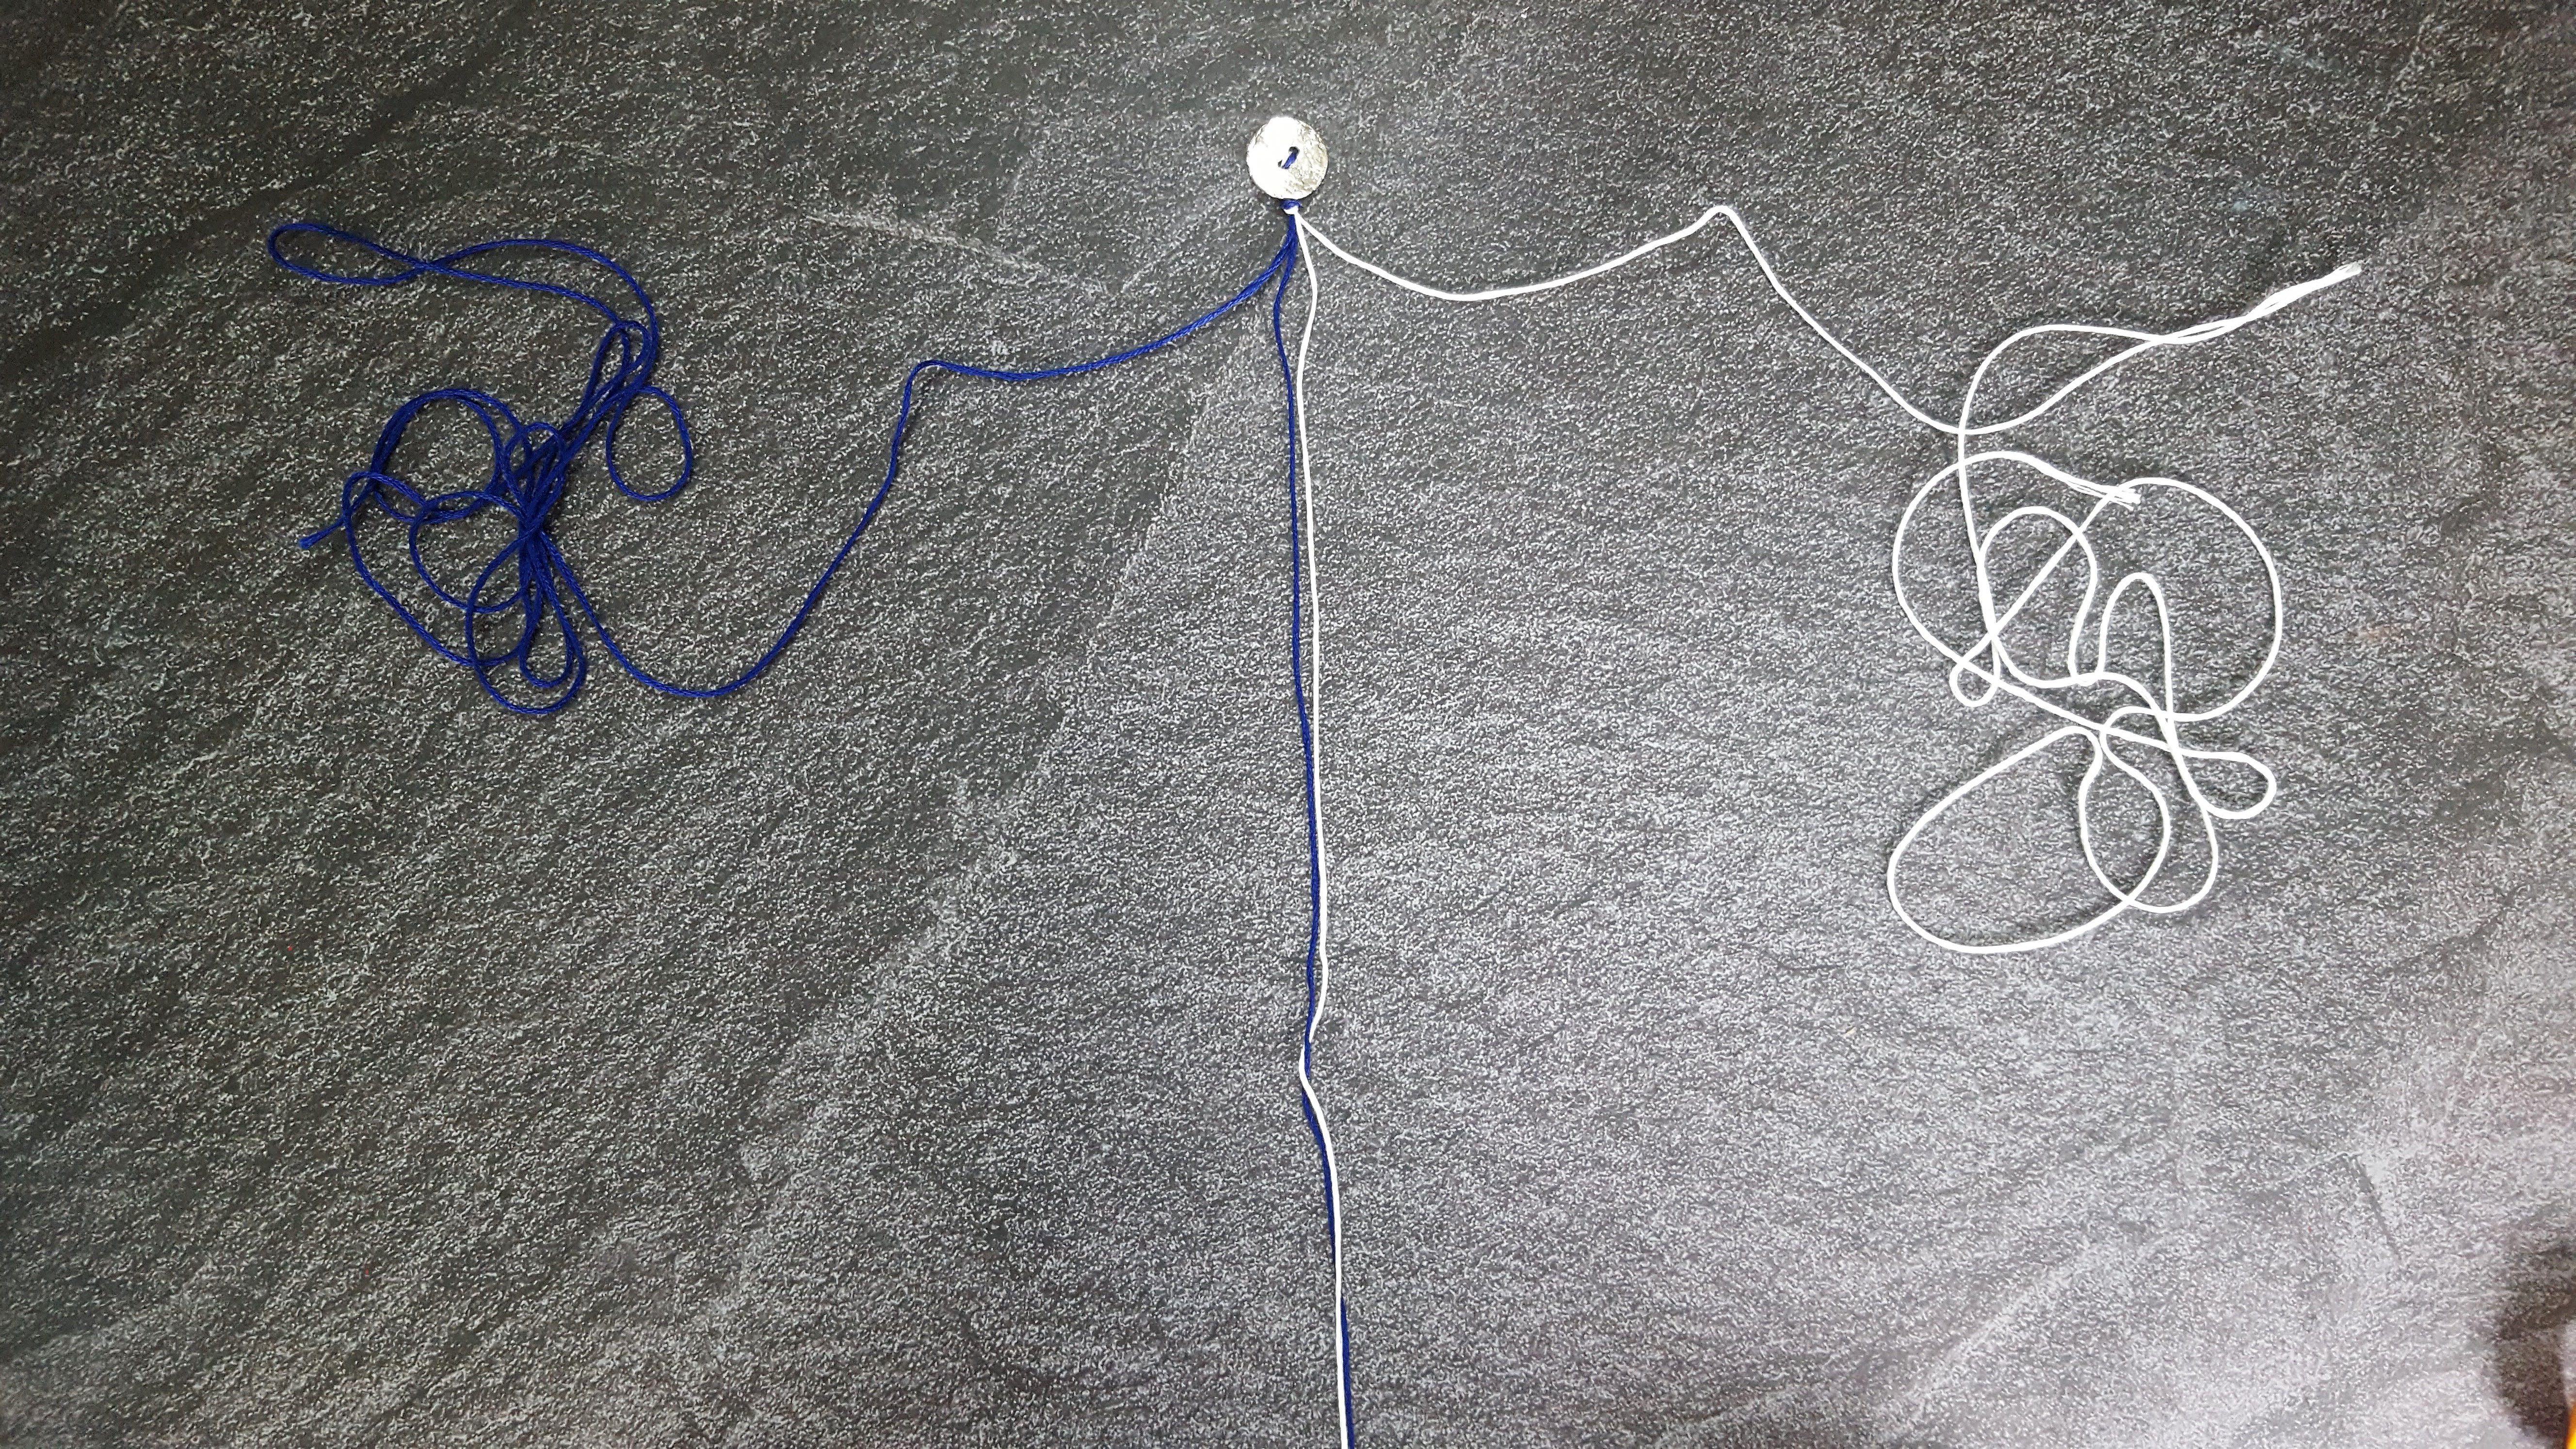
With all 4 cords, create a simple overhand knot close to the button:


.
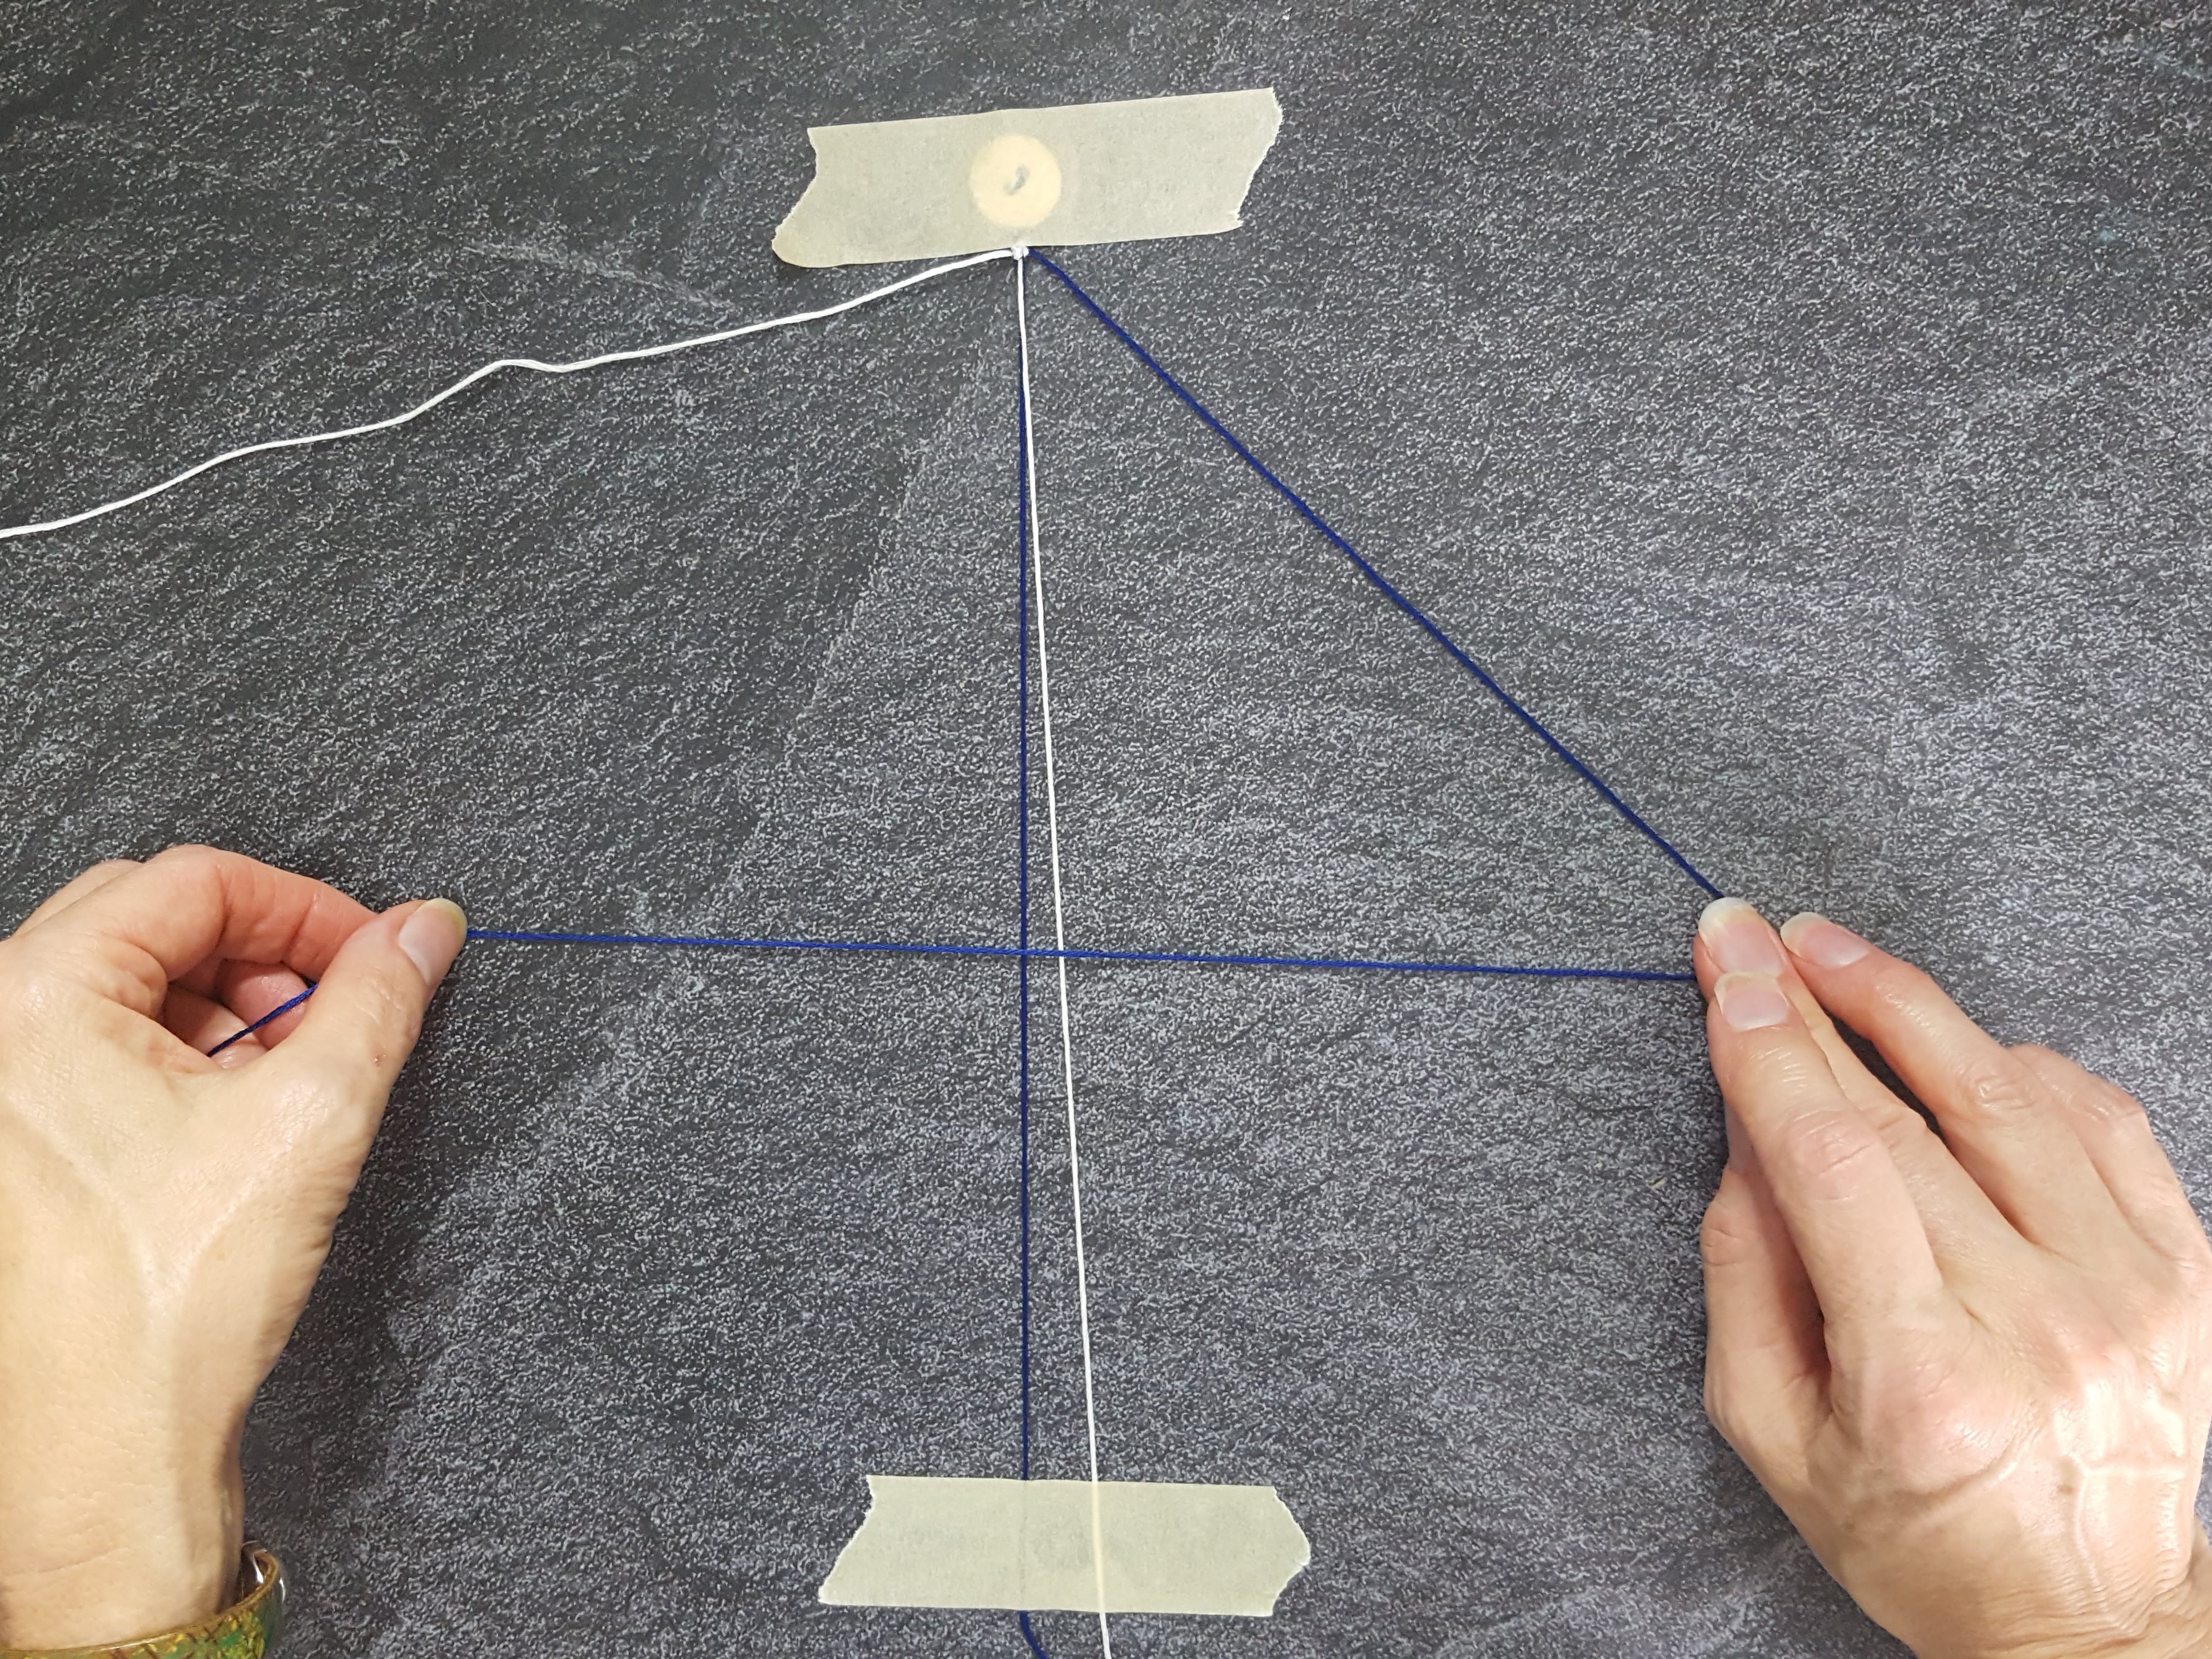
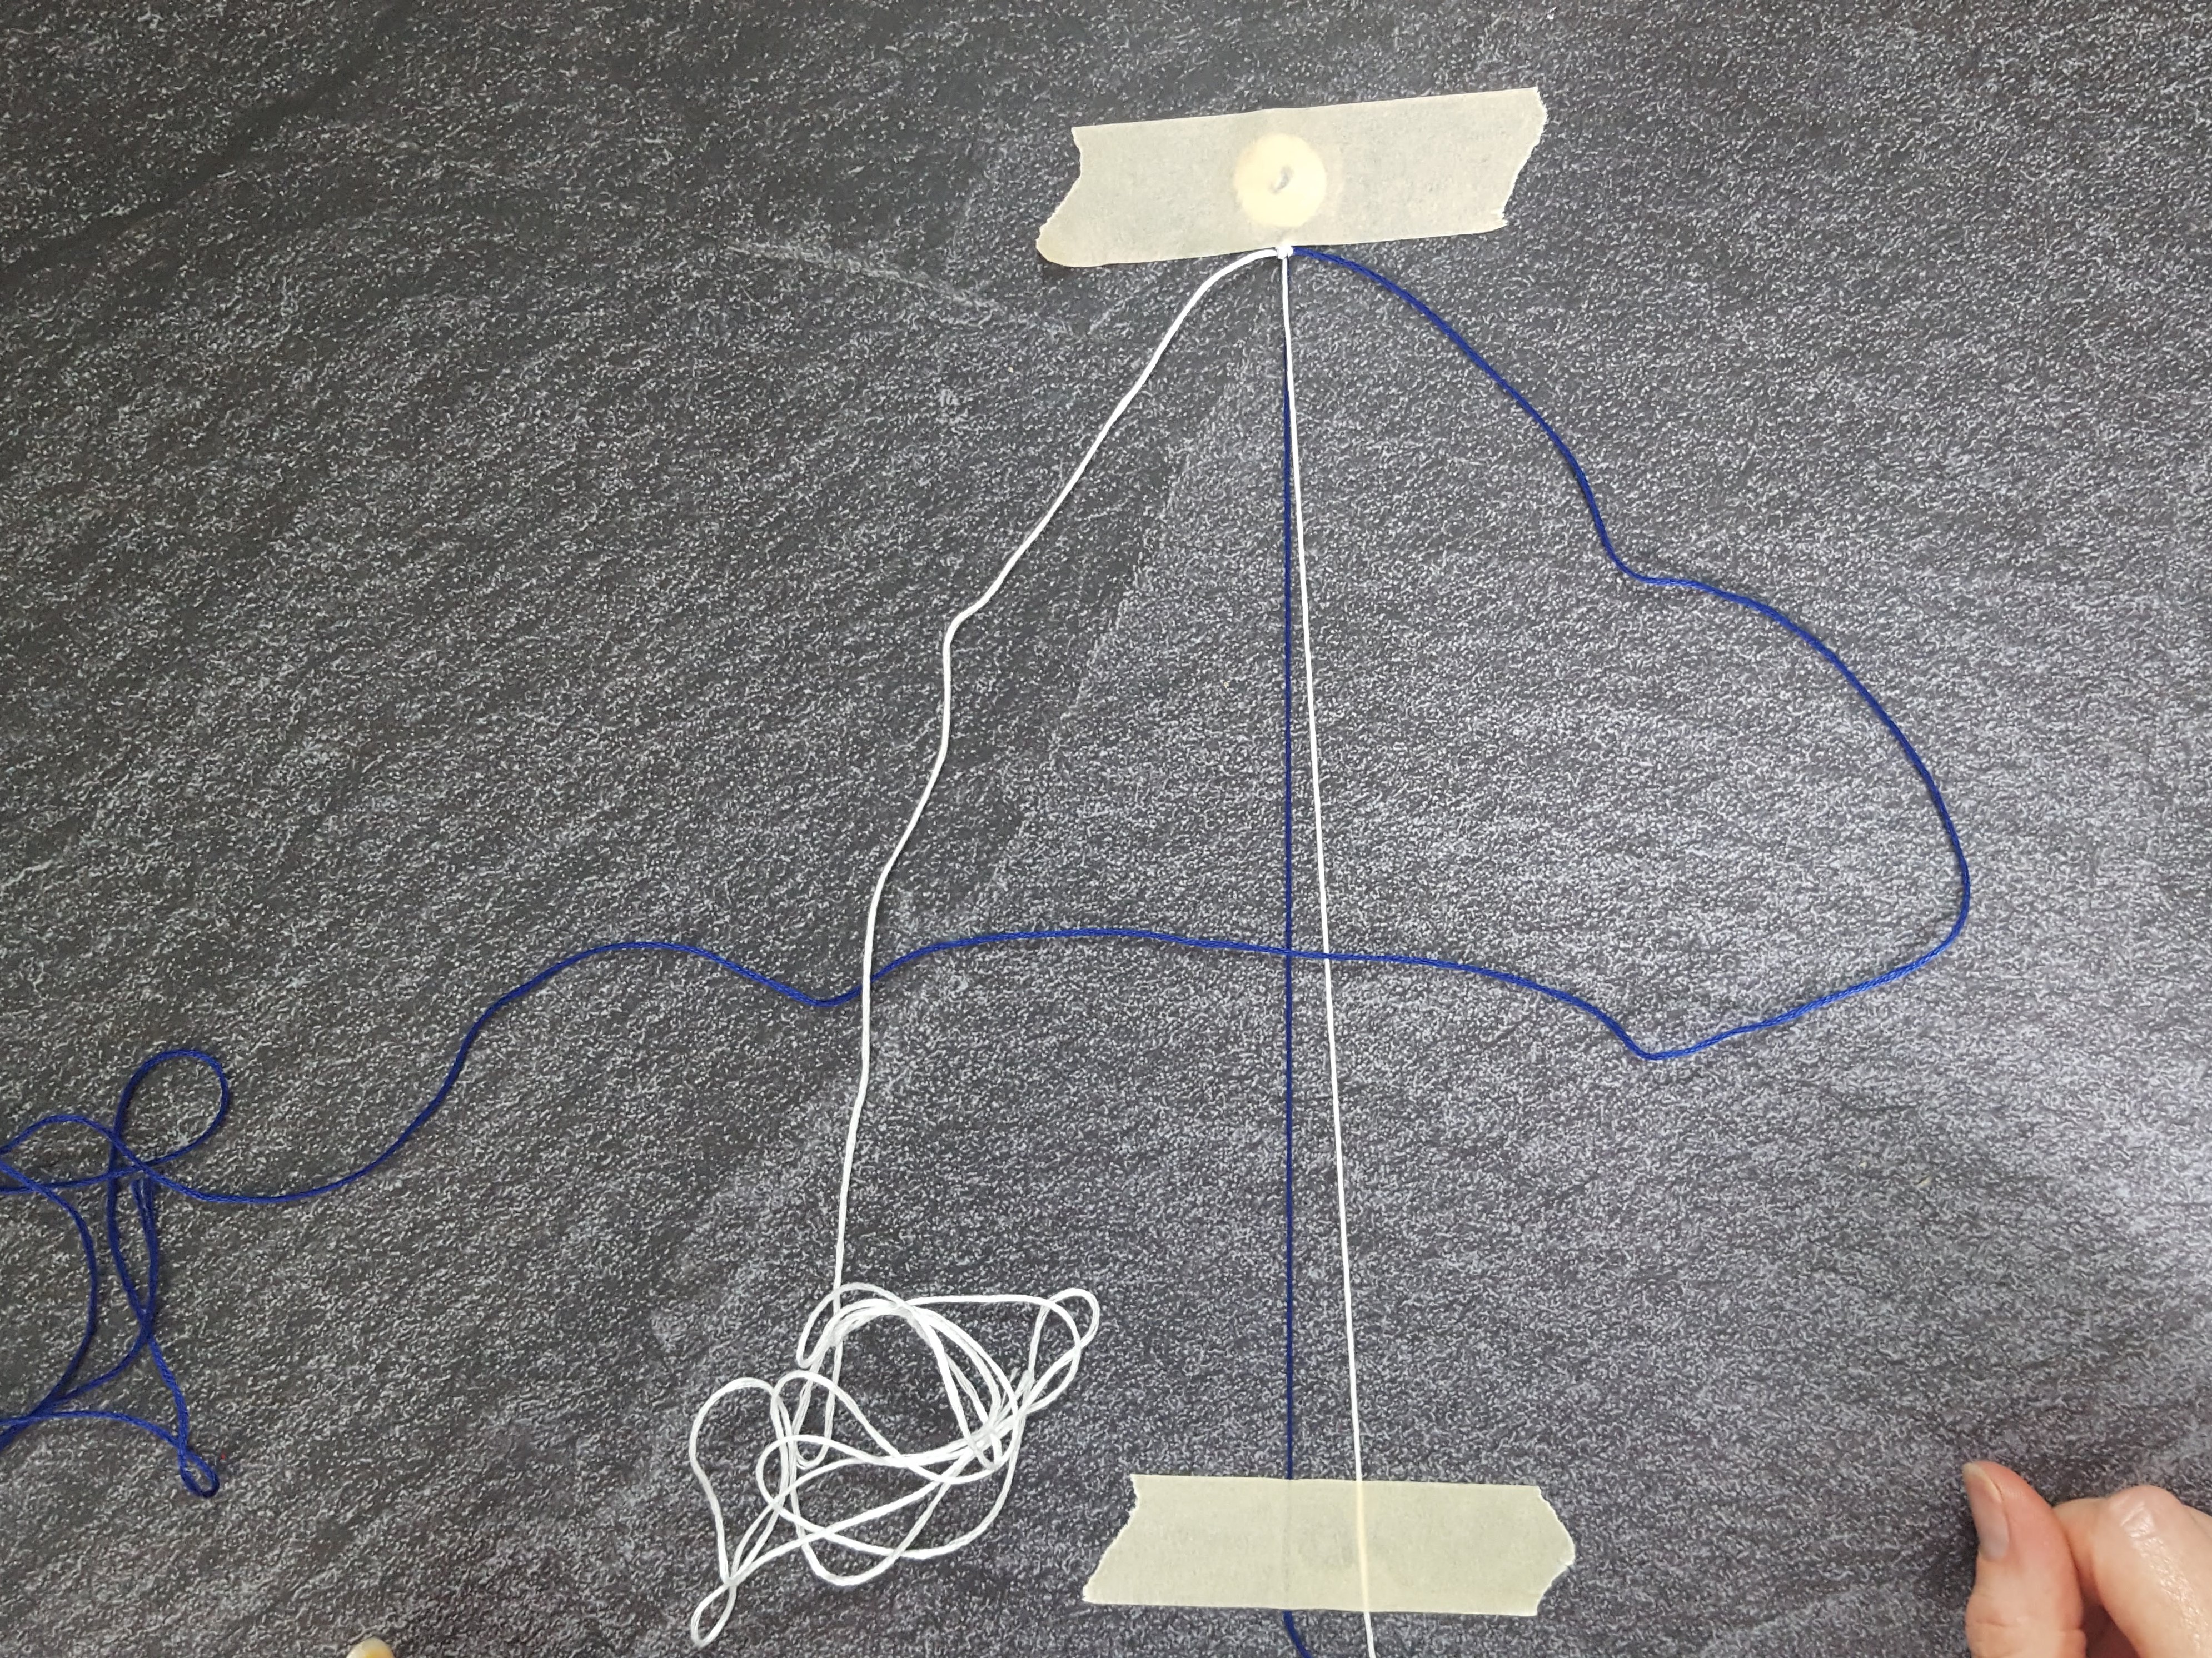
Step Three– Anchor the Cord
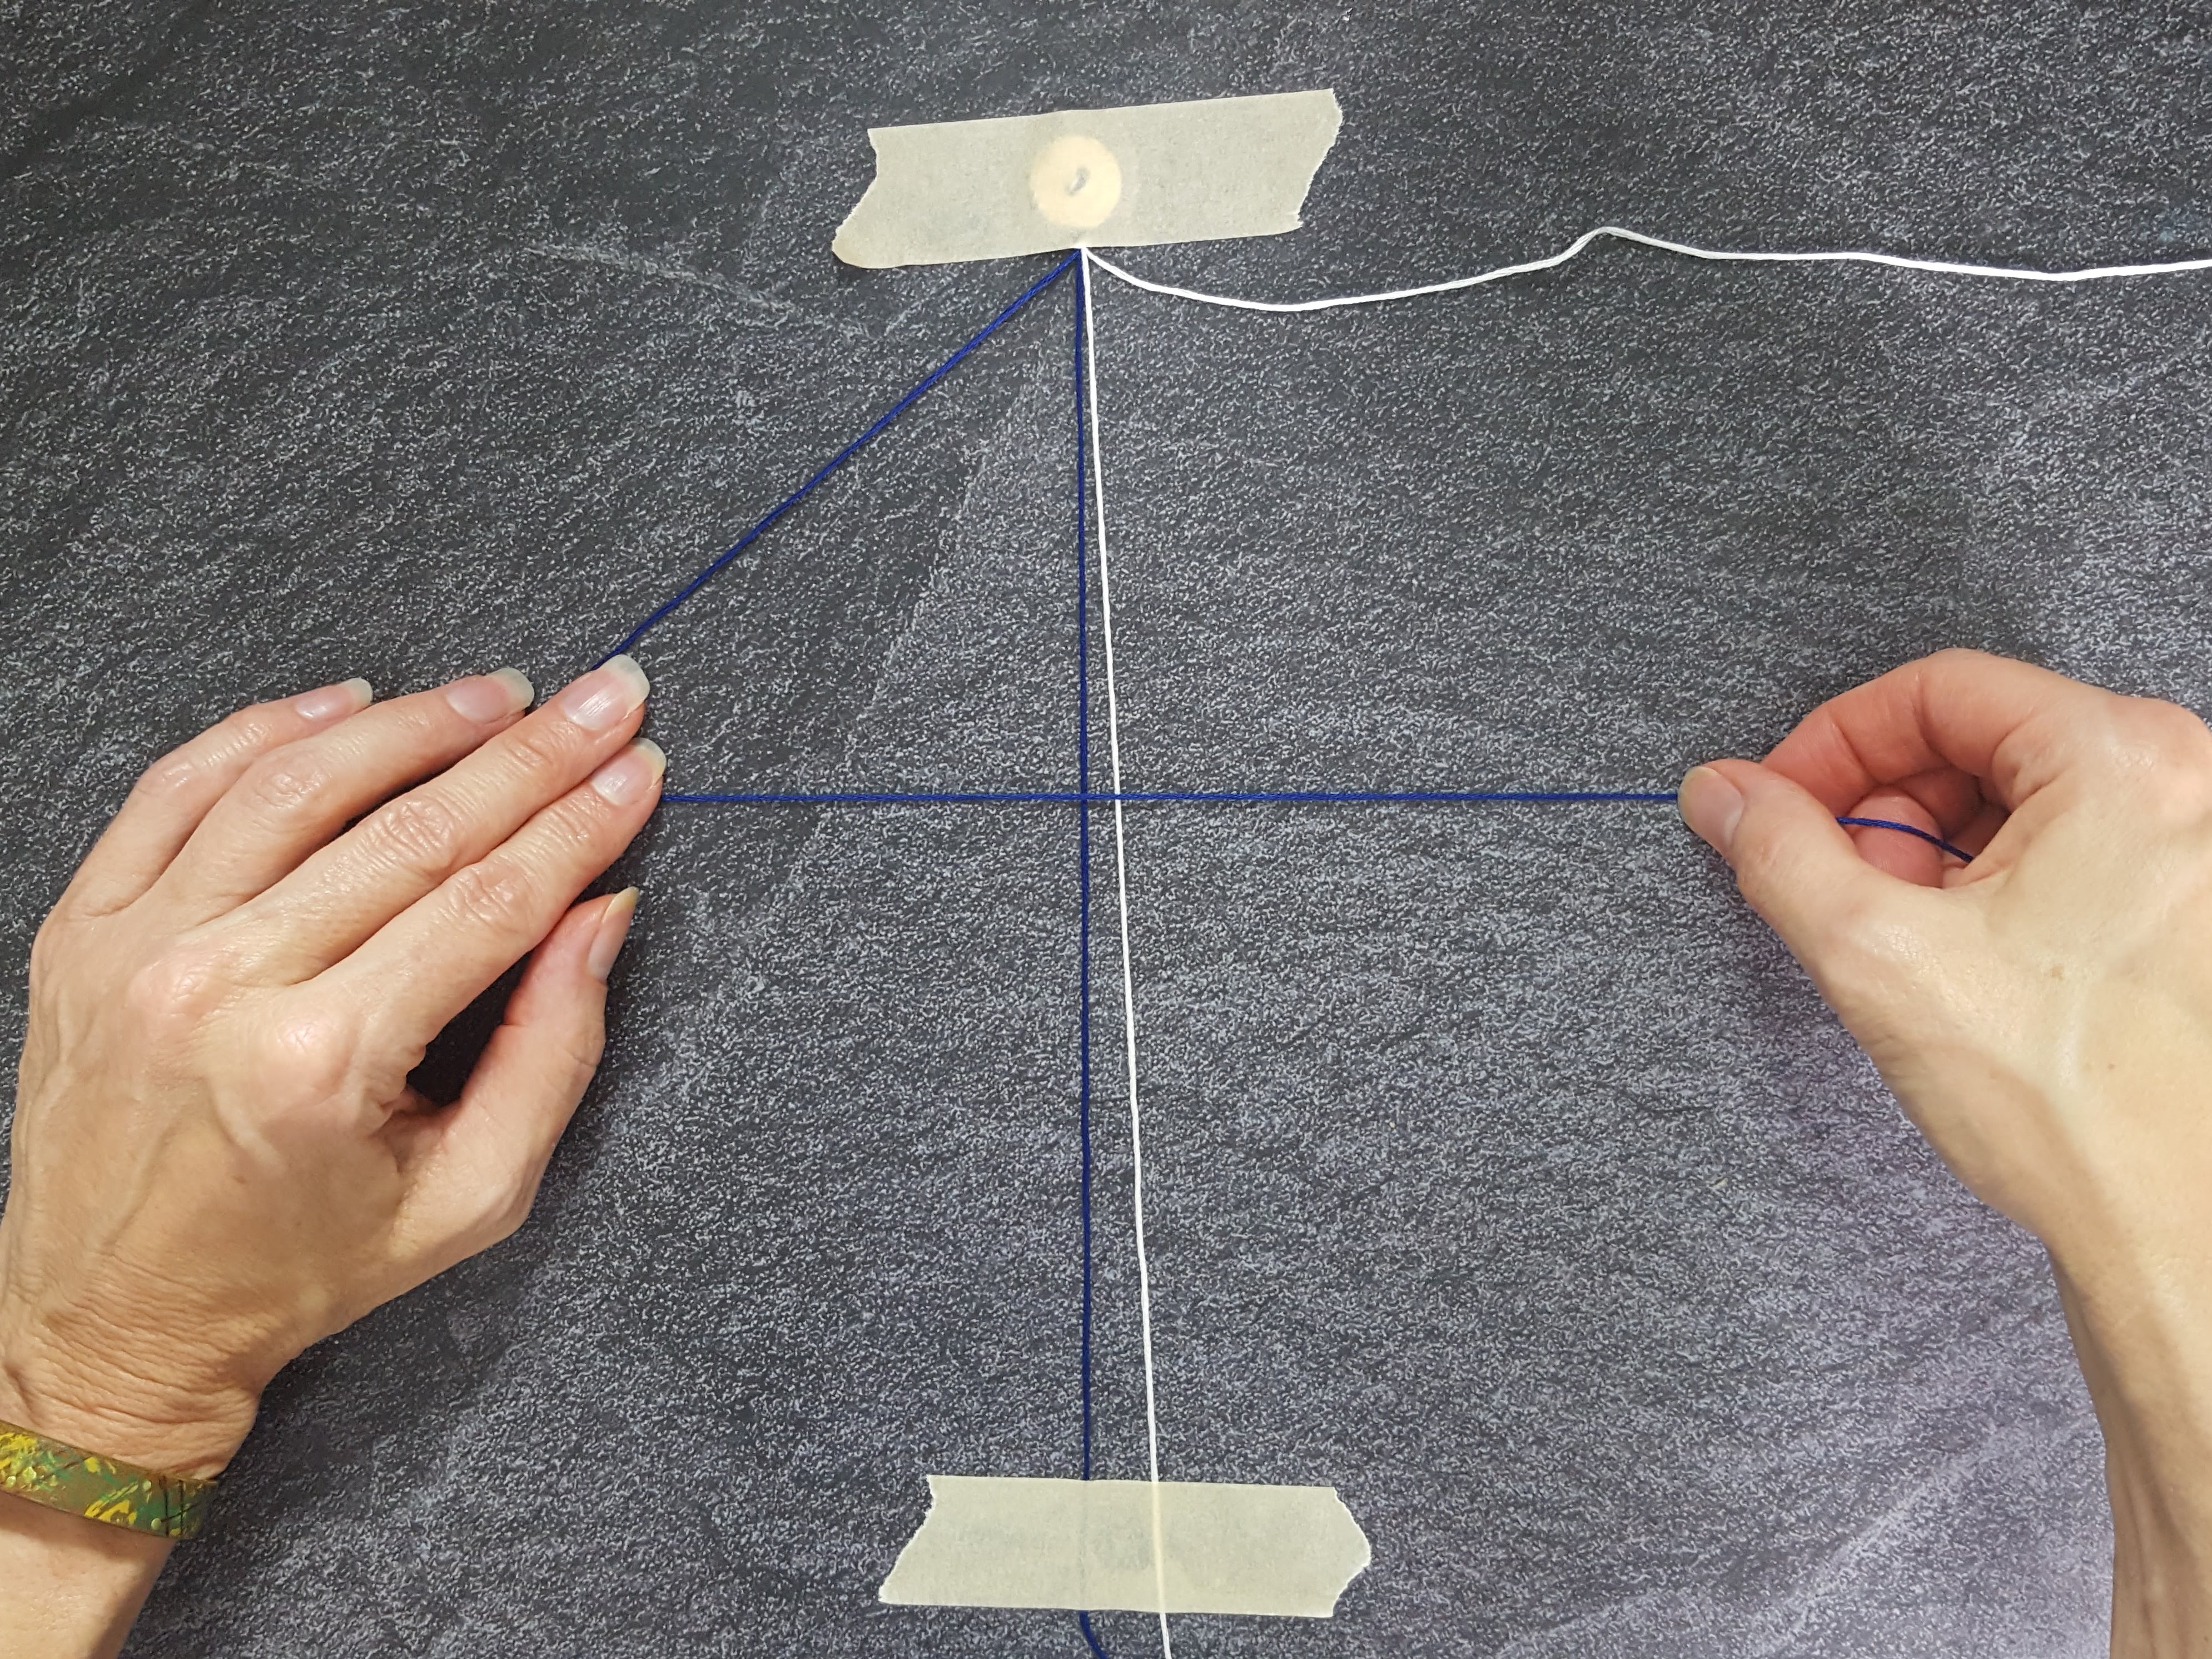
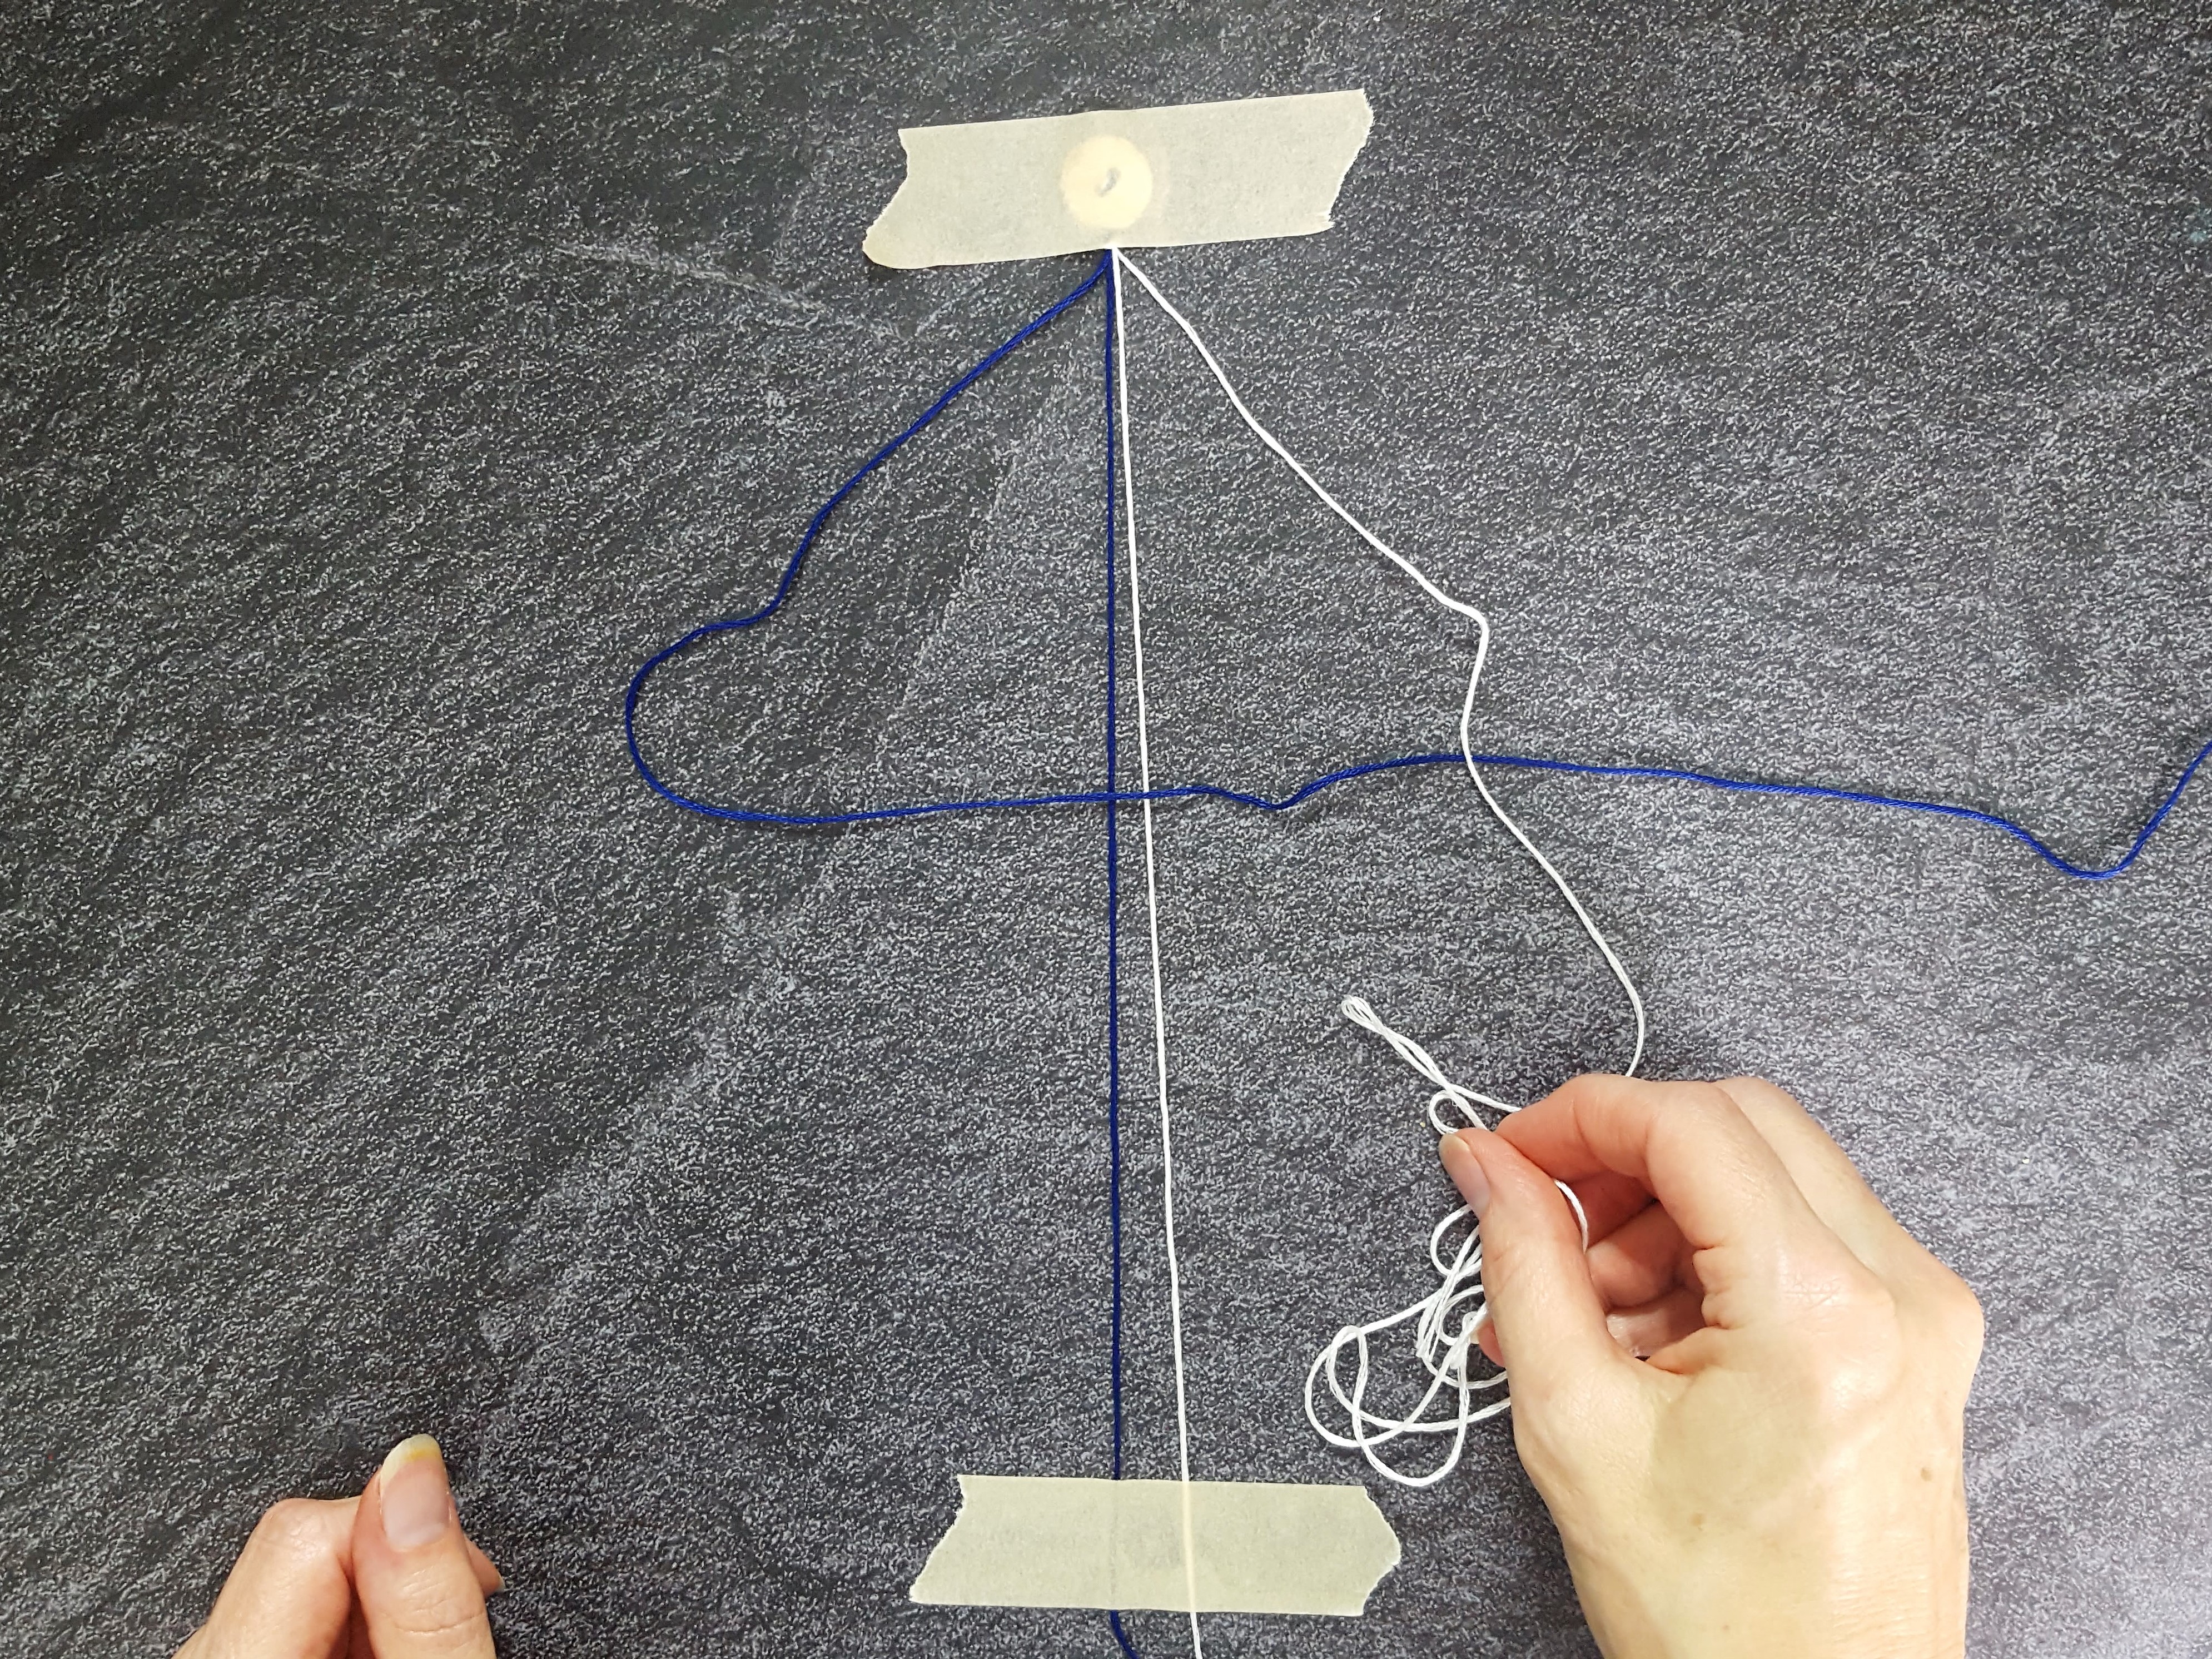
Lay out the cords so that the 12” pieces are straight ahead of you, and the 2 longer pieces are off to either side:
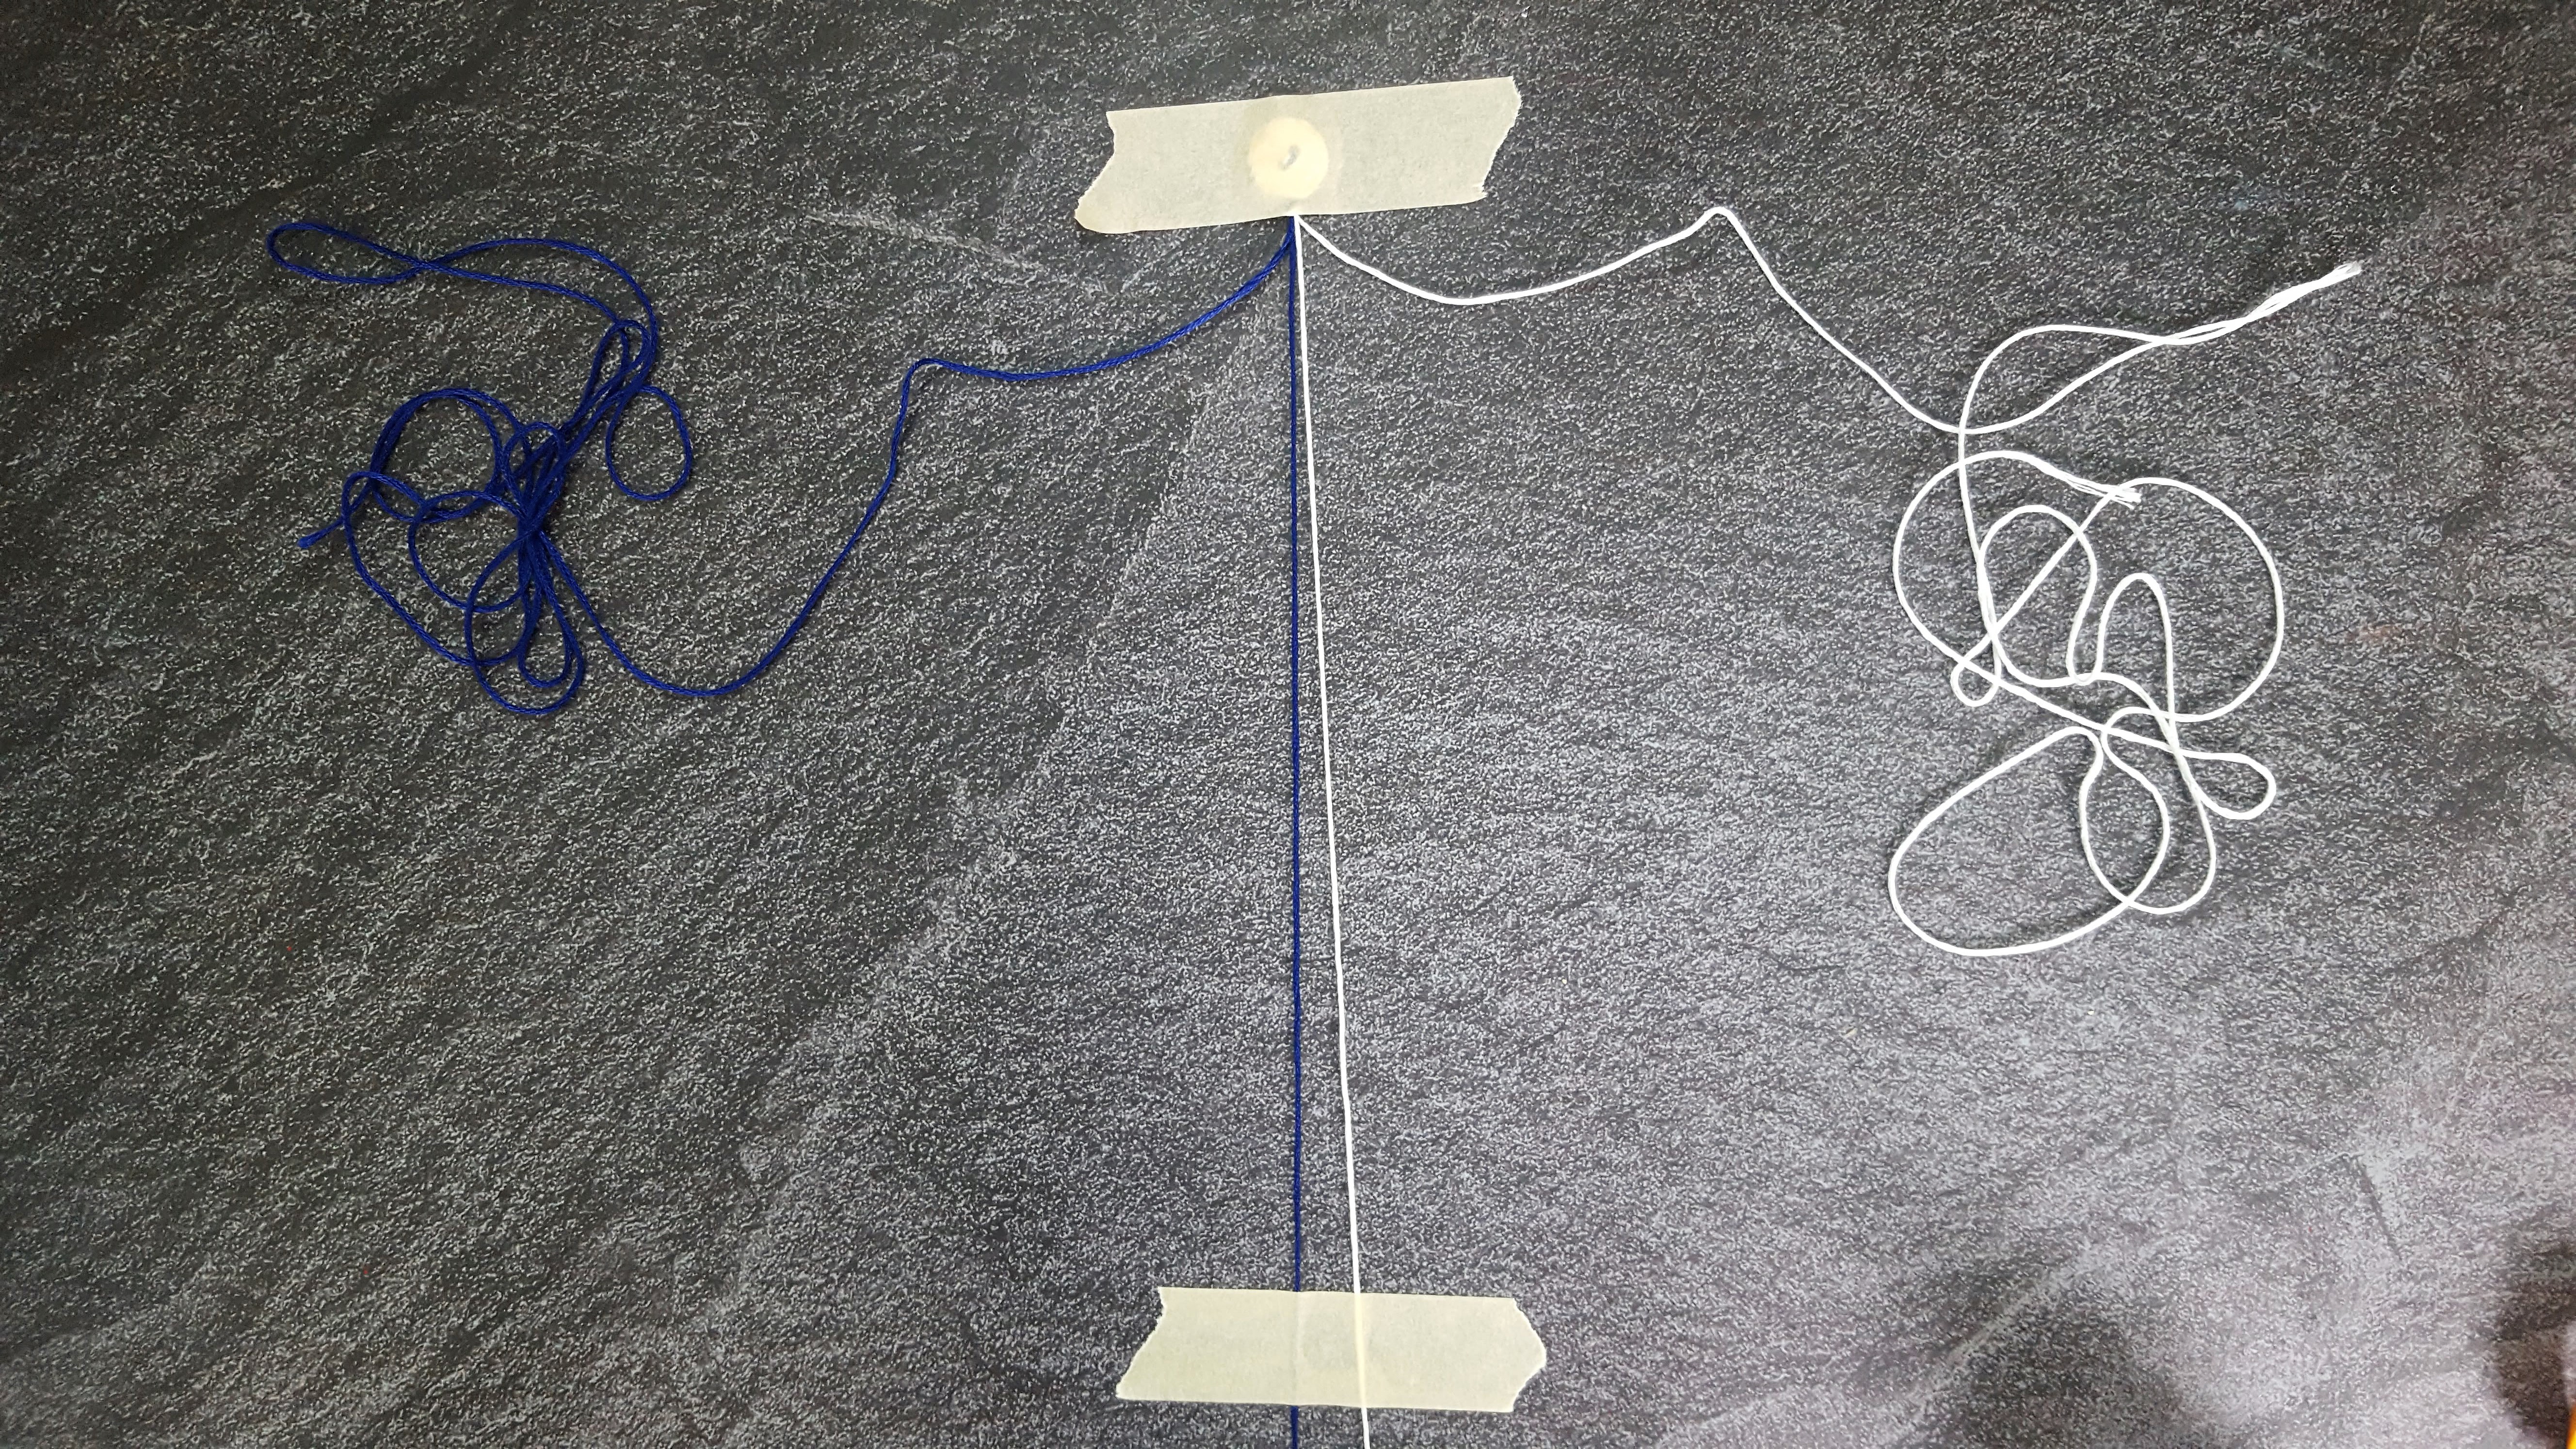
Use a piece of tape to anchor the button to your work surface, and a second piece of tape to anchor the ends of the 12” cord to the work surface:
.
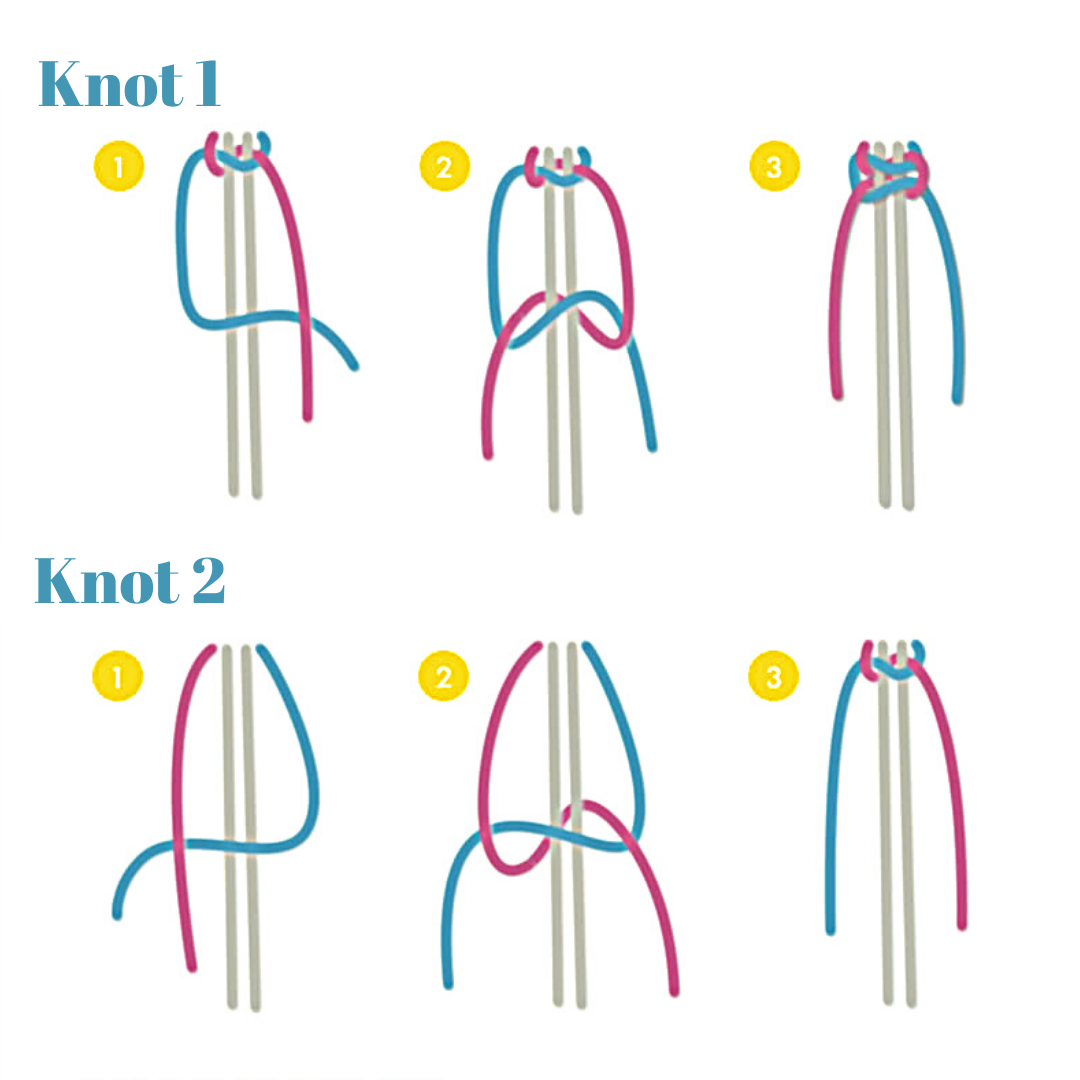
Before we start the macramé, here is a visual of the 2 knots we’ll use to make this bracelet. Note that knot 2 is just the reverse of knot 1:
.
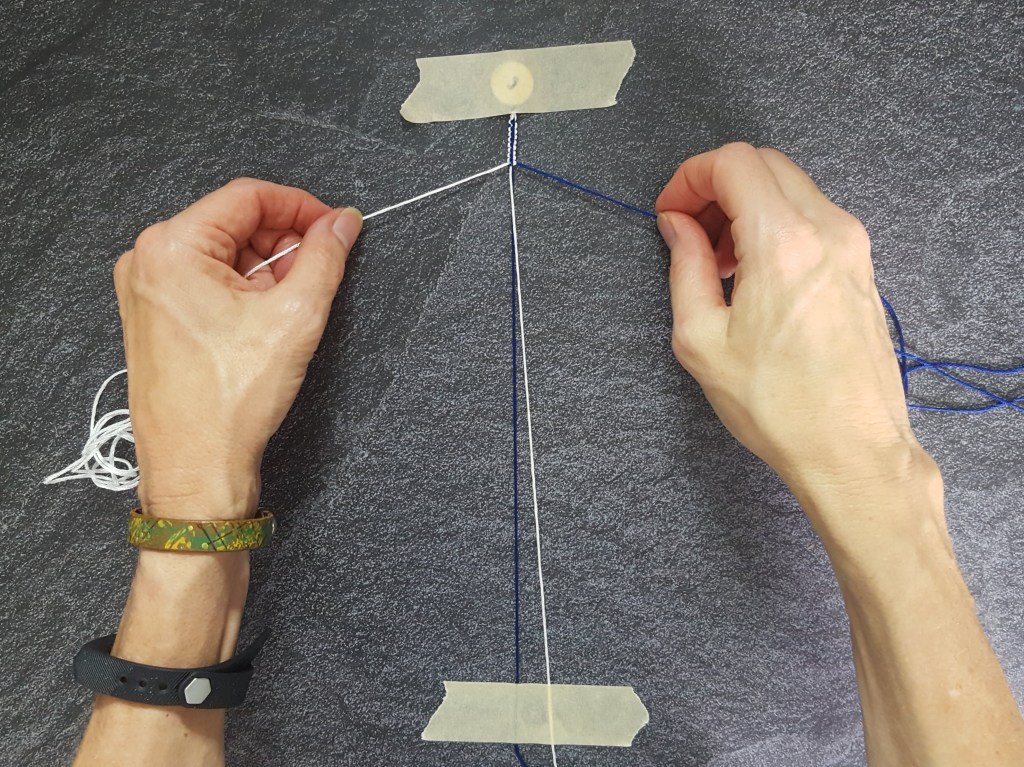
Step Four – Knot 1
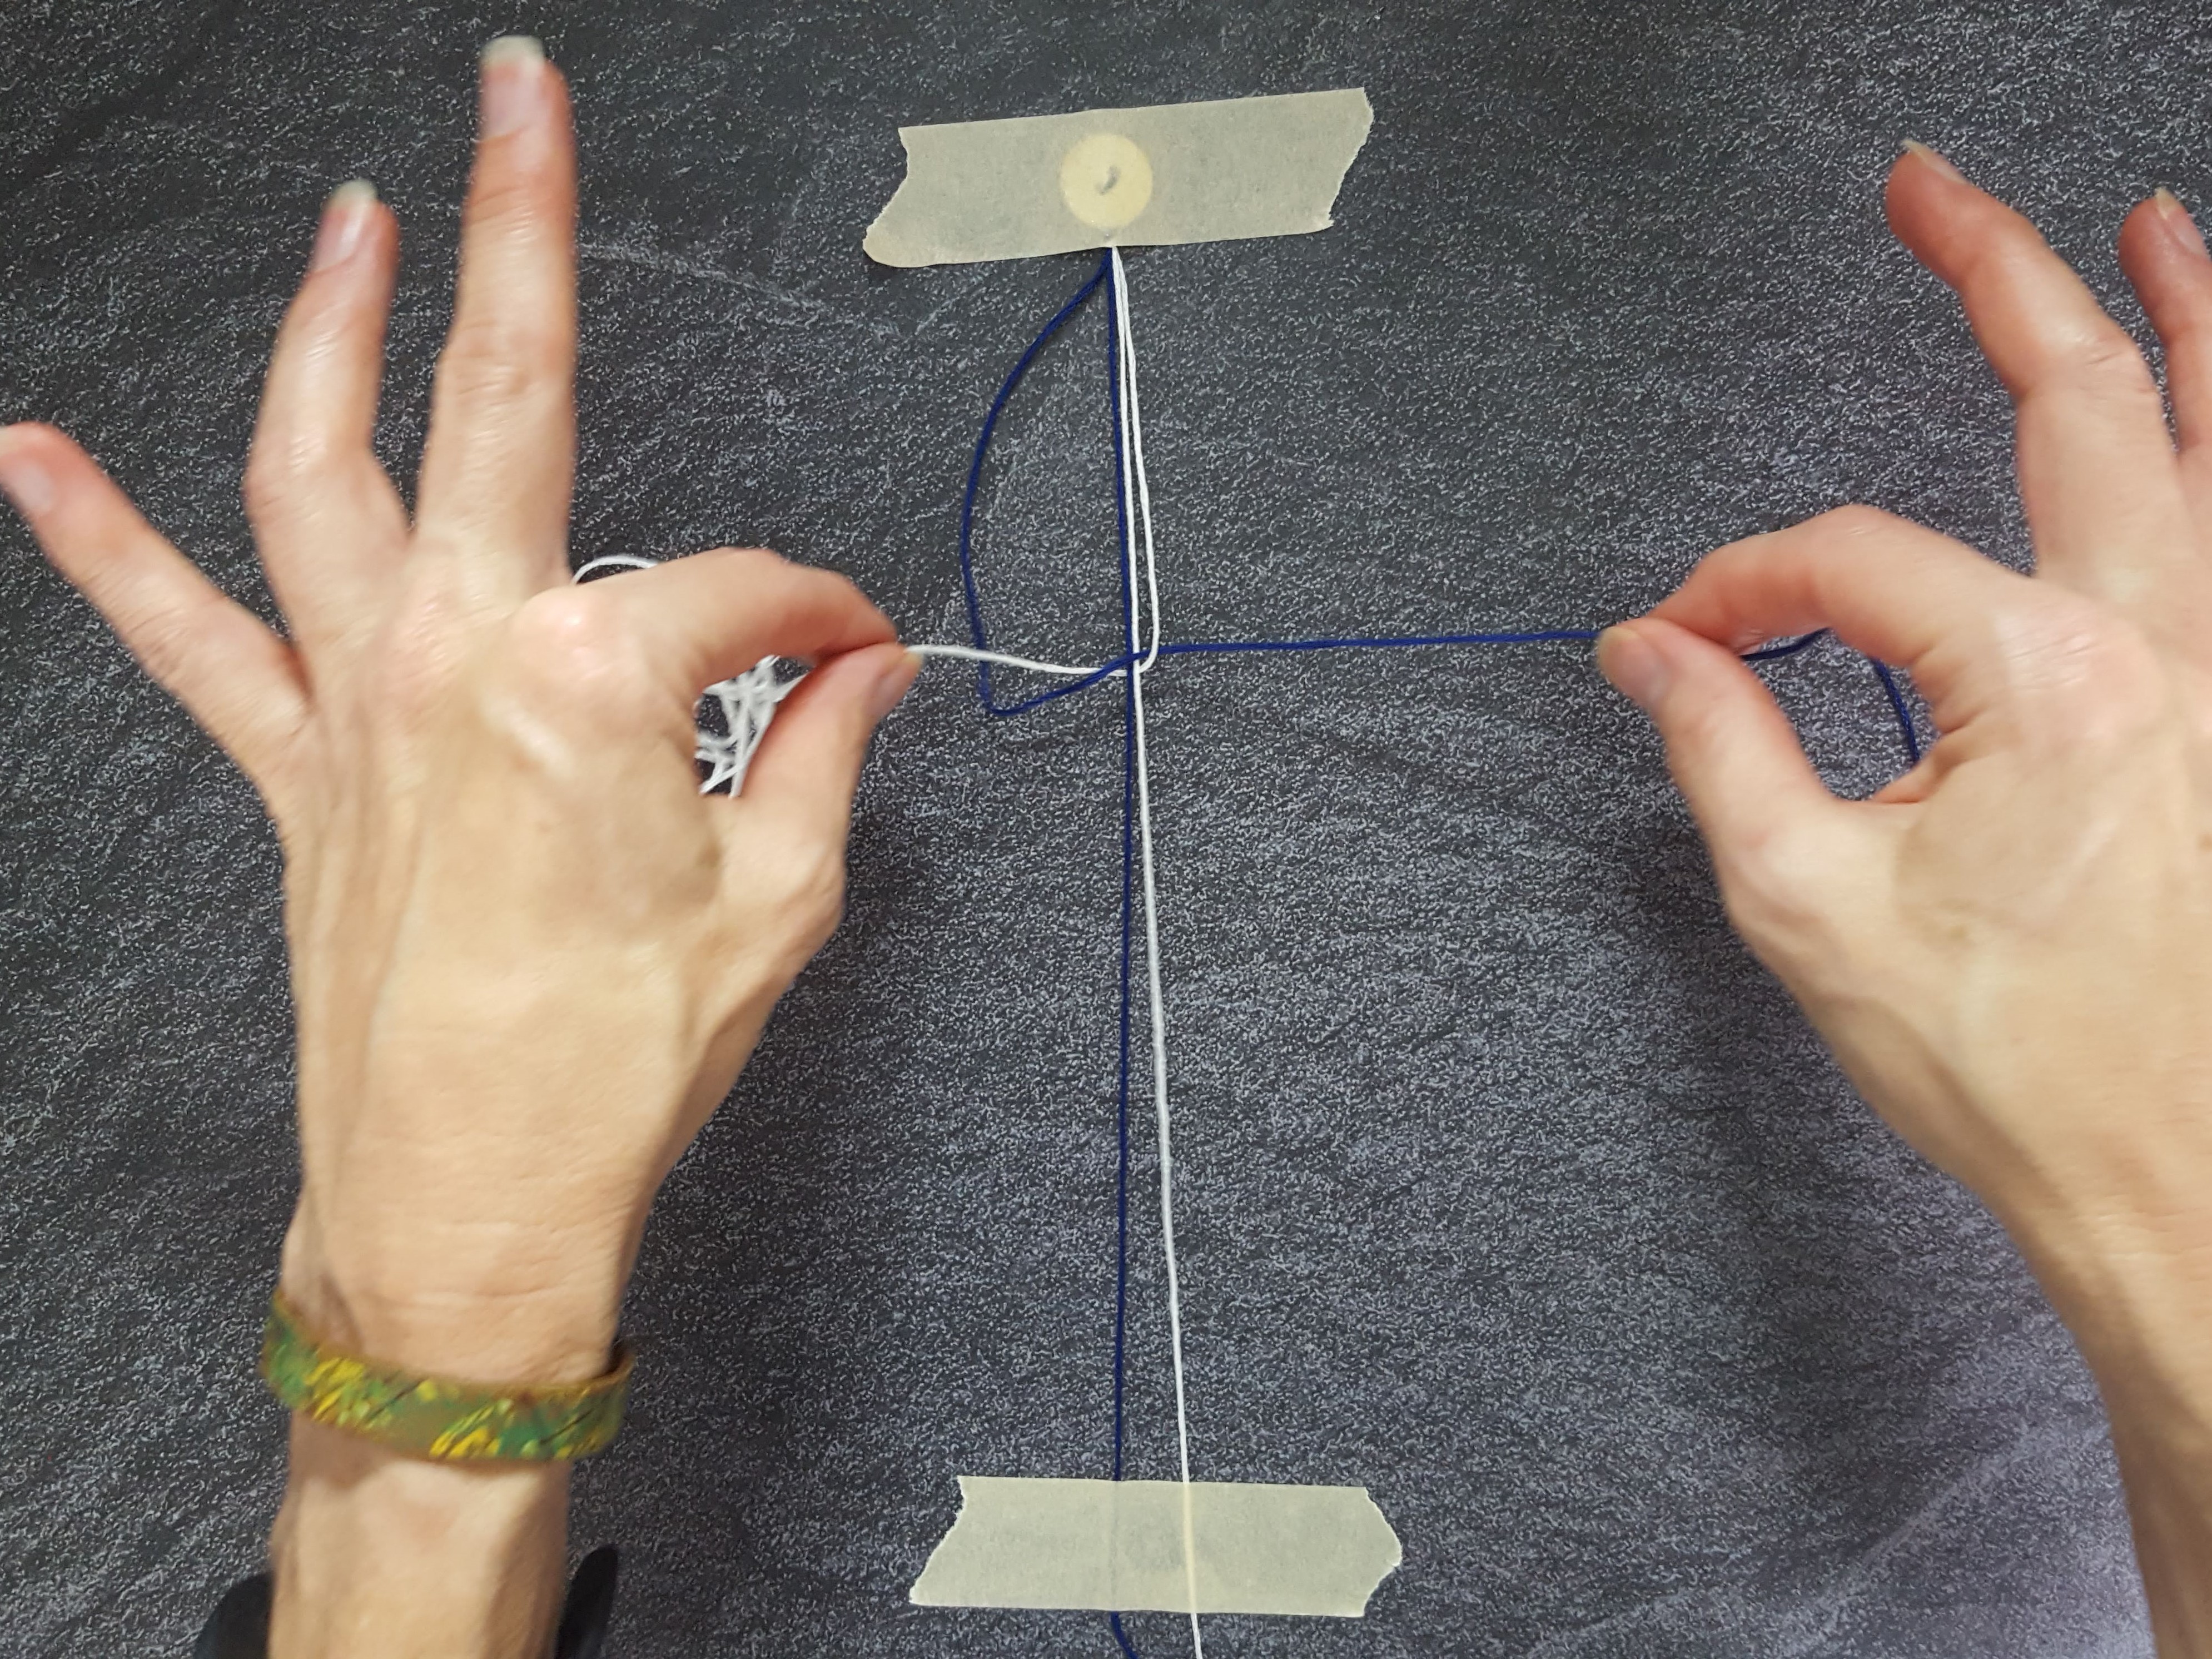
Create a figure “4” with the left side cord, laying the long end over and perpendicular to the 12” cords:
Lay the right side cord over that long end of the left cord:
Bring the right cord under the 12” cords, and up through the top part of the “4” shape:


With one long cord in each hand, start to pull the cords out to the side:
Continue pulling, until they are snug against the knot near the button, to complete Knot 1:

.
Step Five – Knot 2
Create a backwards 4 with the right side cord, laying the long end over and perpendicular to the 12” cords (note that it will be the same color cord you started with on the other side):
Lay the left side cord over that long end of the right cord:
Bring the left cord under the 12” cords, and up through the top part of the “4” shape:

With one long cord in each hand, start to pull the cords out to the side:

Continue pulling, until they are snug against the knot near the button, to complete Knot 2.
.
Step Six – Continue Knotting
Alternate knots 1 and 2, by repeating steps 4 and 5:
Periodically pause to measure the length of your bracelet, from the middle of the button, to the end of your knots.
NOTE: I find it helpful to always complete a cycle of knot 1 and knot 2 before stopping, so I know which side to start back up on.

Stop knotting when the length of your bracelet is ½’ shorter than the finished length you want.
.
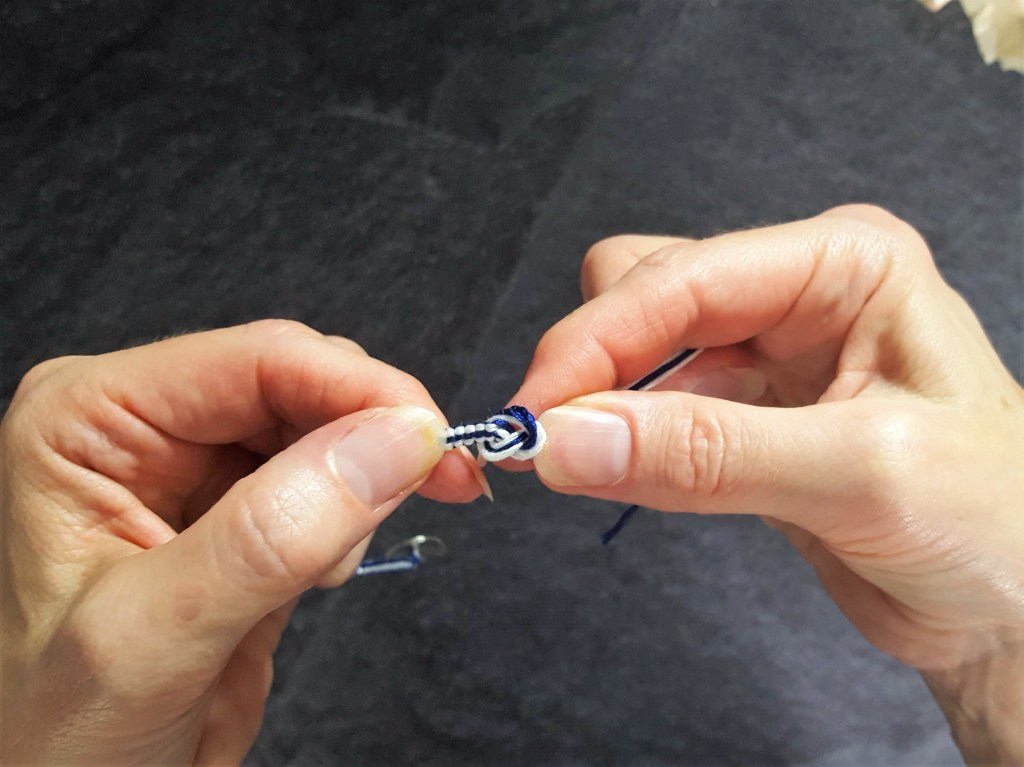
Step Seven – Finishing
Remove the tape.
Using all 4 cords, create a simple overhand knot, and pull it tight over the last of the knotted portion of your bracelet:
Trim the short cords close to the overhand knot, leaving about ¼’, and taking care not to cut the longer cords.
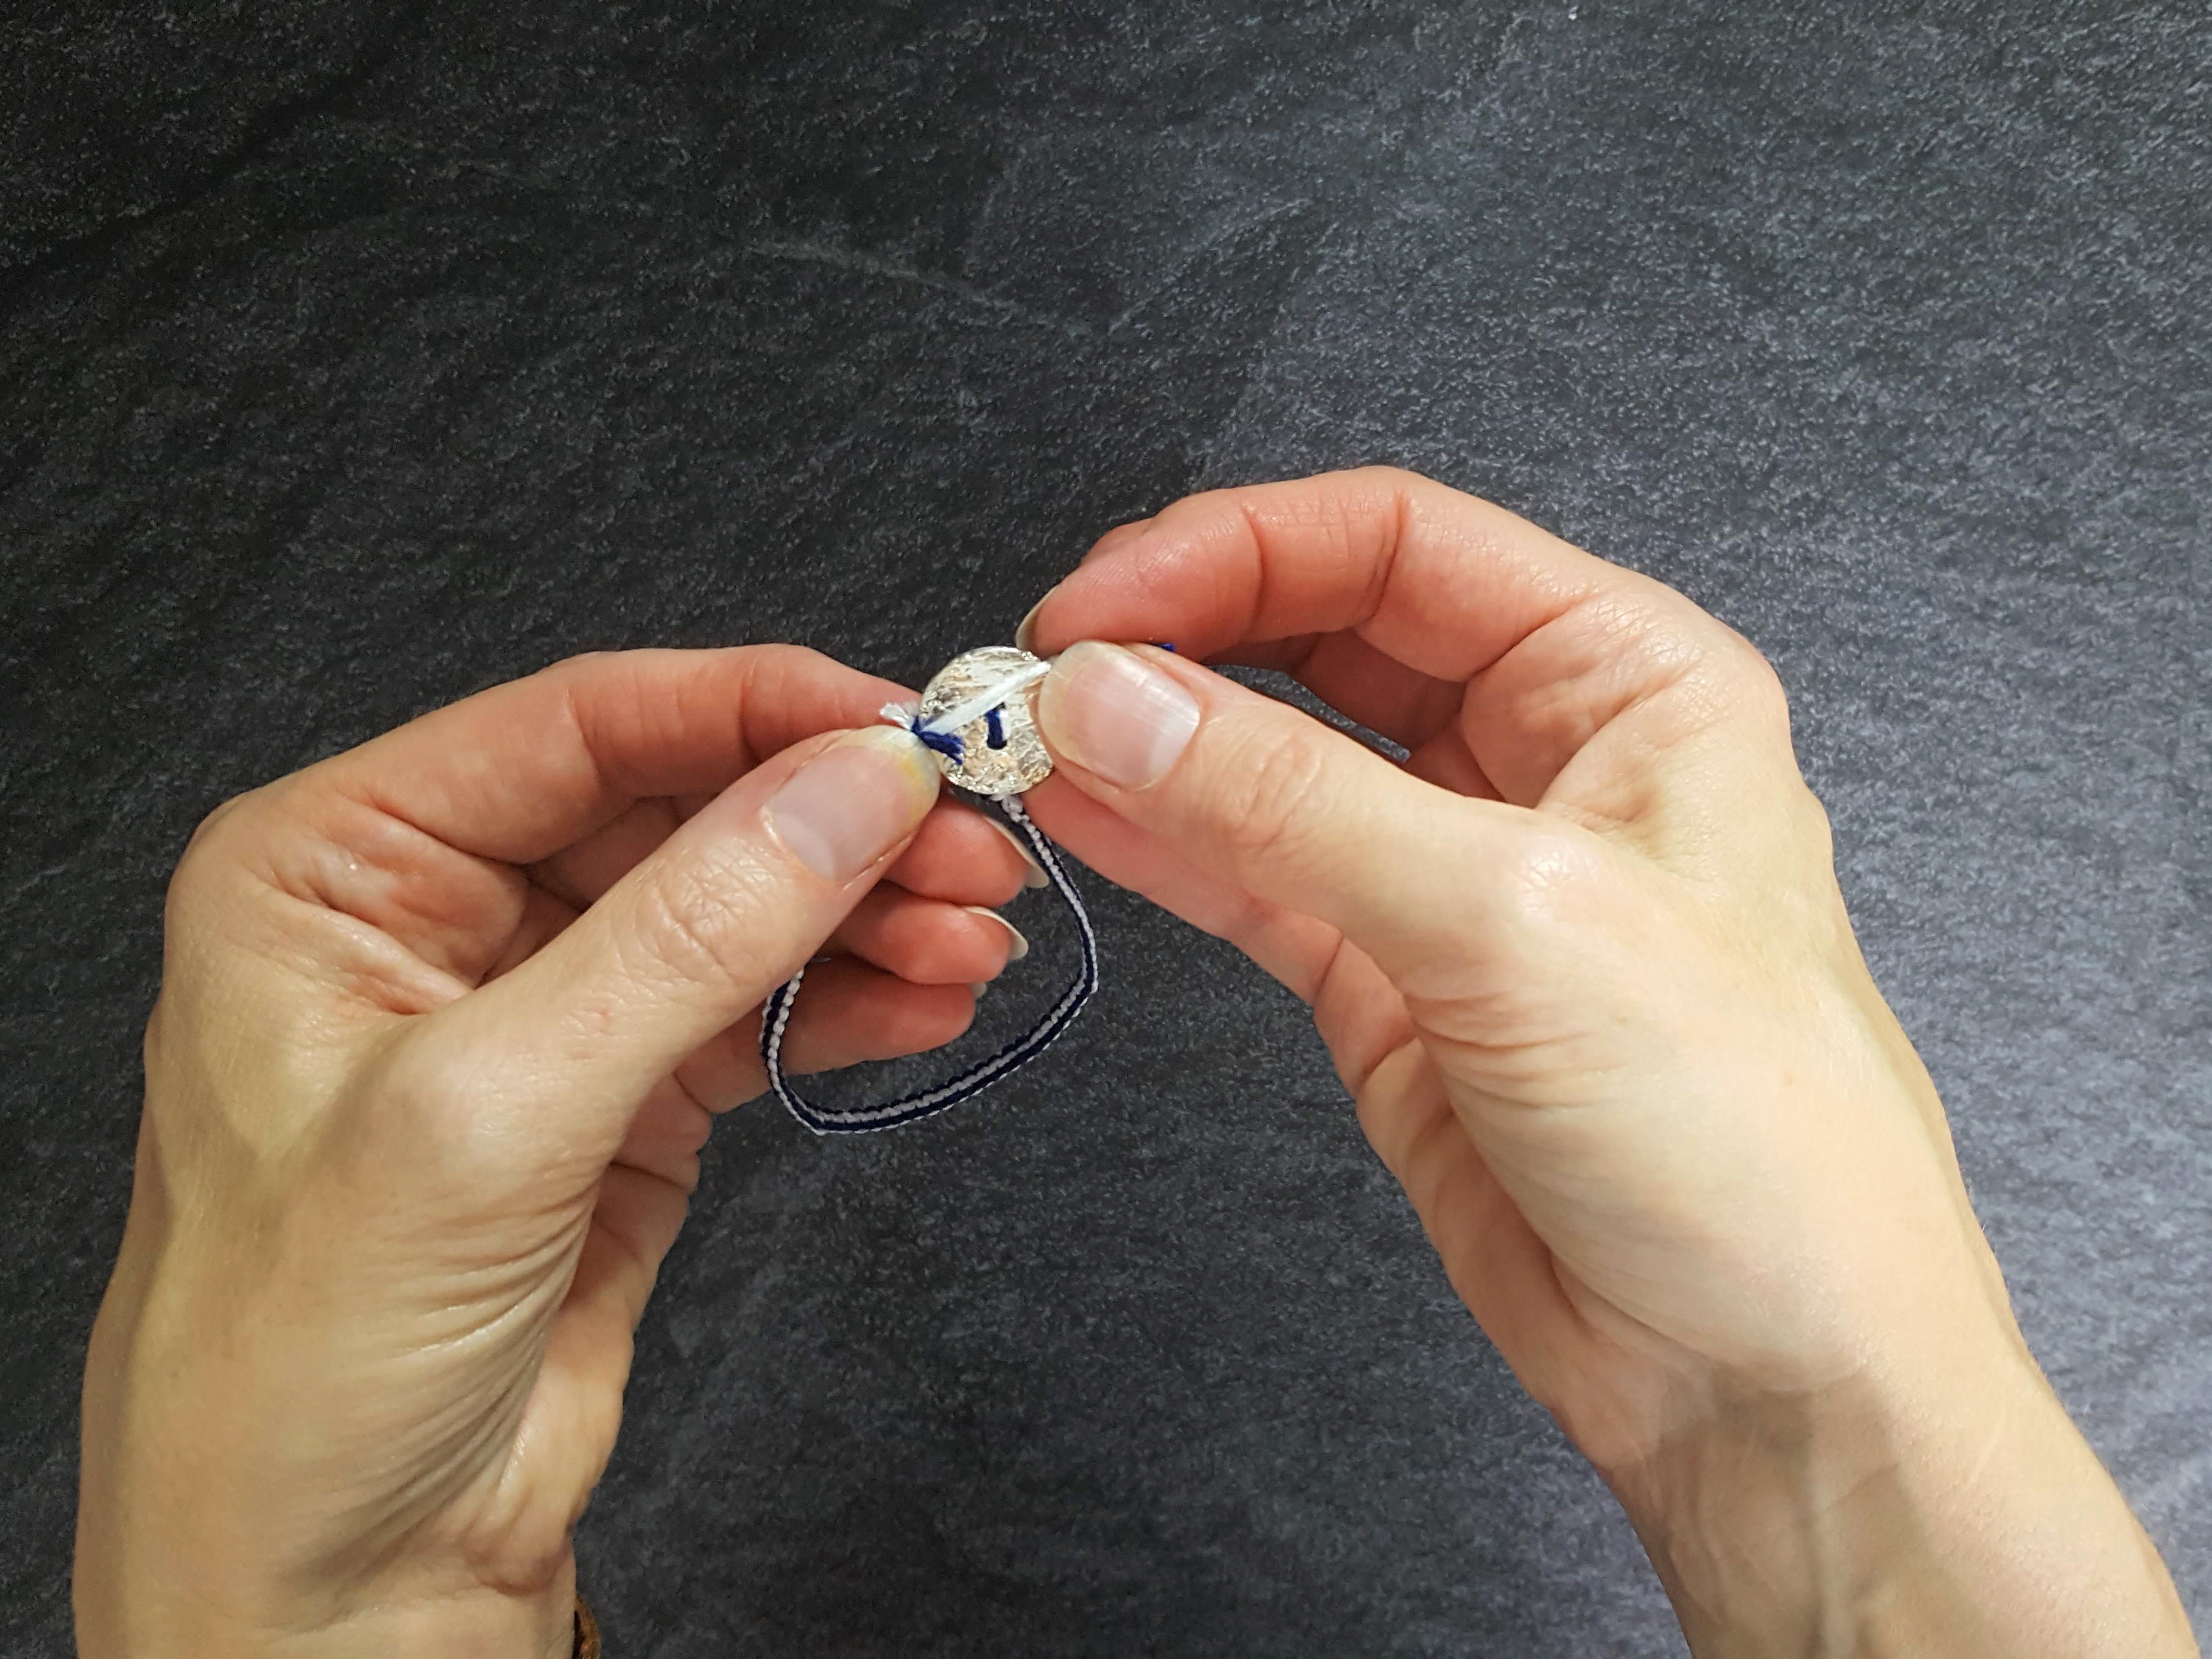
Hold the button up next to that knot, to get an idea of how big you need your button hole:

Create a second overhand knot in the longer cords, testing that the button will fit, before pulling it tight.
Trim the cords close to knot, leaving about ¼”
.
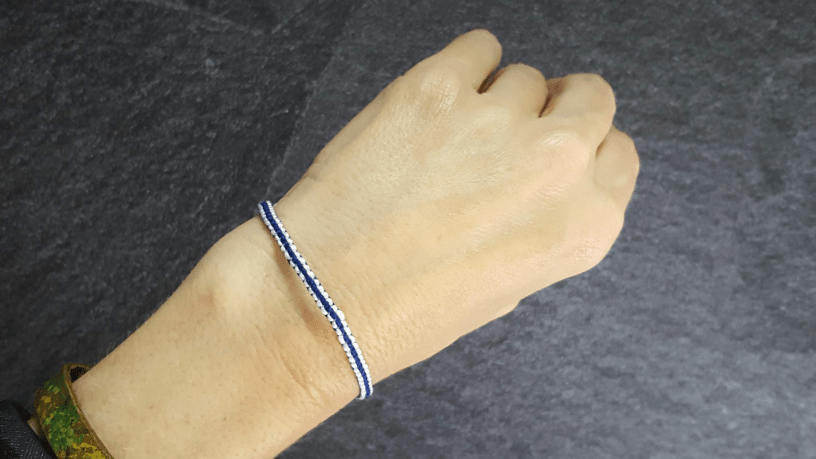
Step Eight – Wear It!
Your finished bracelet is ready to wear!
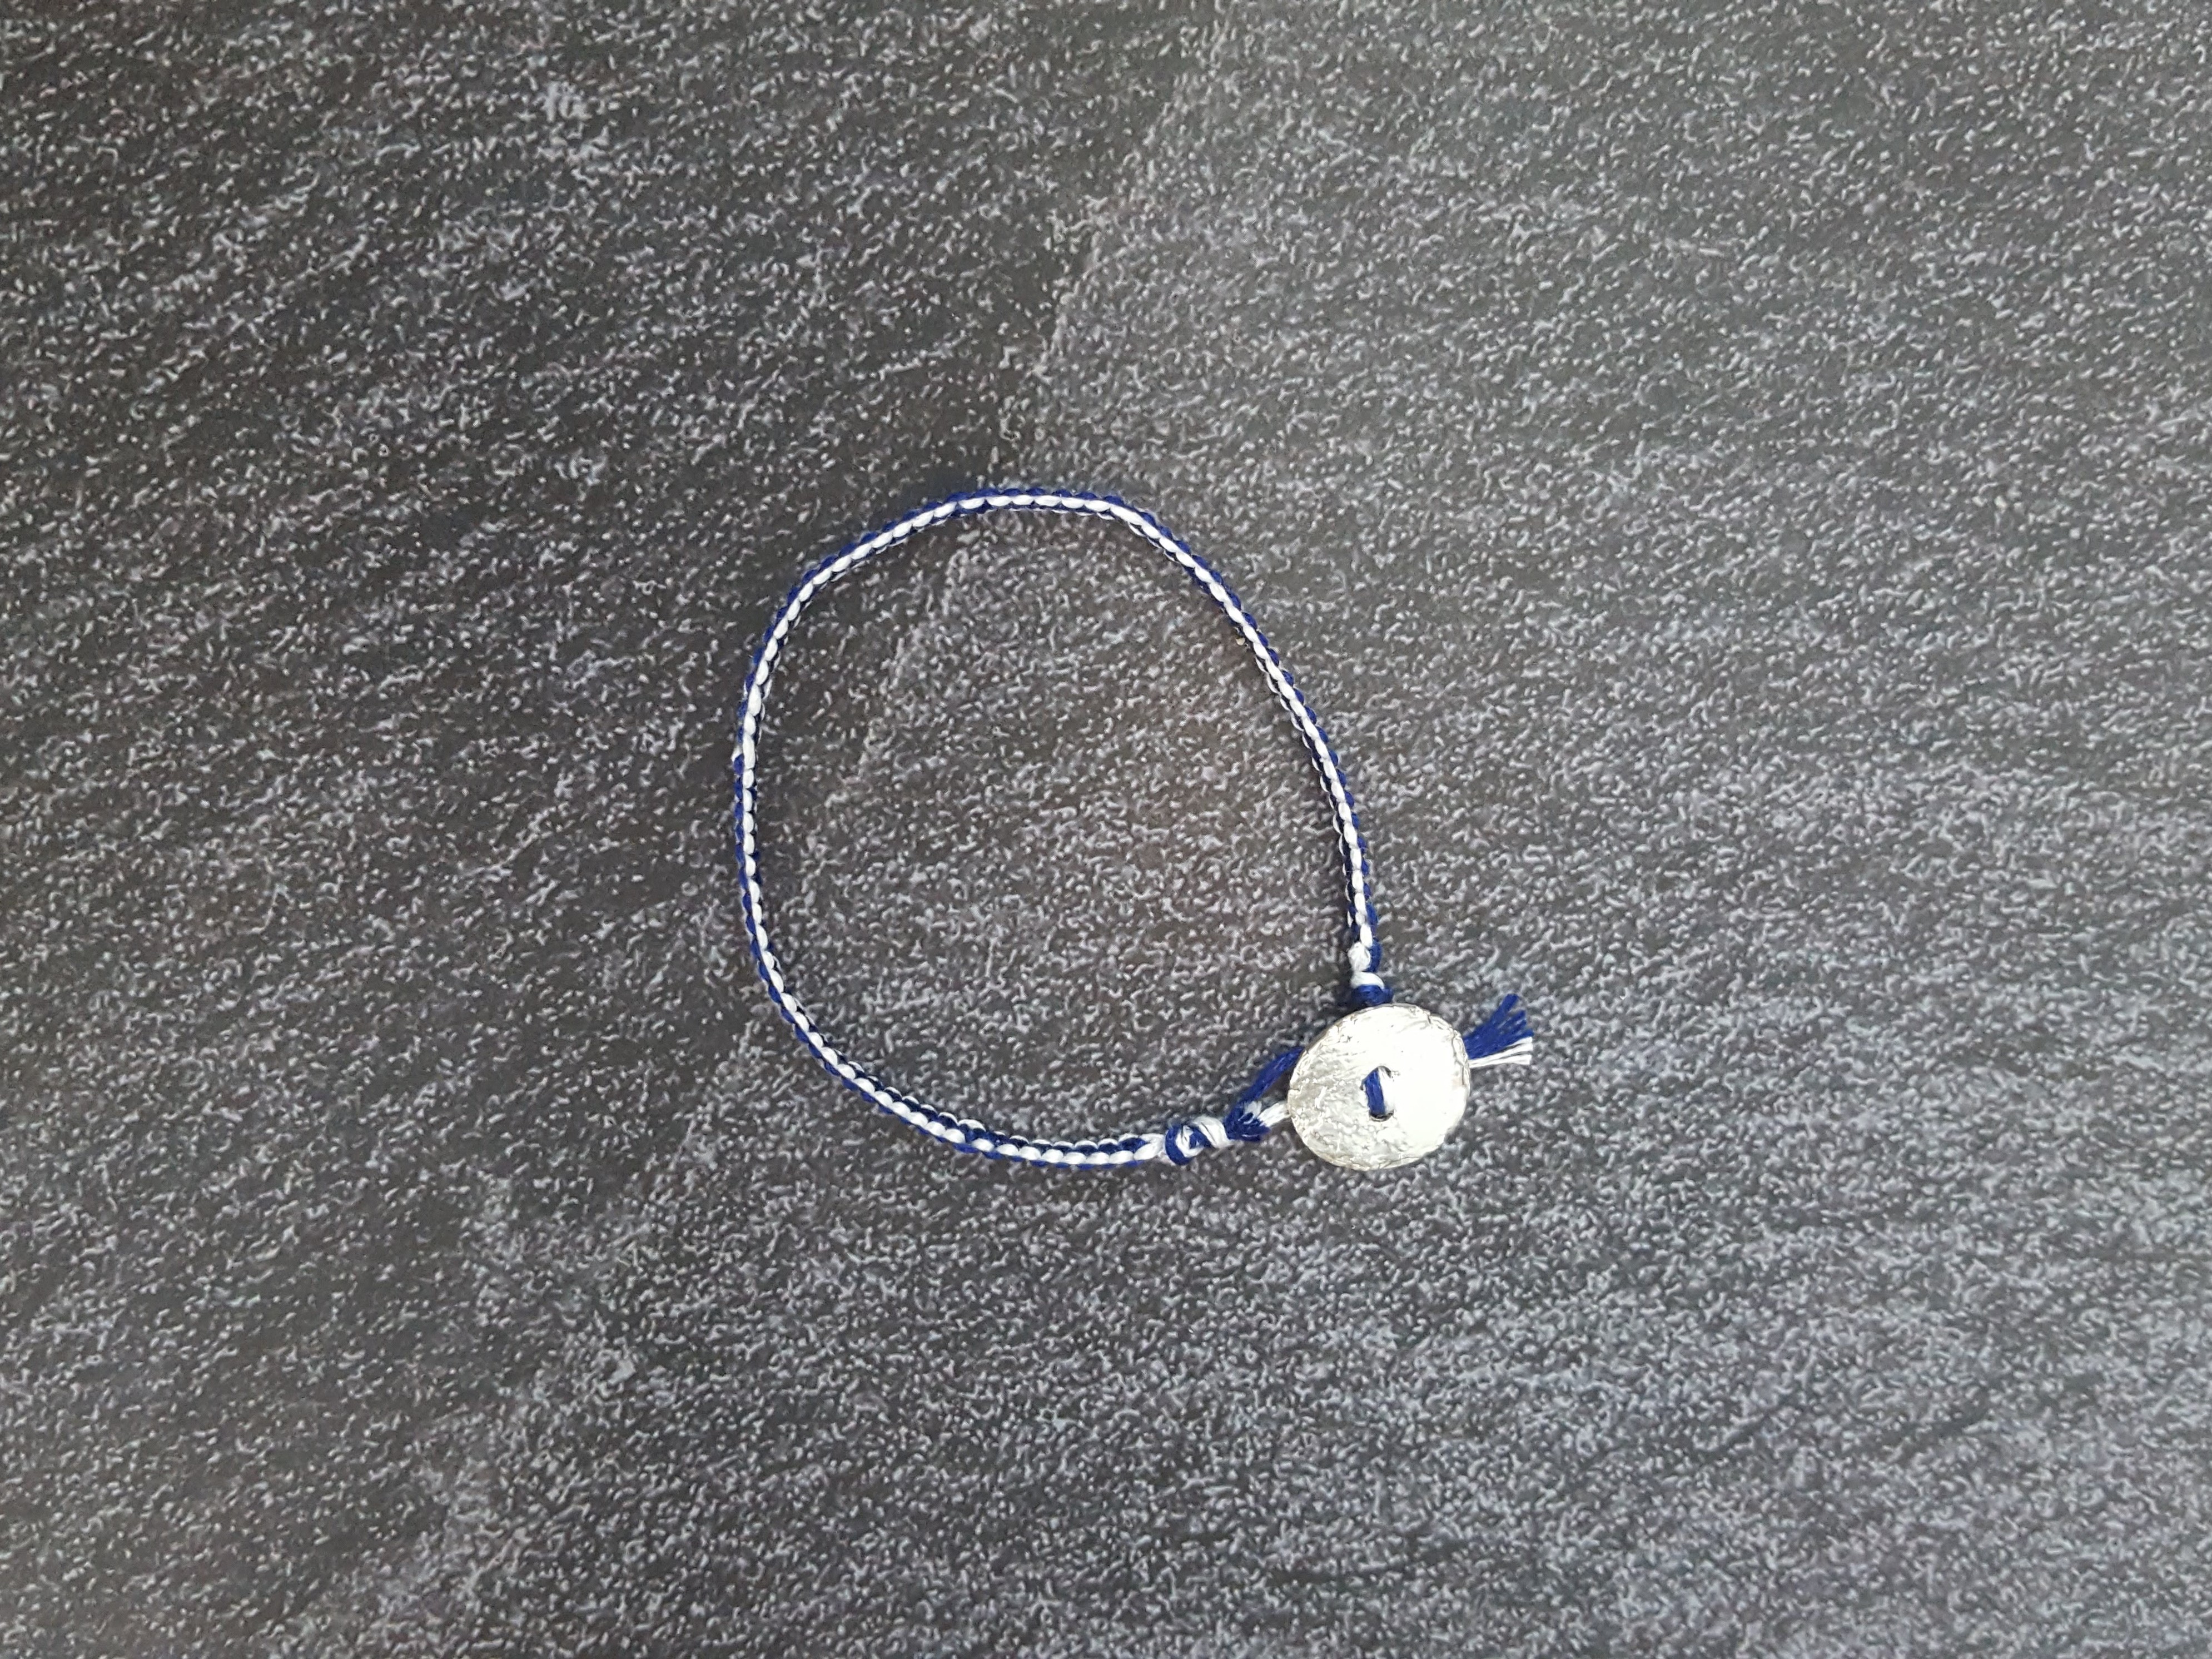
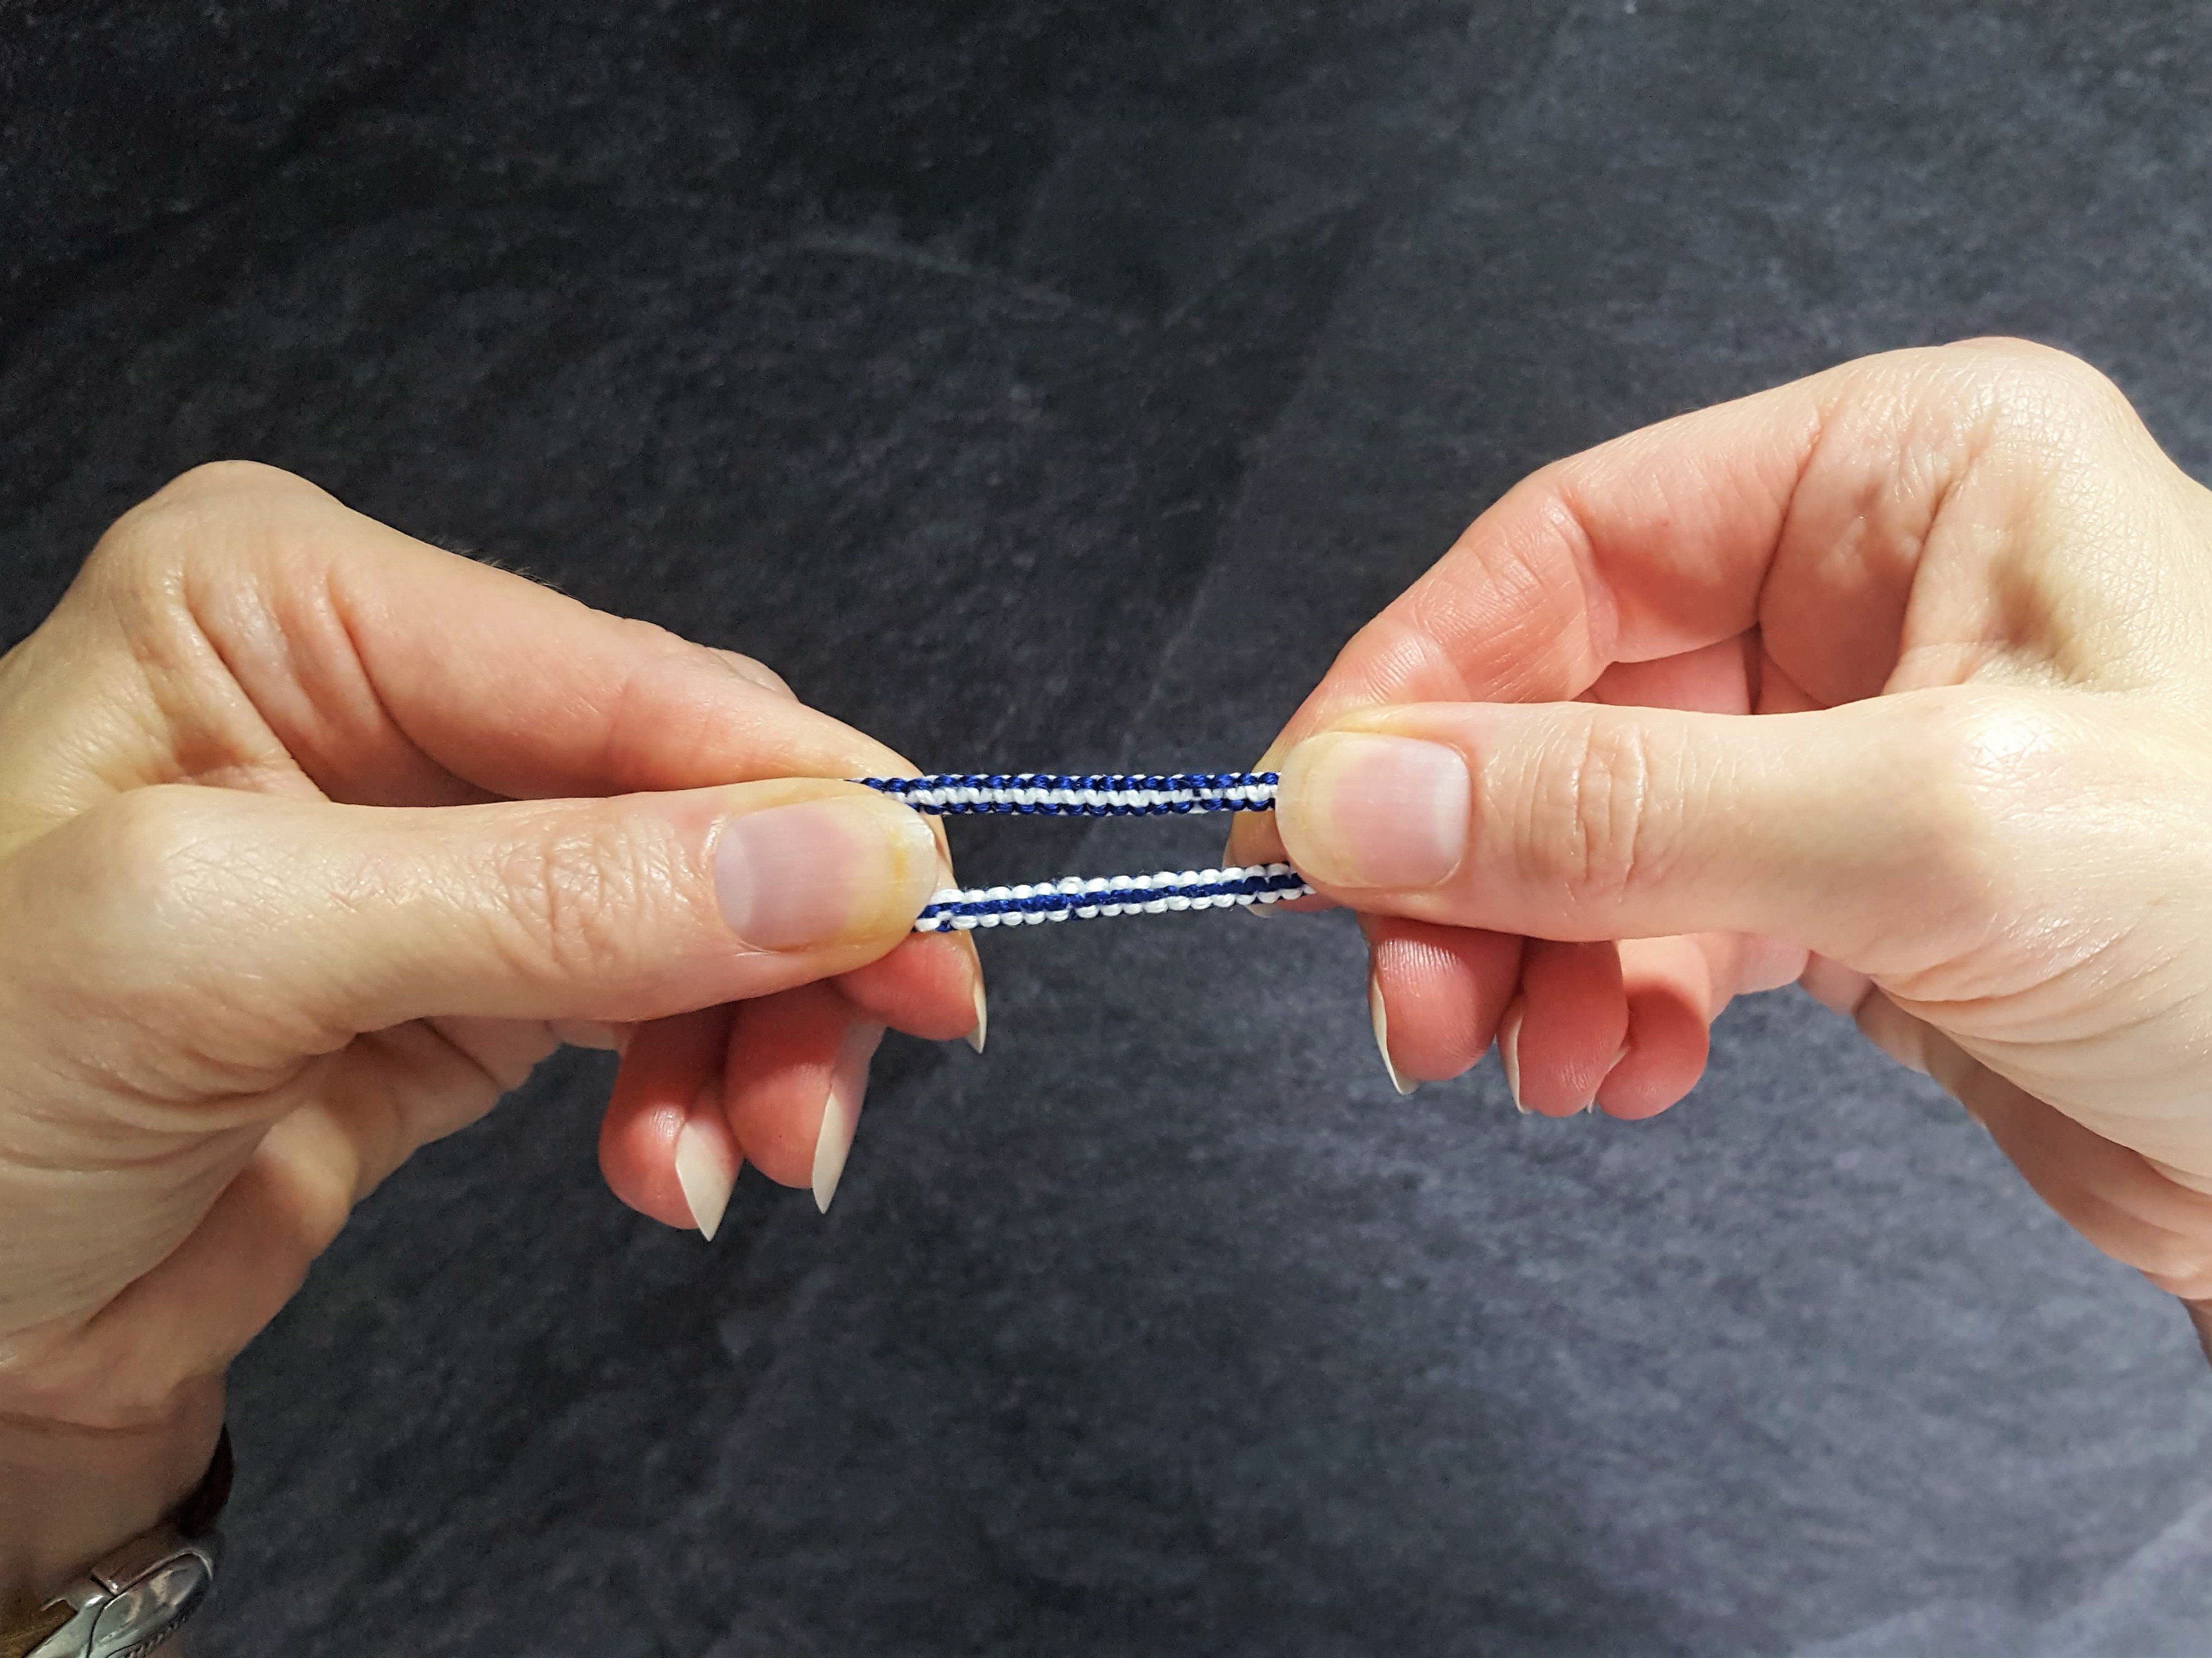
One cool thing you might not have noticed is that this bracelet is actually reversible! See how it is blue on the edges with white in the middle on one side, and white on the edges with blue in the middle on the other!
.
I’ll see you back here next week!
Carrie
.
P.S. If you love the bracelets, but don’t want to make your own, you can order one in your favorite colors here:
.