
Welcome back! I hope everyone had a great weekend, and that your sports teams did well. My Wisconsin Badgers had a strong showing and won their game on Saturday, but my Green Bay Packers just couldn’t get anything working, and lost big to the New Orleans Saints on Sunday! But as we like to say … it’s early in the season, and there’s always next week!
I’ve been promising the last several weeks to get back to showing you more DIY team spirit wear ideas, and today I’ve got one I think you are going to really like. We all seem to have an old team t-shirt or 2 that we don’t wear anymore, but just can’t seem to part with! But here is a really easy way to give that old shirt new life!
The shirt I chose was a little on the big side when I first bought it, and now the neck has stretched out so much that it shows wayyyy more skin than I am comfortable with. But I loved the retro look and feel of the shirt, and decided to turn it into something I can wear!
So let’s get started!
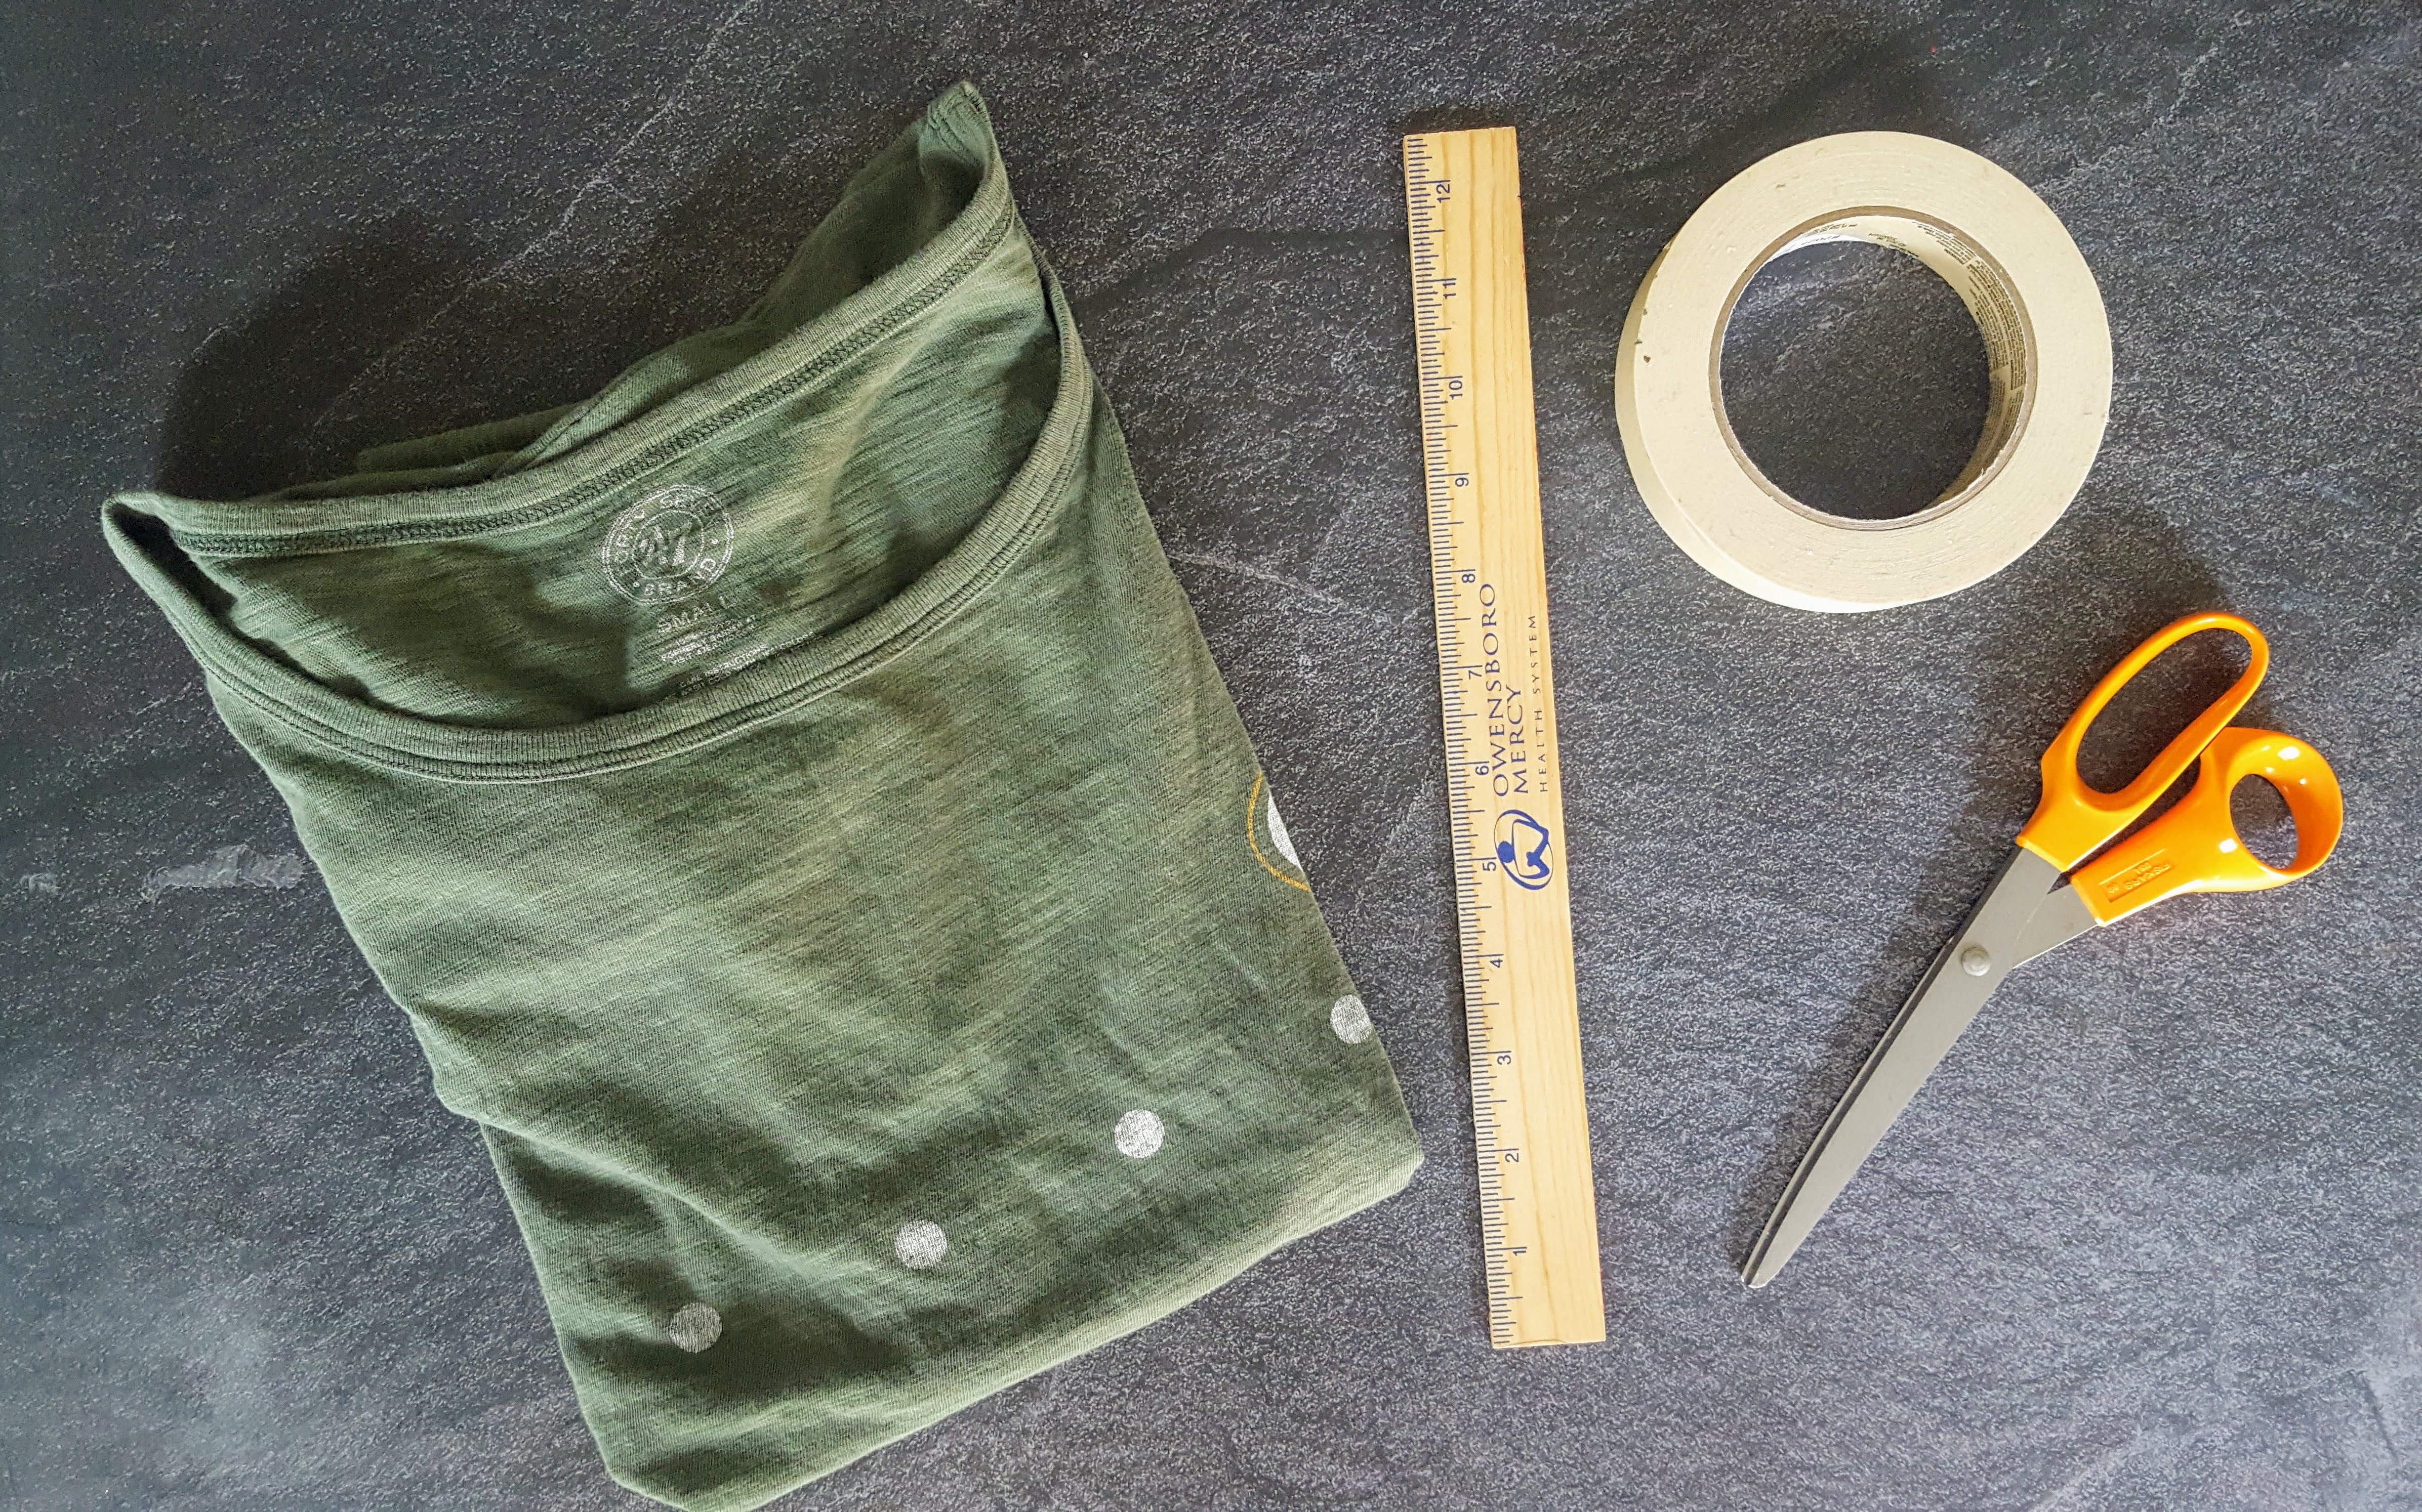
One – Gather Supplies
- plain or patterned t-shirt (the softer the better)
- fabric scissors (a regular scissors will work, but it has to be extra-sharp)
- masking tape
- ruler
Note on shirt size: a small or medium works best, but for a fuller scarf, use a large or extra large, and double up the scarf when you wear it!
.
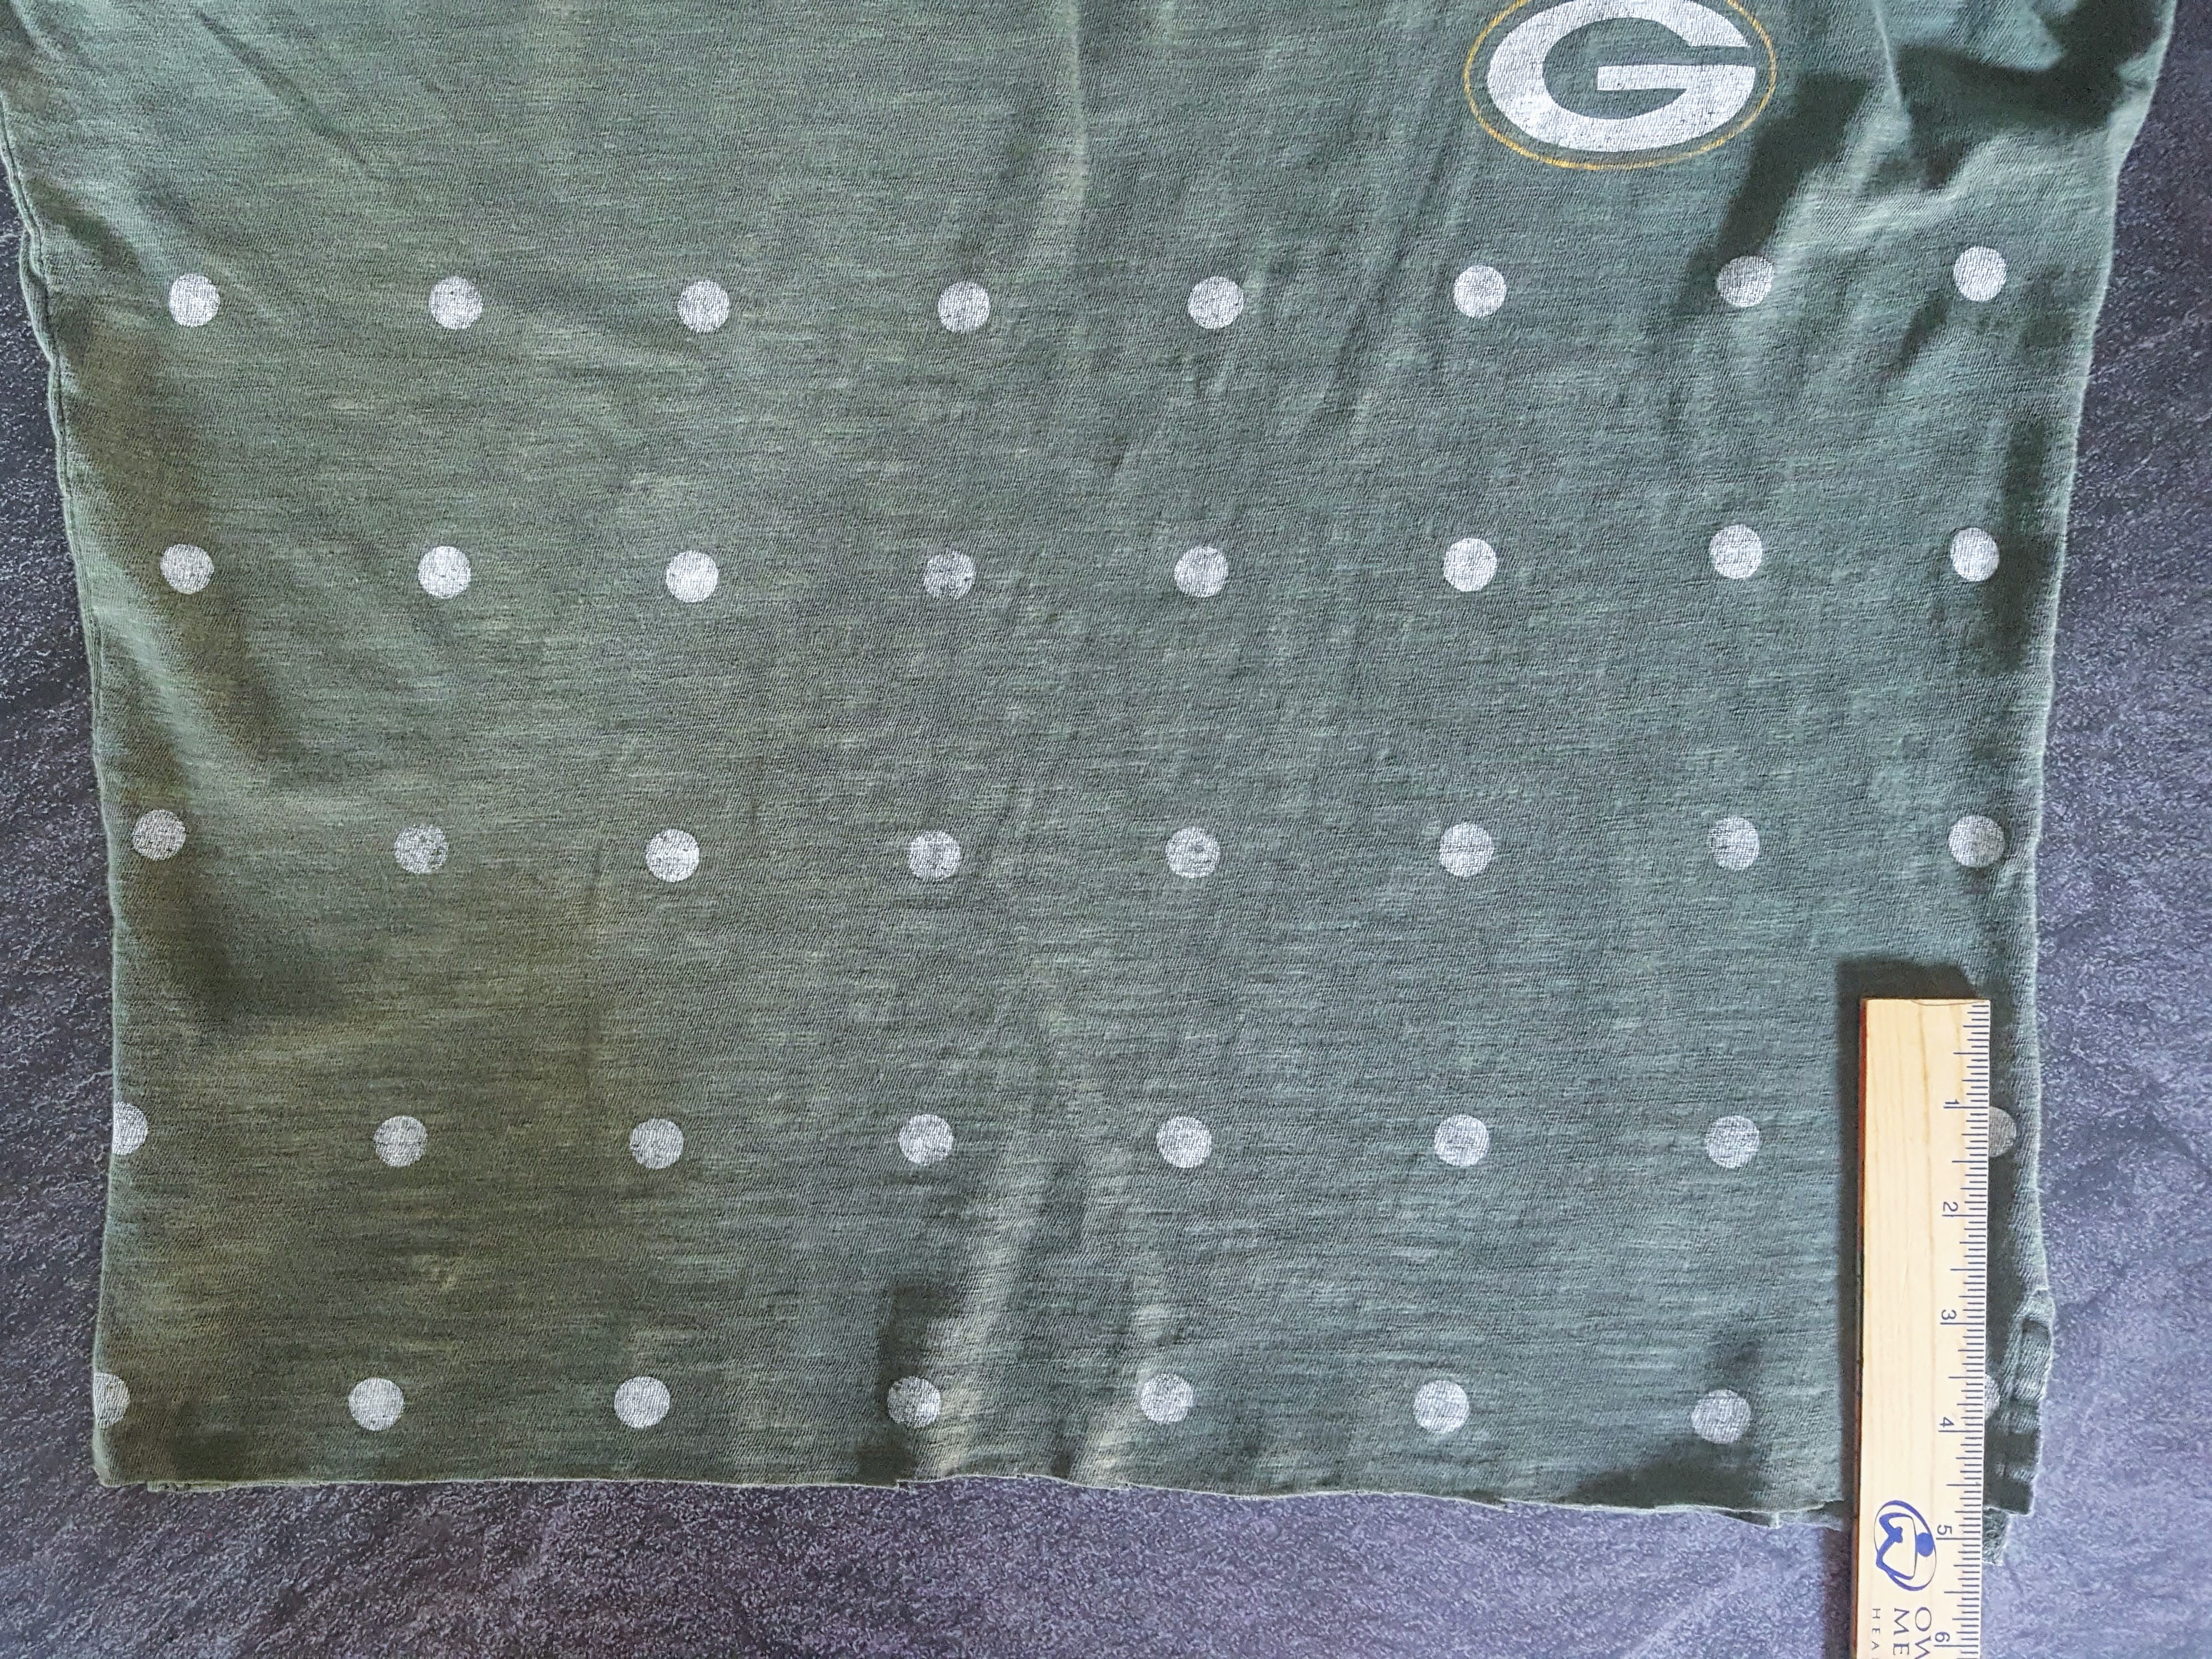
Two – Prep the Shirt
- Lay the shirt out flat, and smooth out the wrinkles.
- Cut straight across the top of the shirt, from armpit to armpit.
- Cut straight across the bottom of the shirt to remove the hem.


4. Use the ruler to measure 5 inches up from the bottom of the shirt.
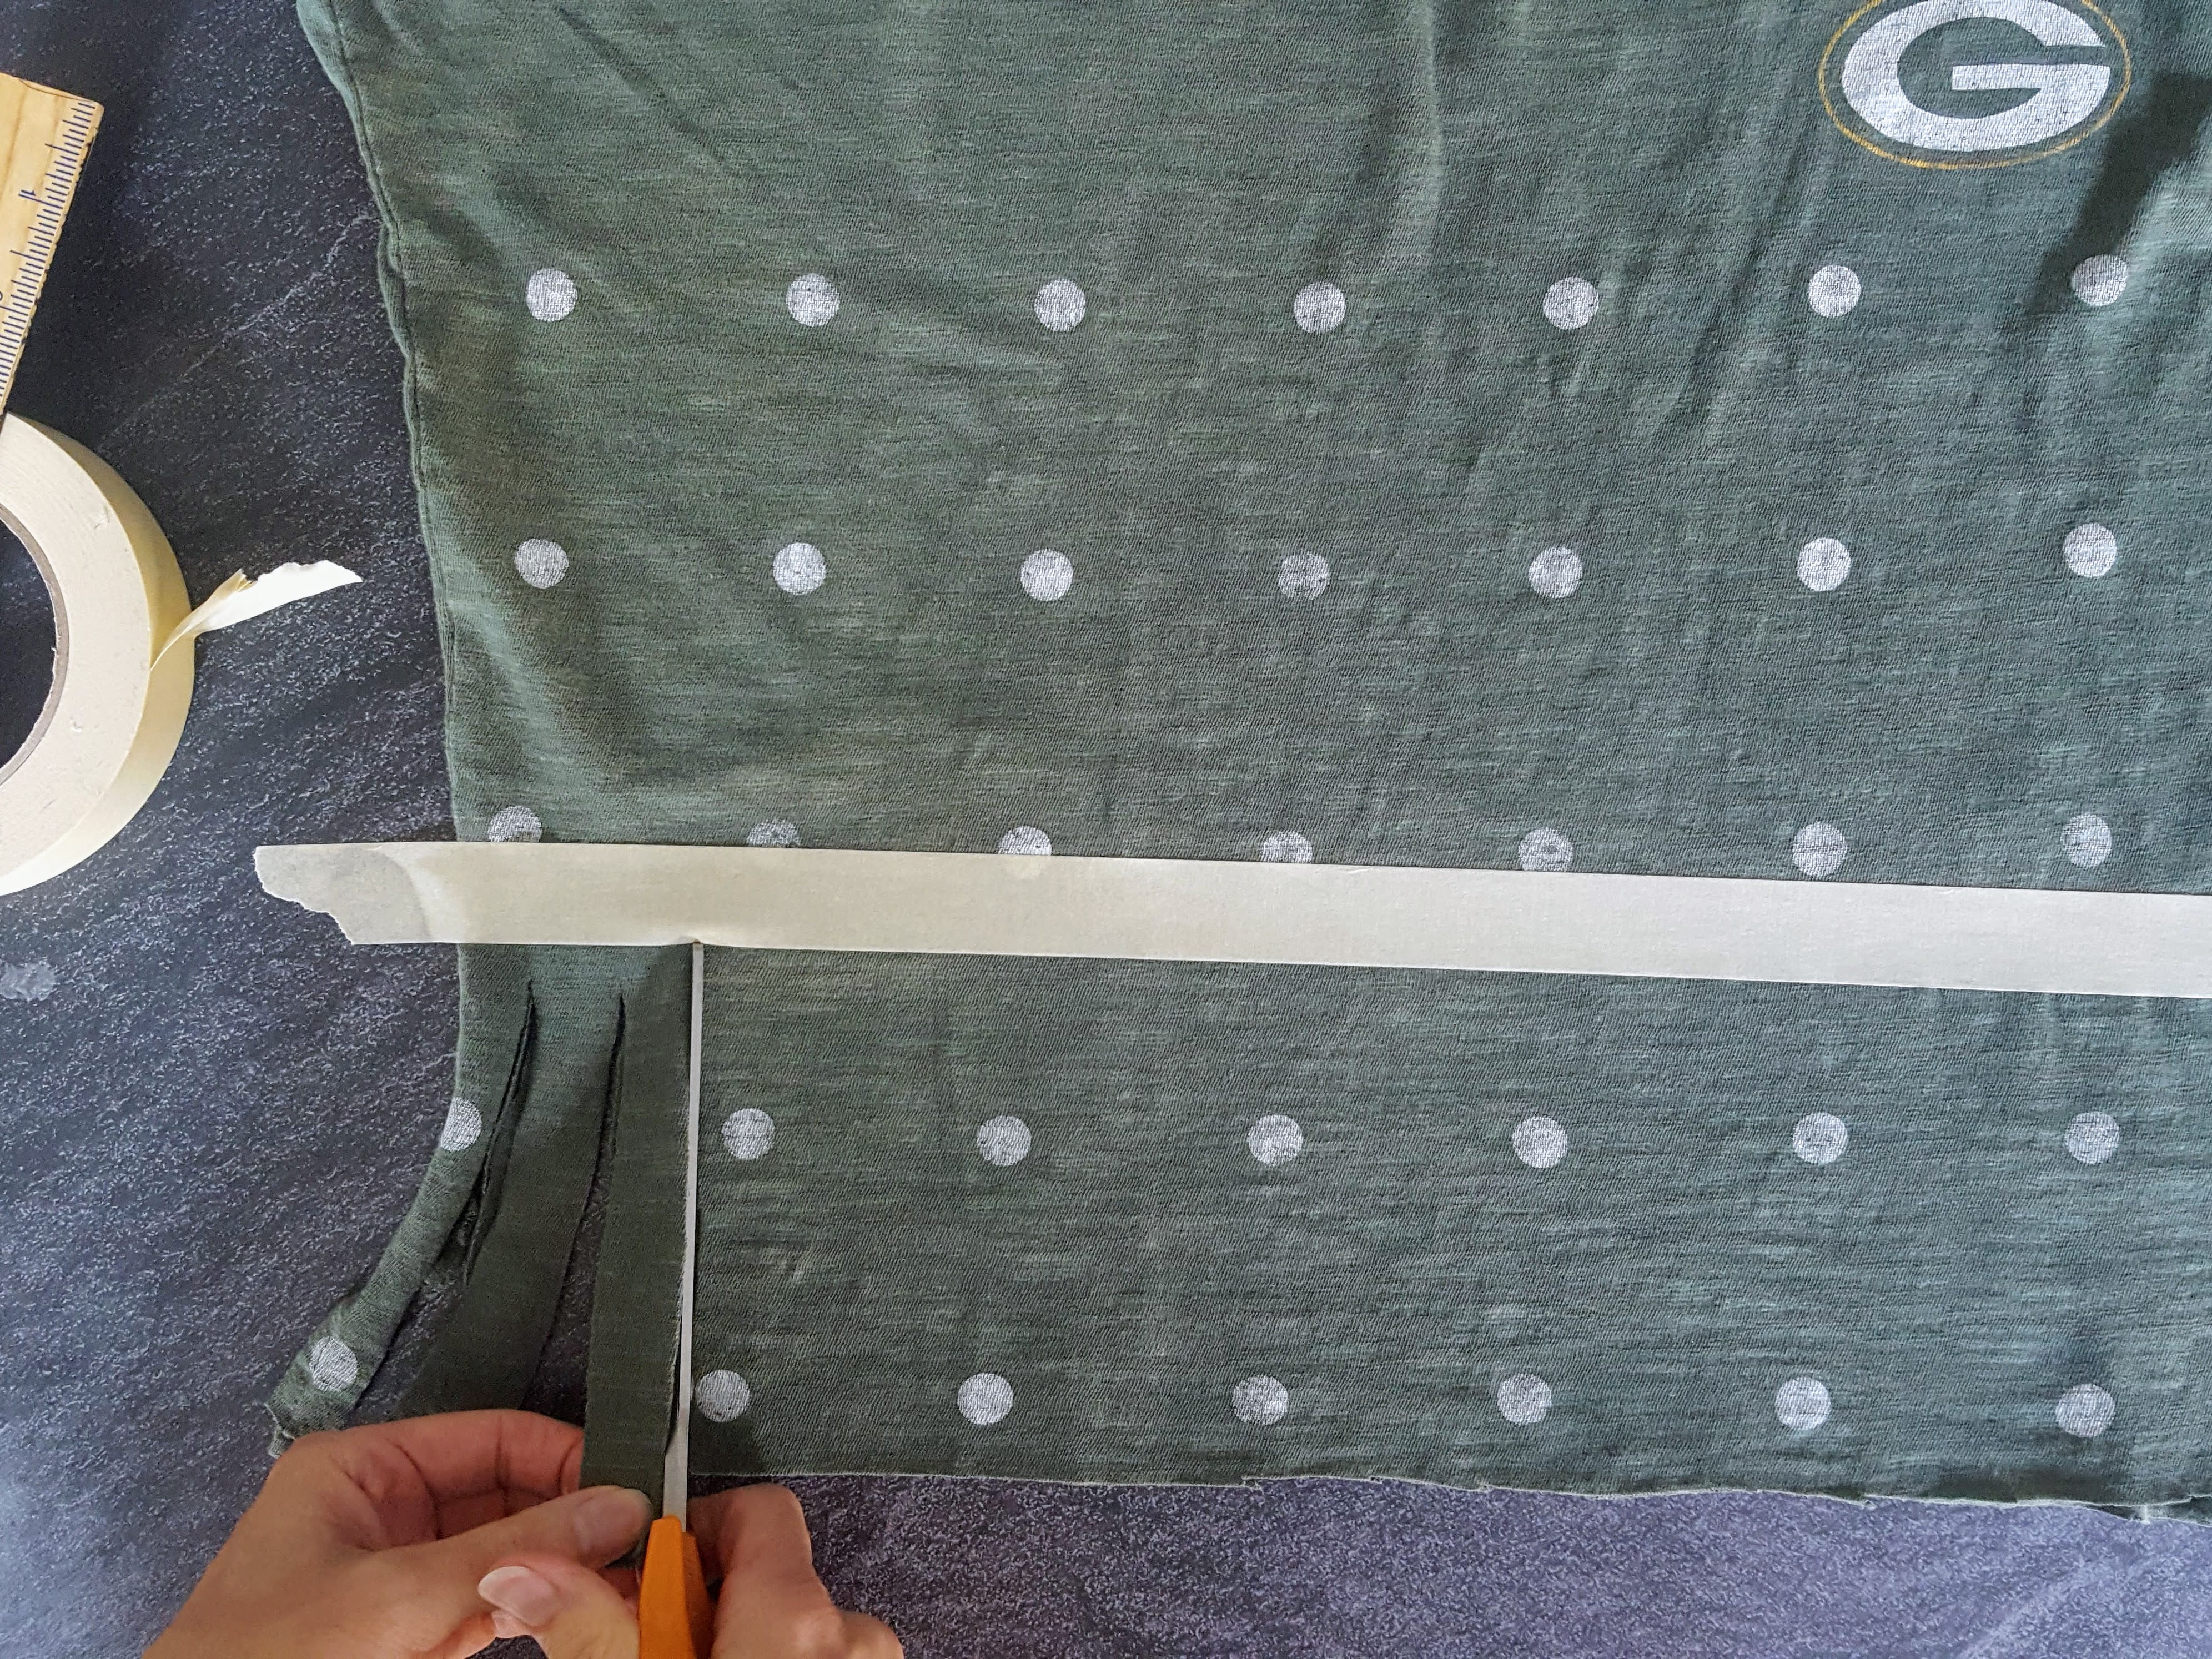
5. Lay a piece of masking tape across the shirt, at that 5 inch mark, taping the shirt to your work surface.

.
Three – Create the Fringe
- Cut 1″ wide strips through both layers of the t-shirt to create fringes. No need to measure, or worry about perfectly straight or even cuts, because the next step will hide any imperfections.
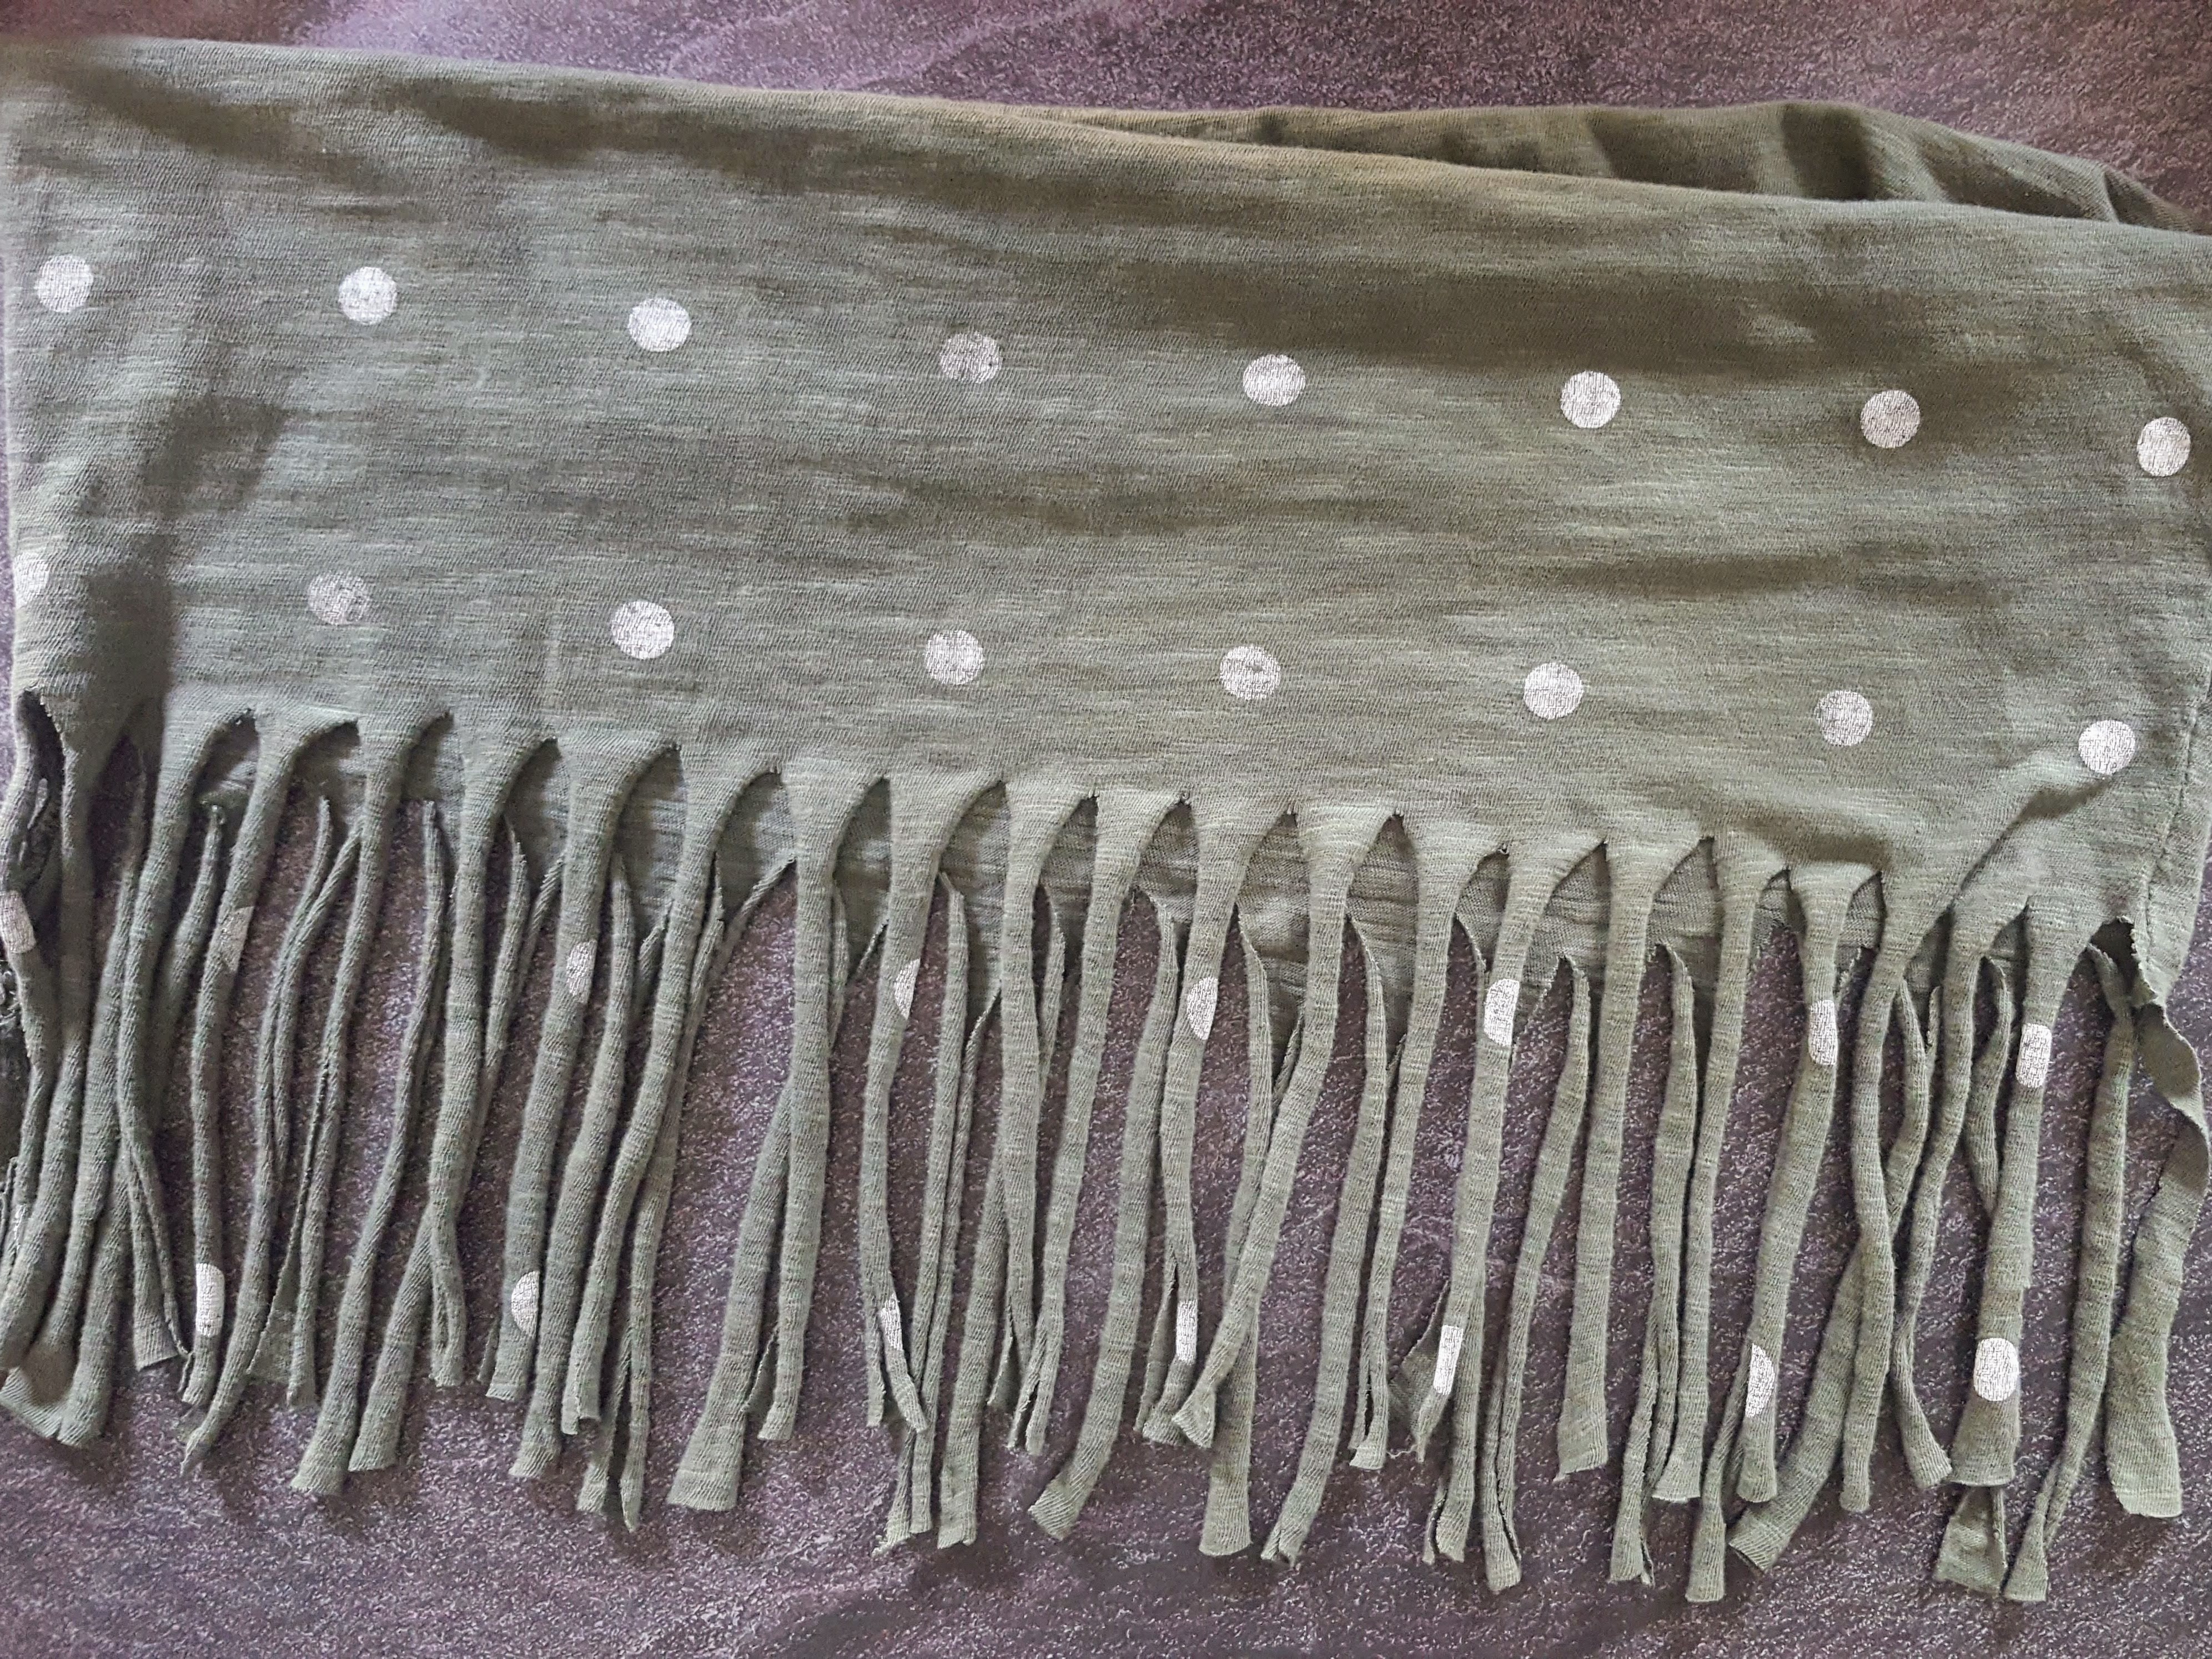
- Pull on each fringe 2 or 3 times to stretch it out.
- Remove the tape, and your scarf is ready to wear!


.
Four (Optional) – Cover the Fringe in the Back
If you don’t like how the fringe on the back of the scarf looks or feels, you can cover it.
- Cut a long strip from what’s left over of the t-shirt.
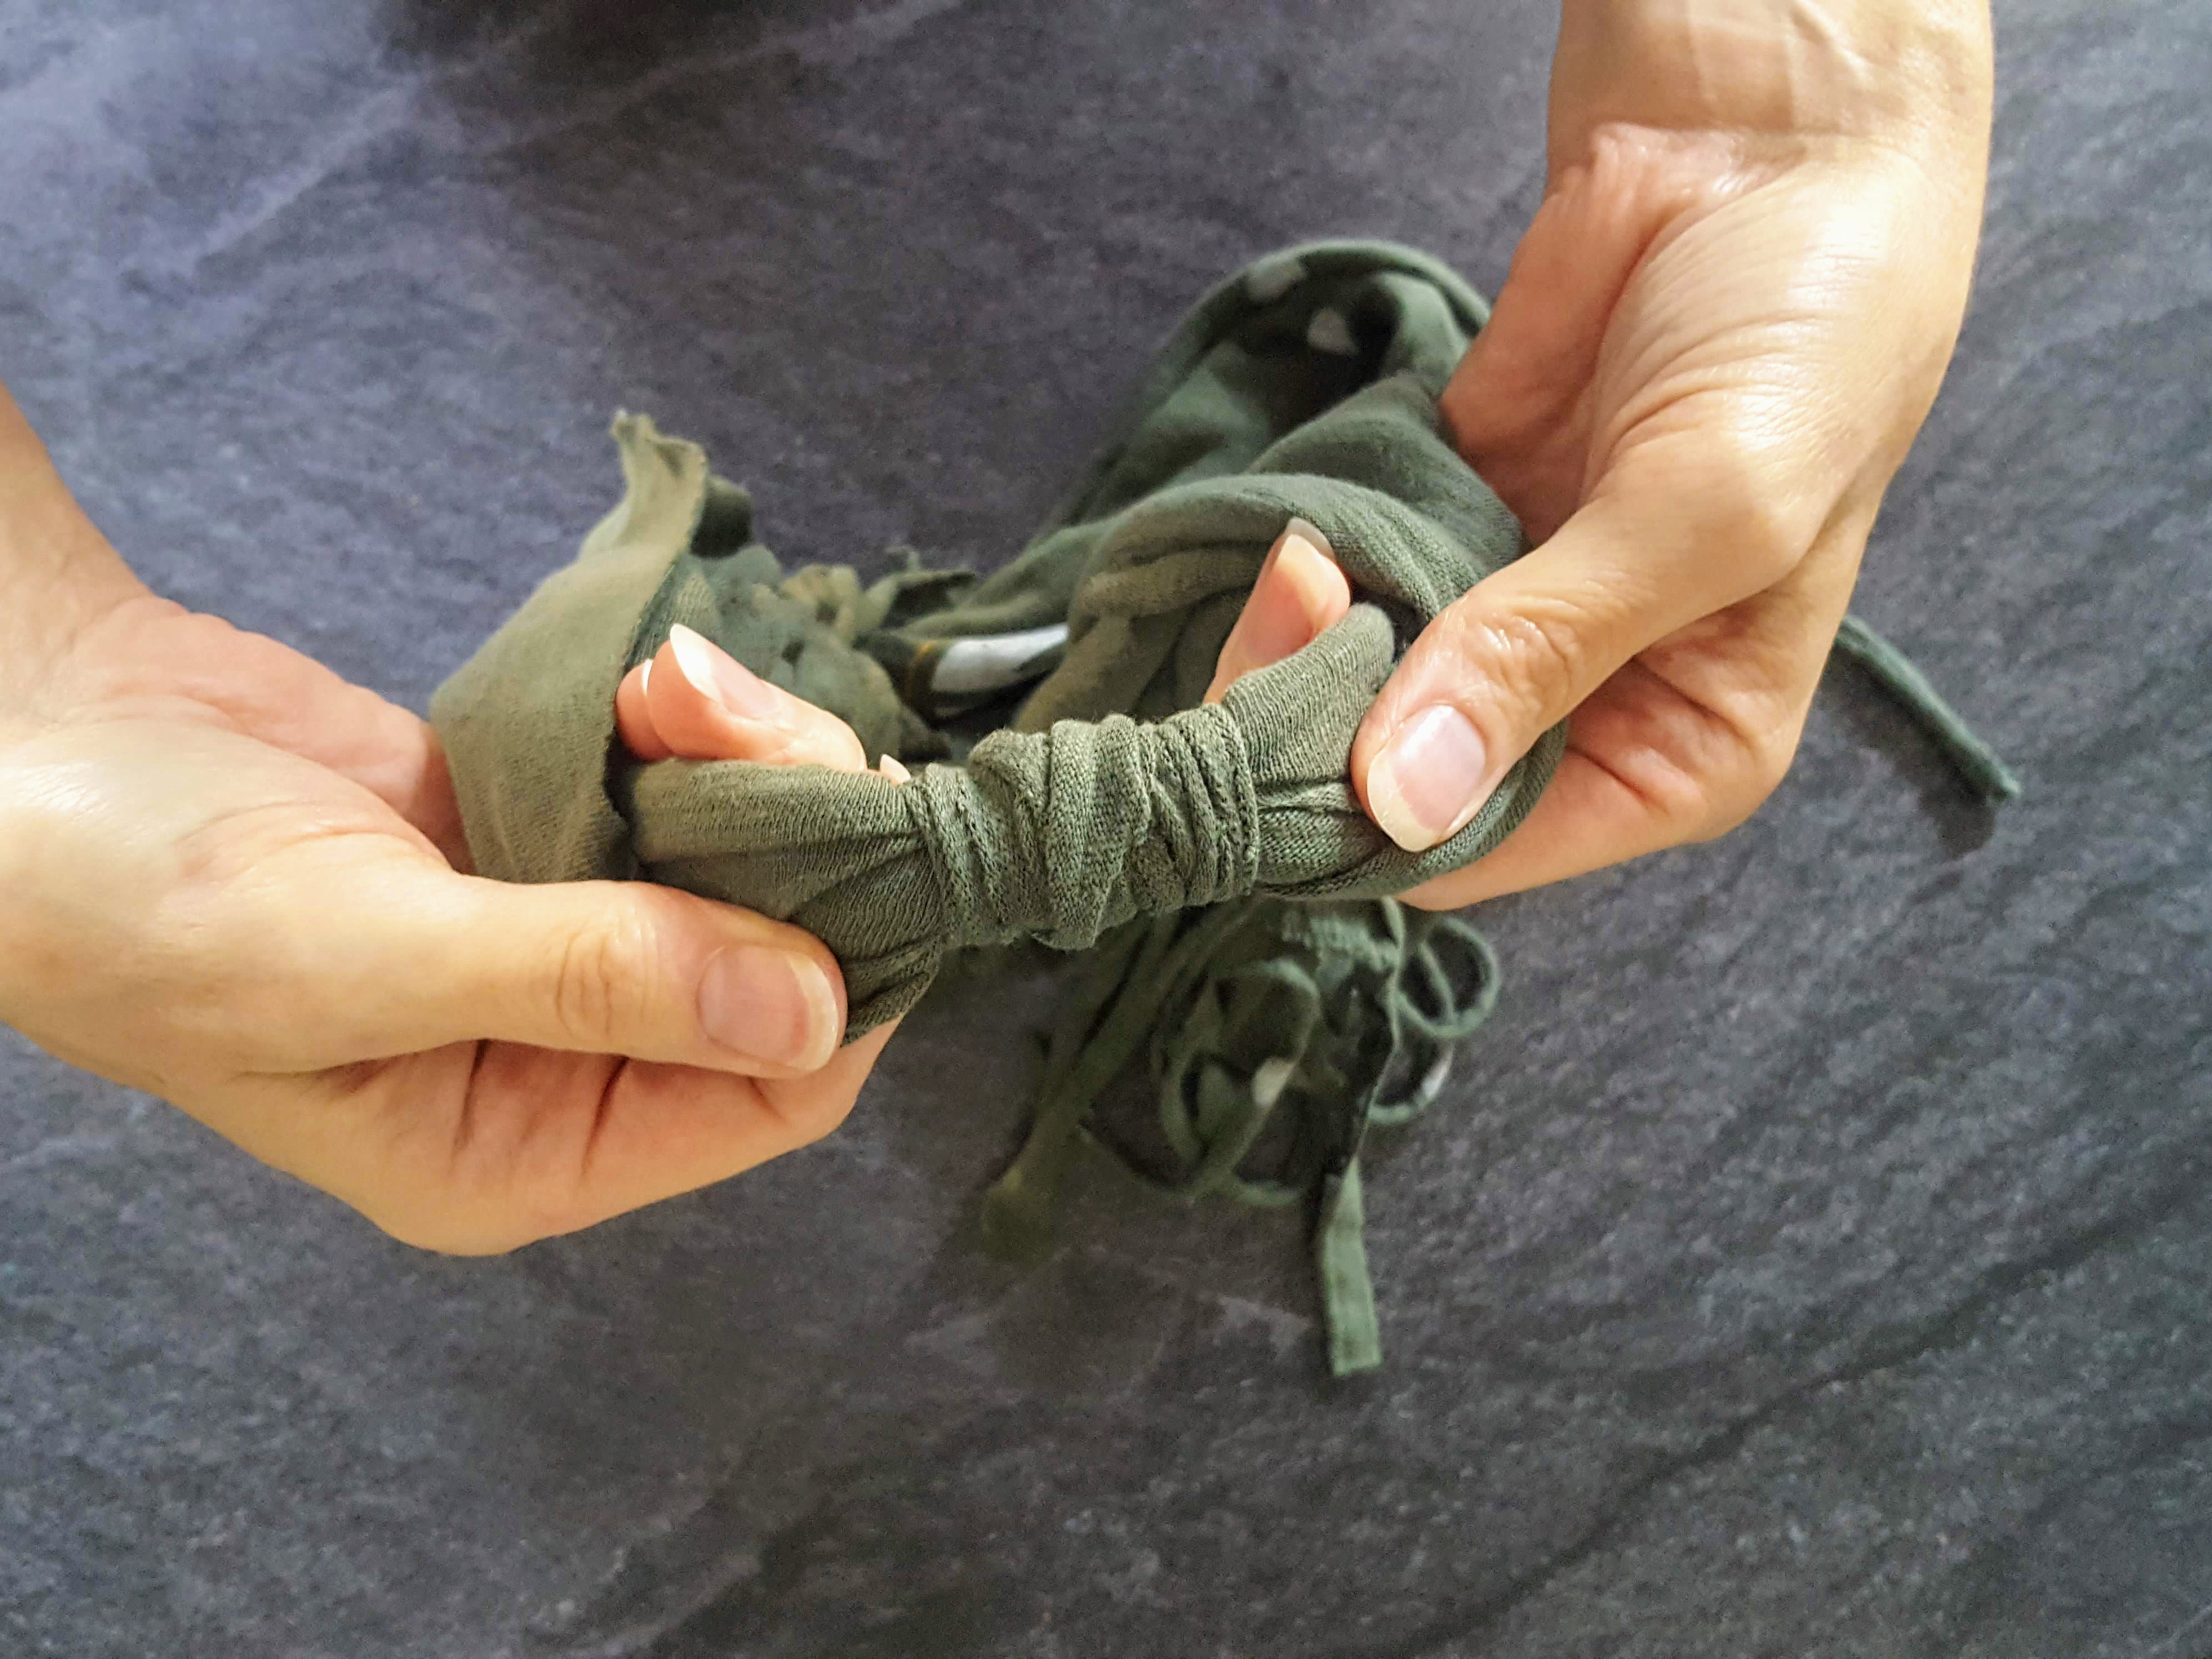
- Knot it onto the back of the scarf, then wrap it around the scarf to hide the fringes.
- Tie a knot to finish it off, then tuck the knot under a wrap to hide it.


.
There you have it!

.
You can adjust the scarf however you like it, and shorten it a little by pulling the scarf down a little lower in the back:


.
How’s that for a quick and easy DIY project? Now I’ve got another look to add to my game day rotation, and I hope you give it a try, too!
See you back here next week.
Carrie
.


