Hey, team!
Are you in a part of the country where the weather has been crazy? Here in Georgia, it looks like we are finally past the never ending rain that has plagued us since December! Though I really shouldn’t complain, because I do feel bad for those who are living with the 30 inches of snow that fell in the Midwest last week, and for those parents who are home with kids for the 9th snow day this month!
But we aren’t here to talk about the weather. Are we?
A few years ago, I shared several easy DIY team spirit bracelets that you could make from embroidery floss (Team Spirit Bracelets).
Those projects have been very popular, so I thought I’d share another friendship type bracelet that is just a little more complicated, but still pretty quick to put together.

Want to learn to make your own? Gather up some supplies, and let’s start started!
Step 1 – Collect the Supplies
Here’s what you need:
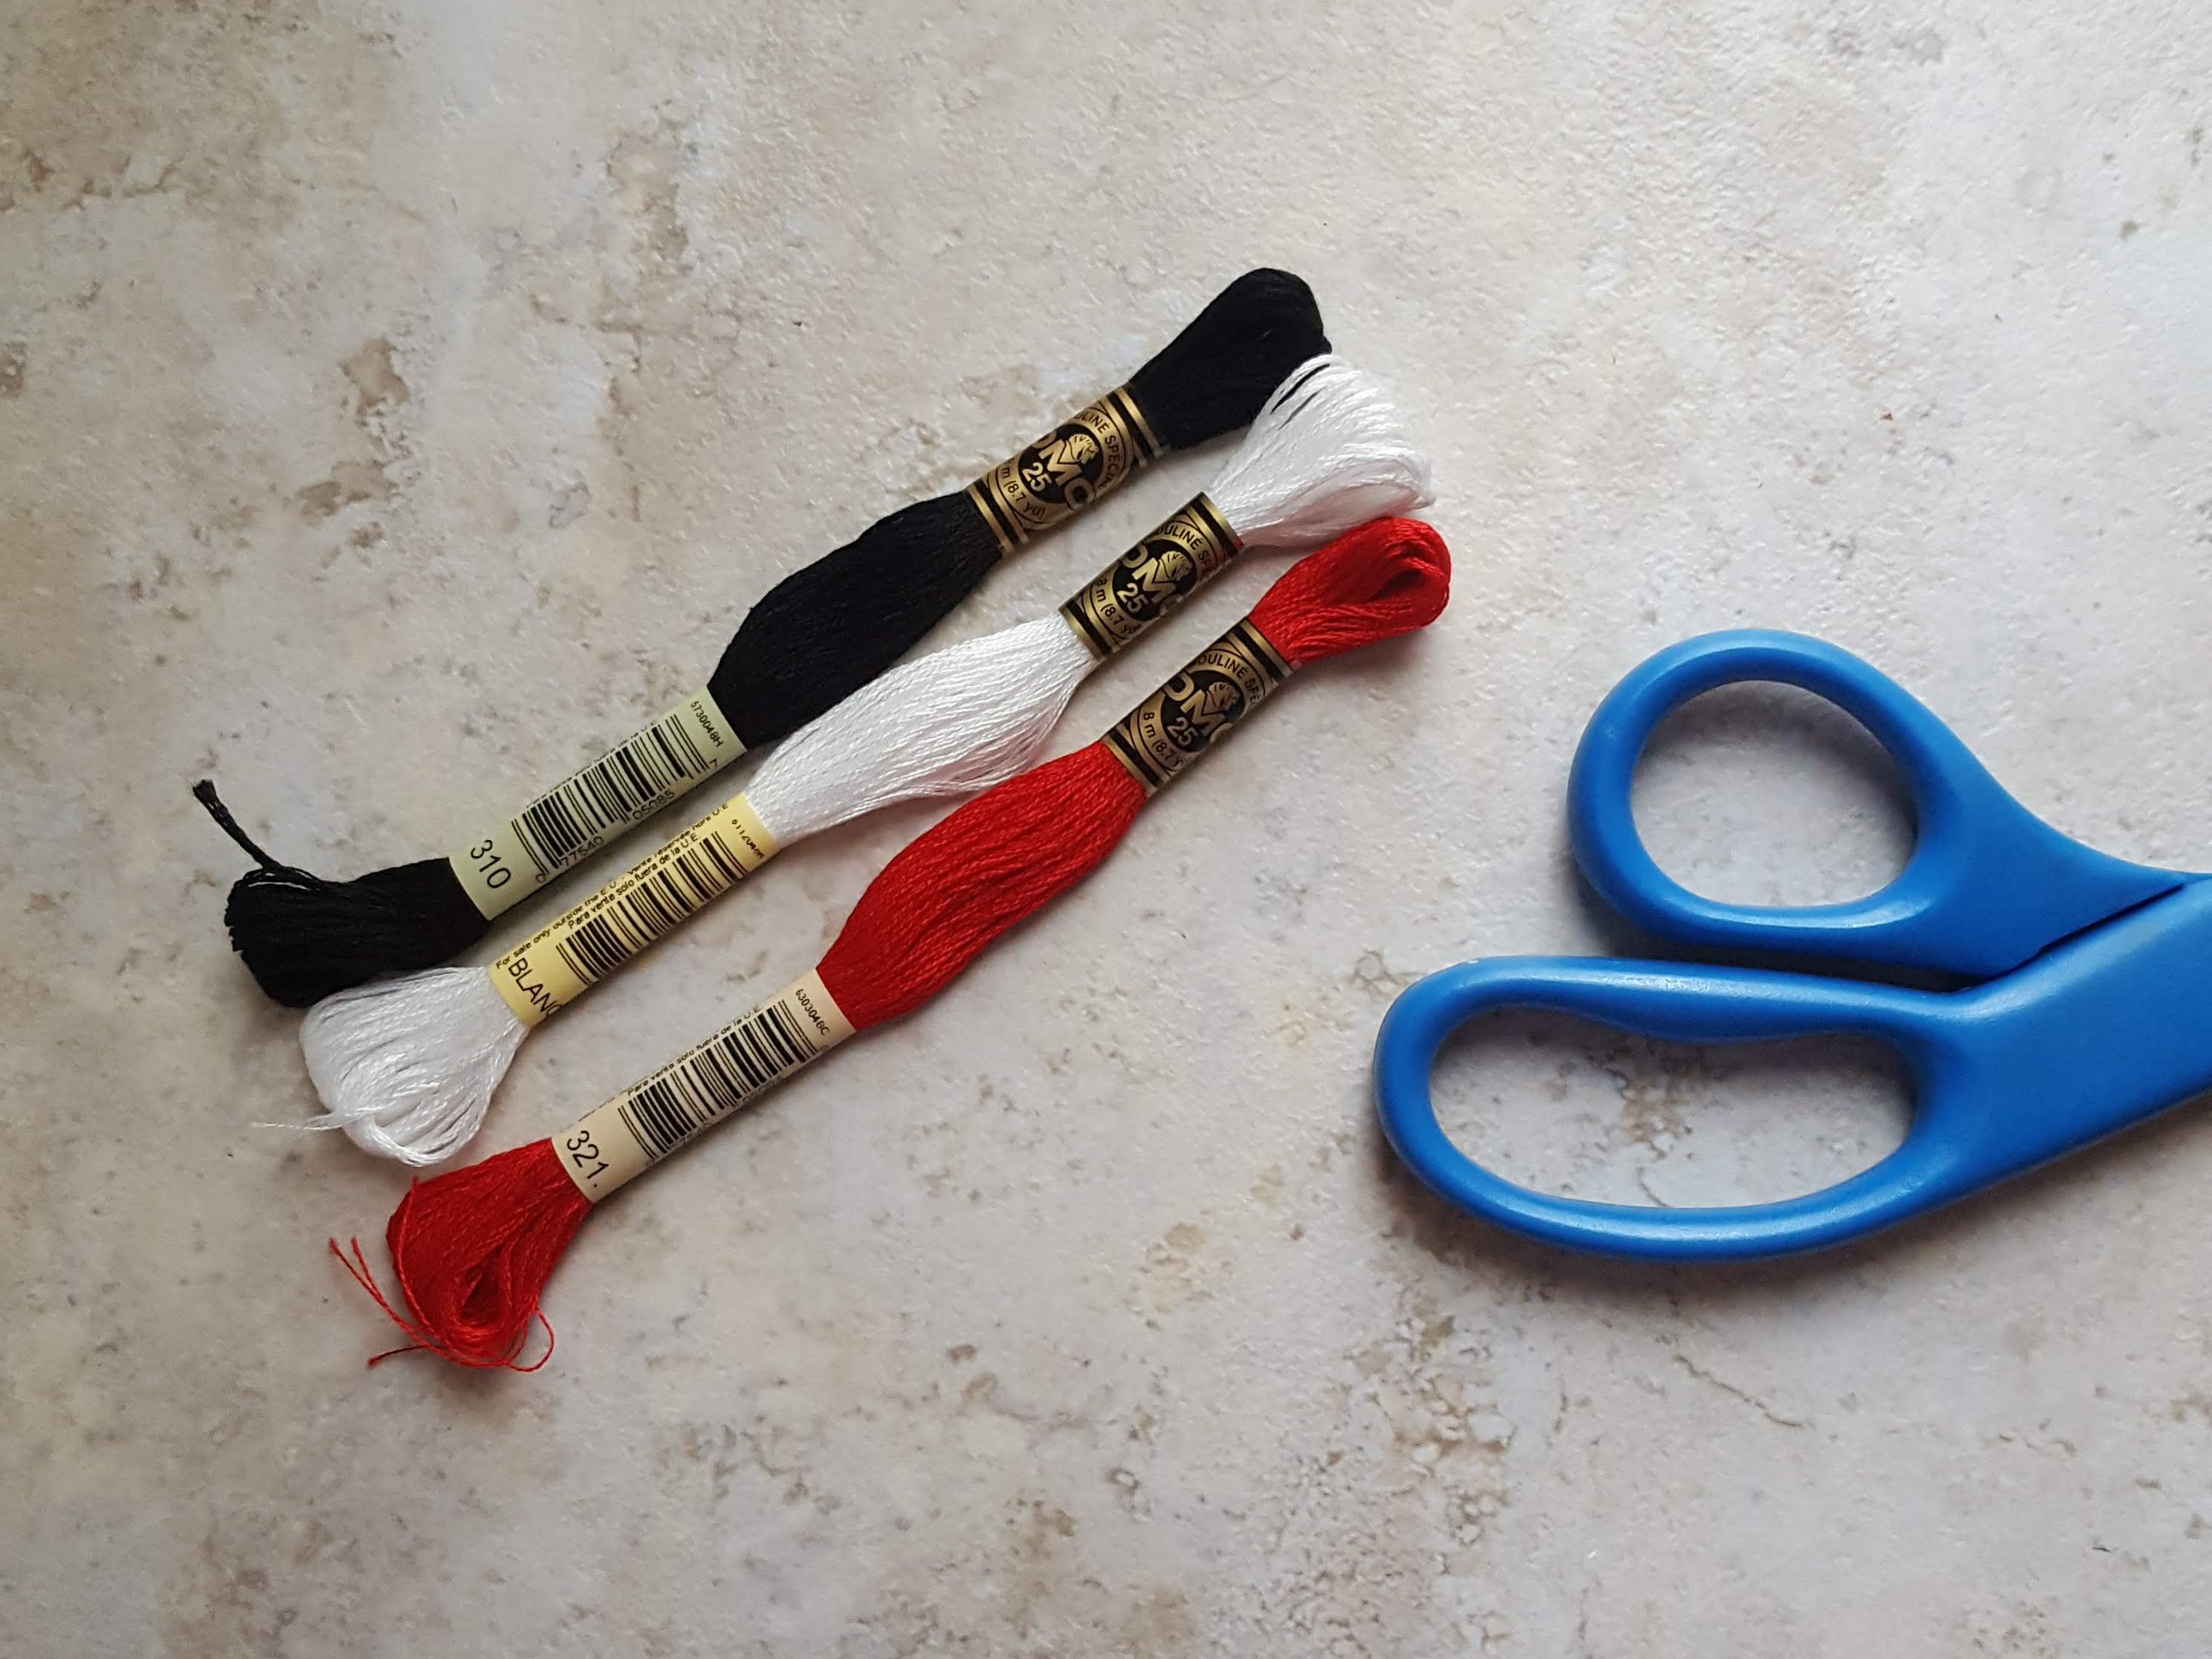
- 3 colors of embroidery floss
- Sharp scissors
- Ruler or tape measure
- Tape or safety pin (see step 3 for the details)
Step 2 – Cut the Floss
- You will need 6 lengths of embroidery floss, each cut to 36” long
- I used 3 colors of floss, and cut 2 lengths of each color

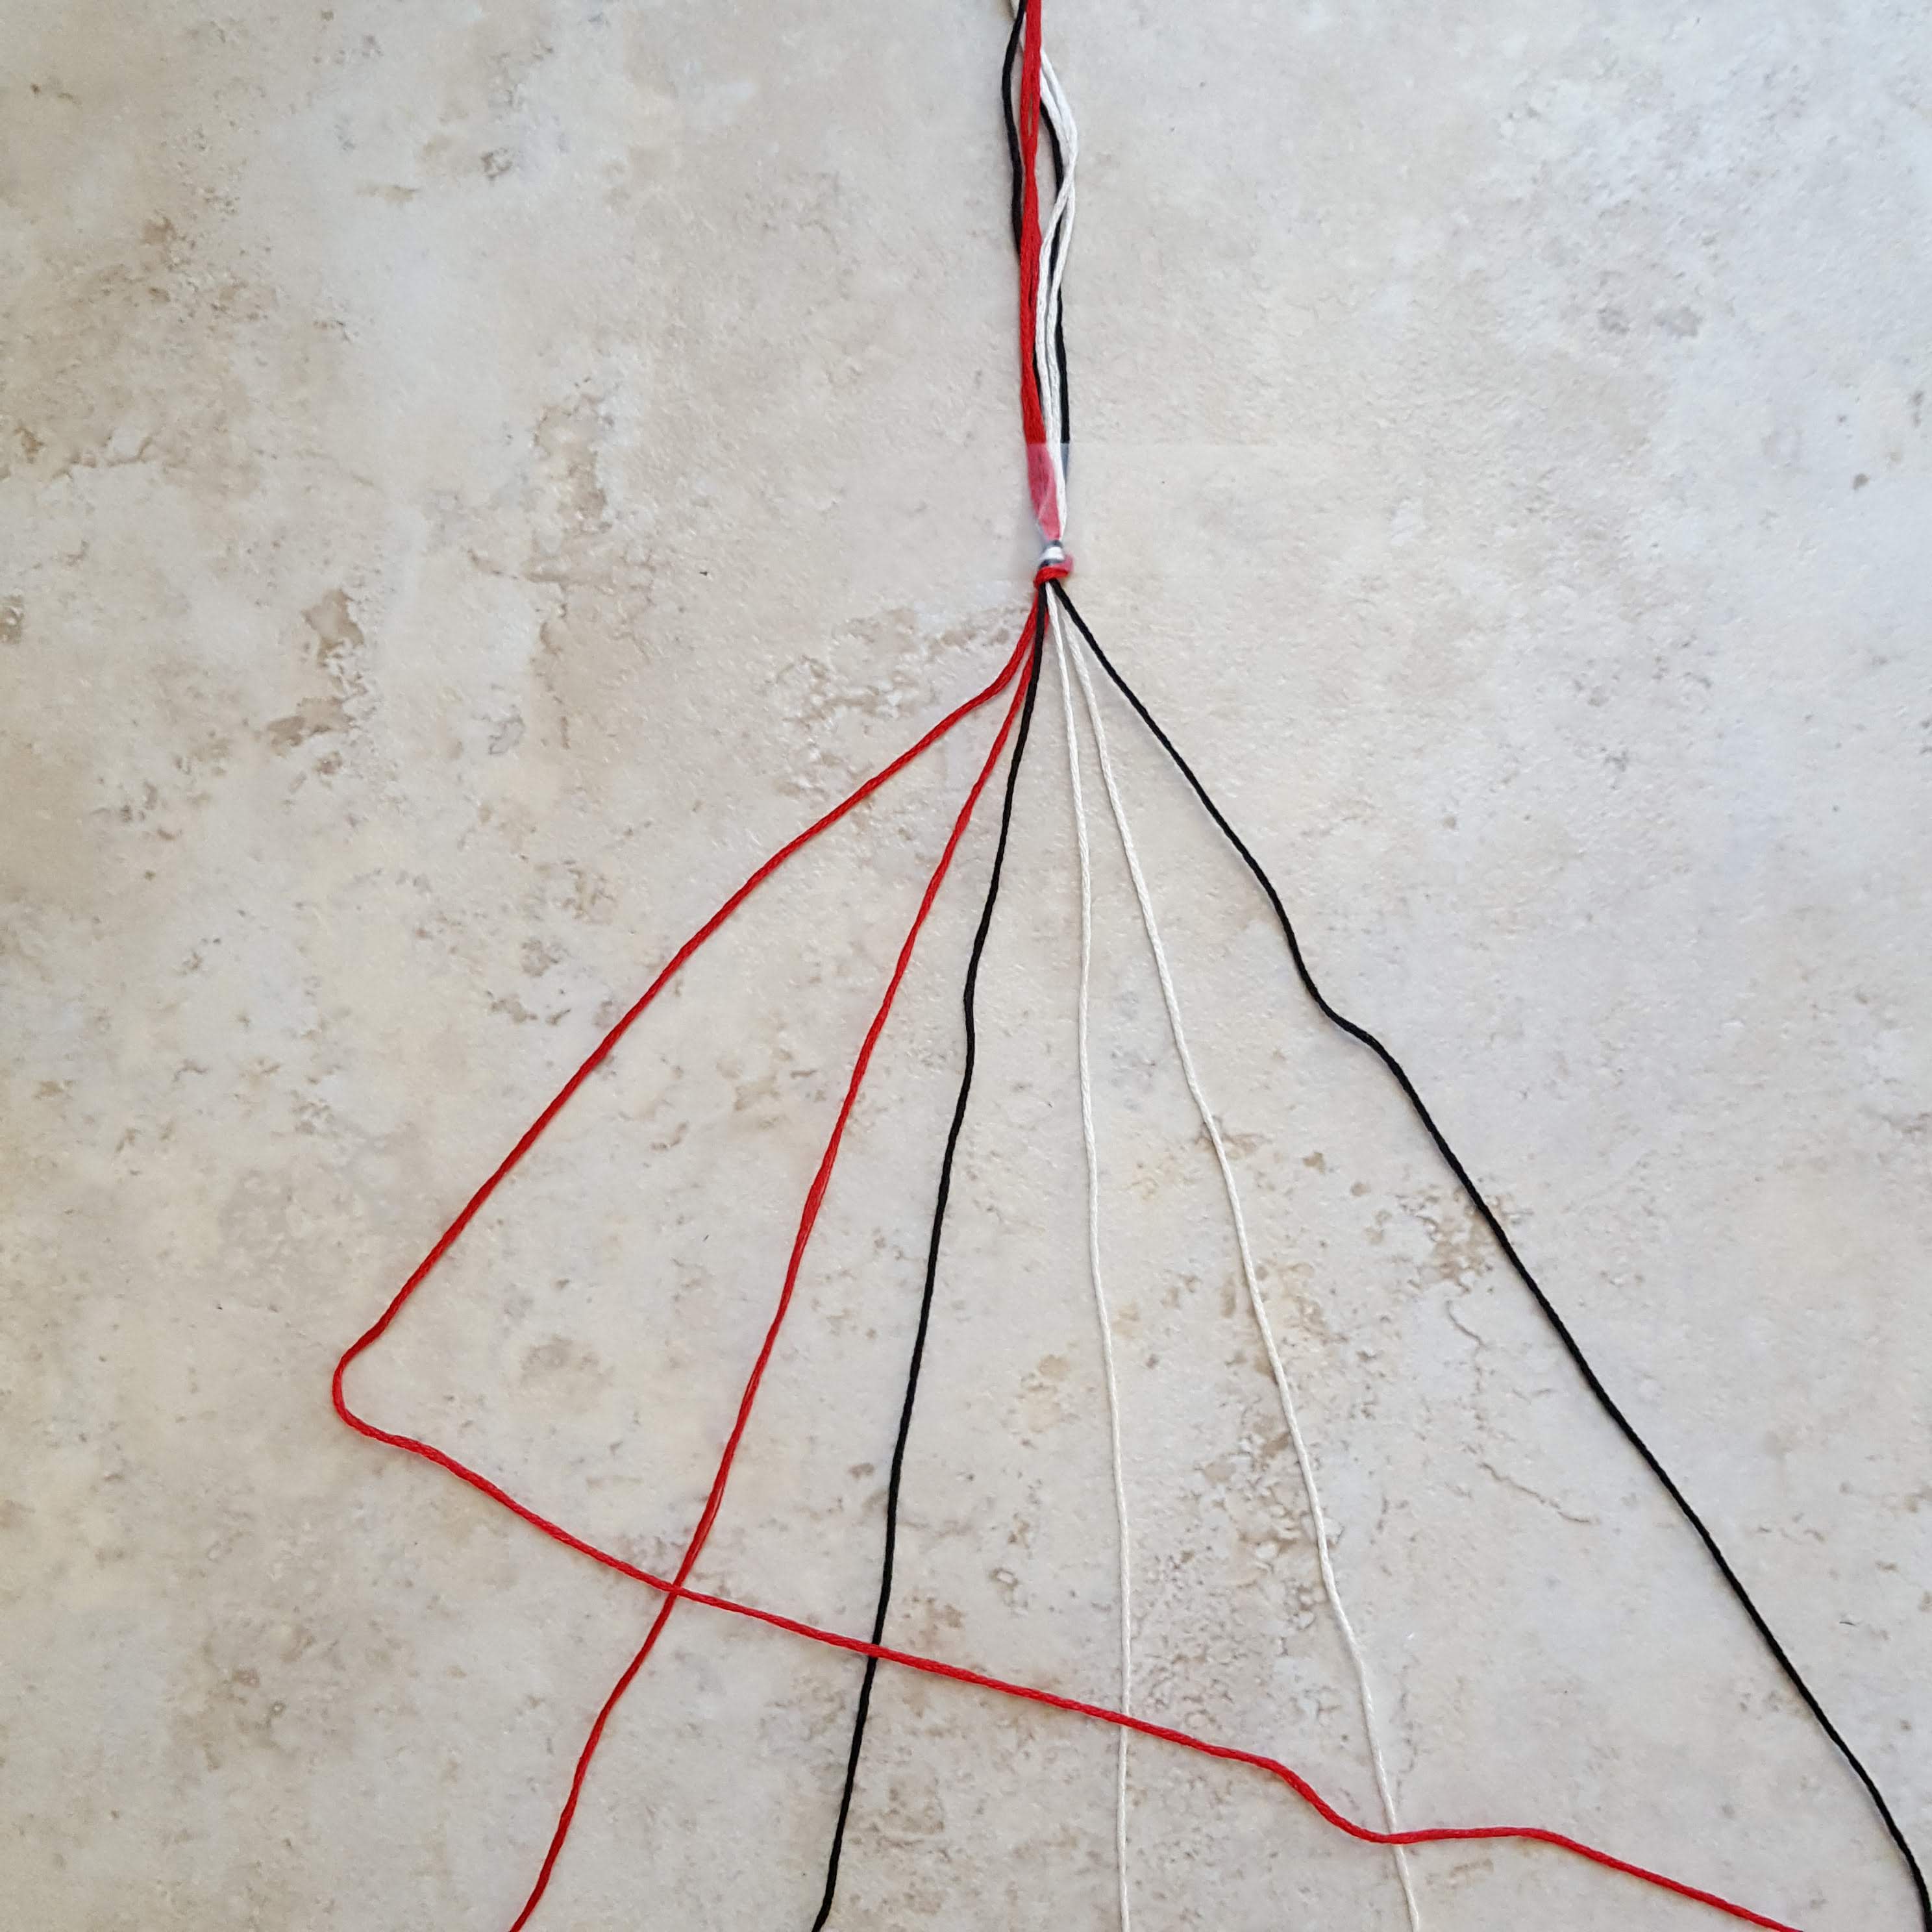
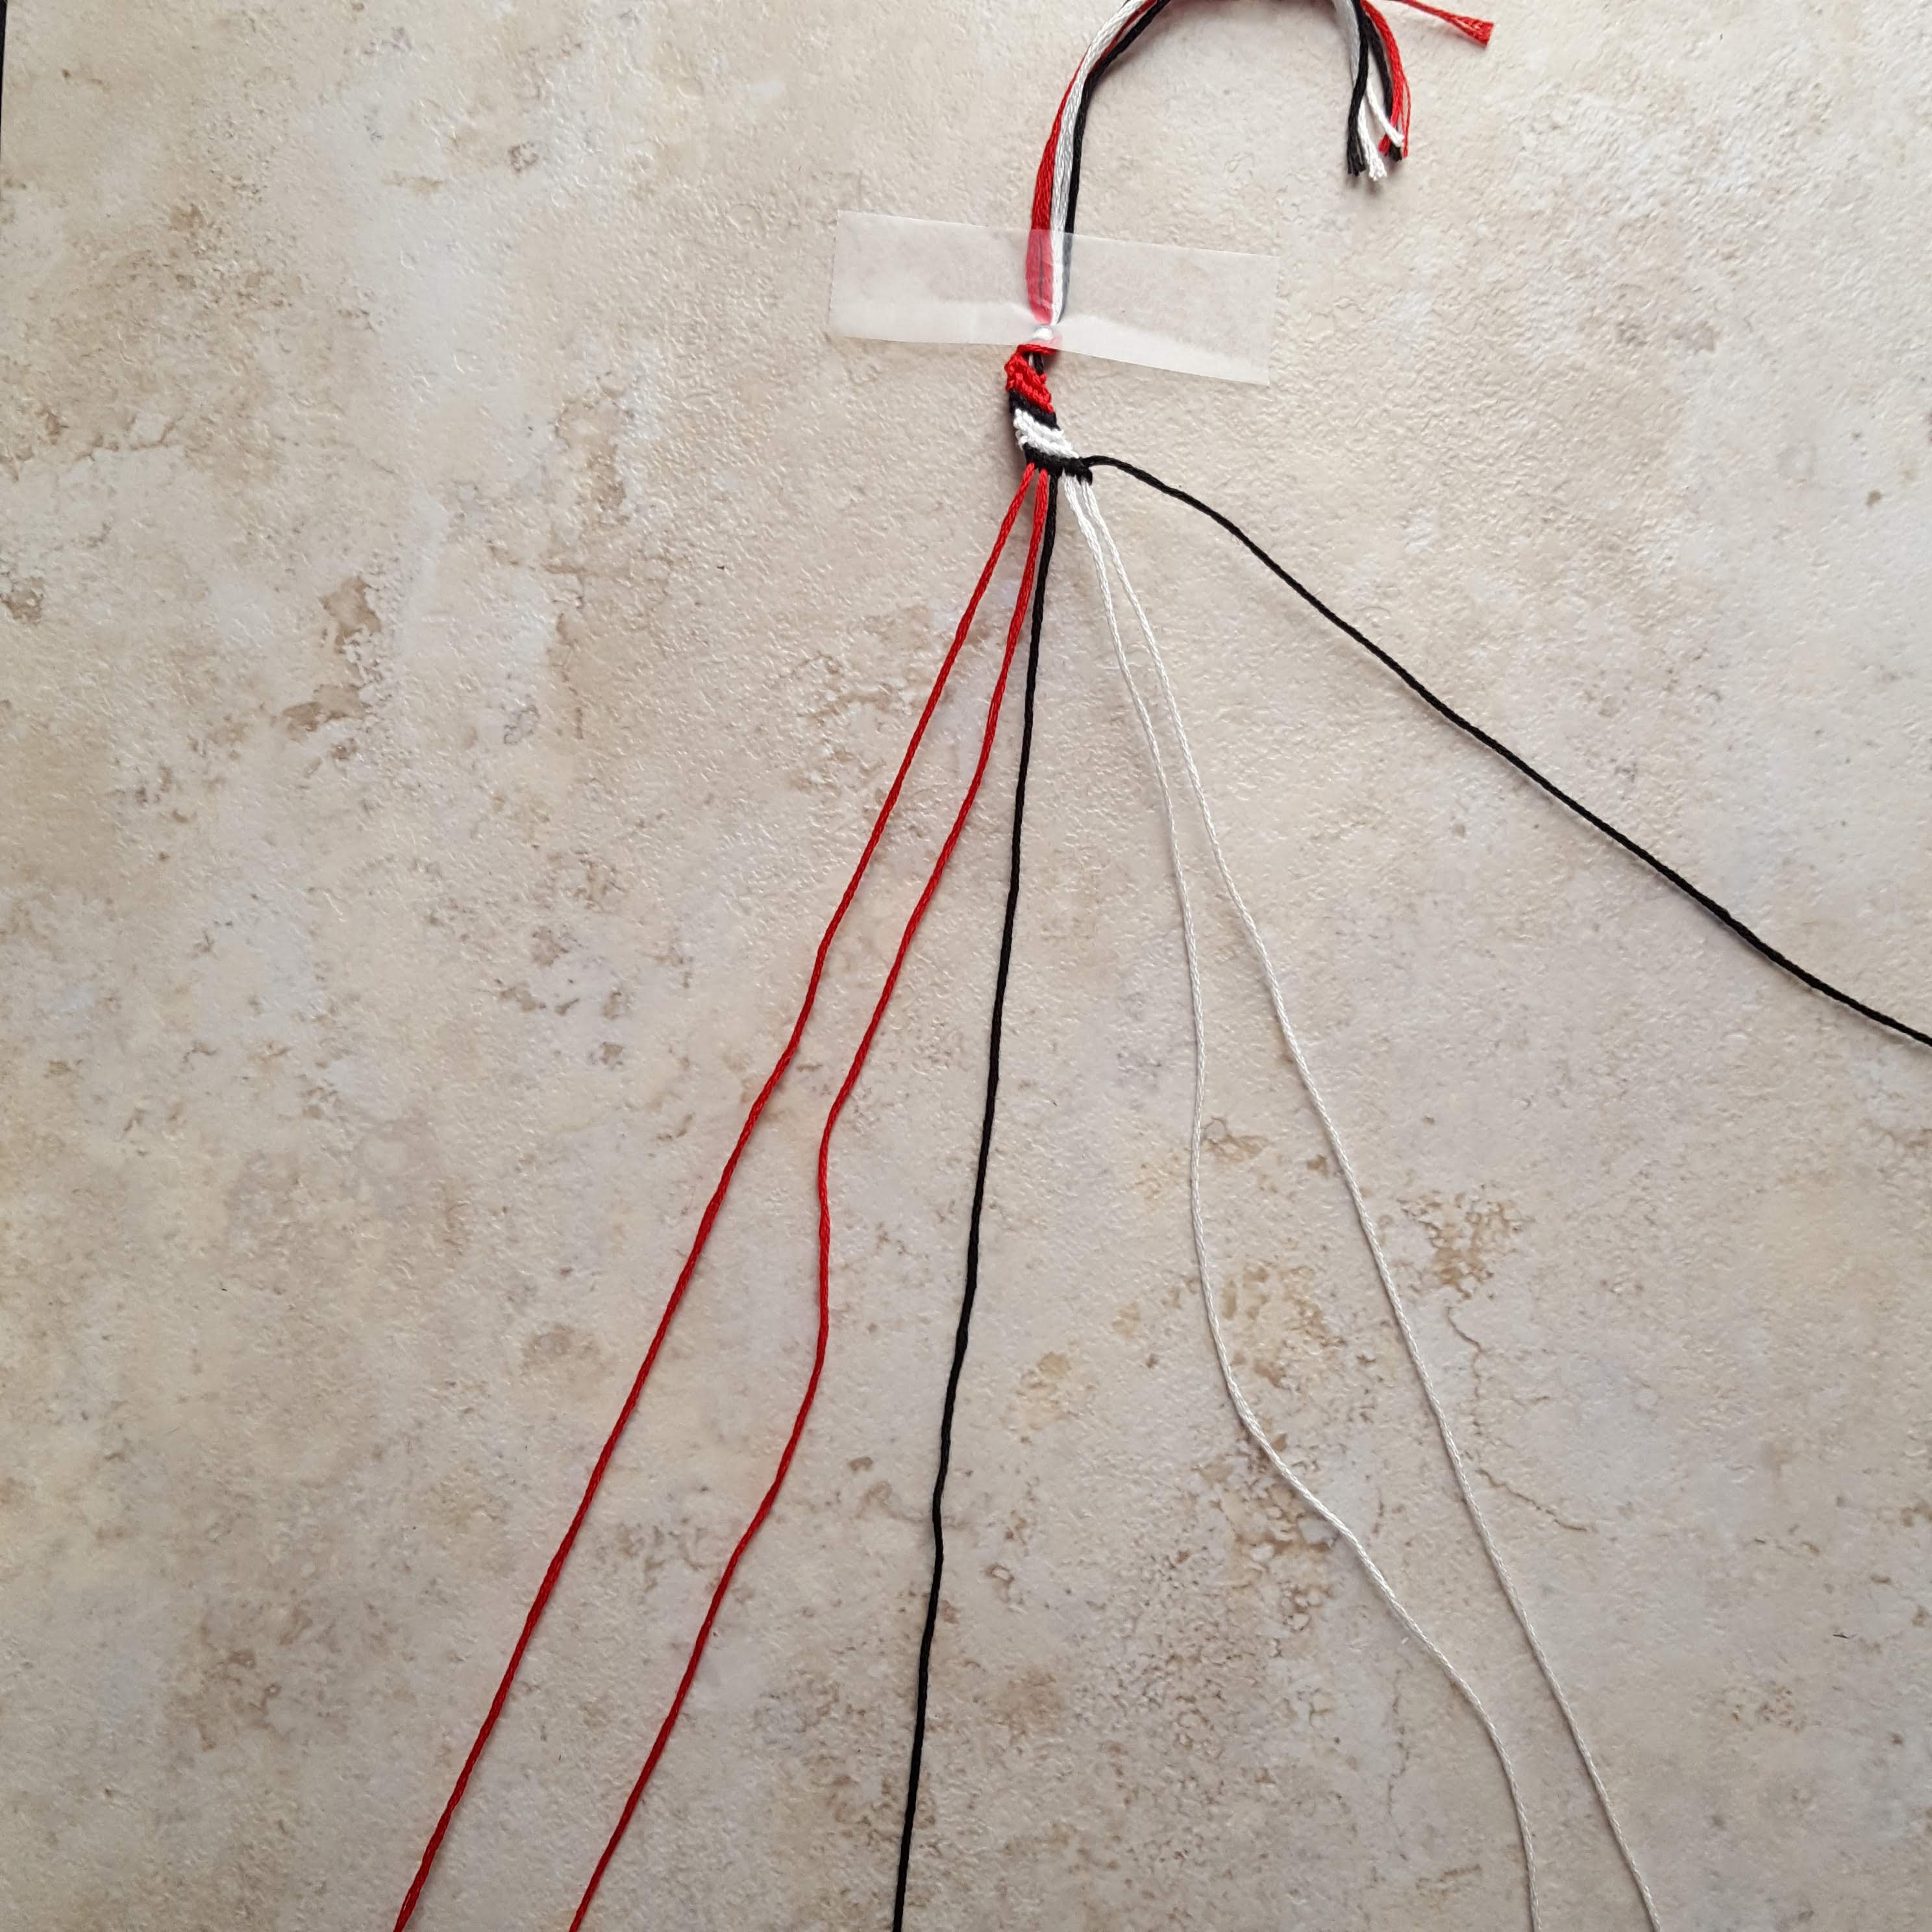
Step 3 – The Set-Up
- Gather up your pieces of floss, aligning the ends
- Tie a simple overhand knot near one end, leaving about a 6” tail
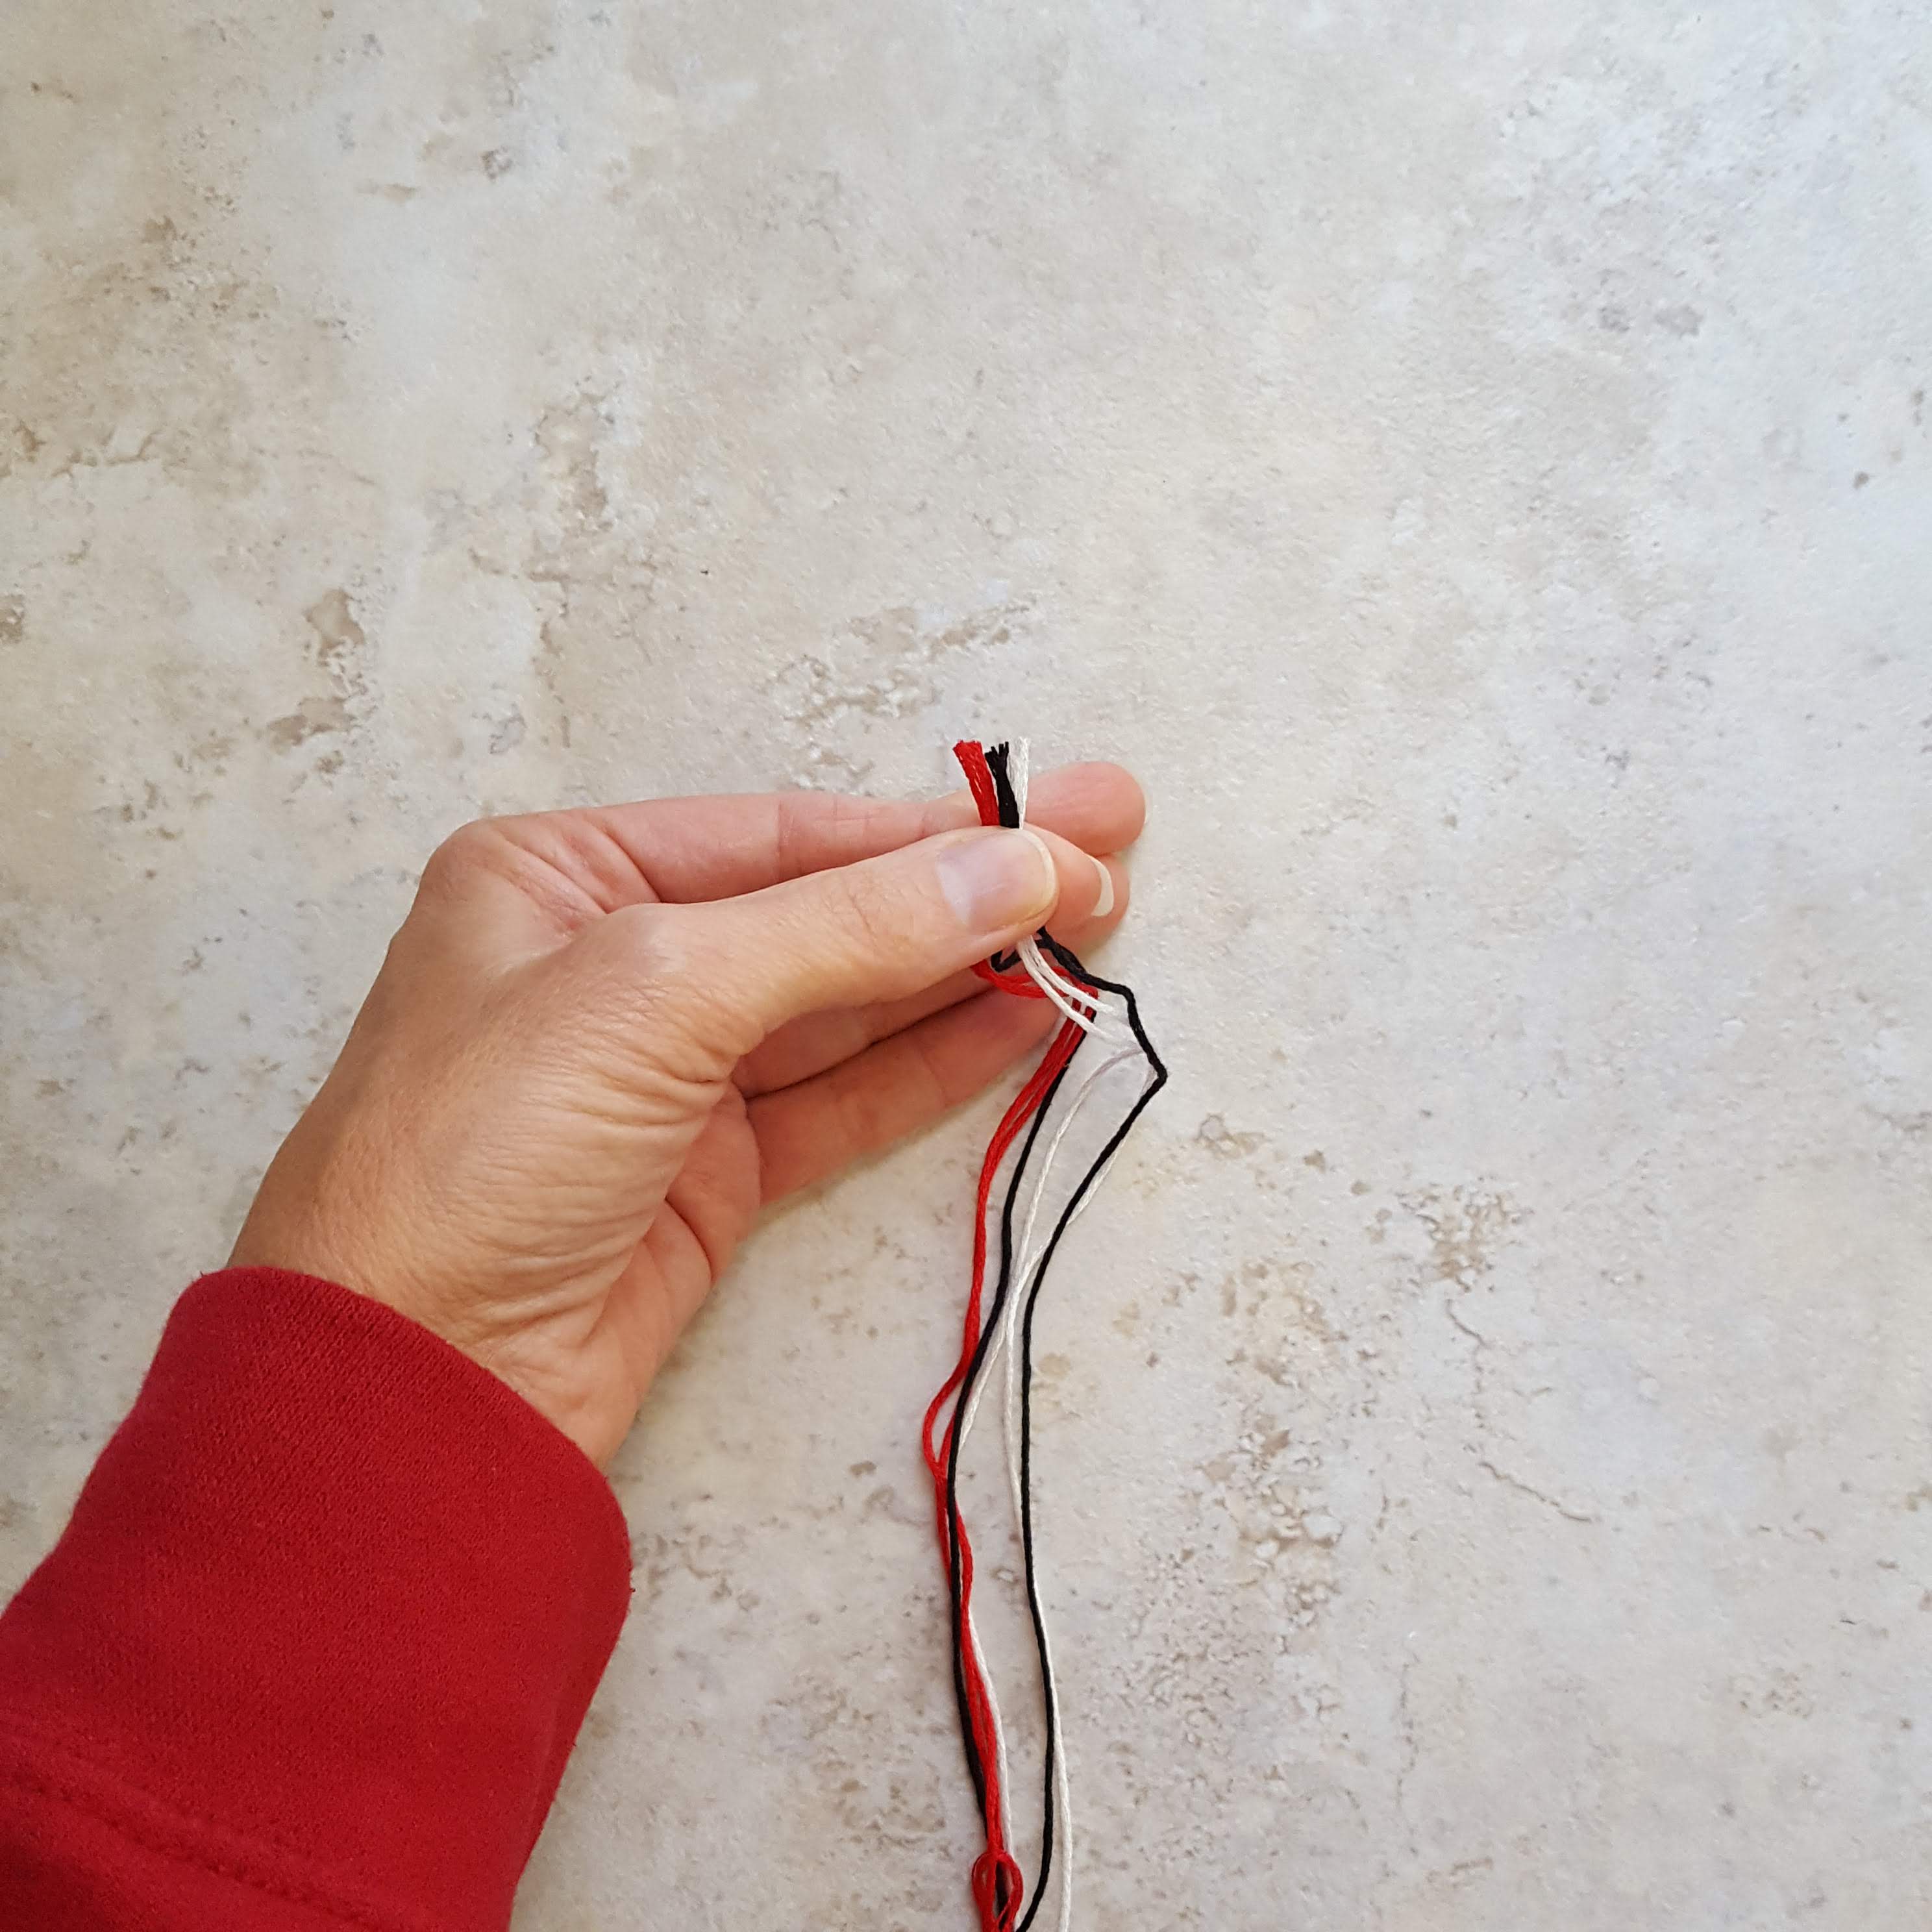
- Tape down the tail, to prevent it from moving while you work
- OR use a safety pin to pin it to your pants leg, to work in your lap
- Arrange the pieces of floss in the order you want your stripes

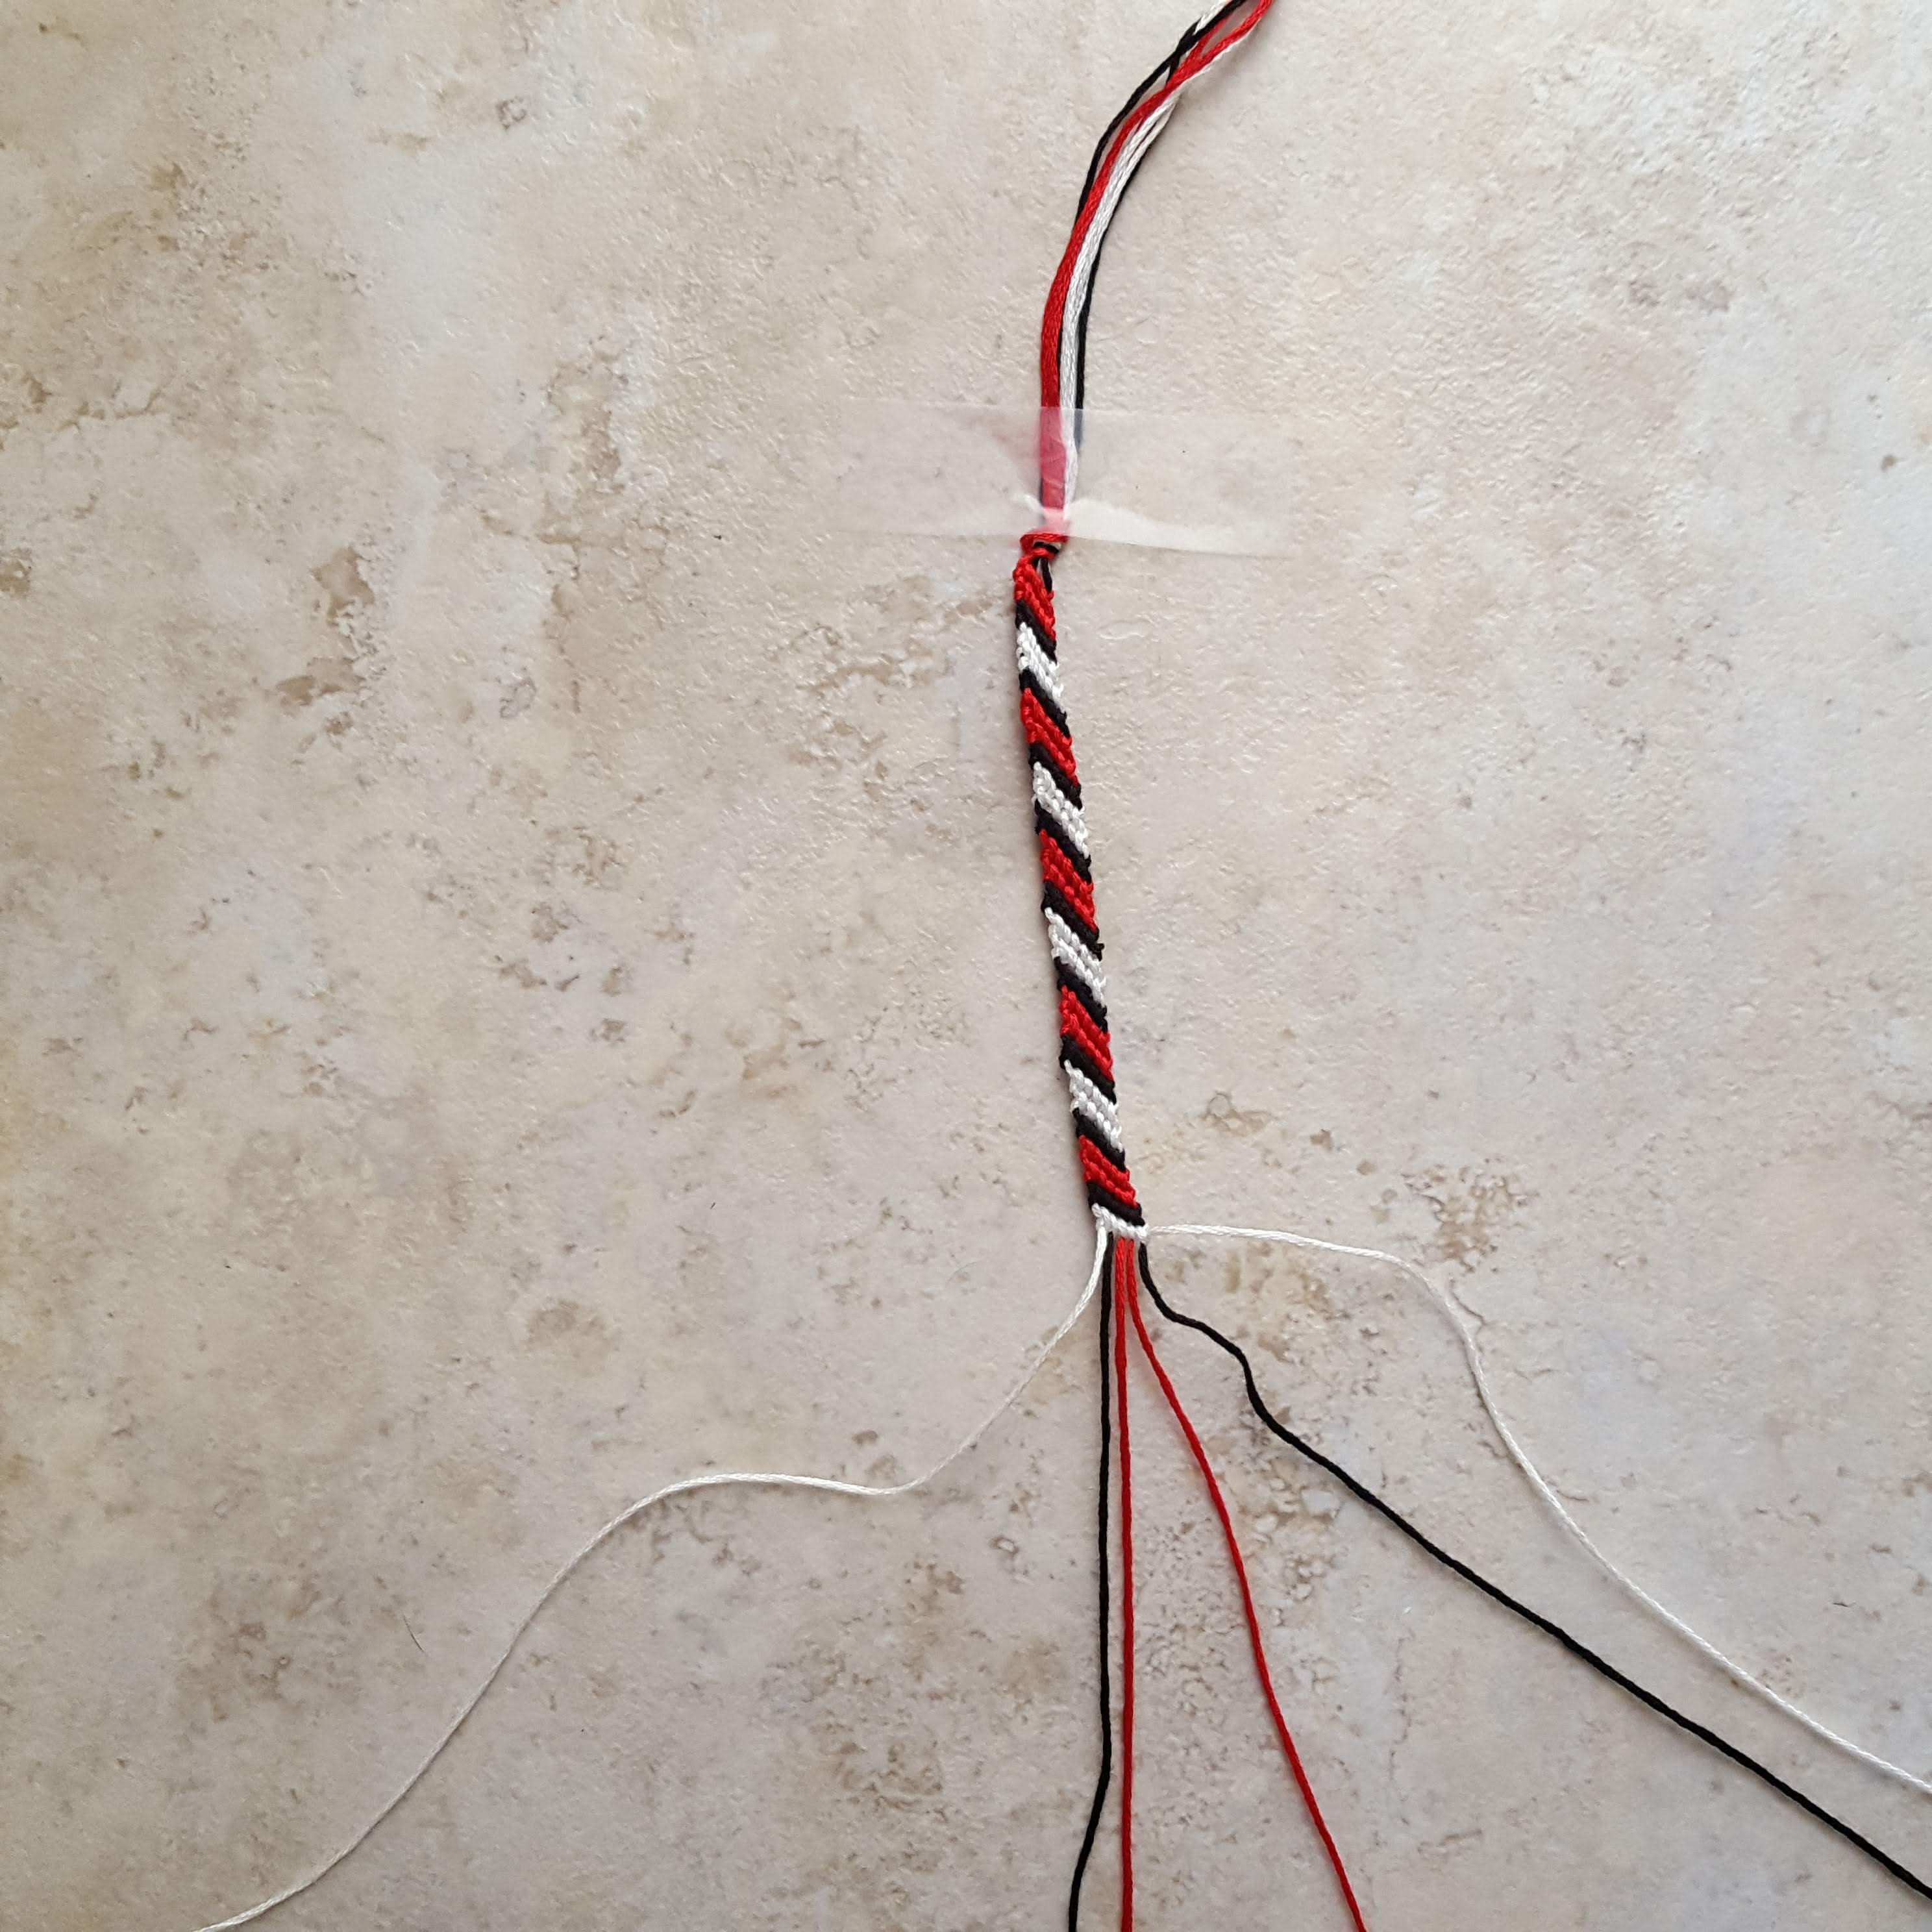
Step 4 – Create the first row
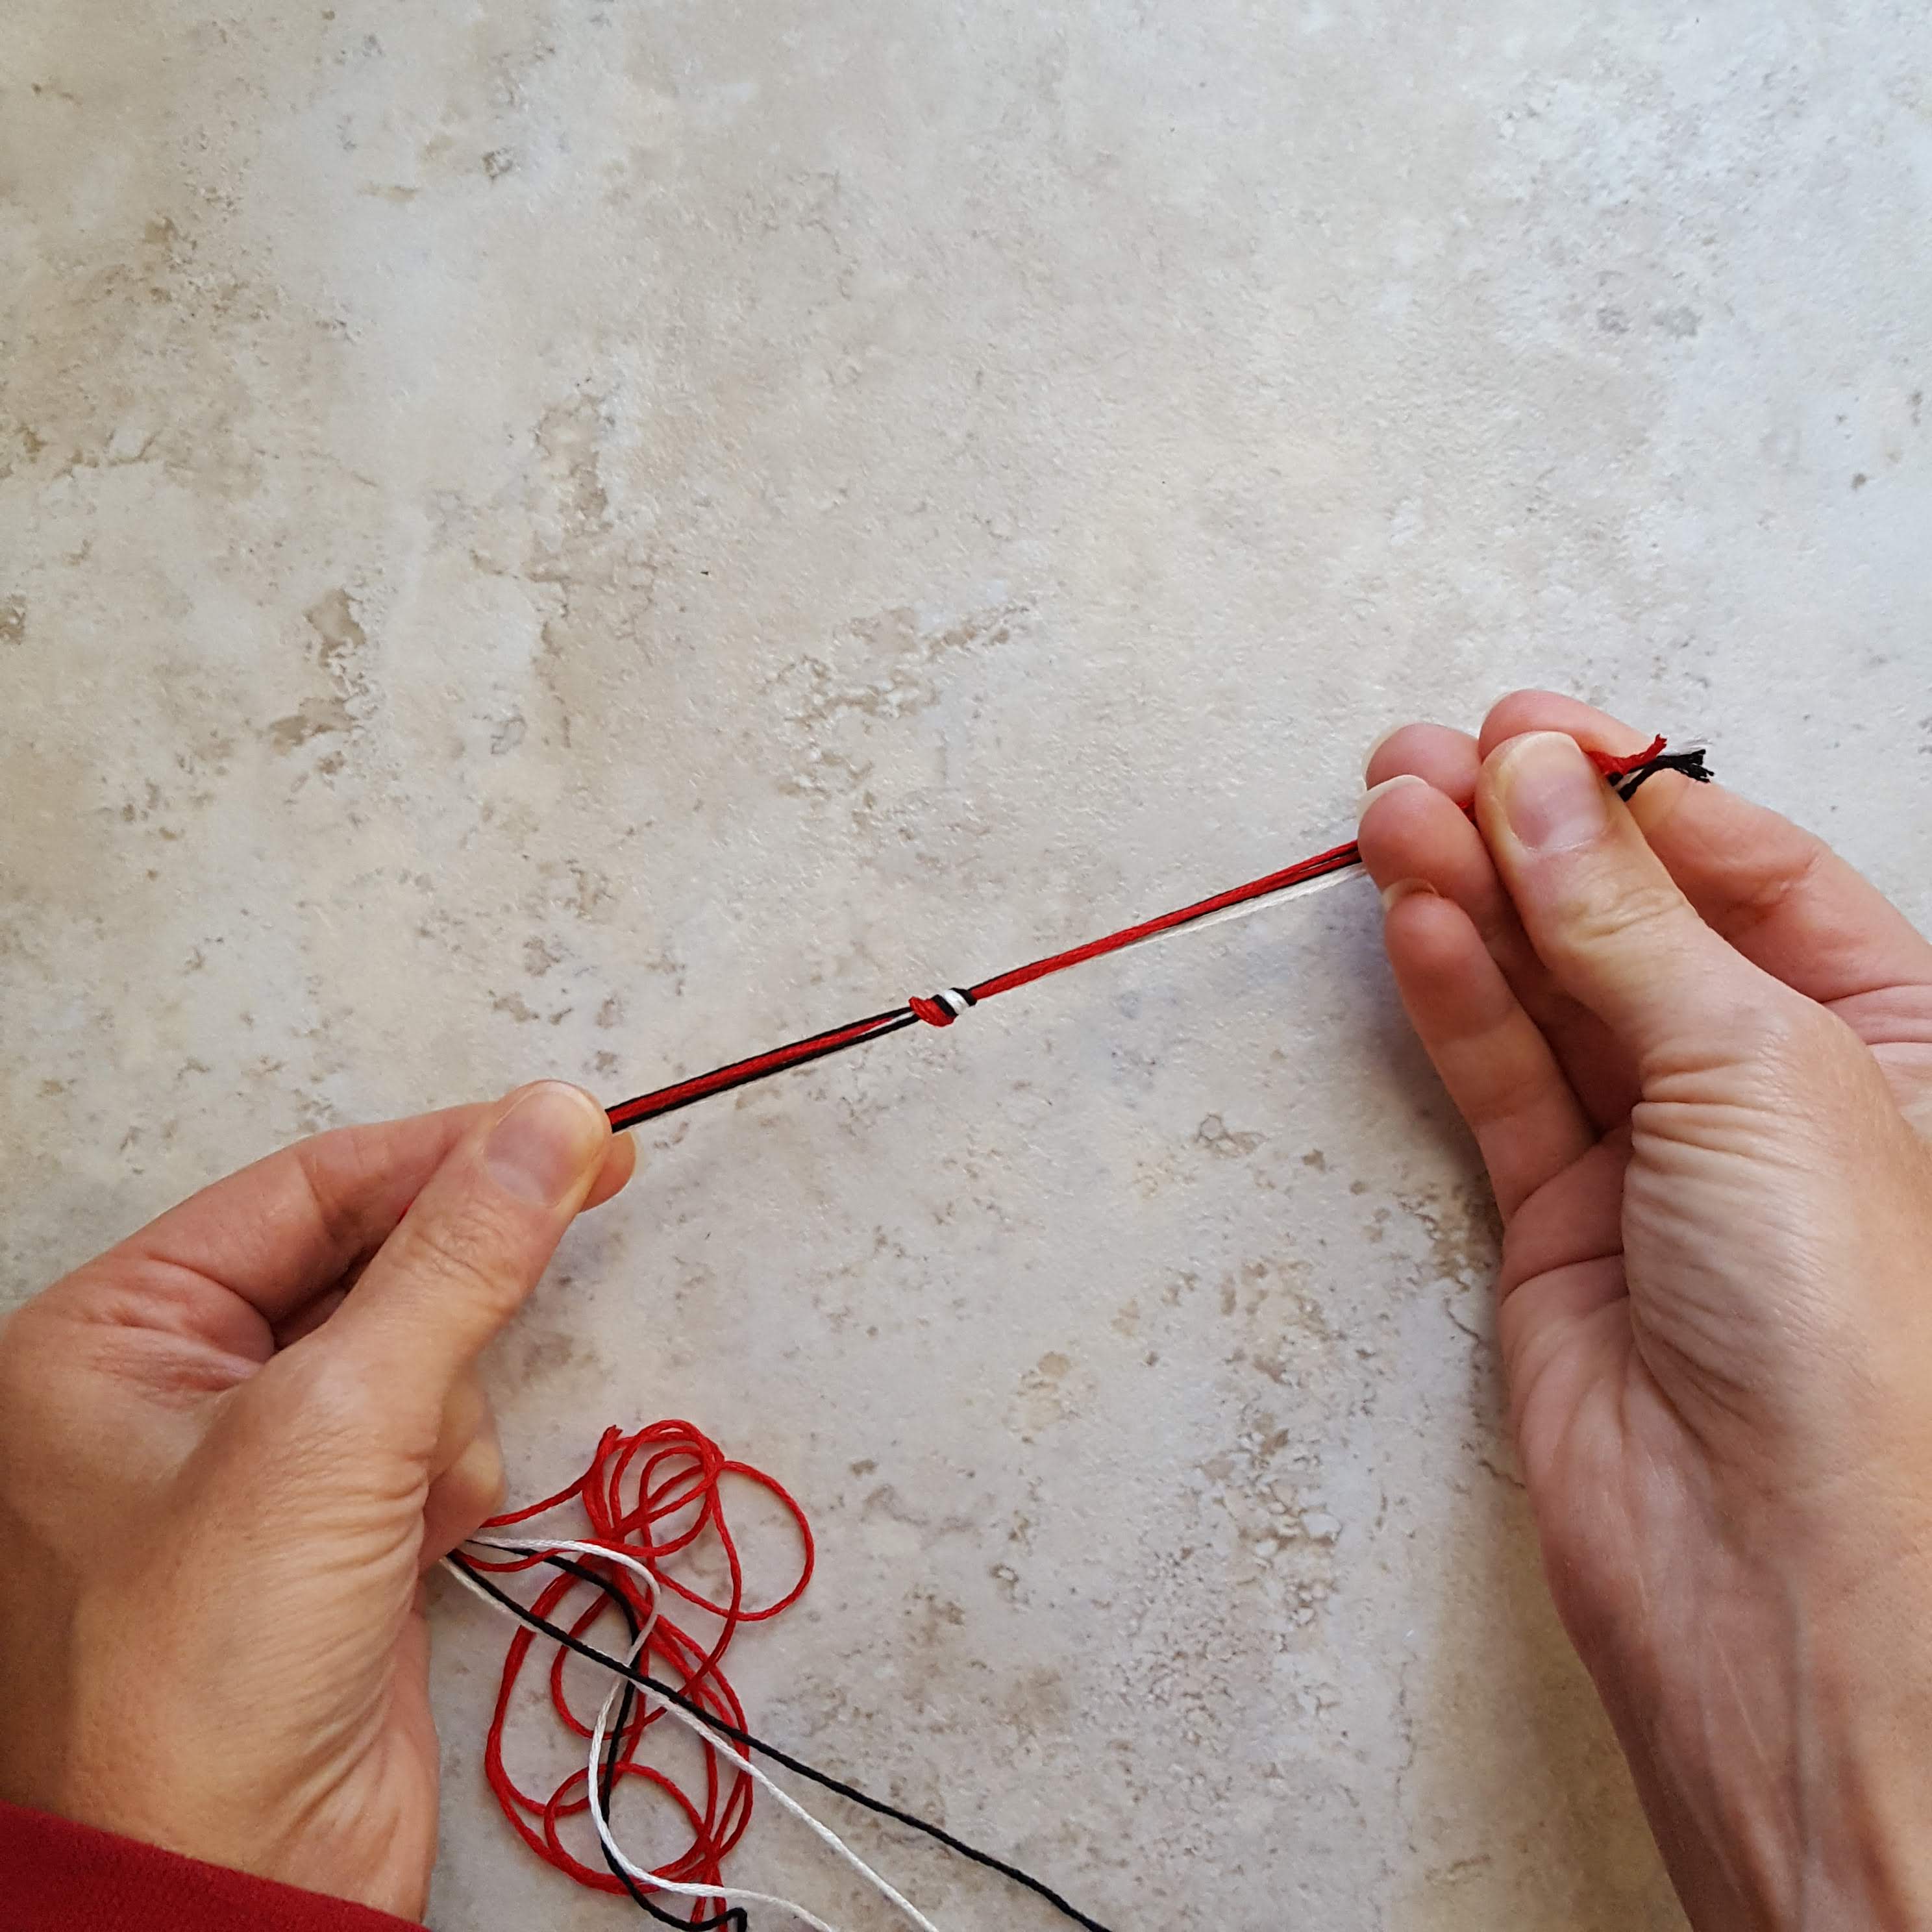
- Take the thread on the far left, and place it over the thread next to it, to form a “4” shape
- Pull the end of that far left thread through this “4” loop

- Hold the second thread tight, and continue pulling on the first thread until you create a knot
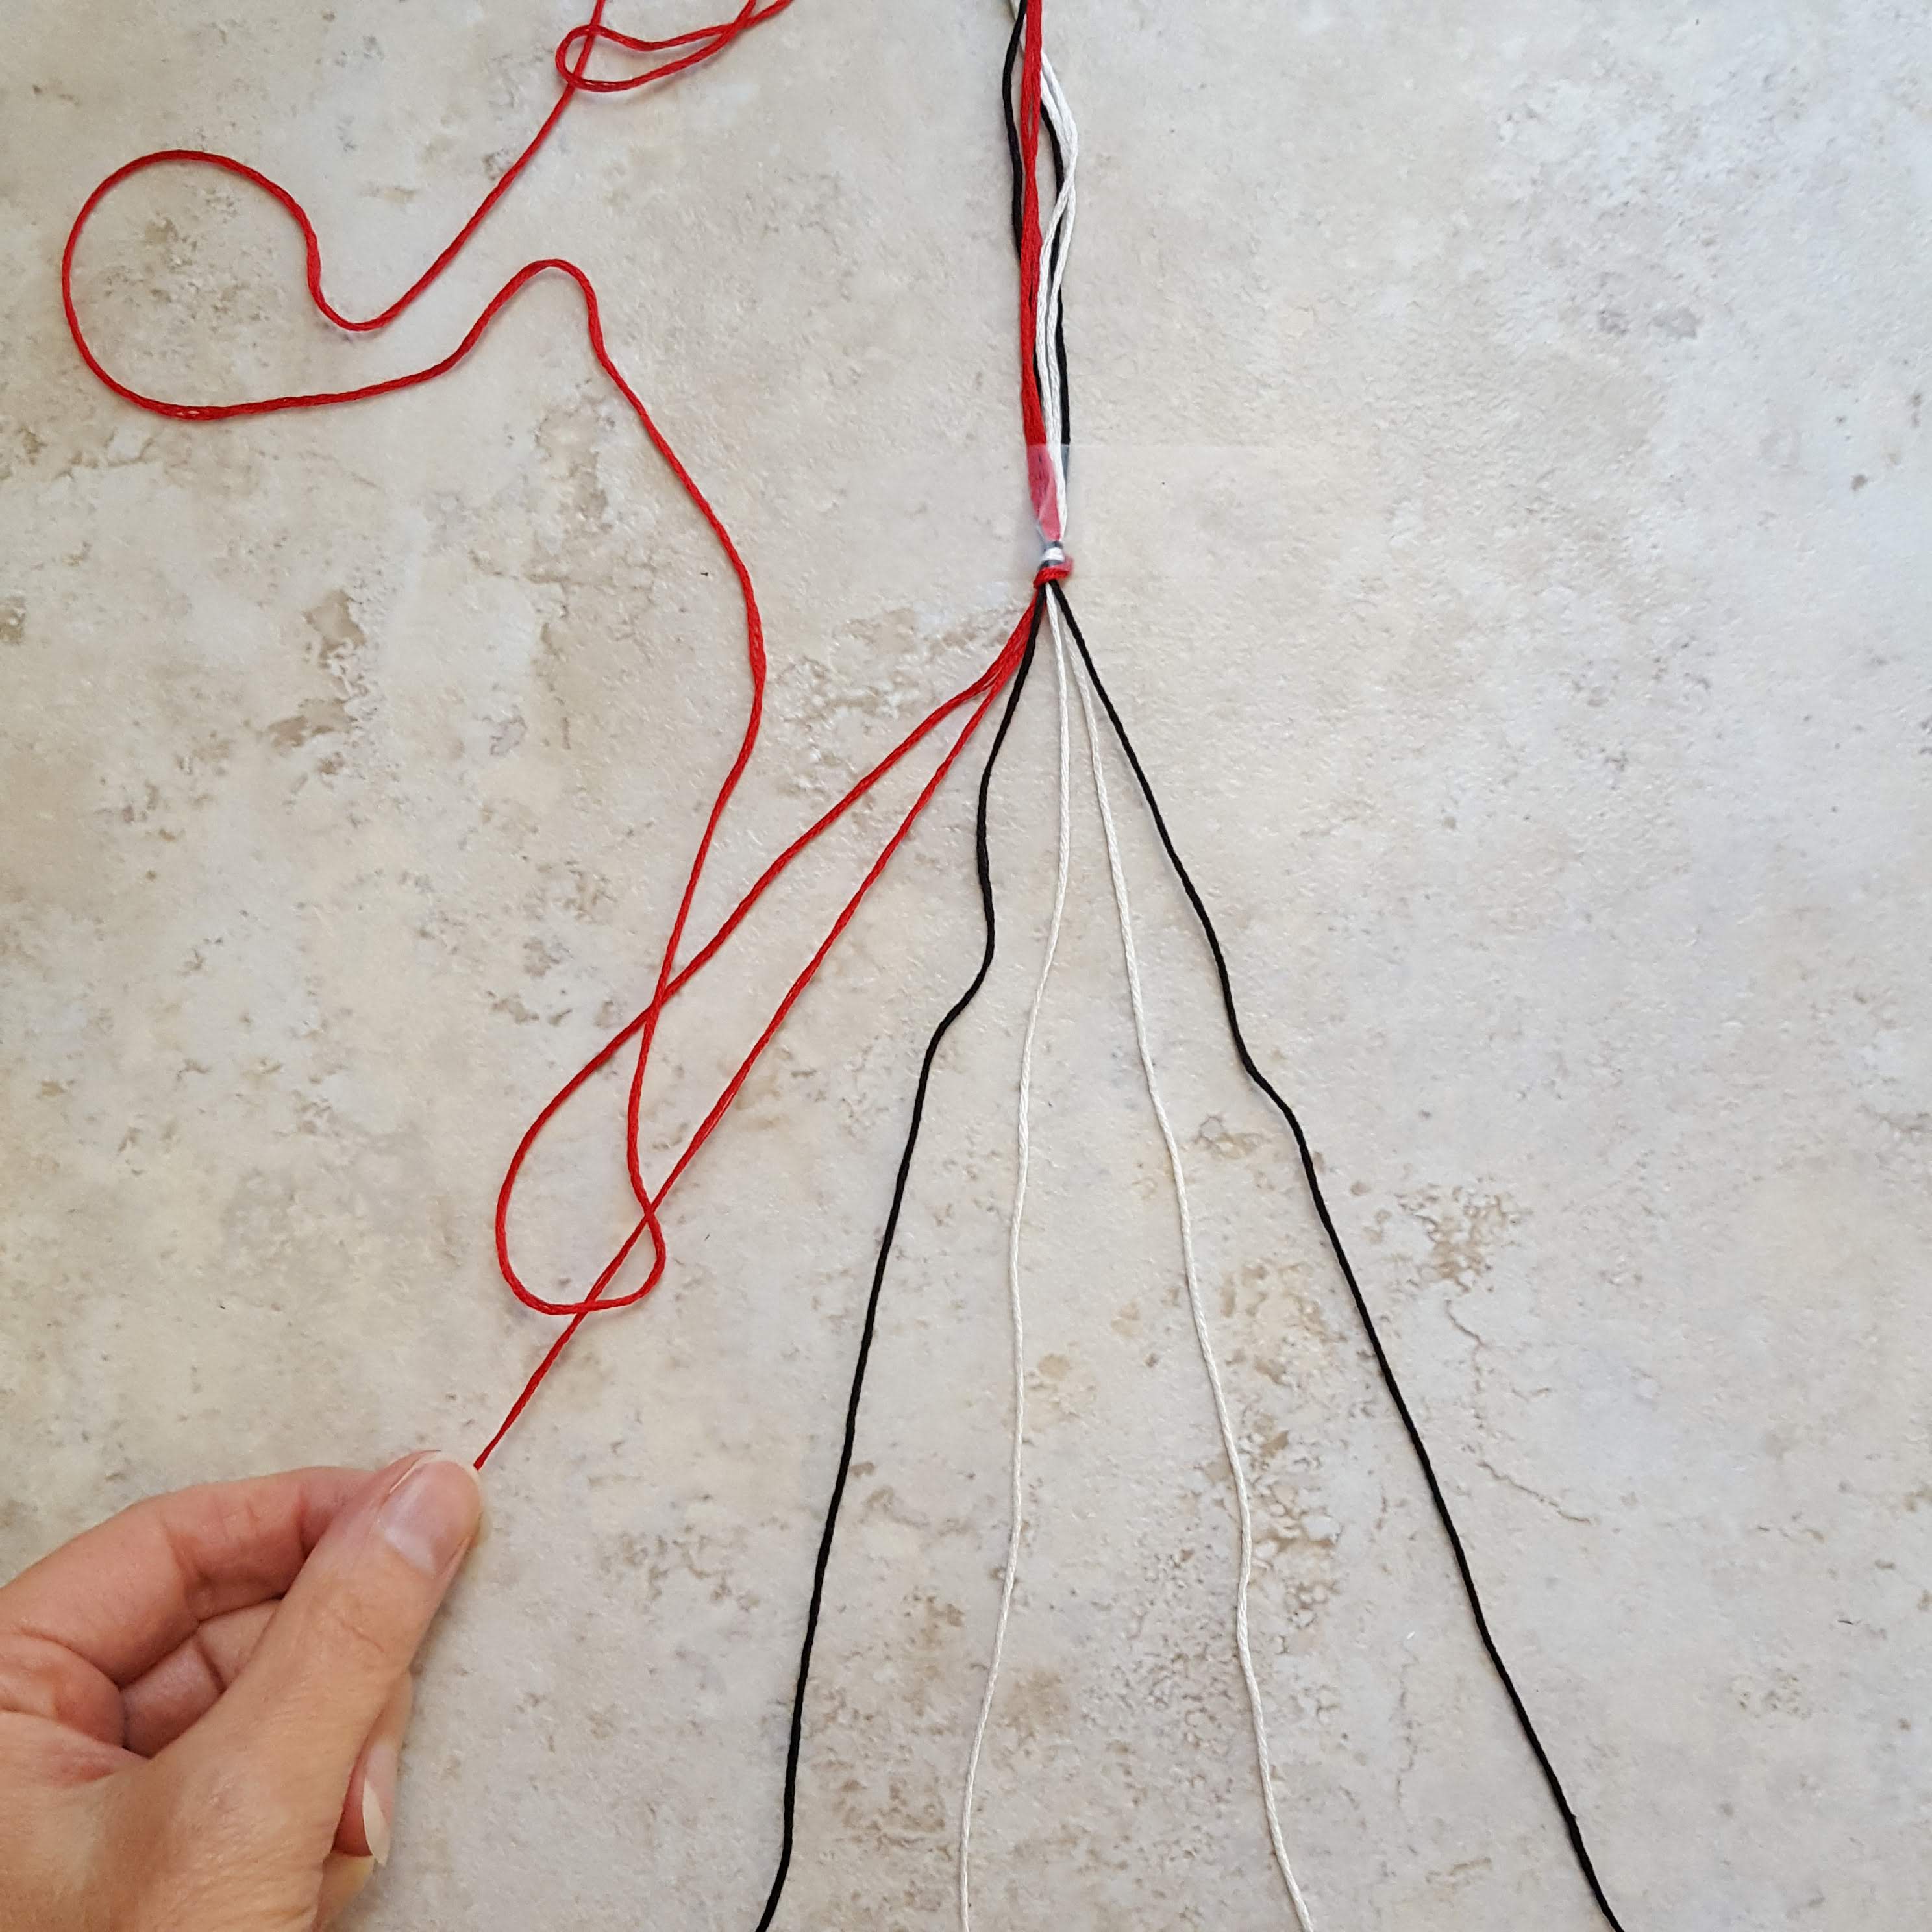
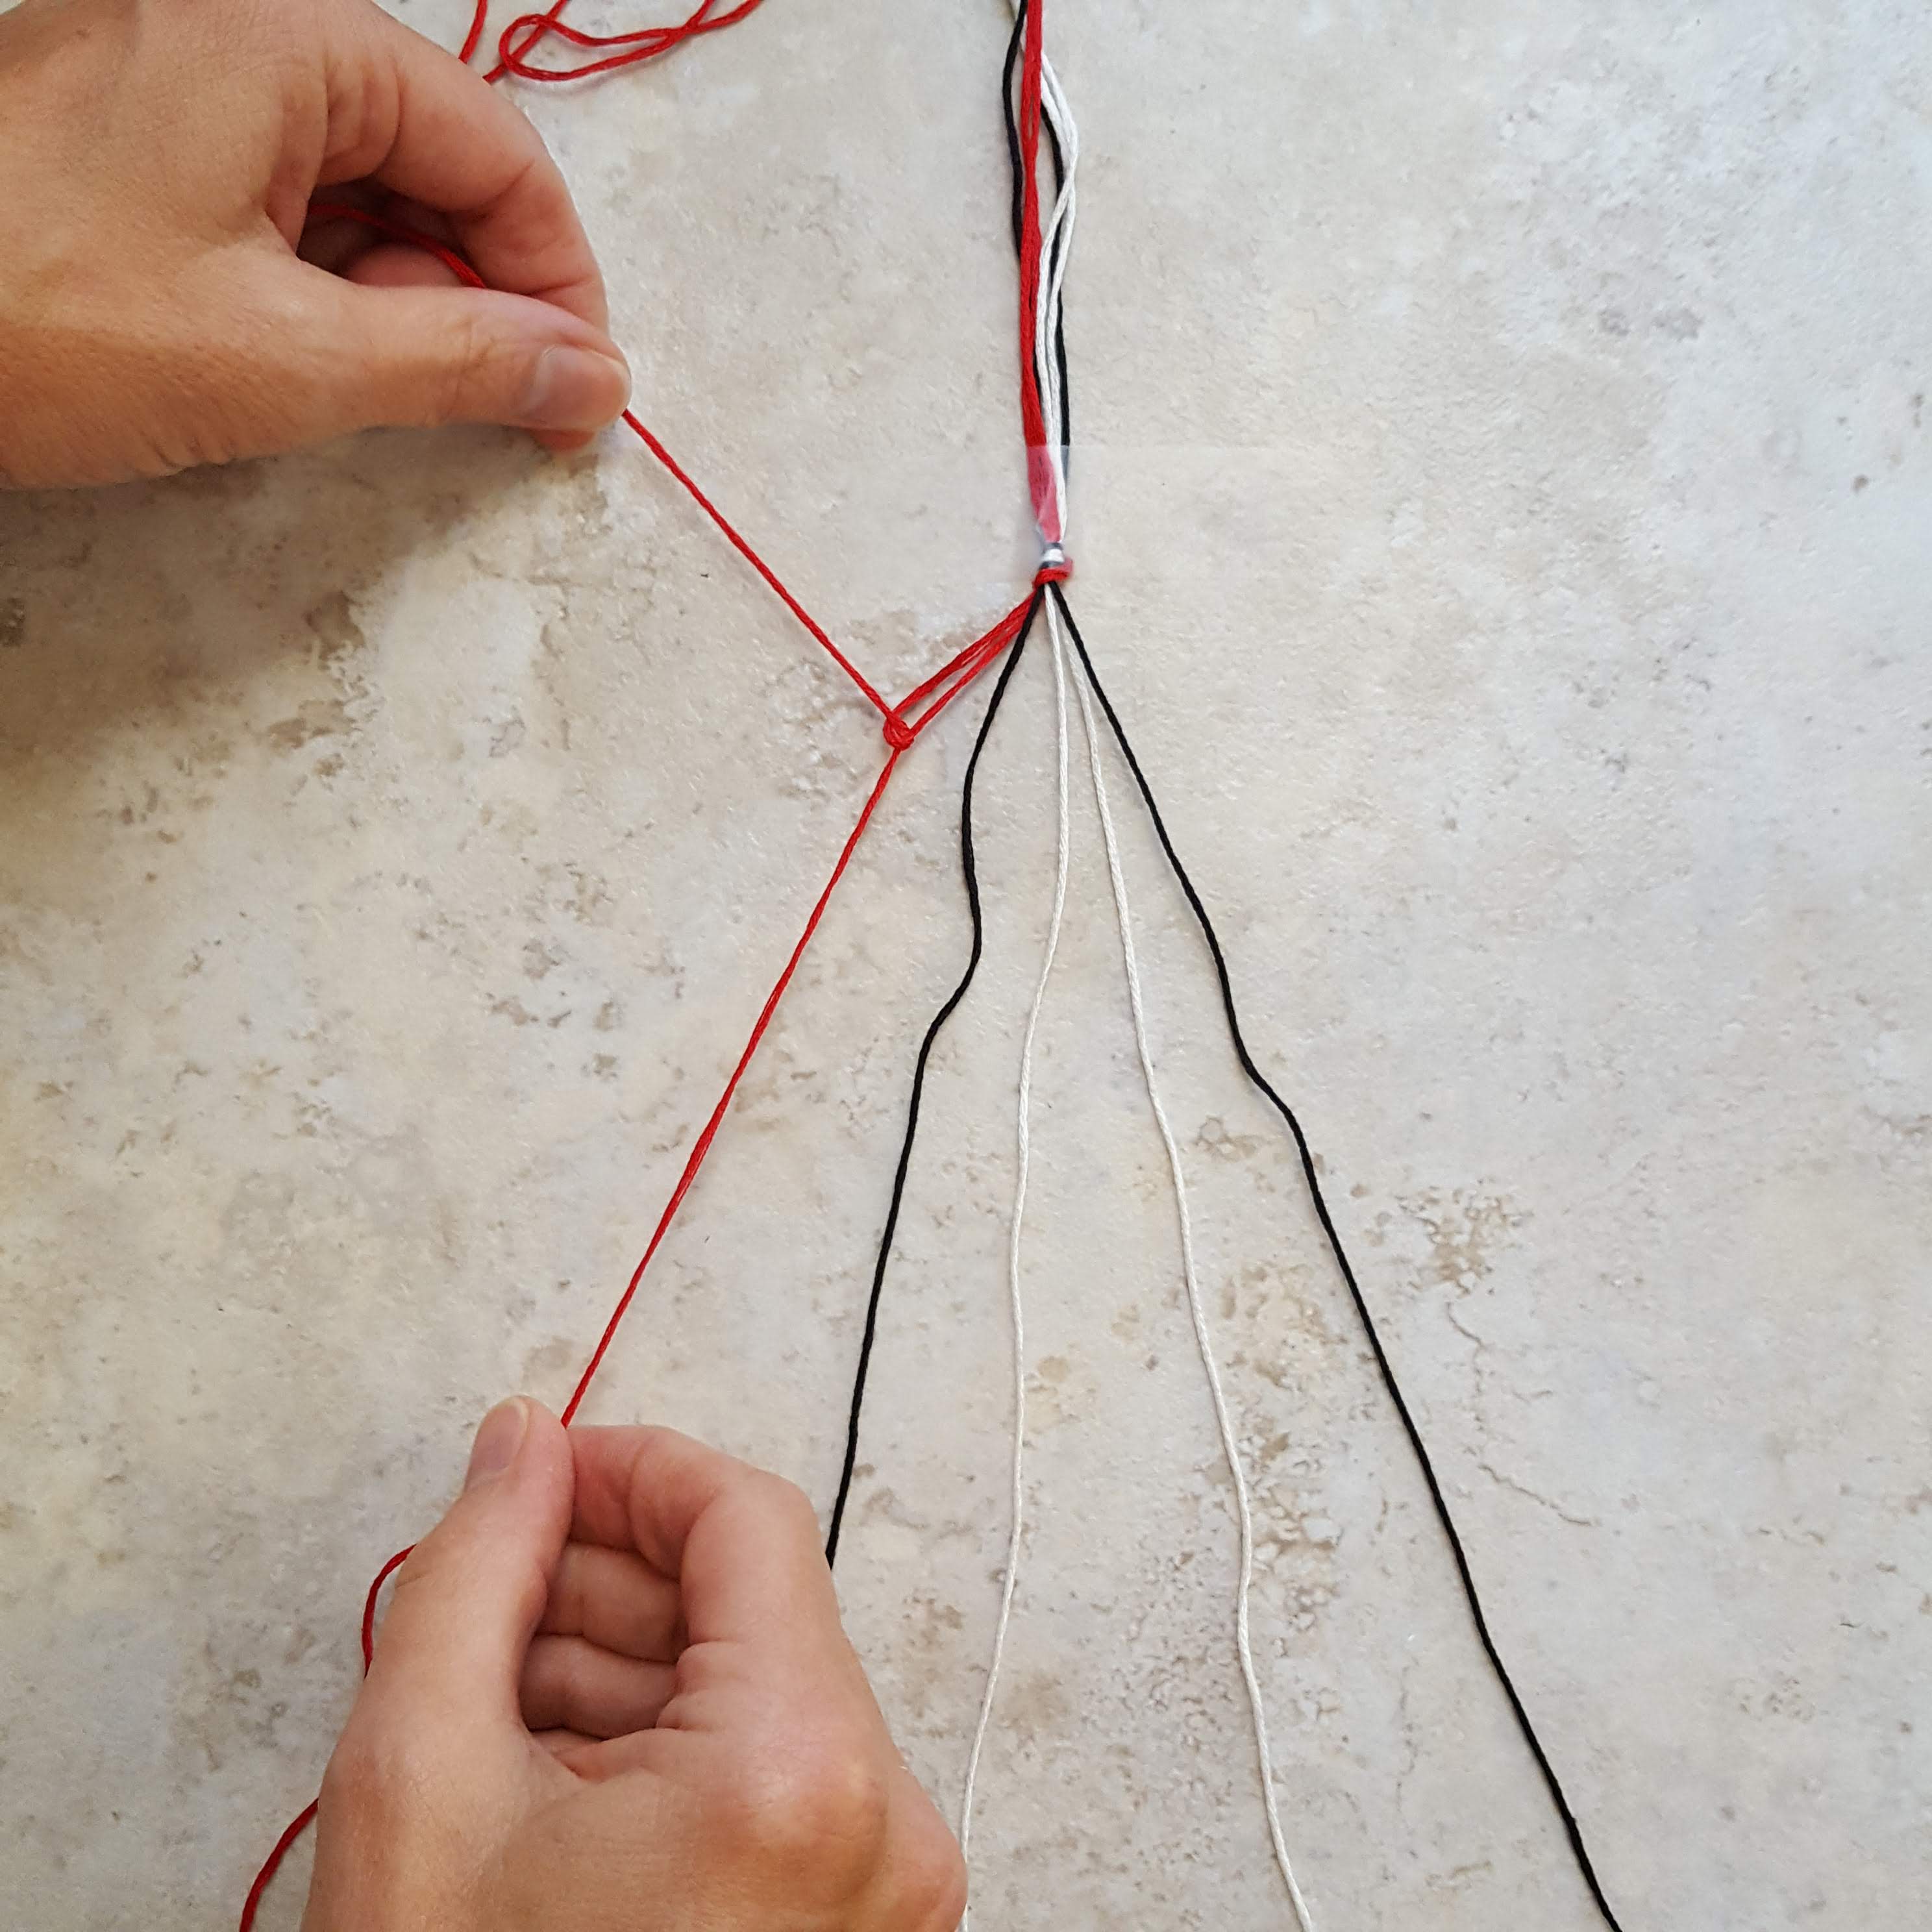
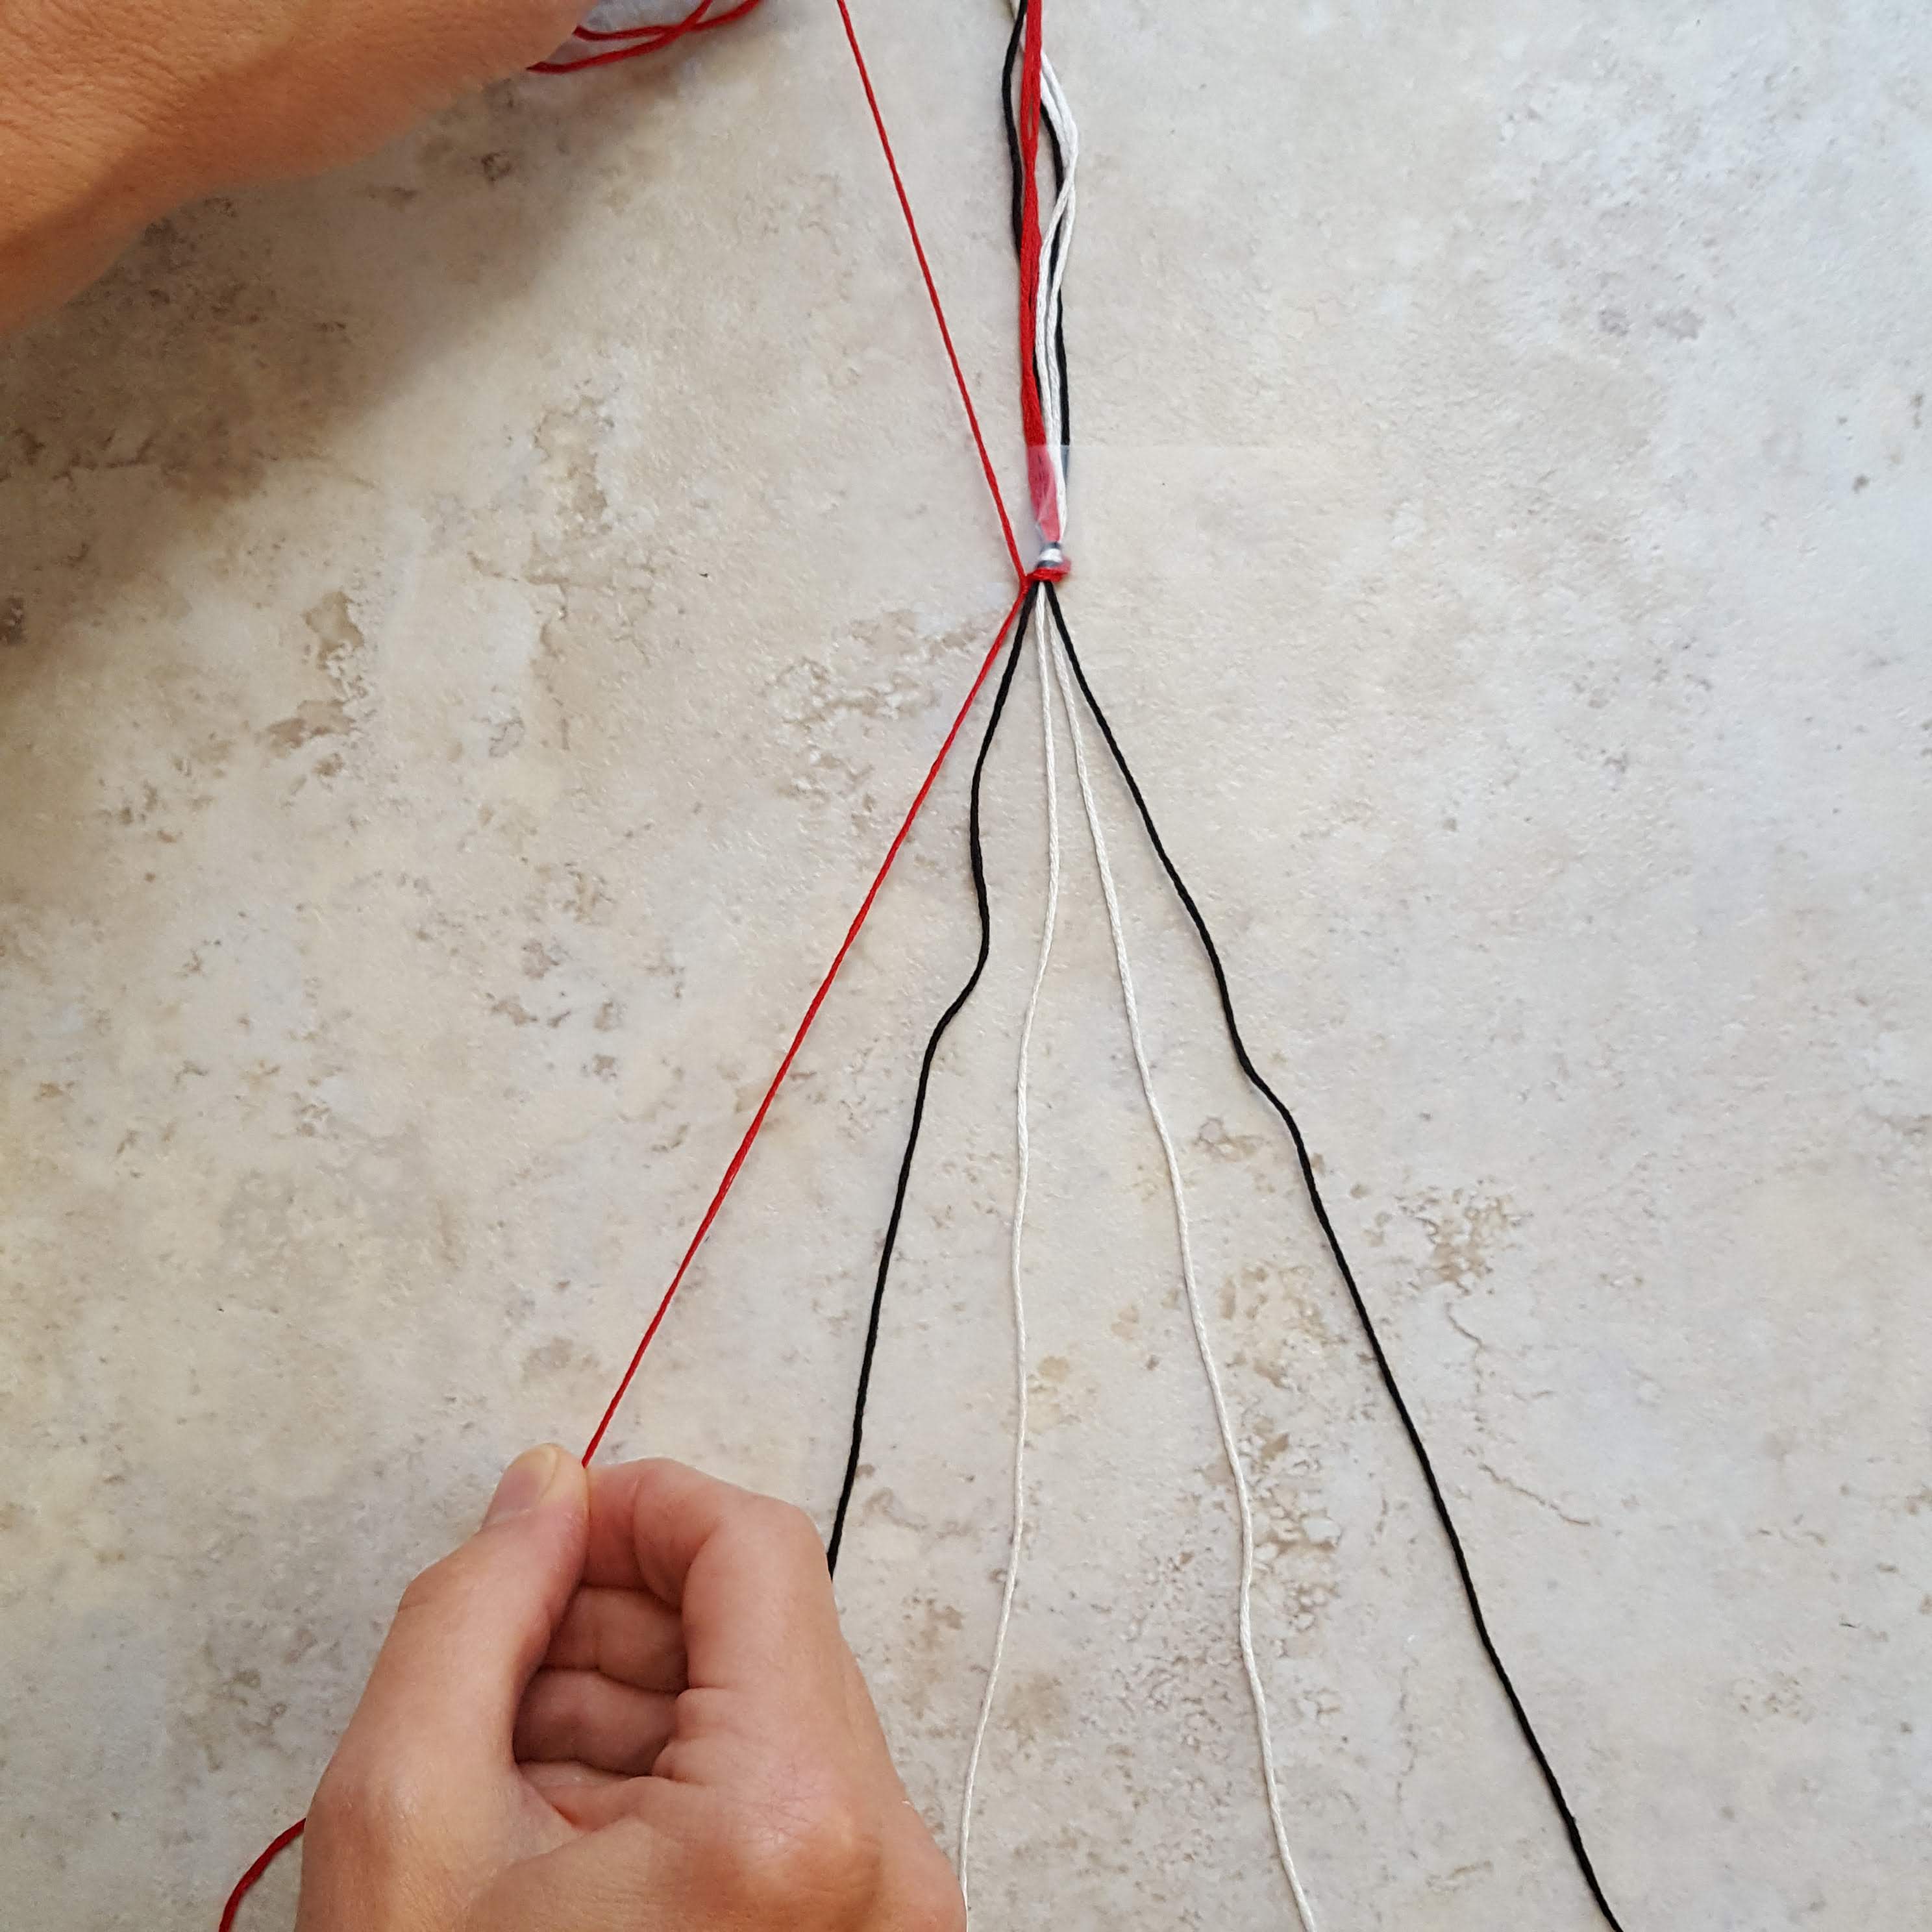
- Create a second knot using the same 2 threads
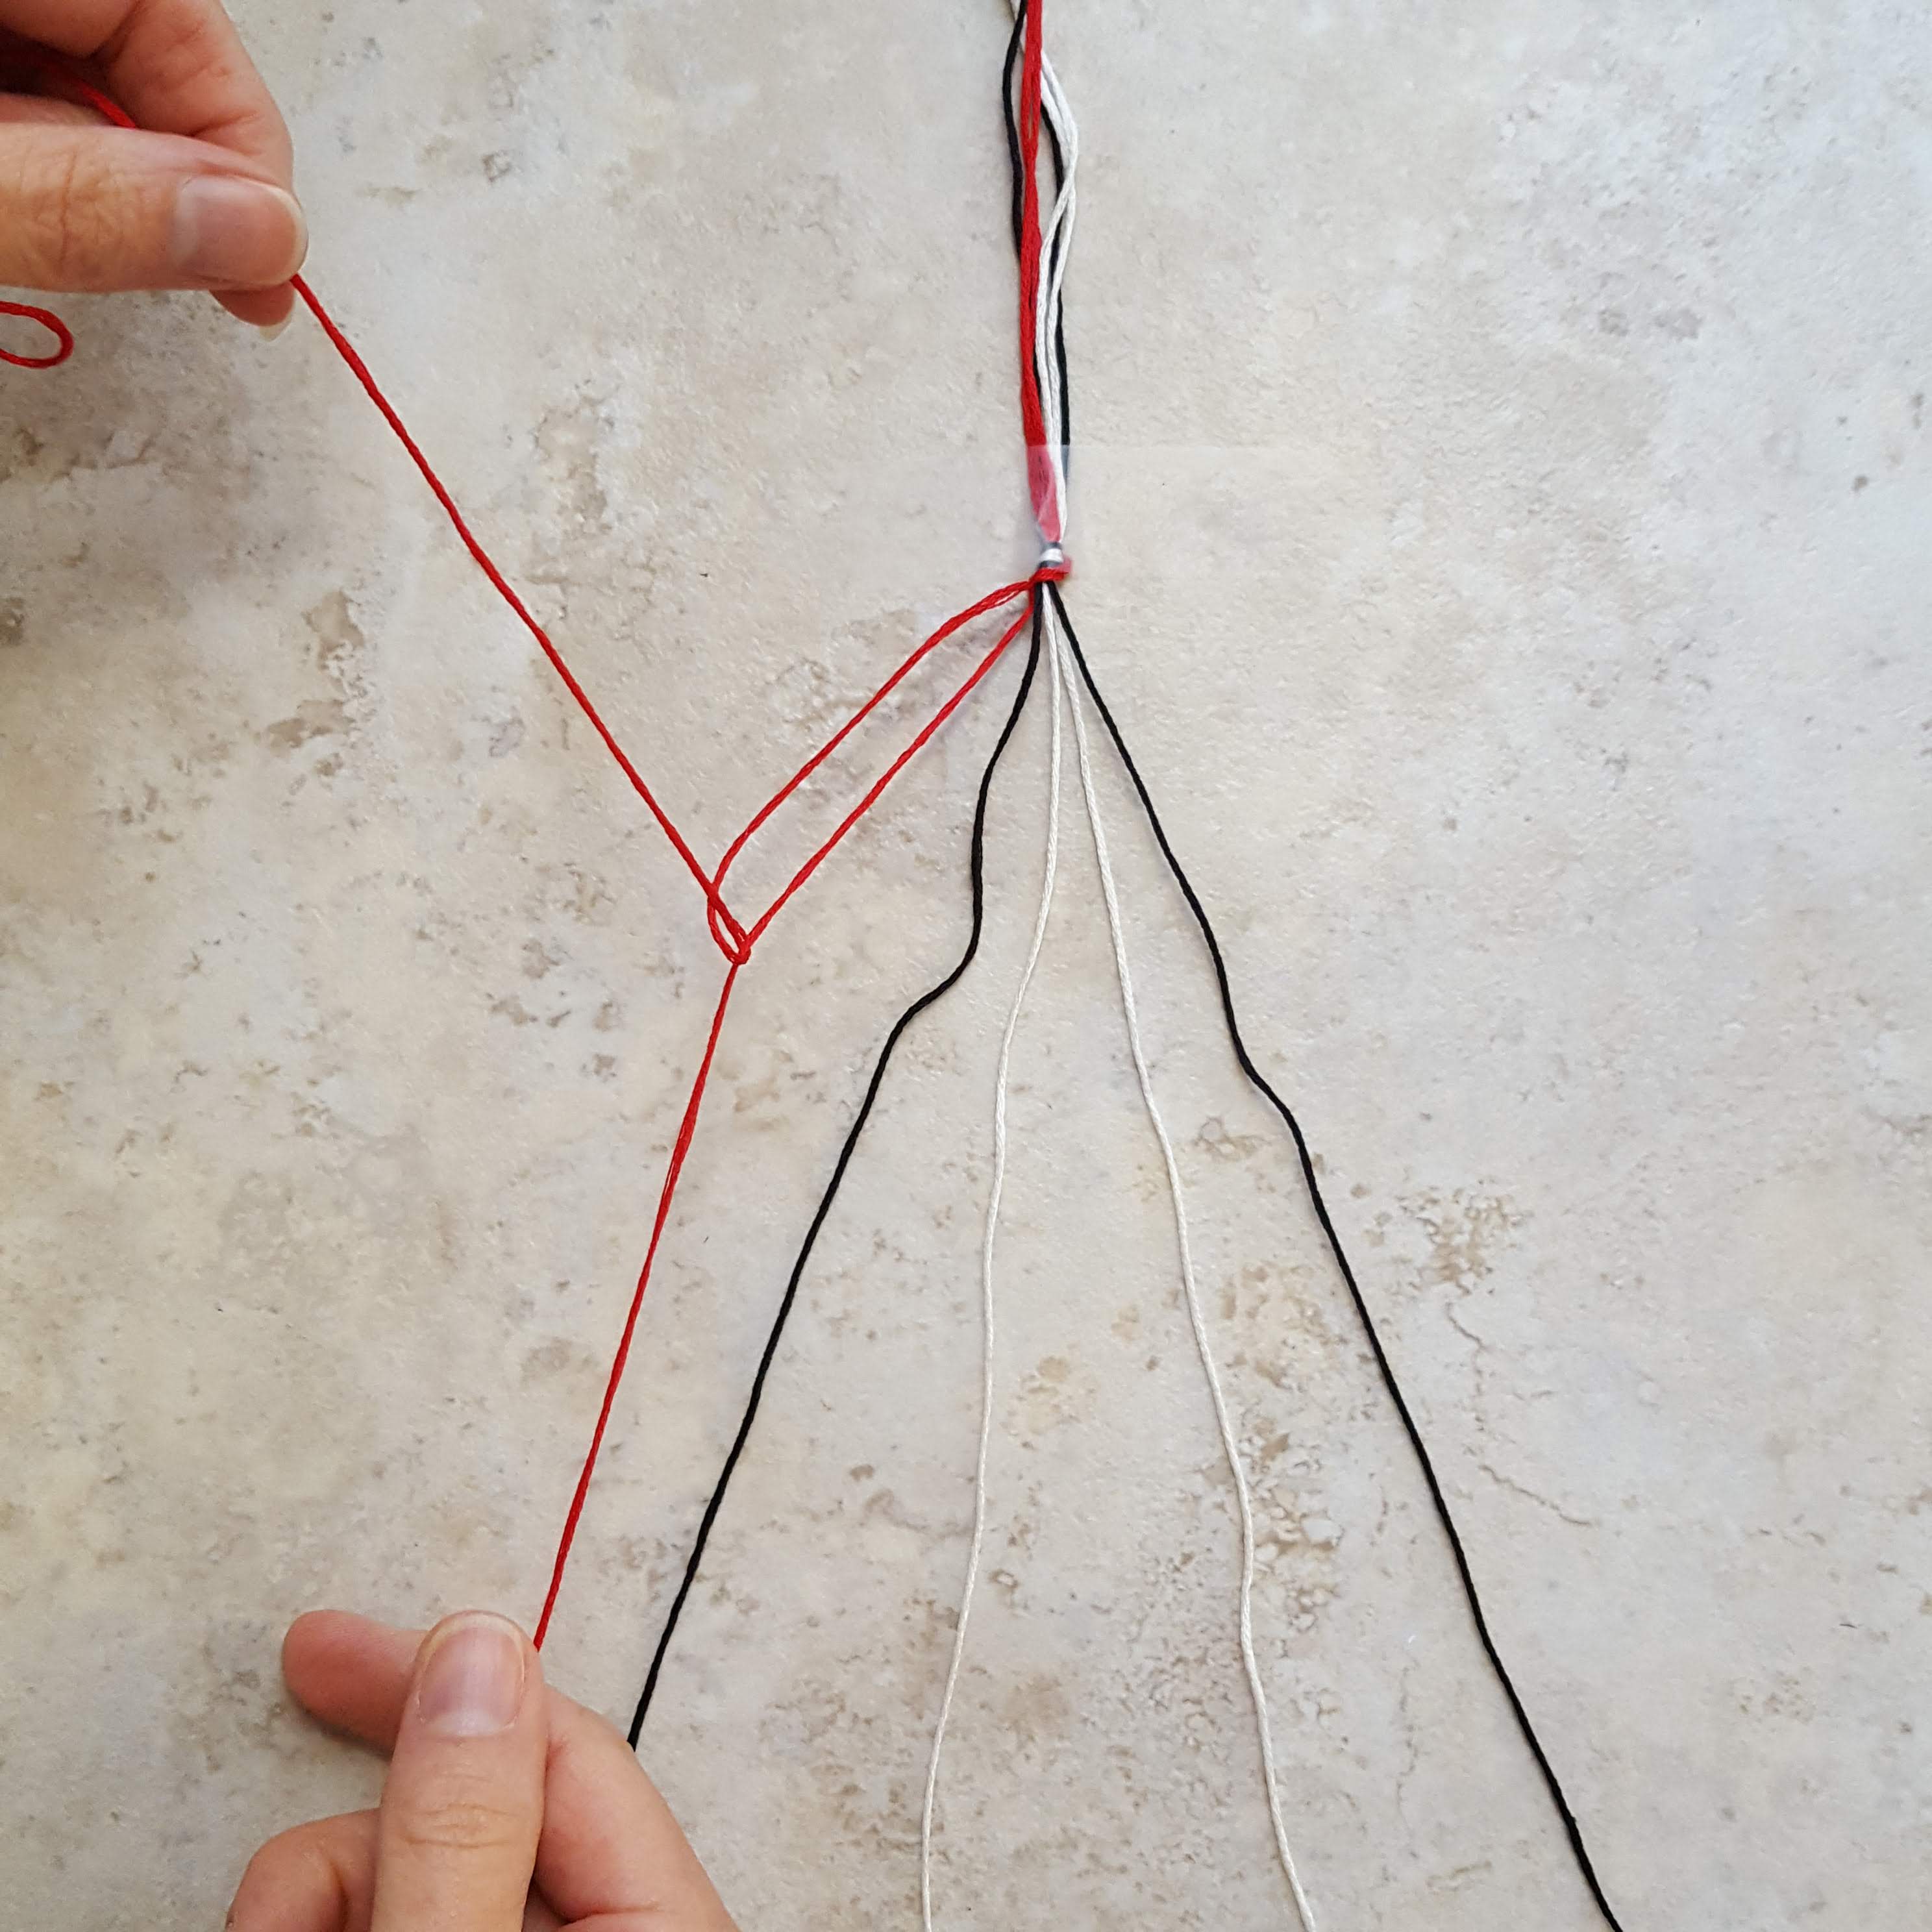
- Set the second thread aside
- Continuing with that same thread (the original thread from the far left), repeat the process with the 3rd thread, creating 2 knots.

- Set the second thread aside

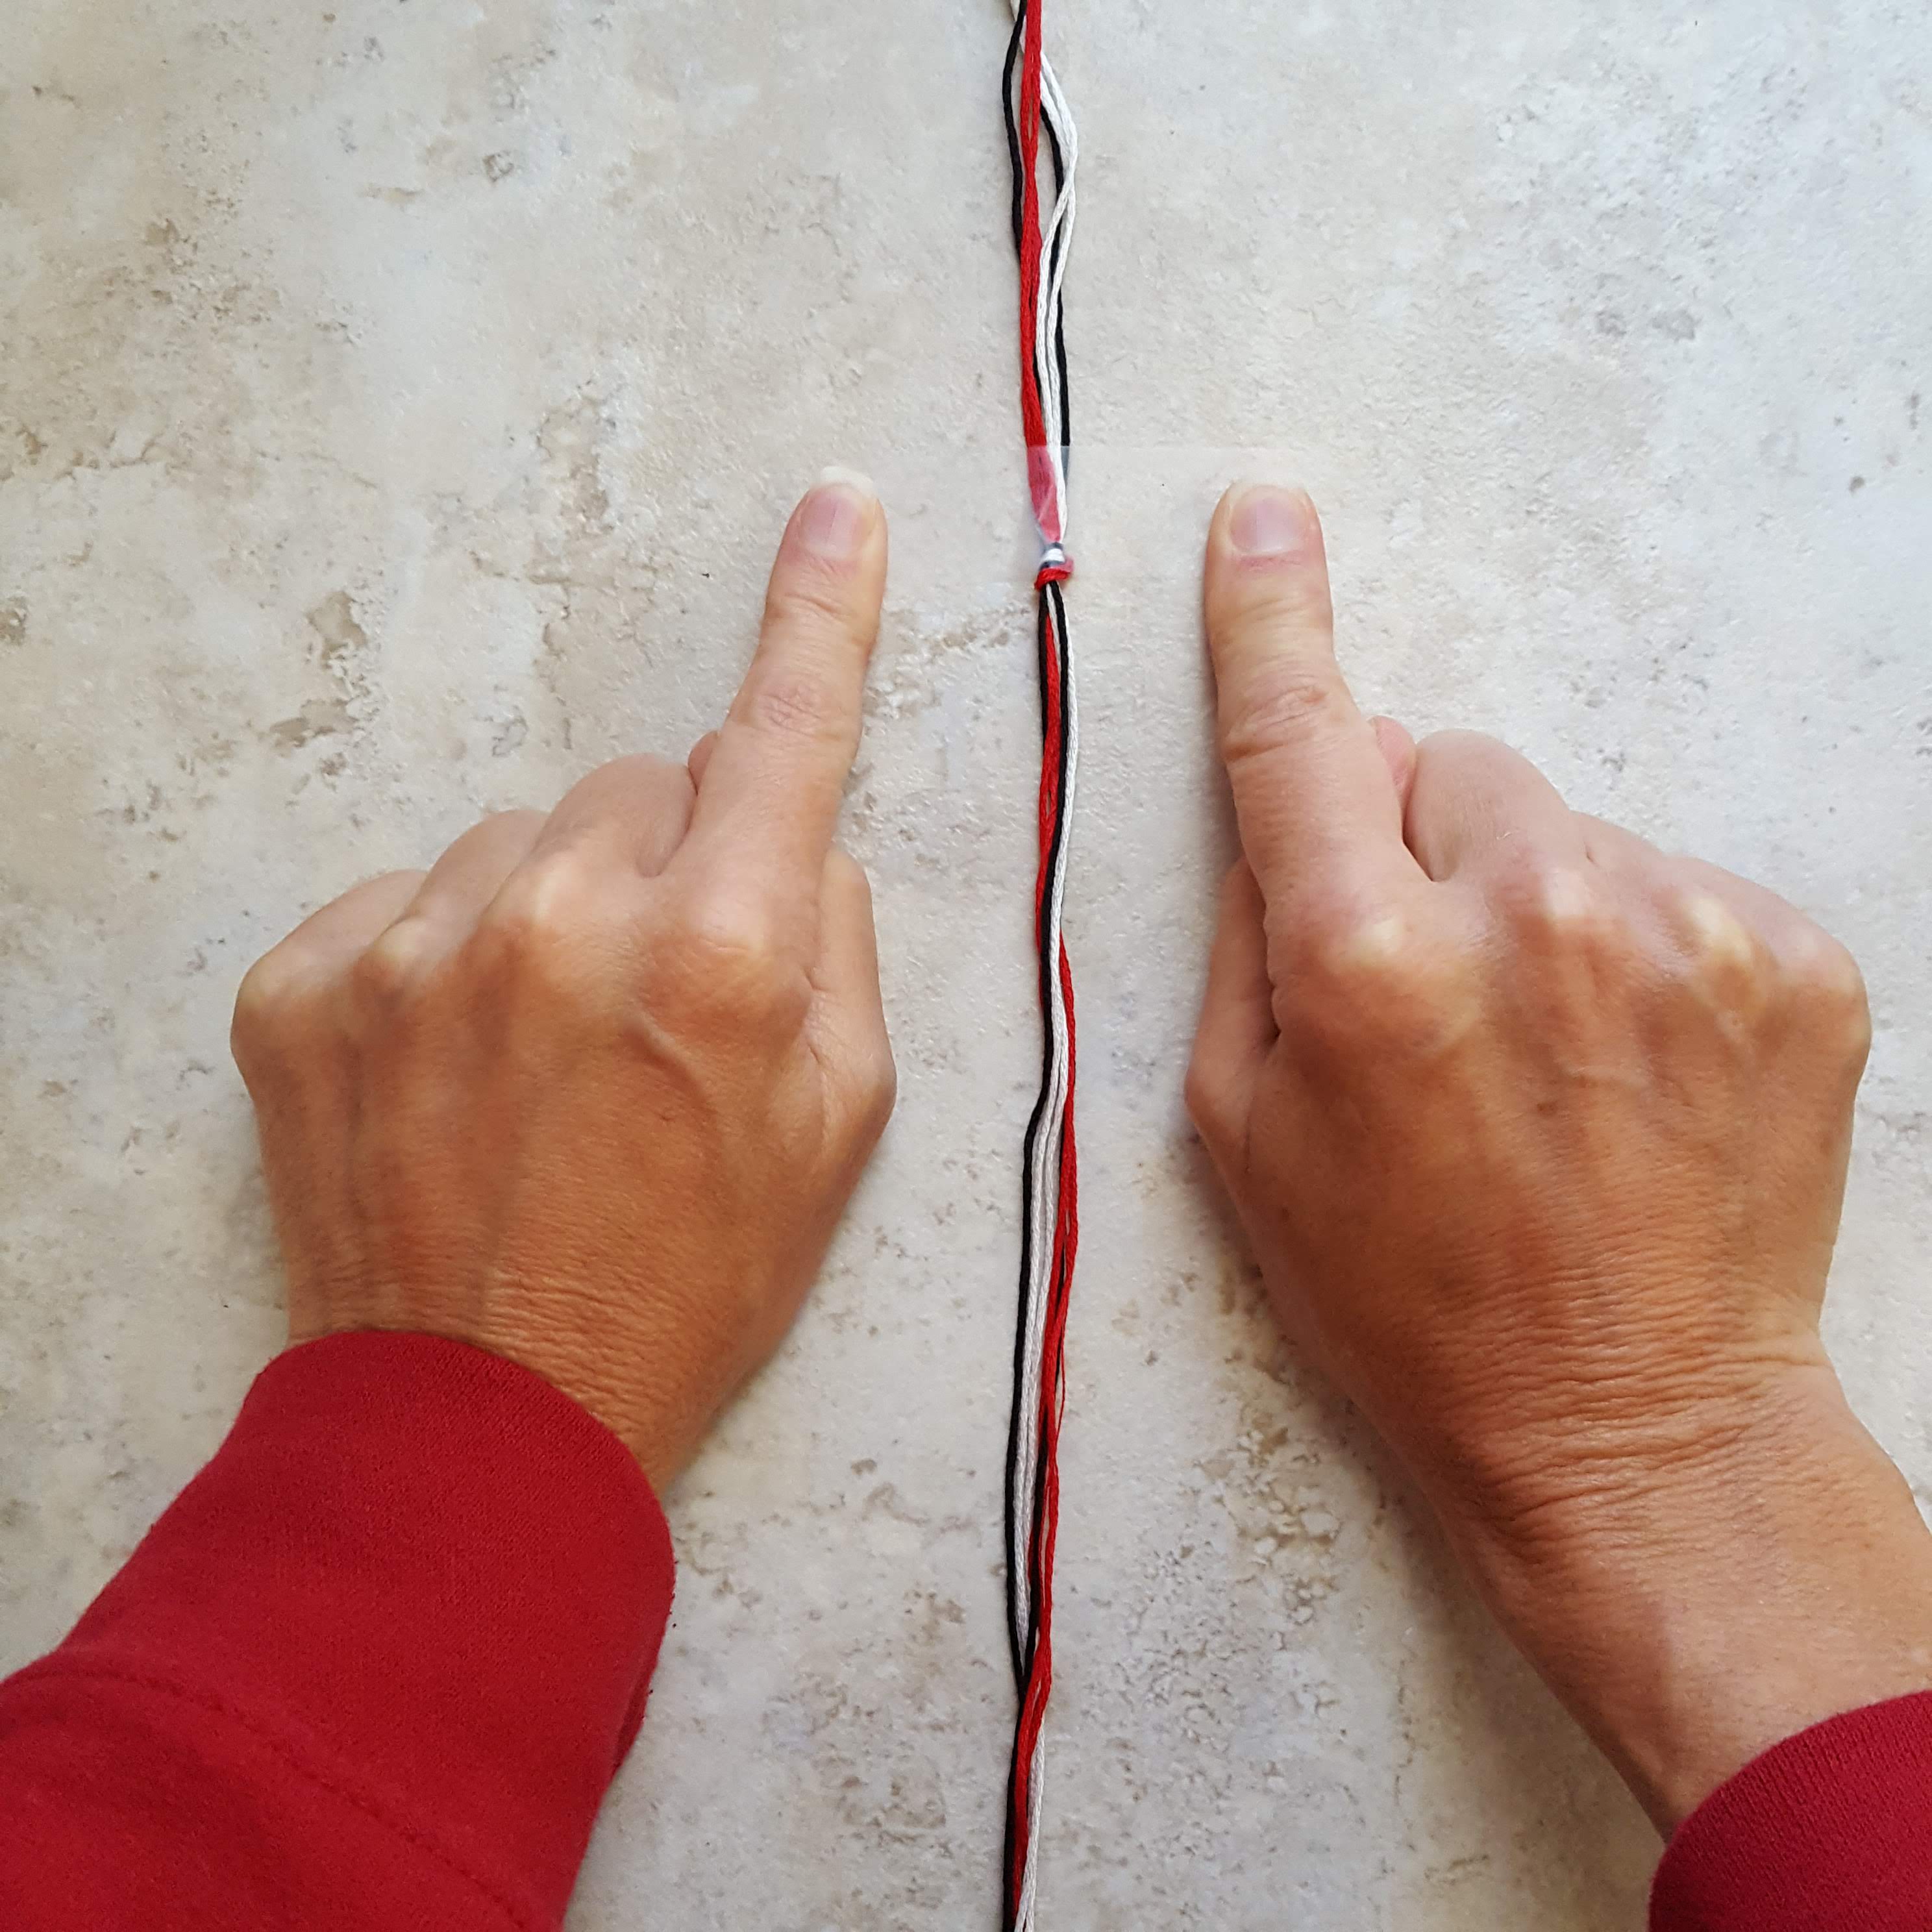
- Repeat with the 3rd, 4th, 5th and 6th threads.
- You have now completed the first row (red)
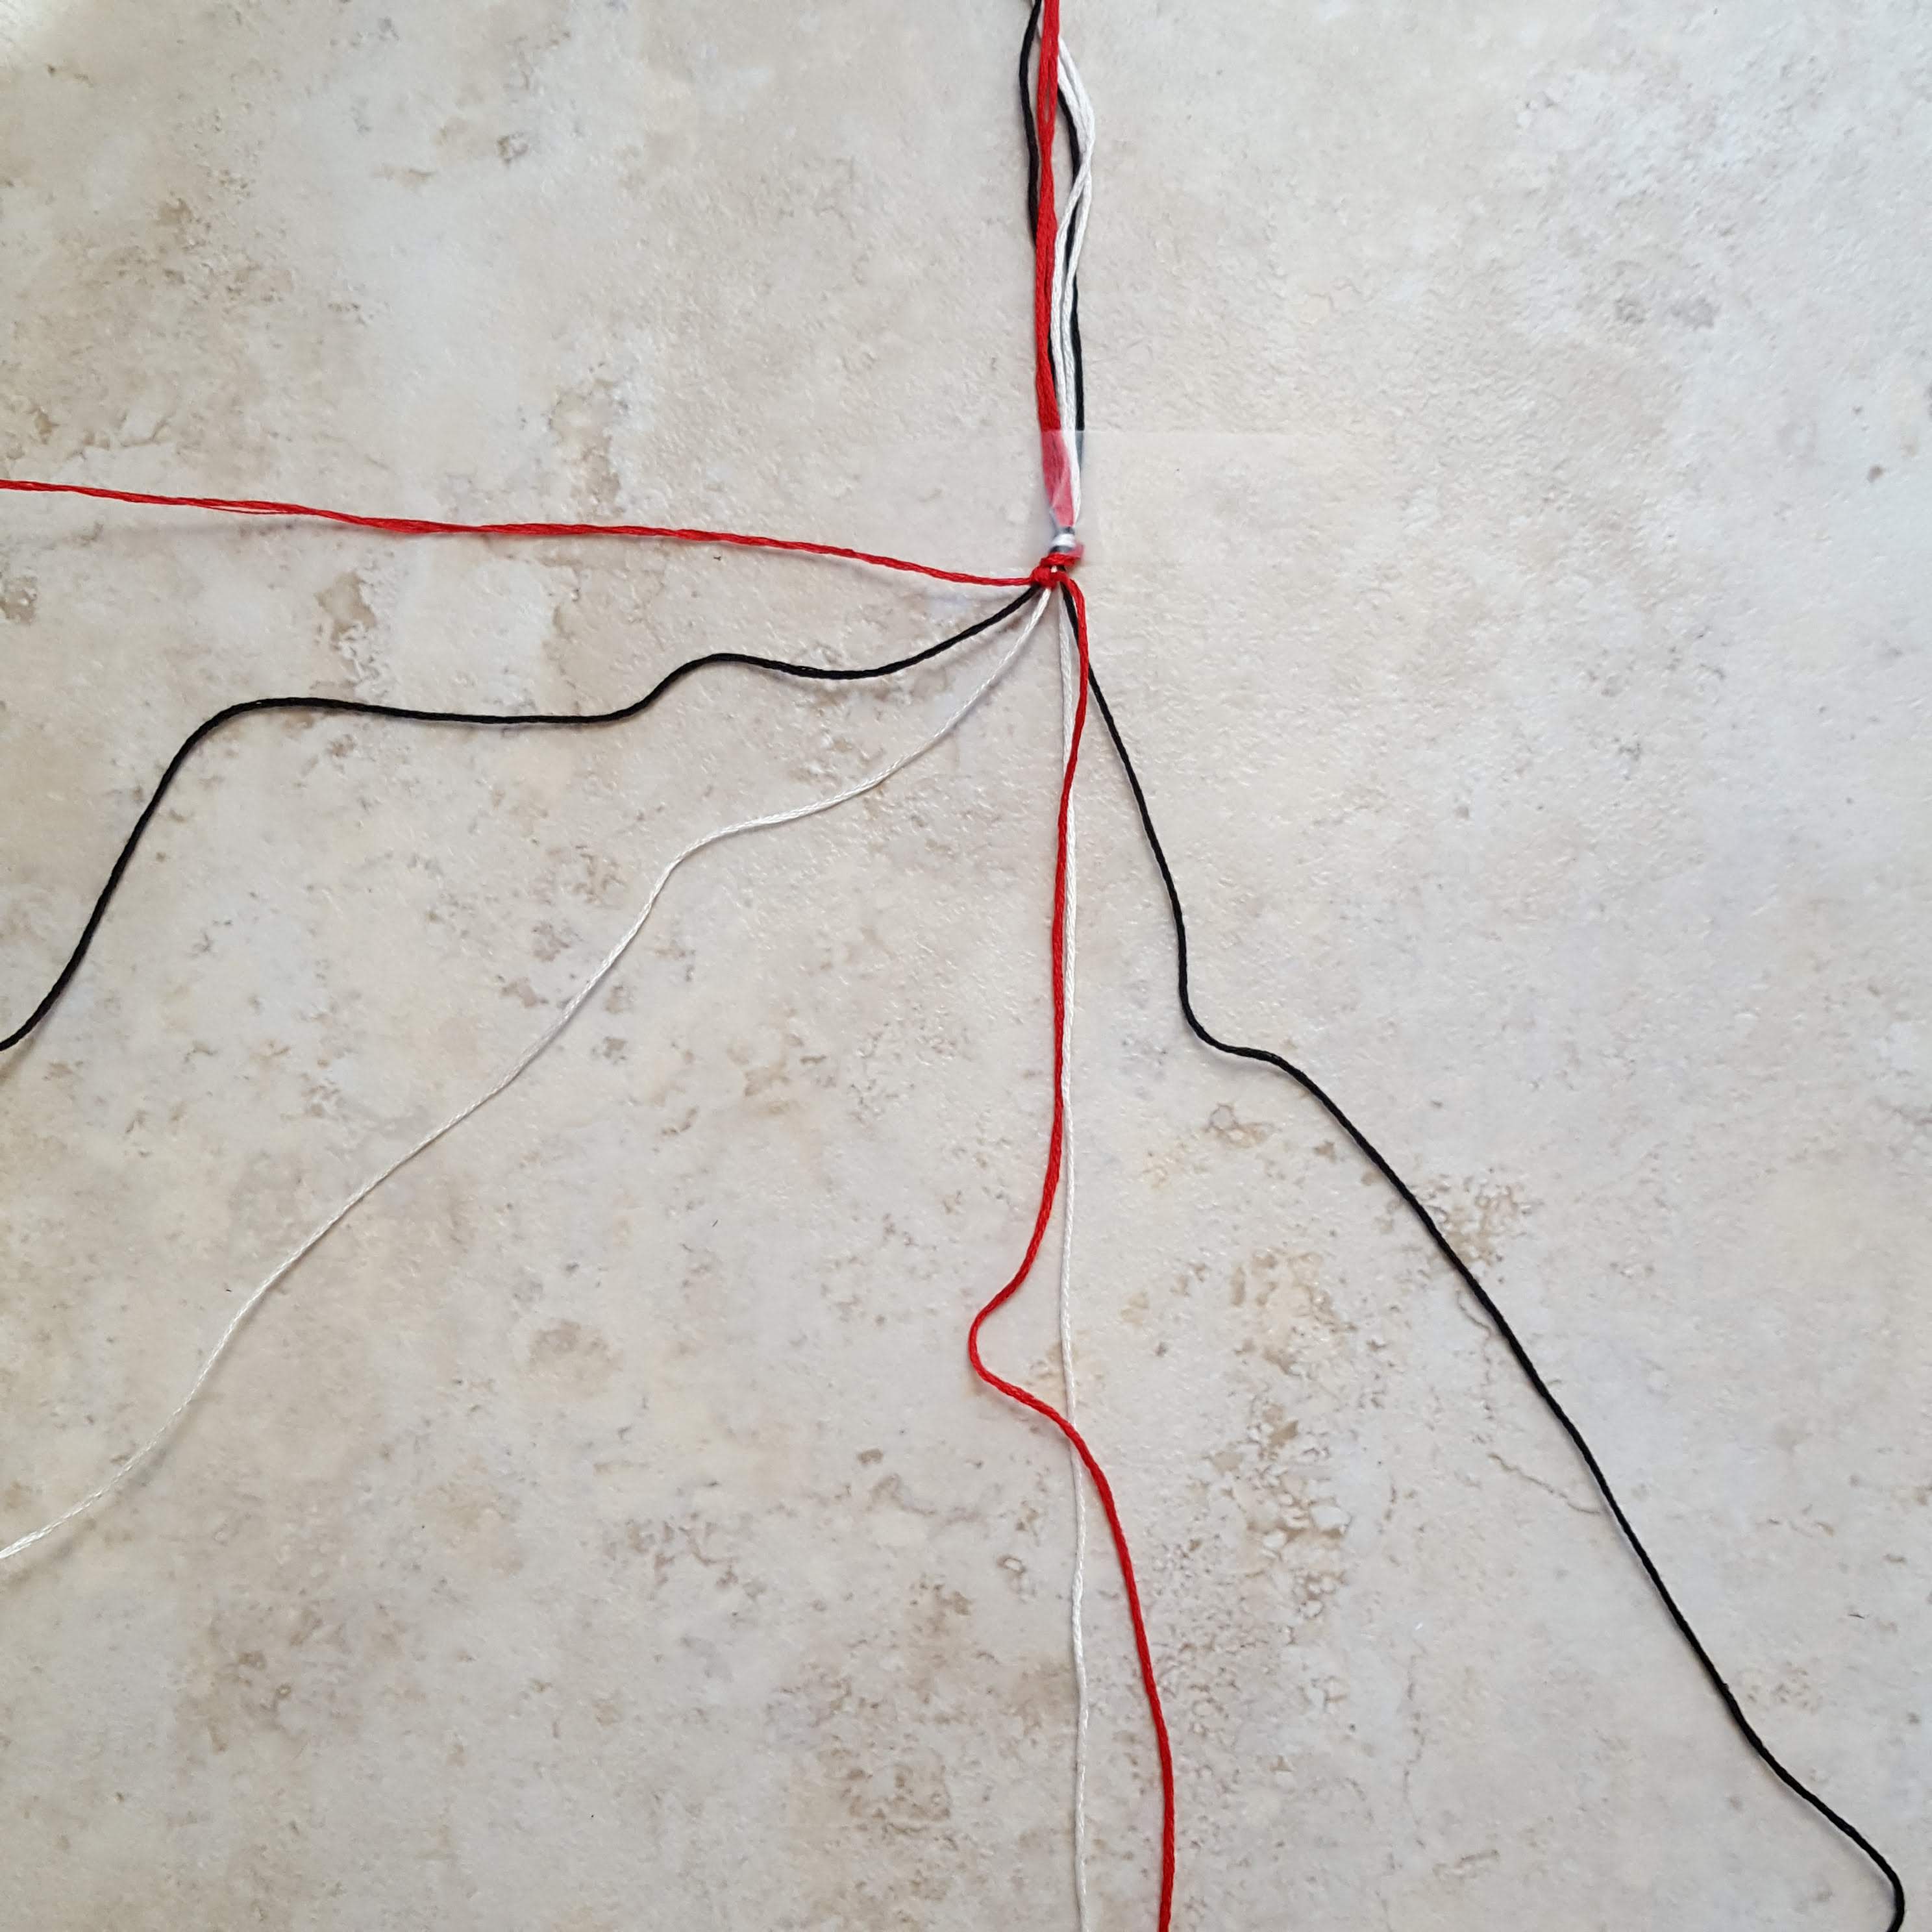
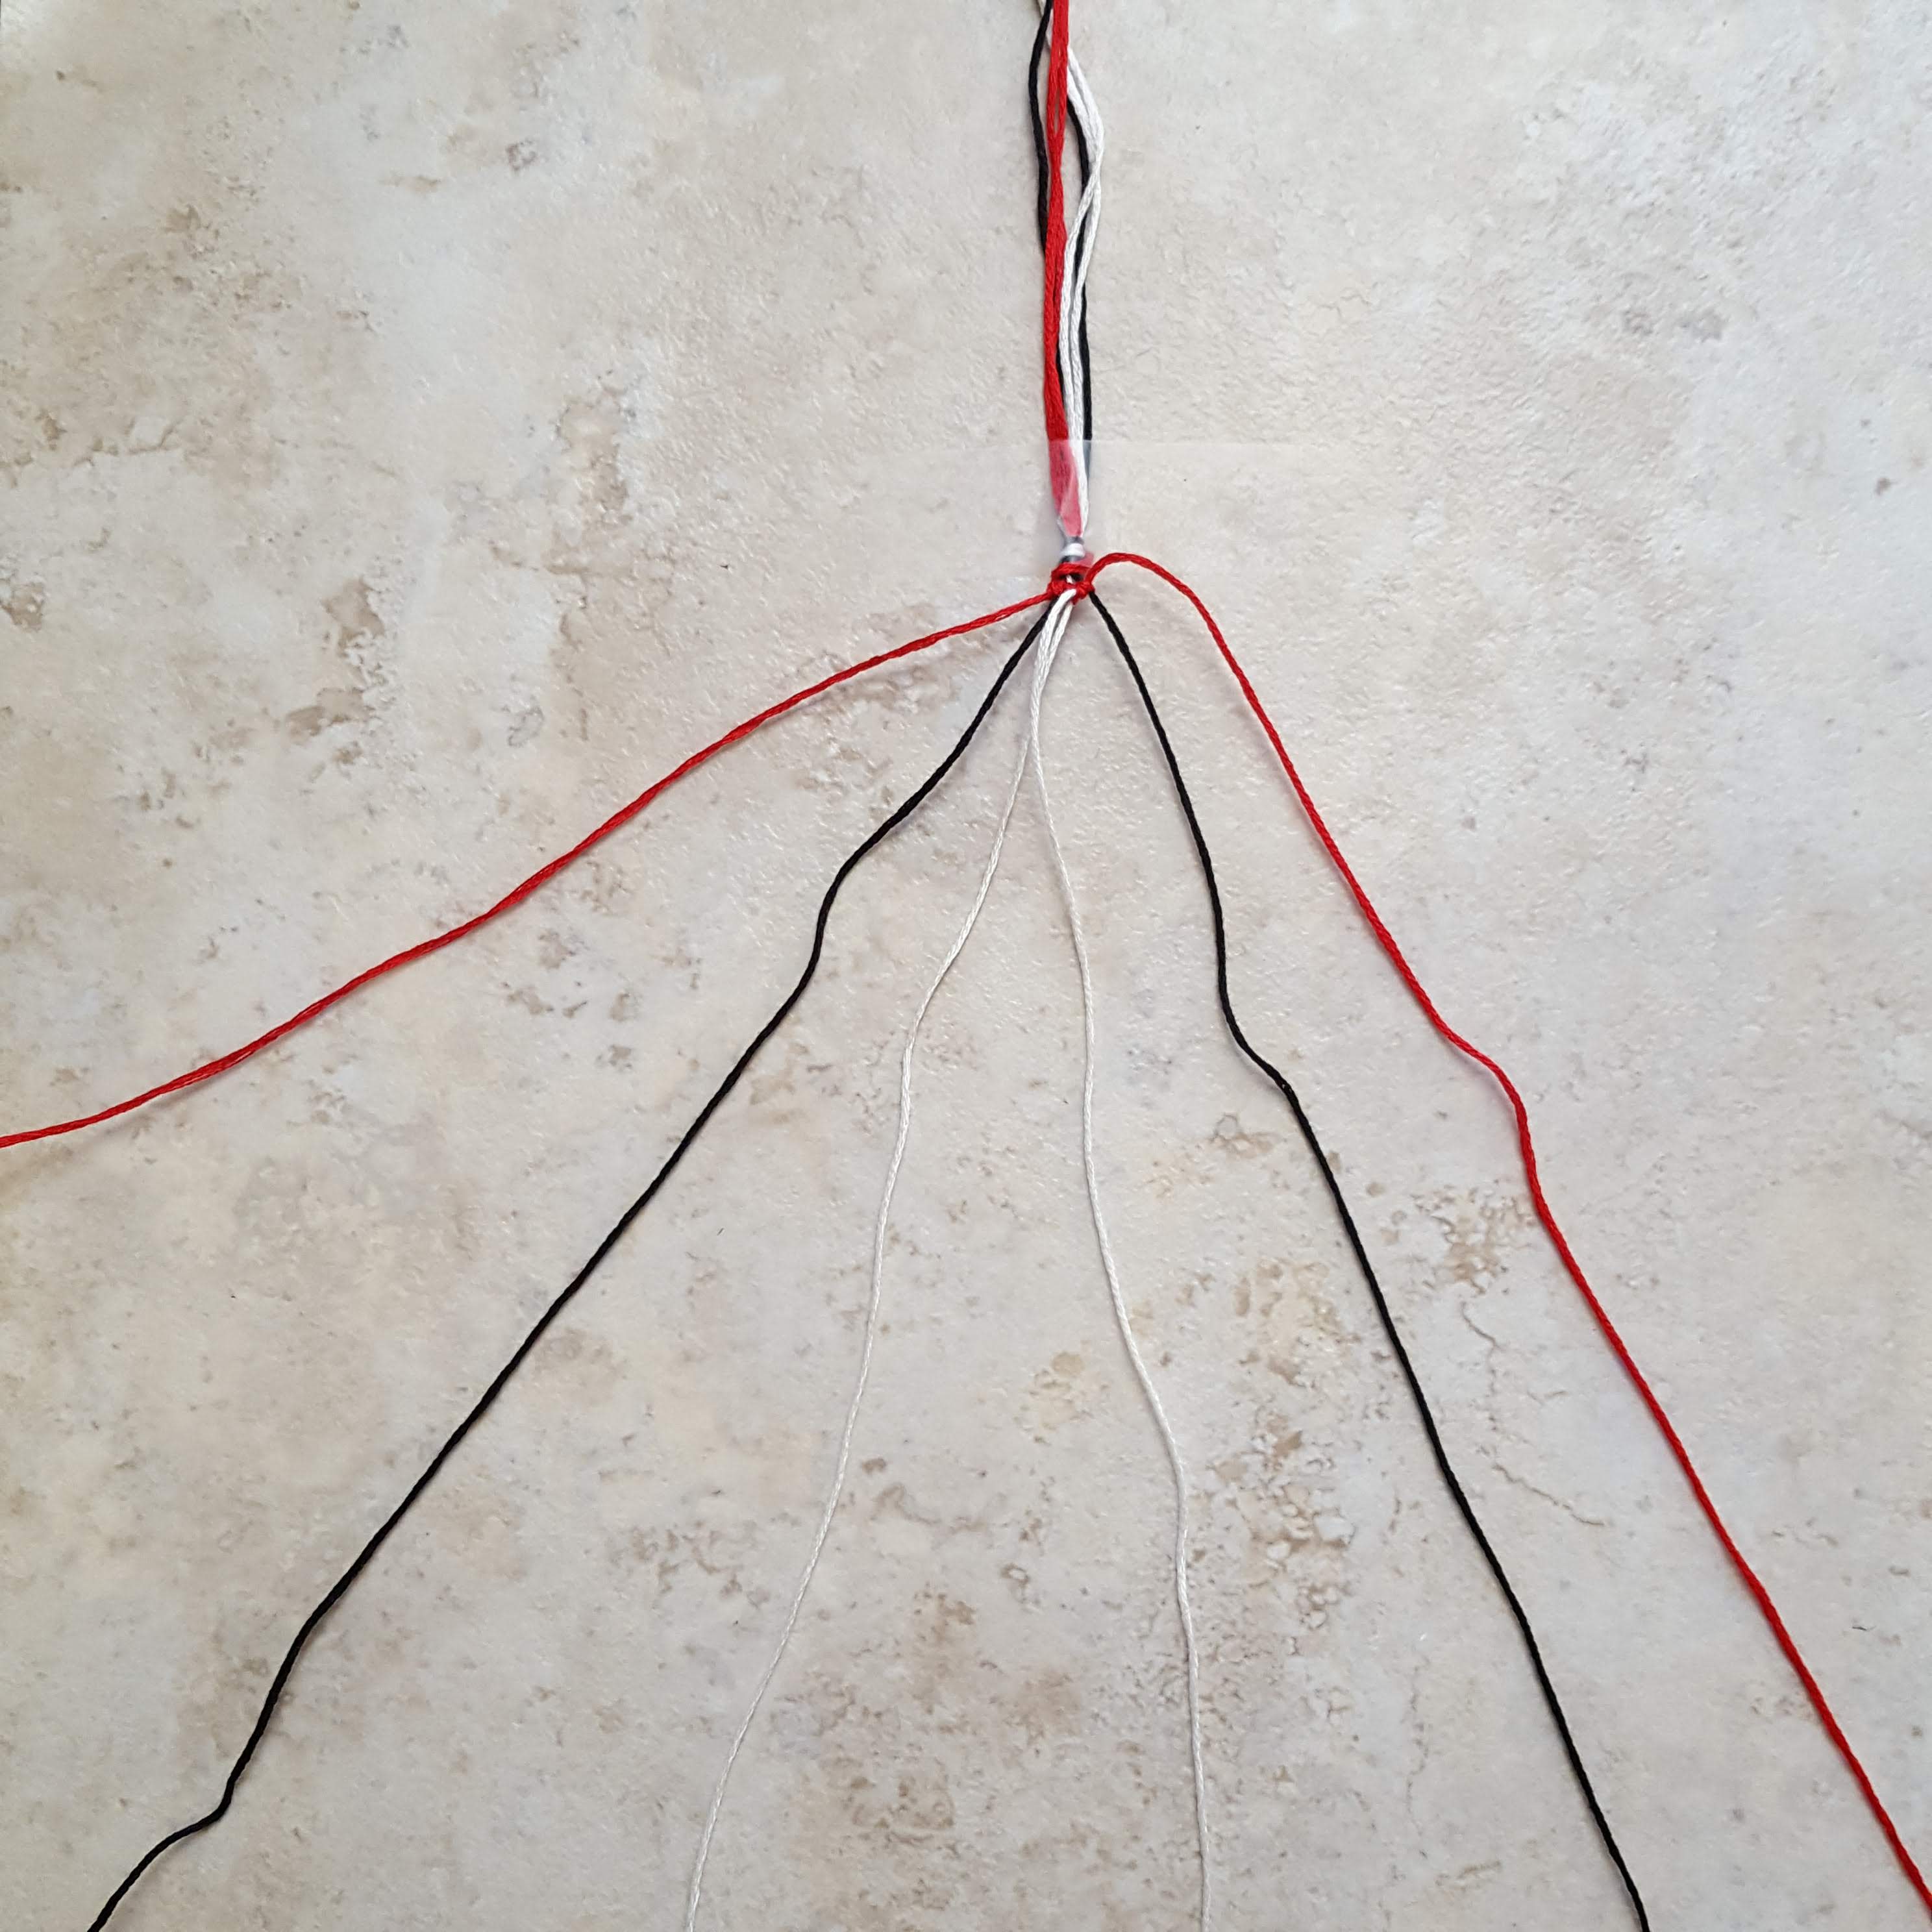
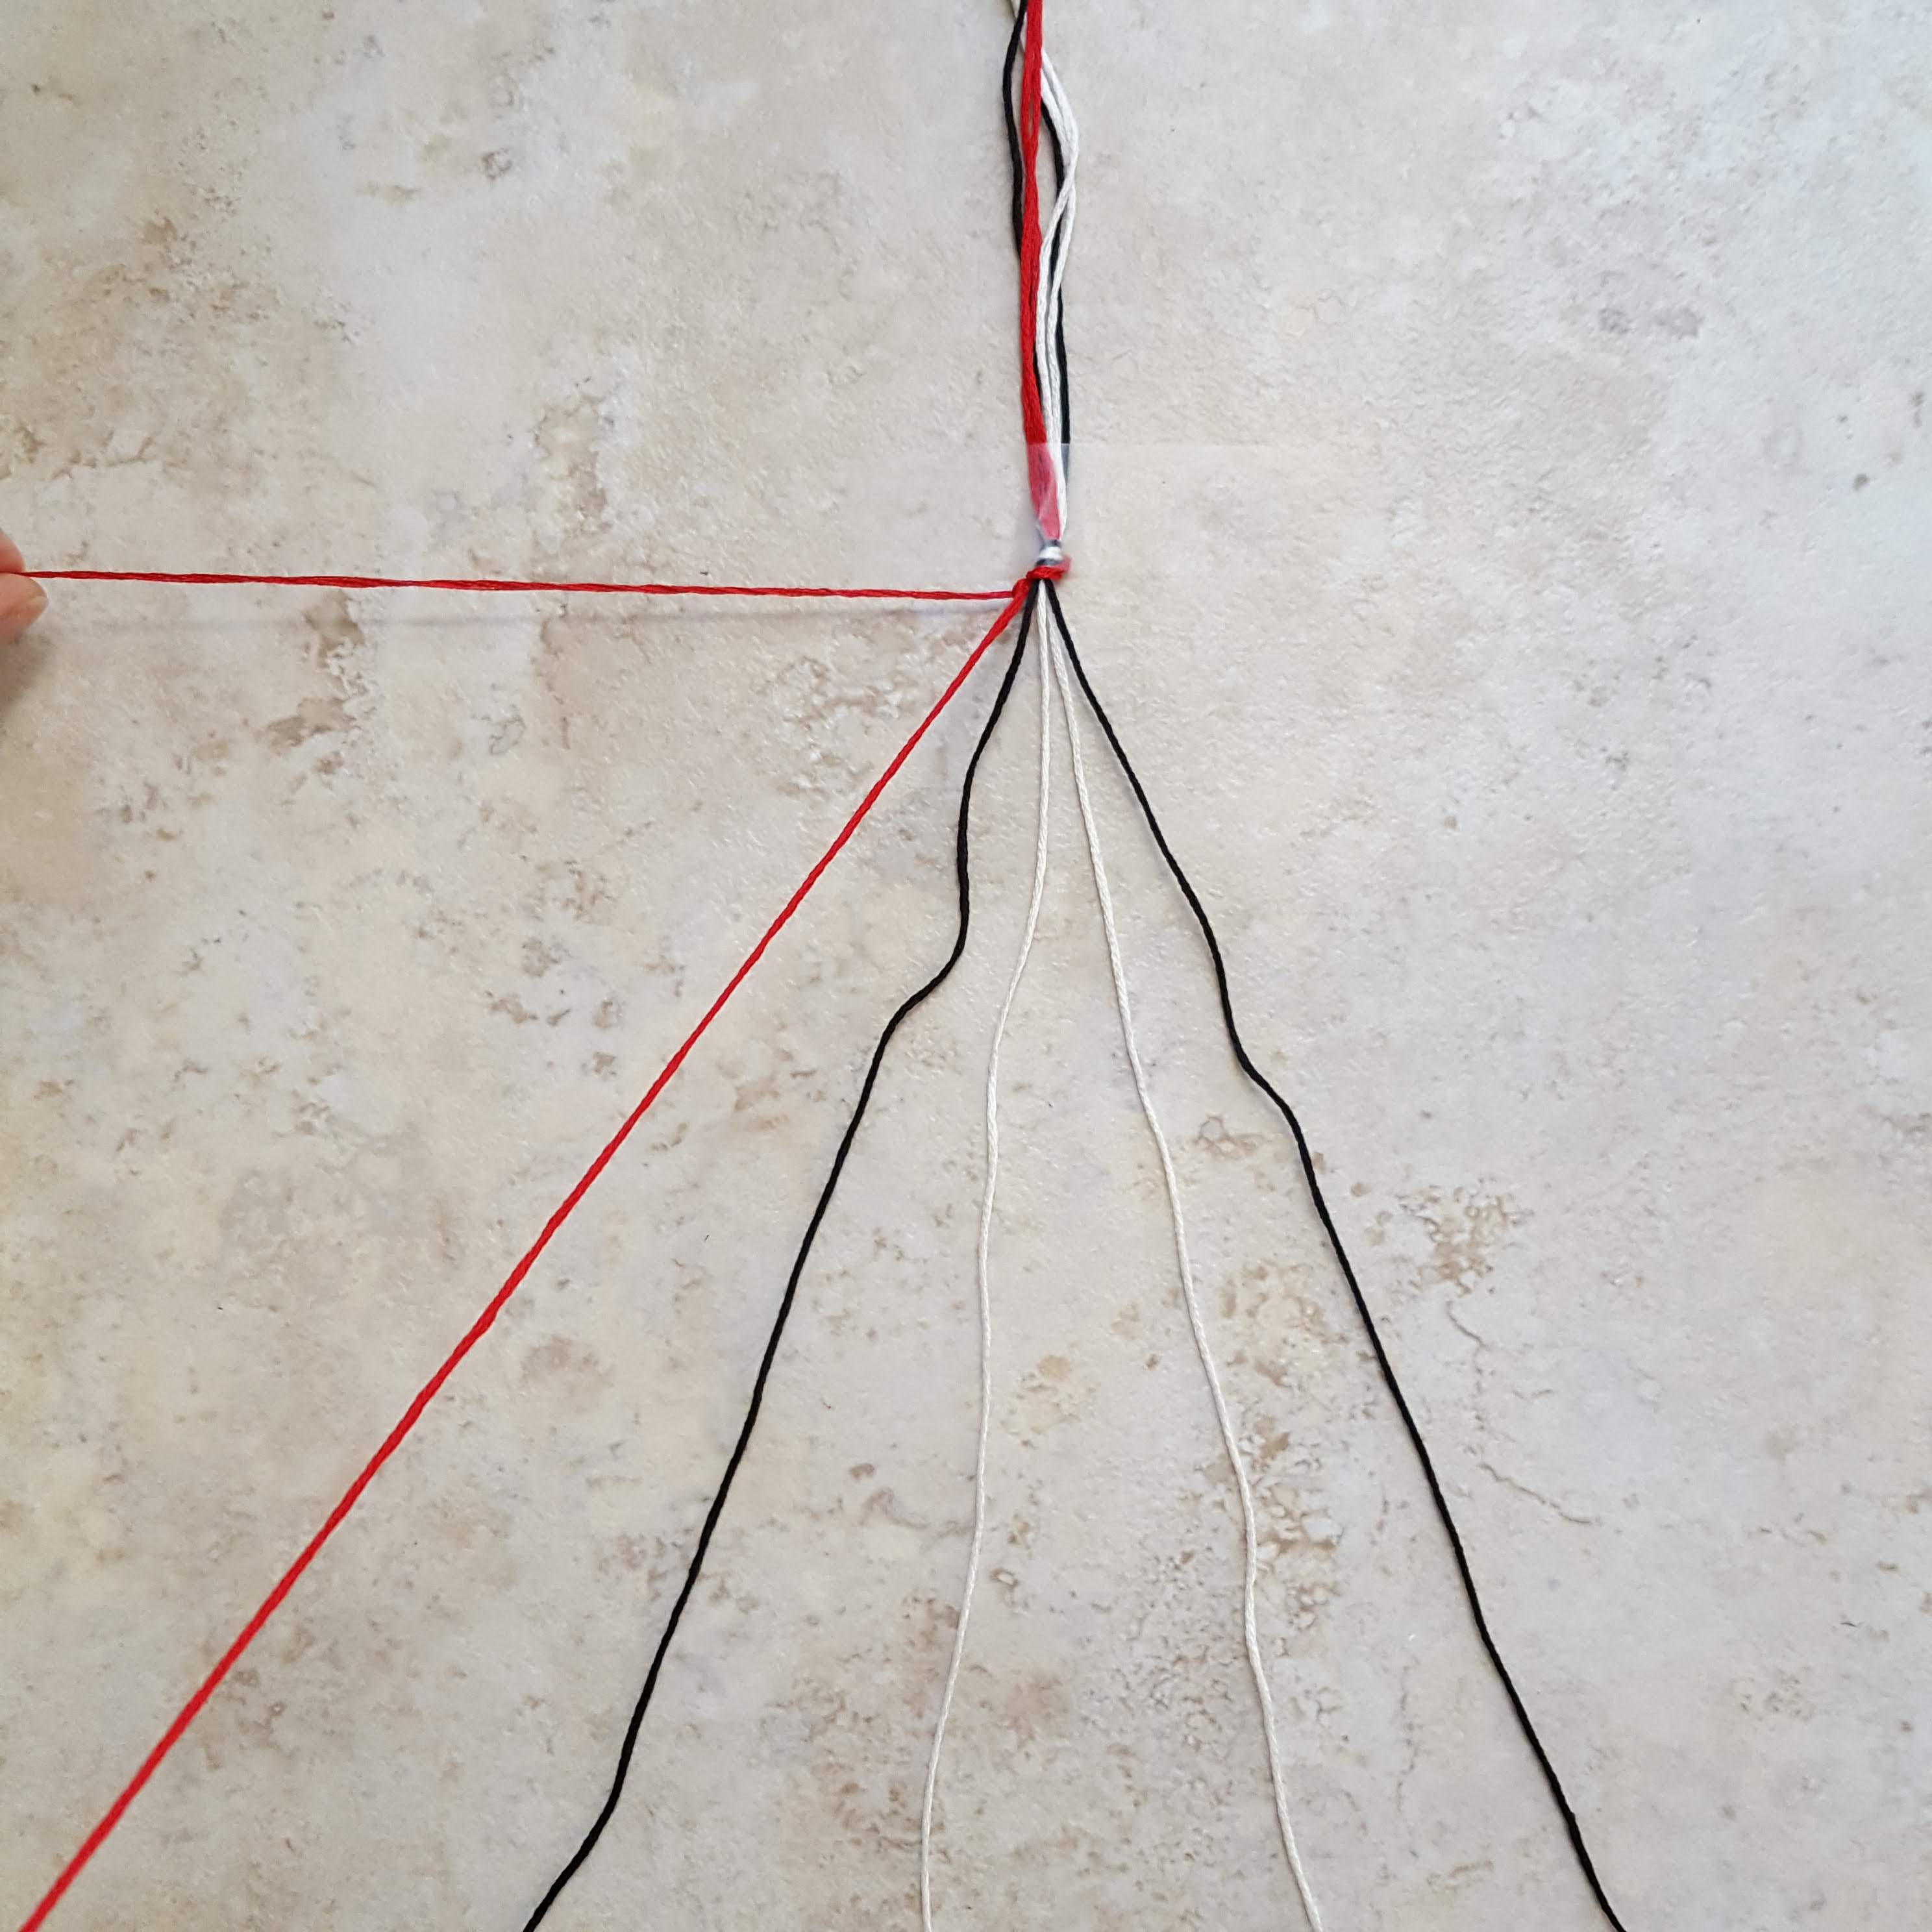
Step 5 – Continue making rows
- Repeat step 4, using the “new” far left thread (red again) and making 2 knots over each of the other 5 threads
- Continue making rows, until you reach your desired bracelet length, leaving room for times
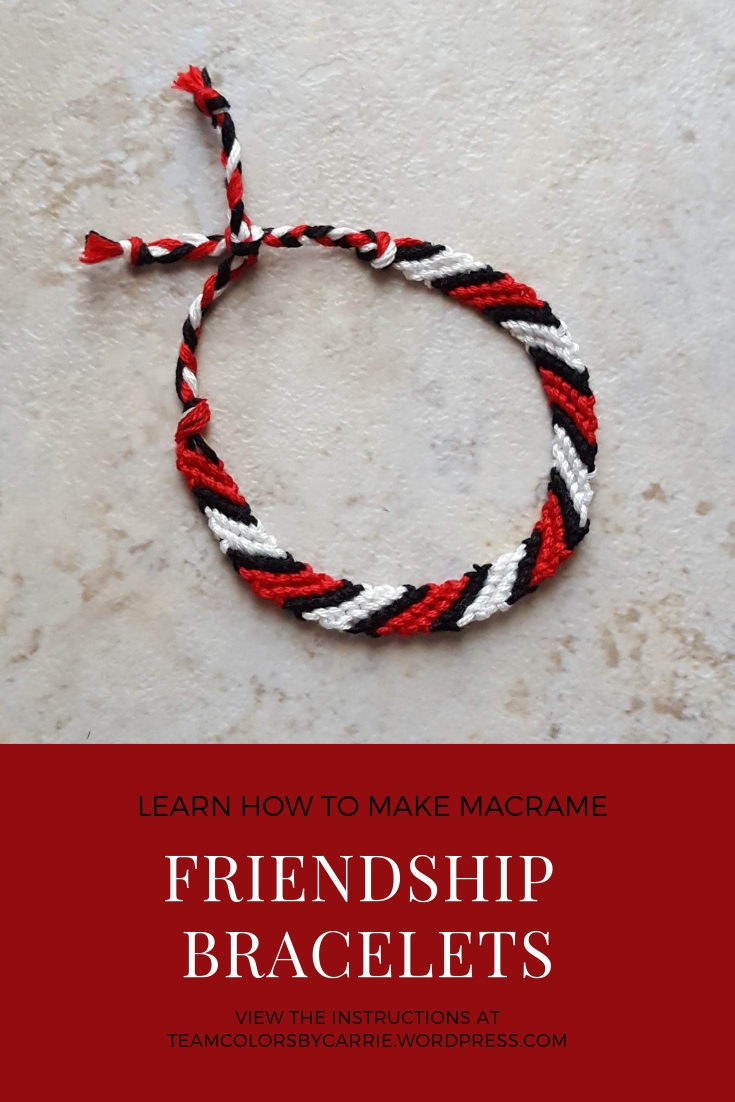
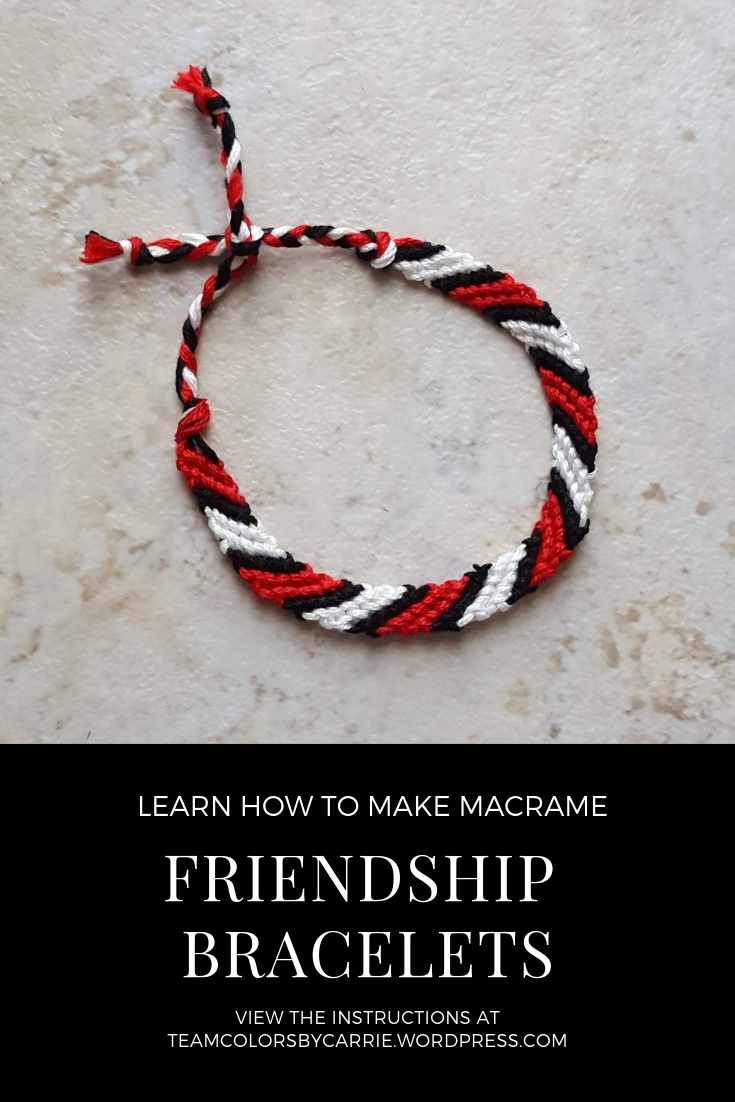
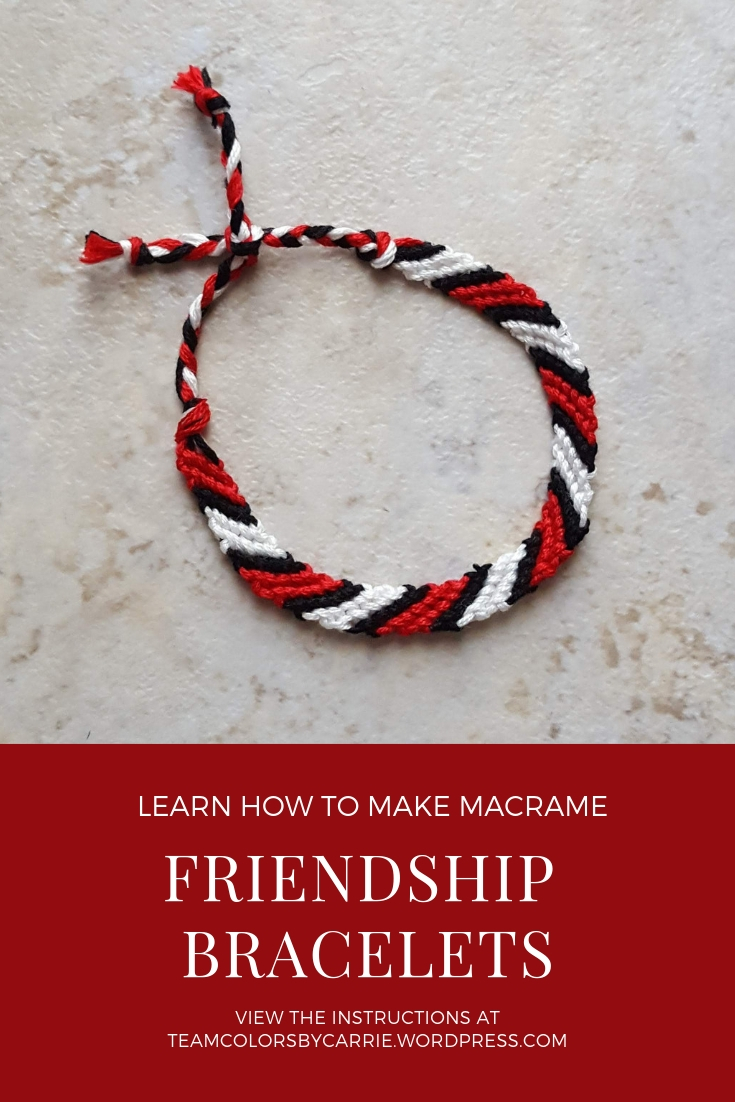
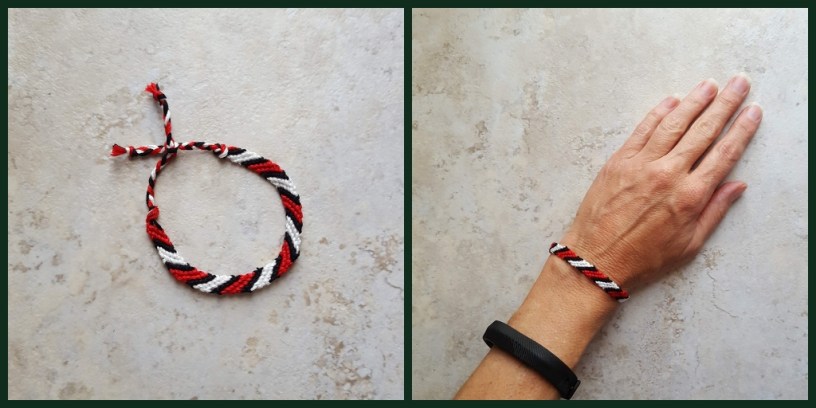
- I wear a 7” bracelet, so made 5” of rows

- Tie a knot, as close to the last row as possible
- Trim with a scissors, leaving a 6” tail
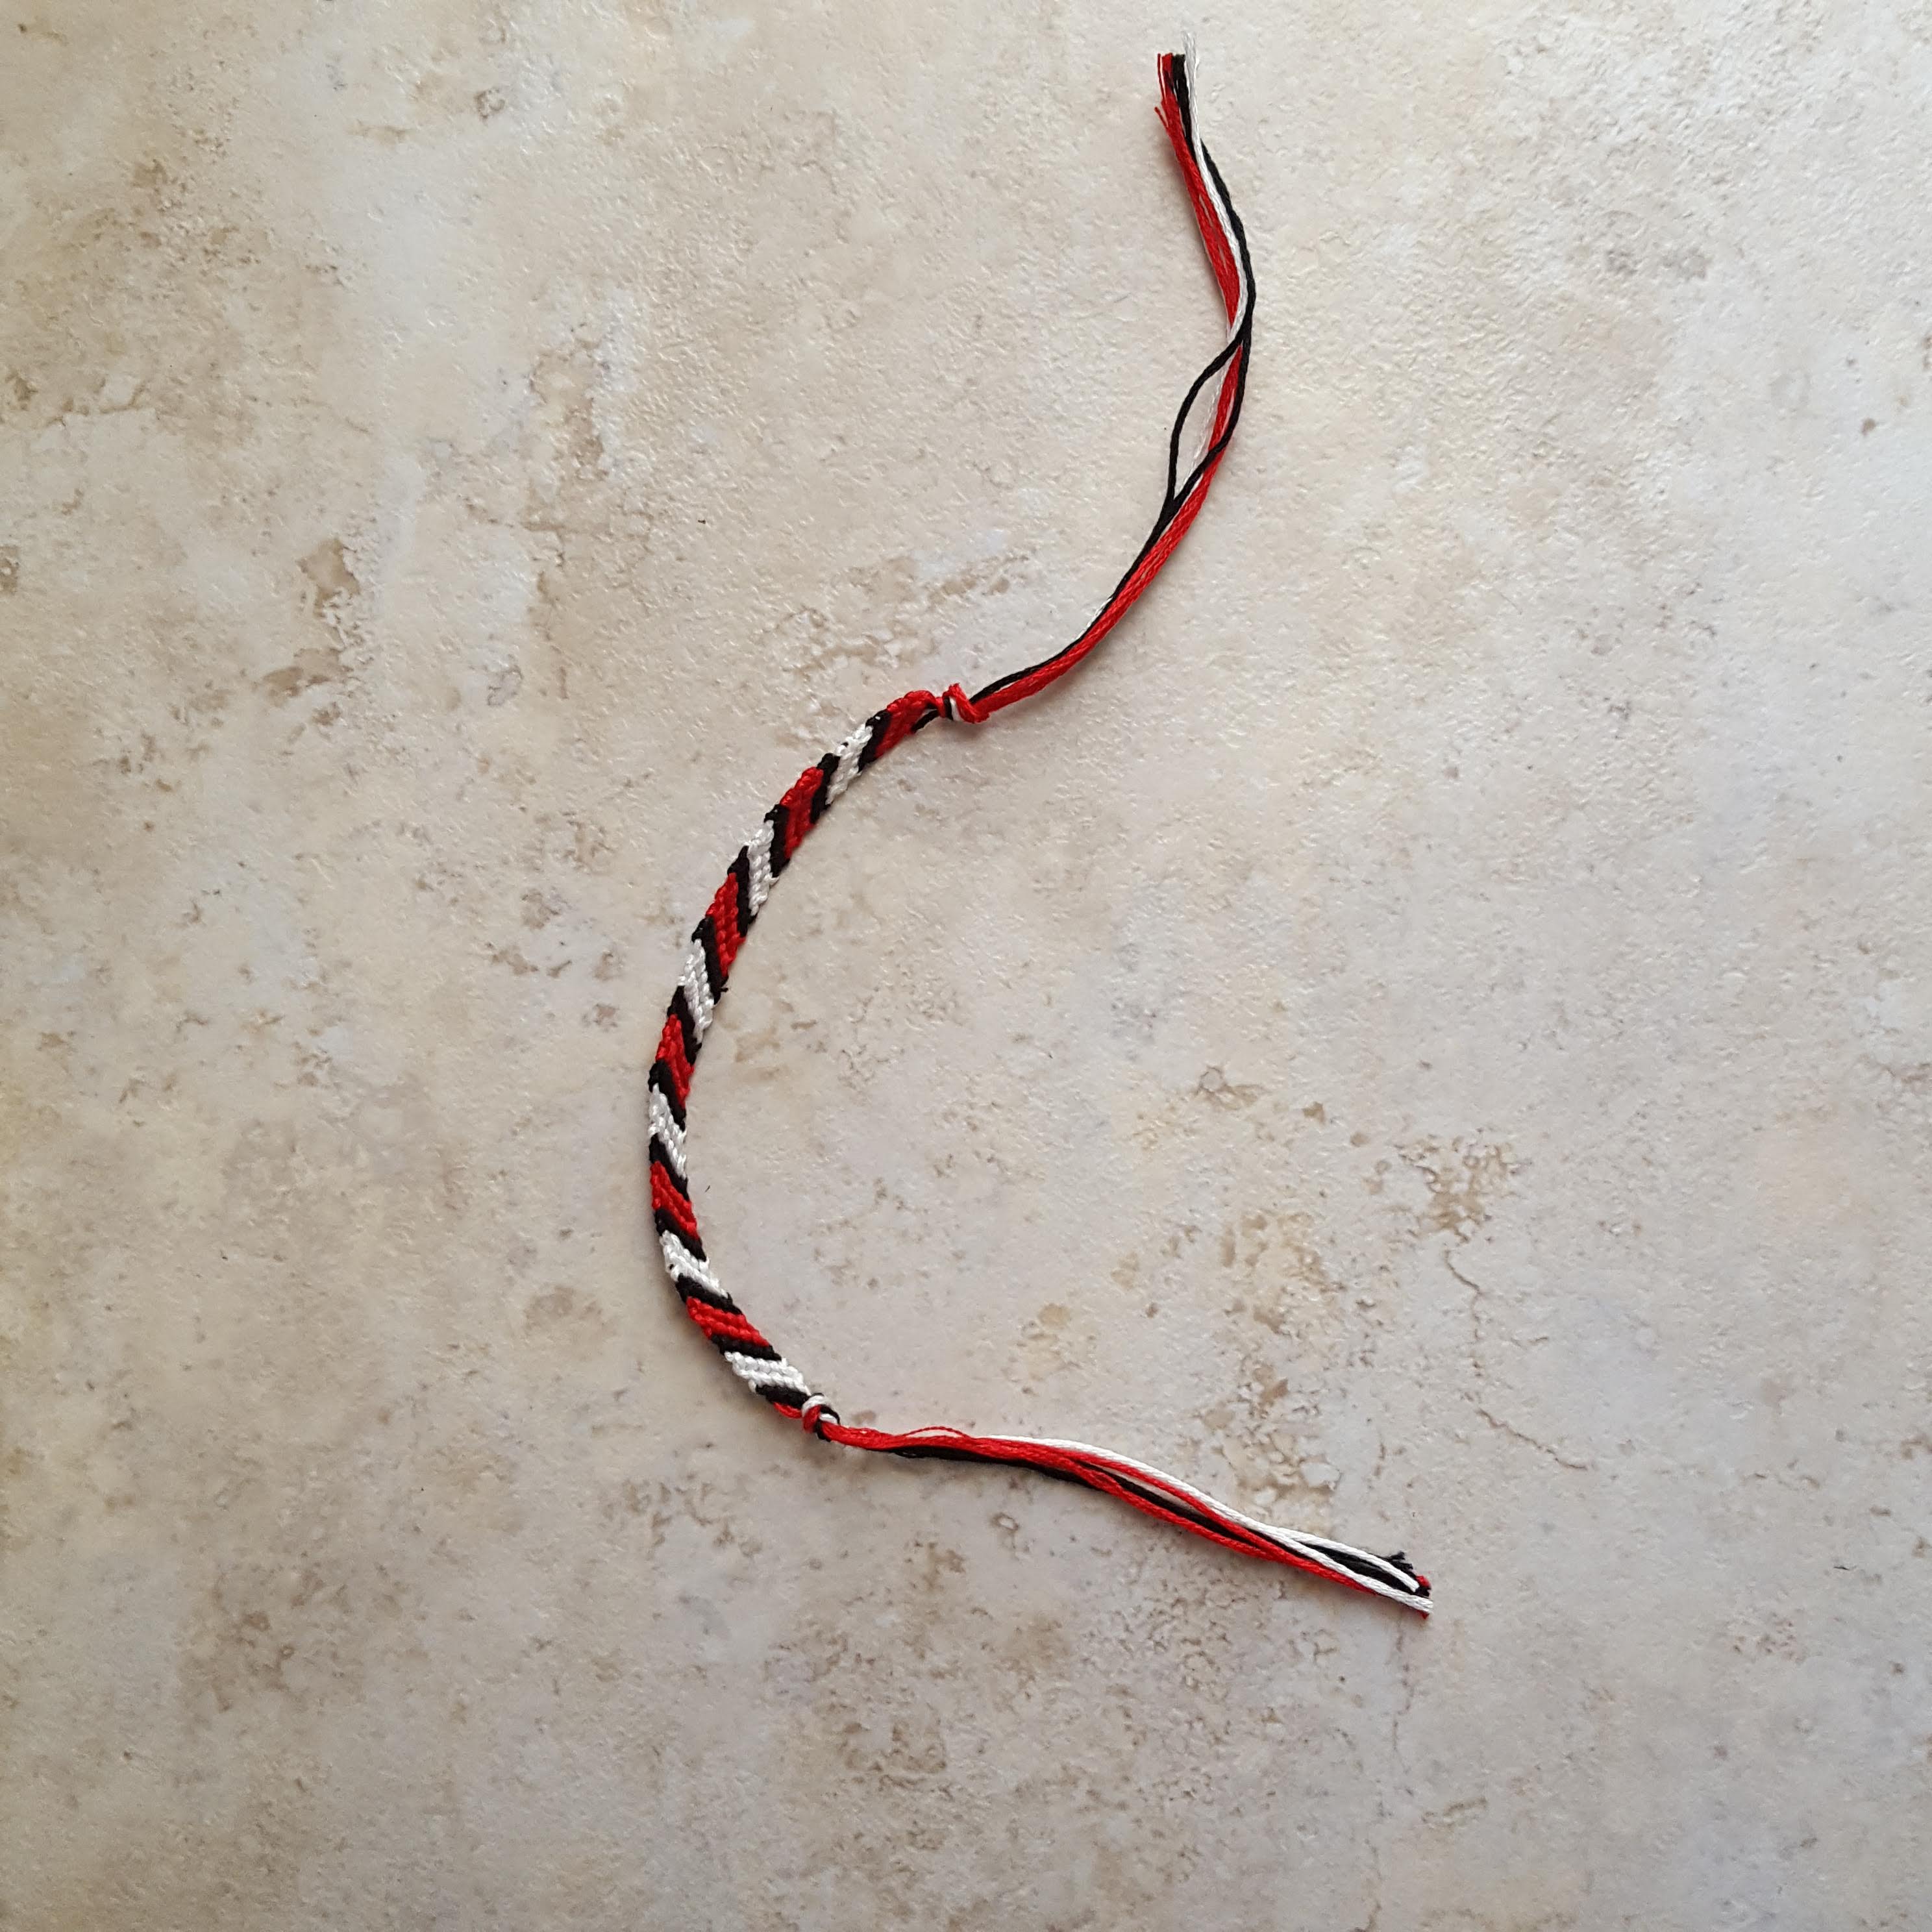
Step 6 – Finishing off
- Separate the floss into 3 sections on one end of the bracelet
- Braid the 3 sections, then tie a knot and trim

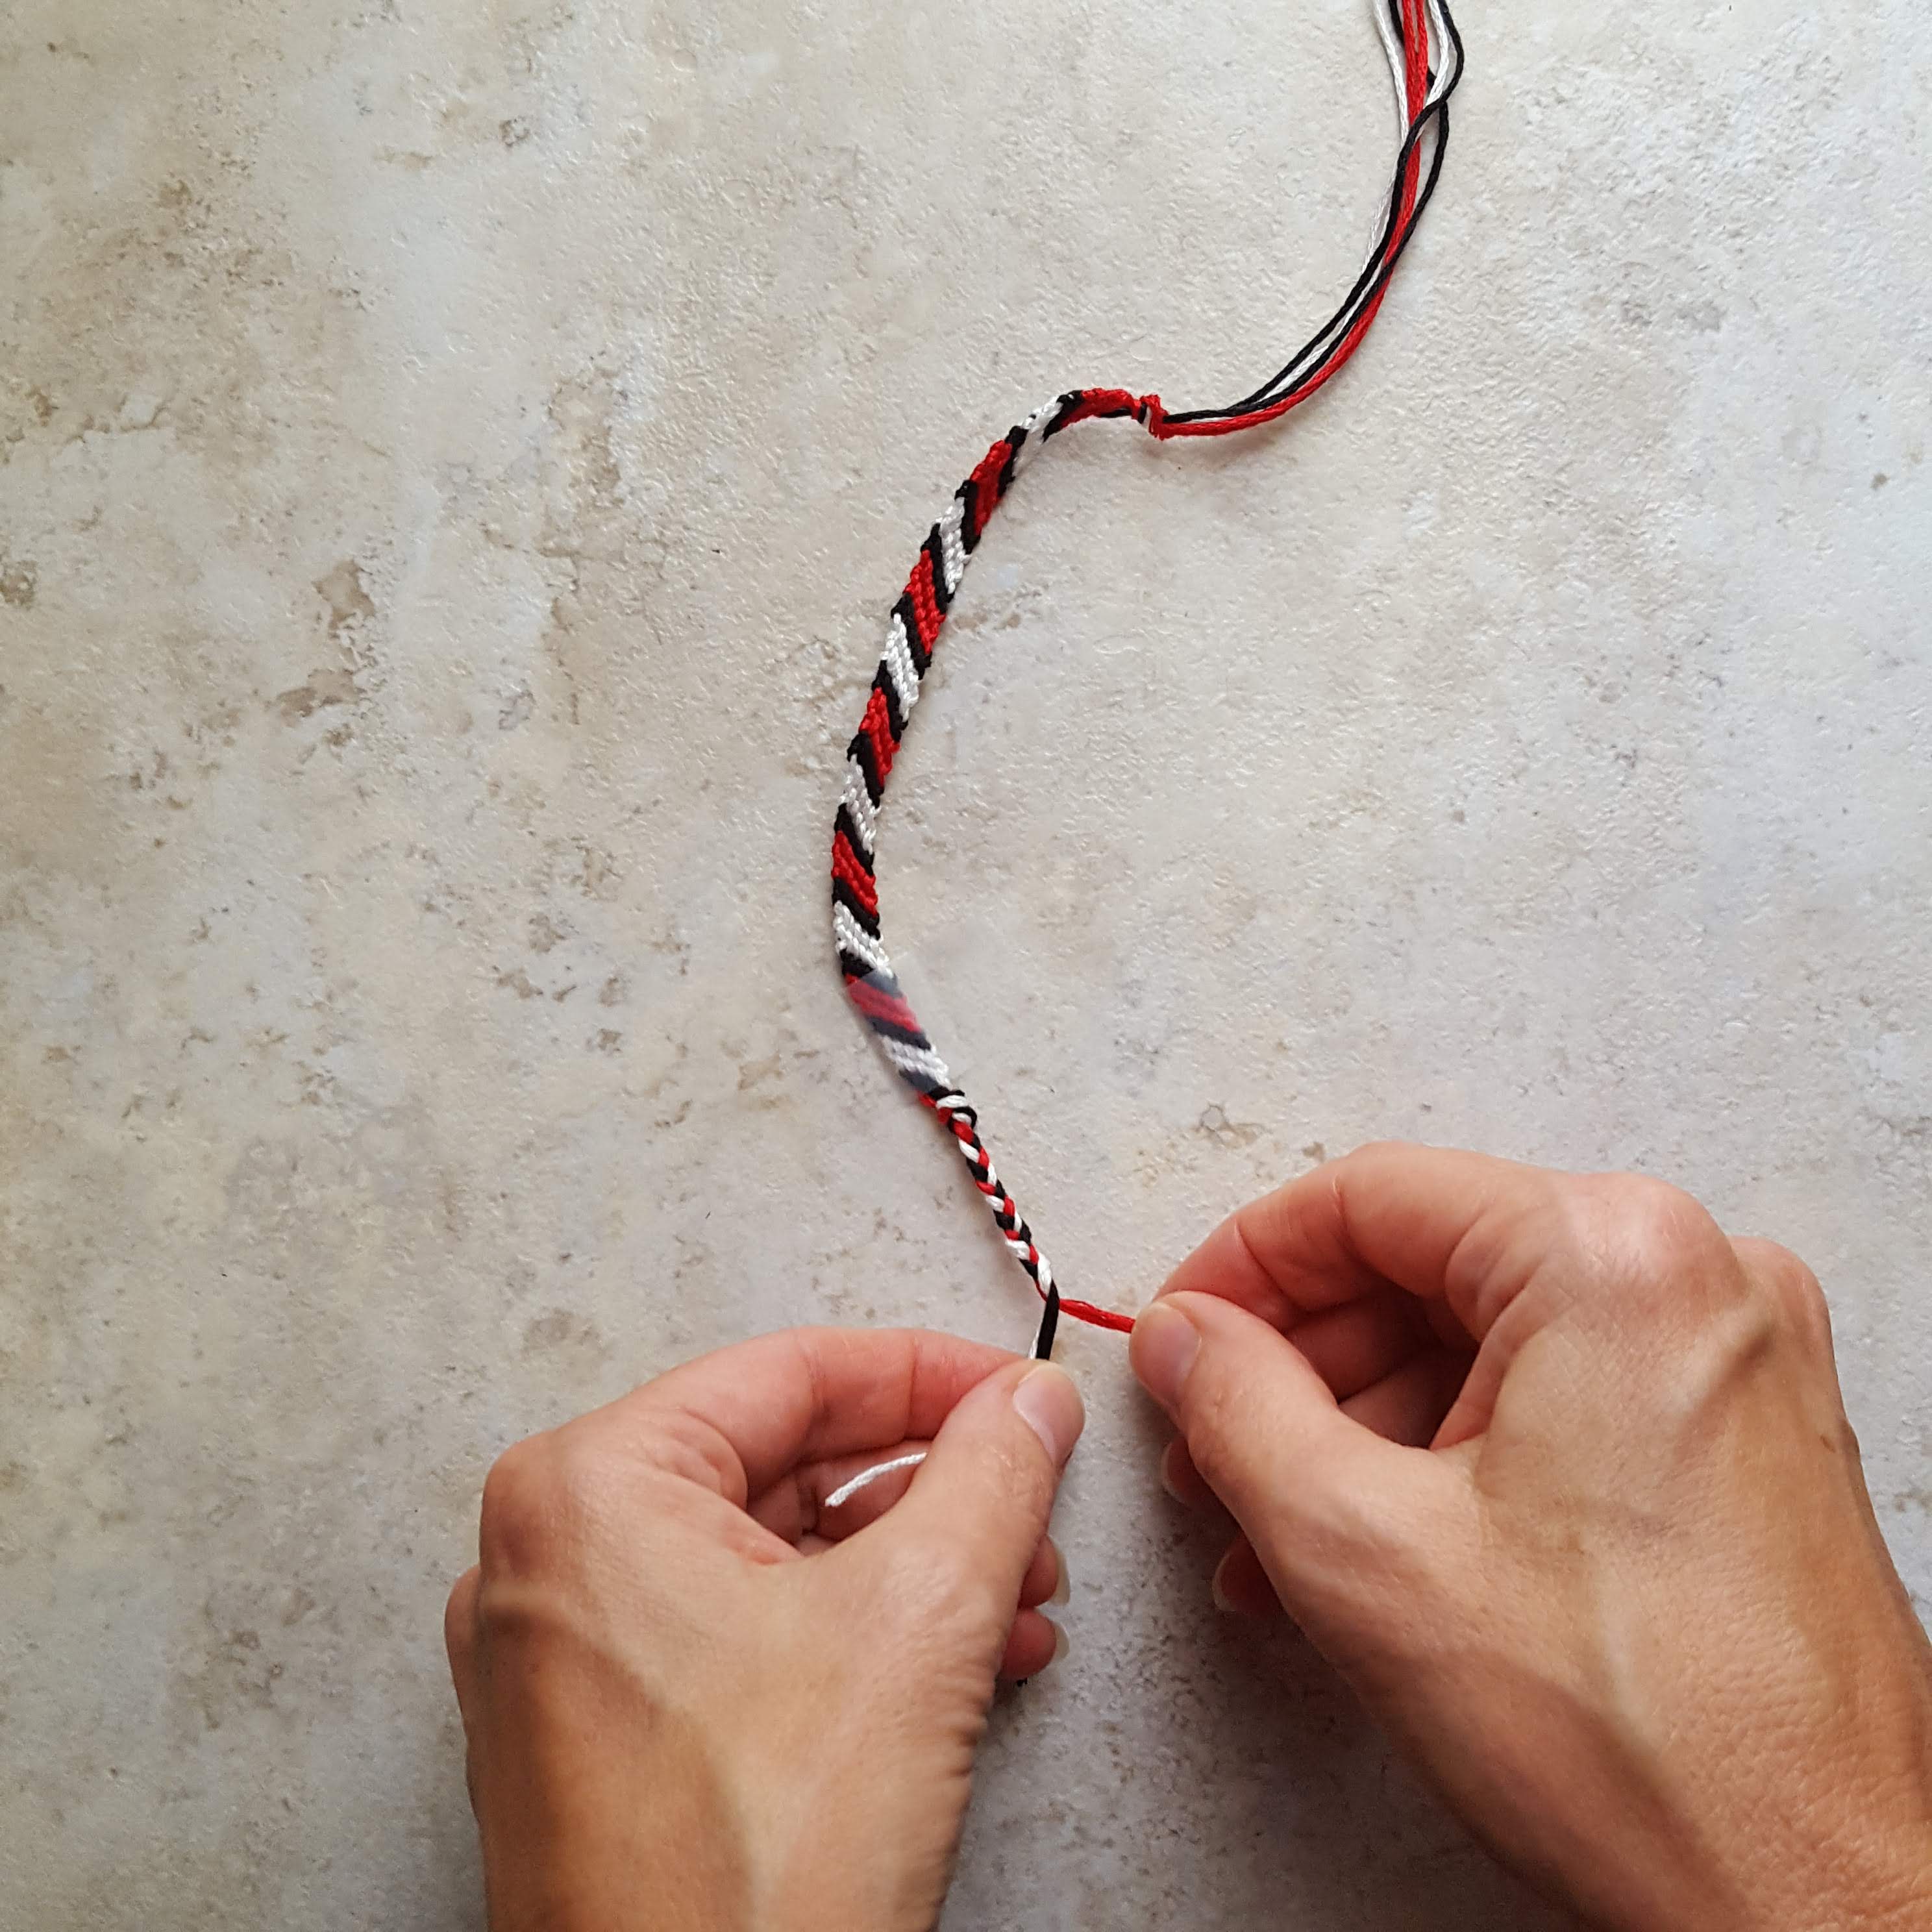

- Repeat with the other side
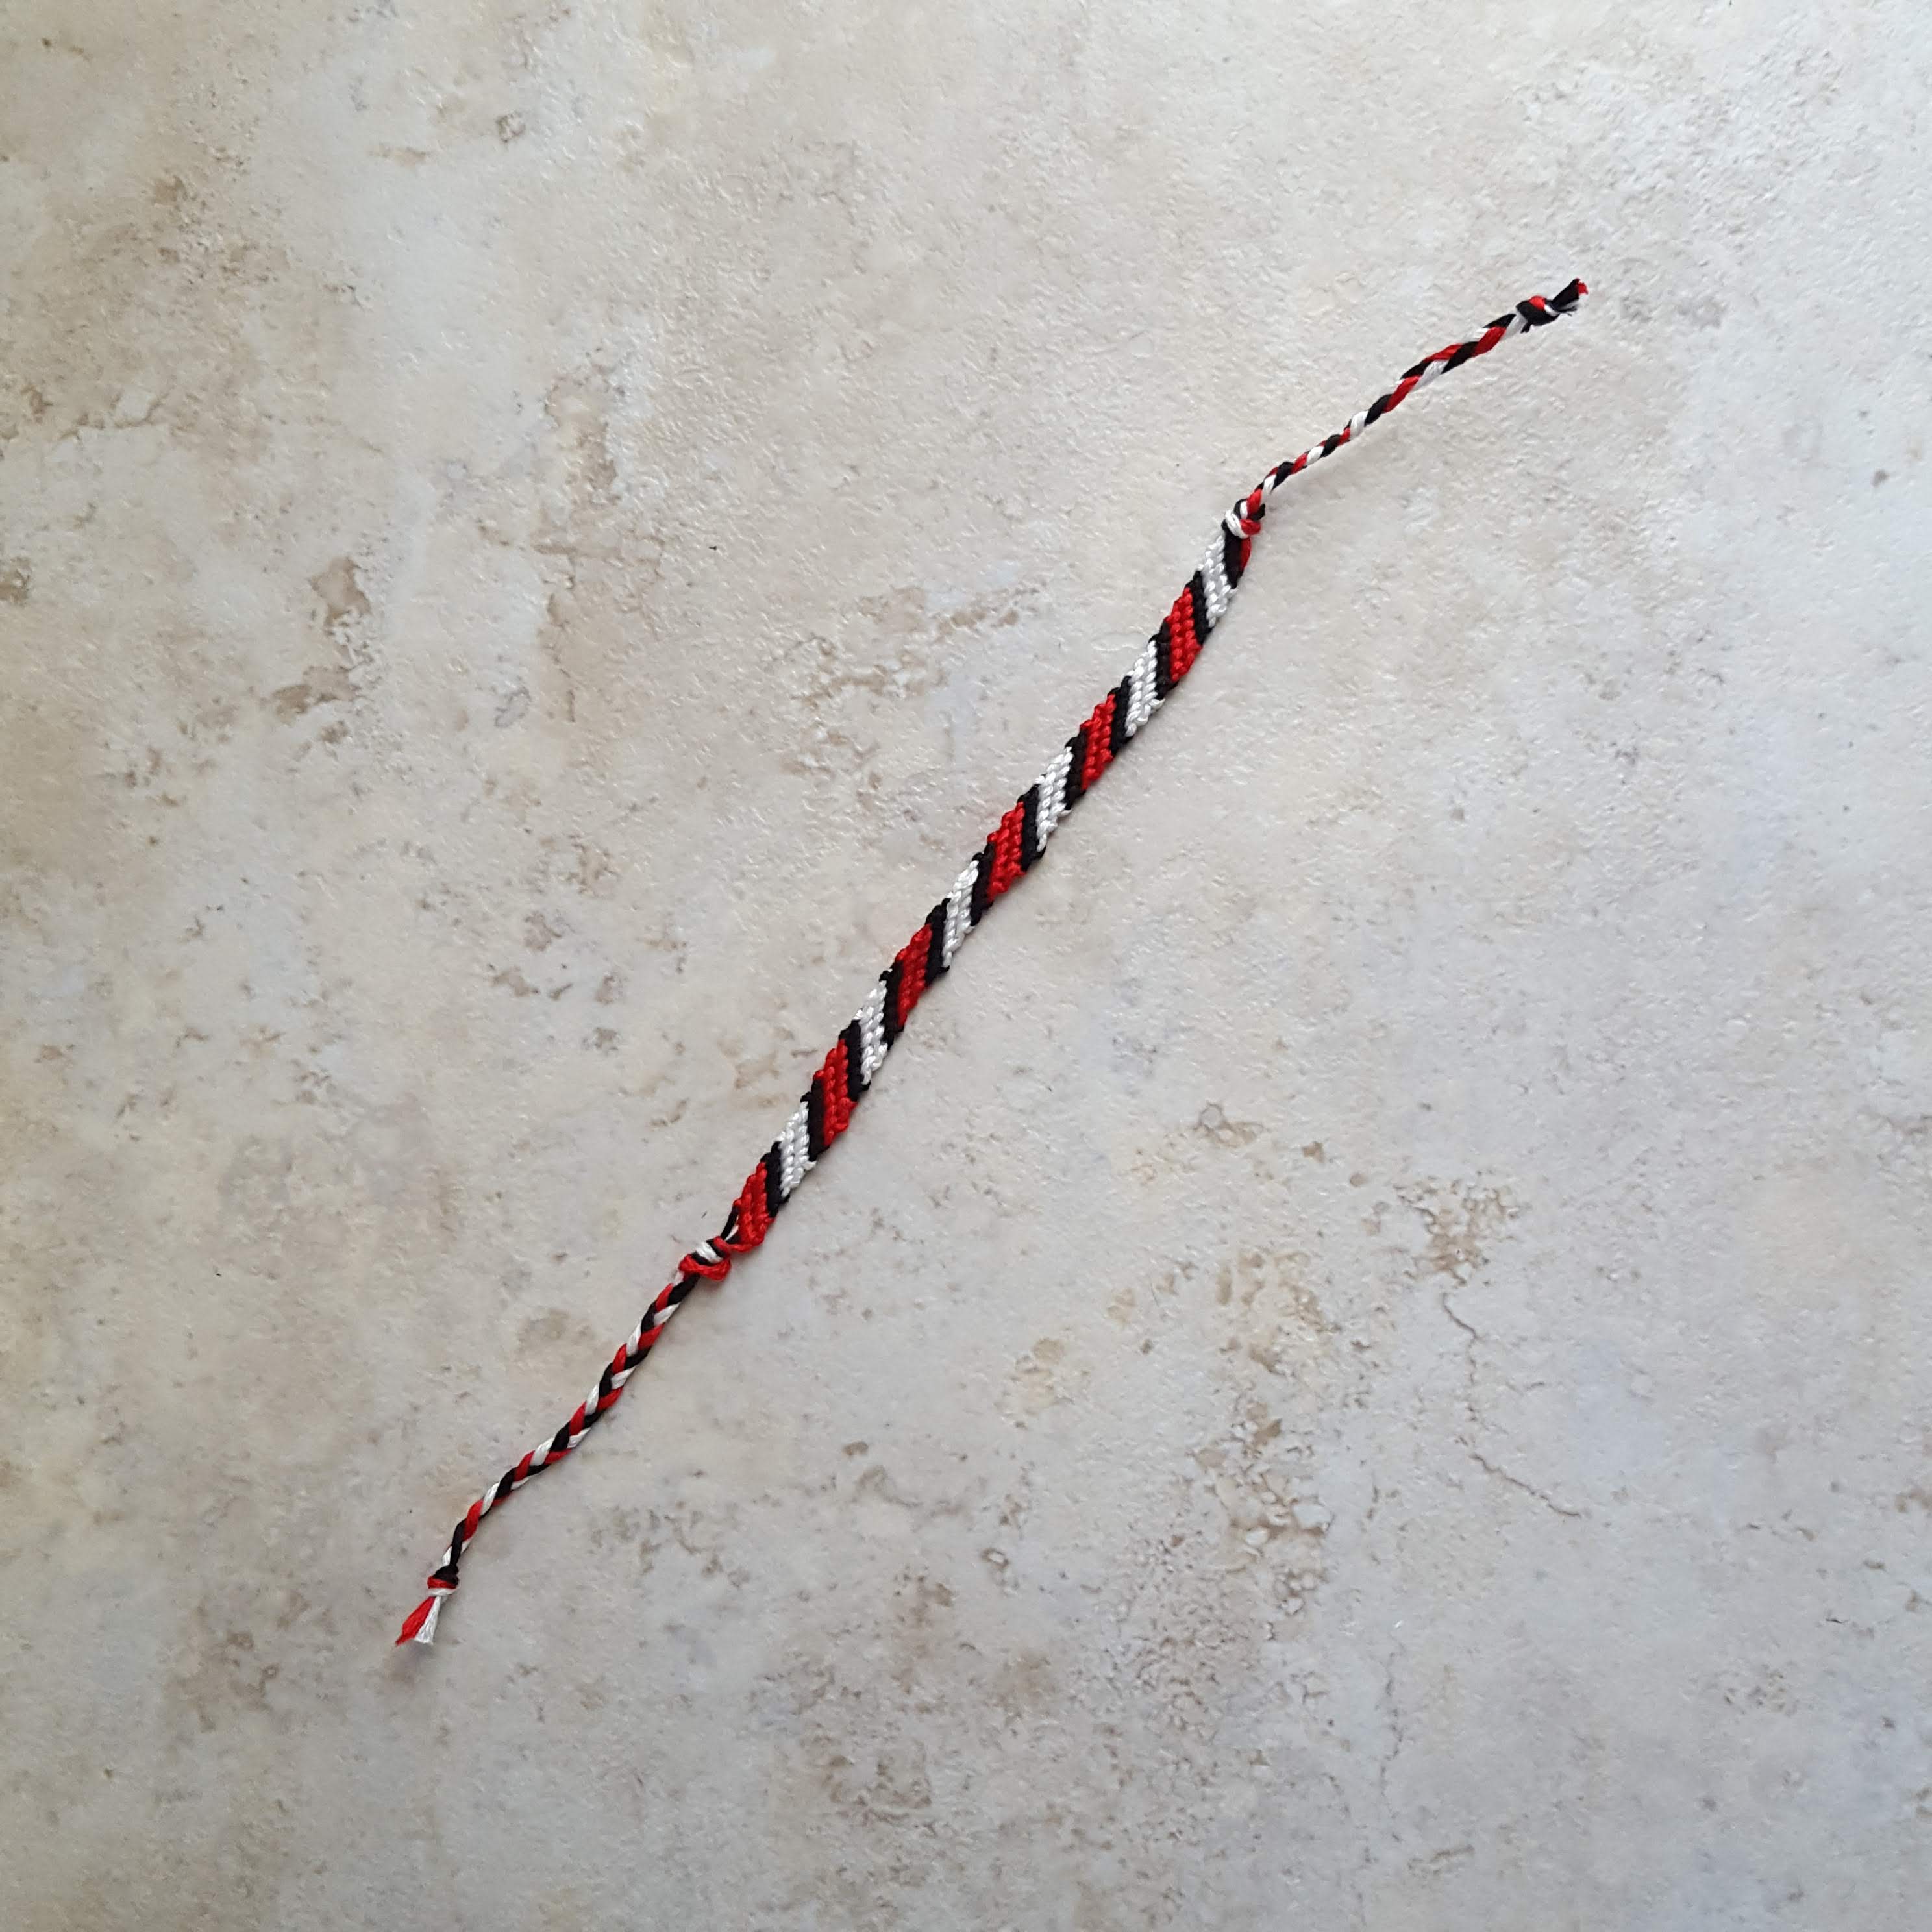
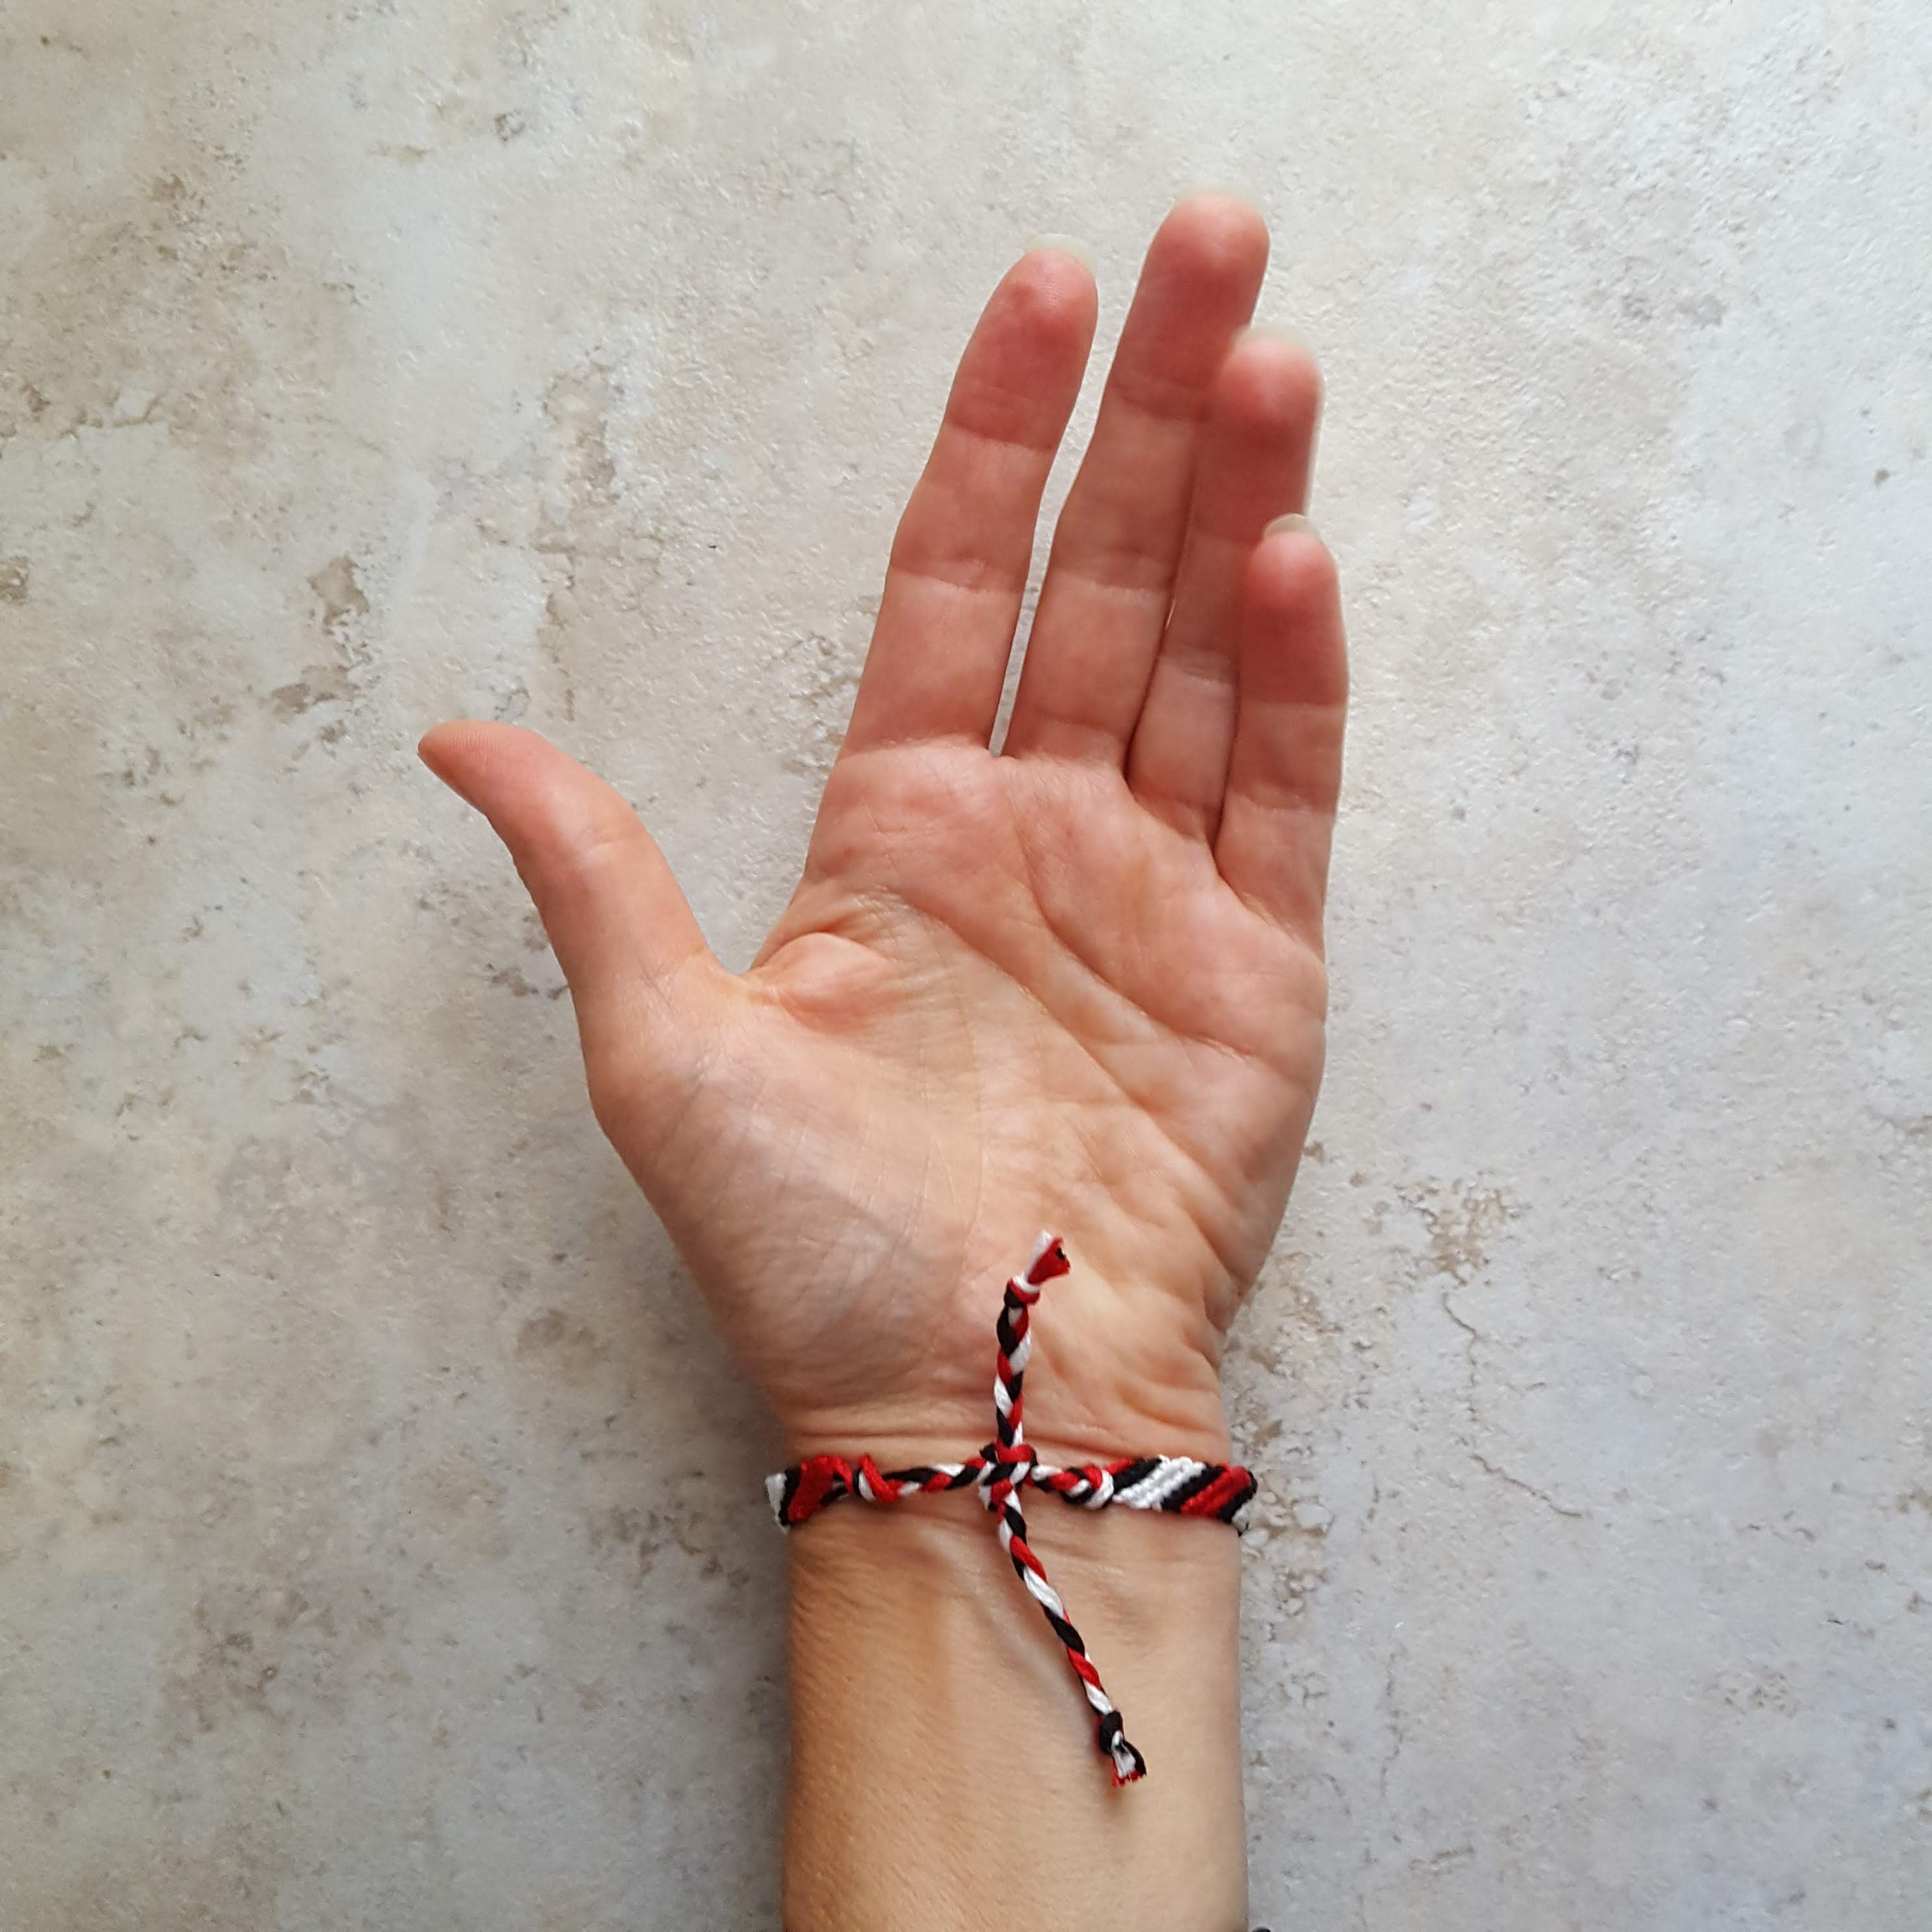
- To wear your bracelet, tie a knot using the 2 braided pieces
- I kept my knot loose to I could easily open up the bracelet to slip it off

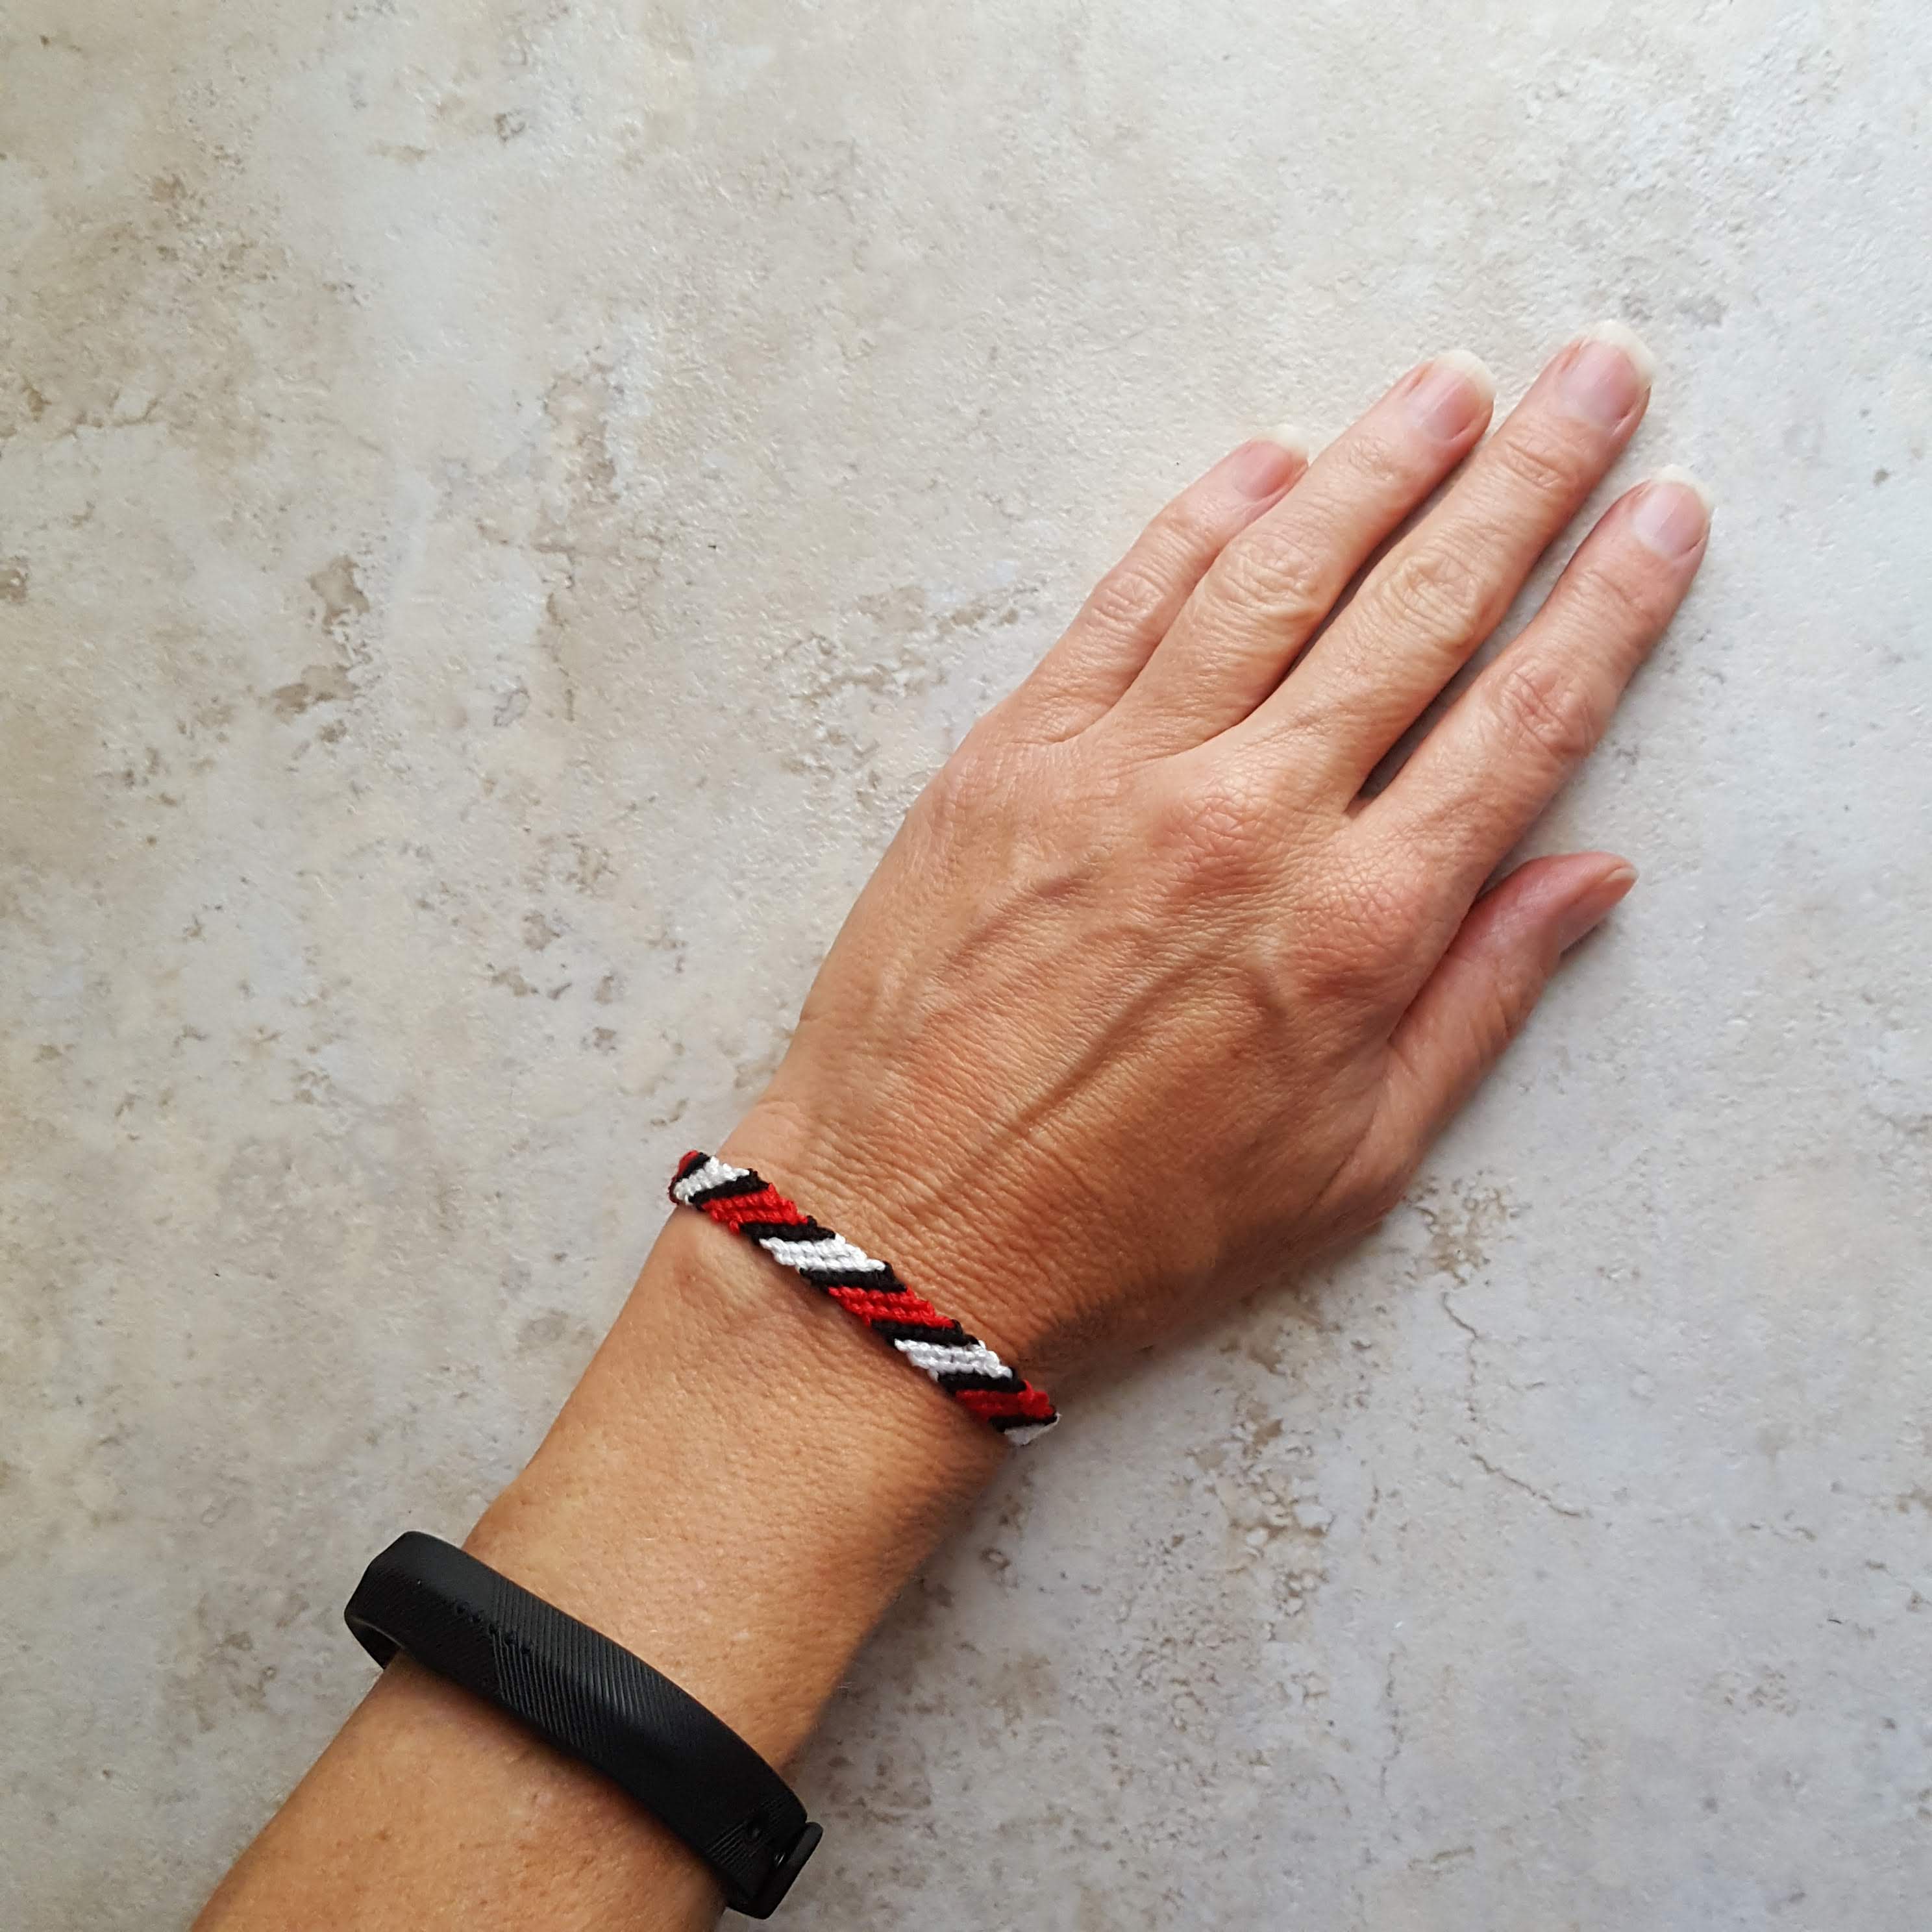
Wasn’t that fun and easy? I made mine in red, white and black to wear while I cheer on the Wisconsin Badgers. Will you make yours in your favorite college basketball team colors, to wear for March Madness? Or maybe in your baseball team colors, to get ready for opening day?
Until next week,
Carrie
PIN your favorite for later: