Hey, team!
Isn’t it a great time to be sports fan? NASCAR kicked off with the Daytona 500 over the weekend, Major League Baseball starts spring training this coming weekend, and we are just a month out from March Madness! And we’ve still got plenty of NHL and NBA action remaining.
For those that are new around here, you will quickly learn that I enjoy all things sports, and that I love to celebrate my teams by wearing my team colors regularly, and even by adding a touch of team spirit to my home décor. Do you do the same in a man cave, or a she shed, or on the walls of your den or home office?
I know you loved the Yarn Coasters I shared late last year, and as promised, I’m back with a 3 color version today! Create a batch in your favorite team colors, and you’ll be ready for your next game day party!

Want to learn to make your own? Gather up some supplies, and let’s start started!
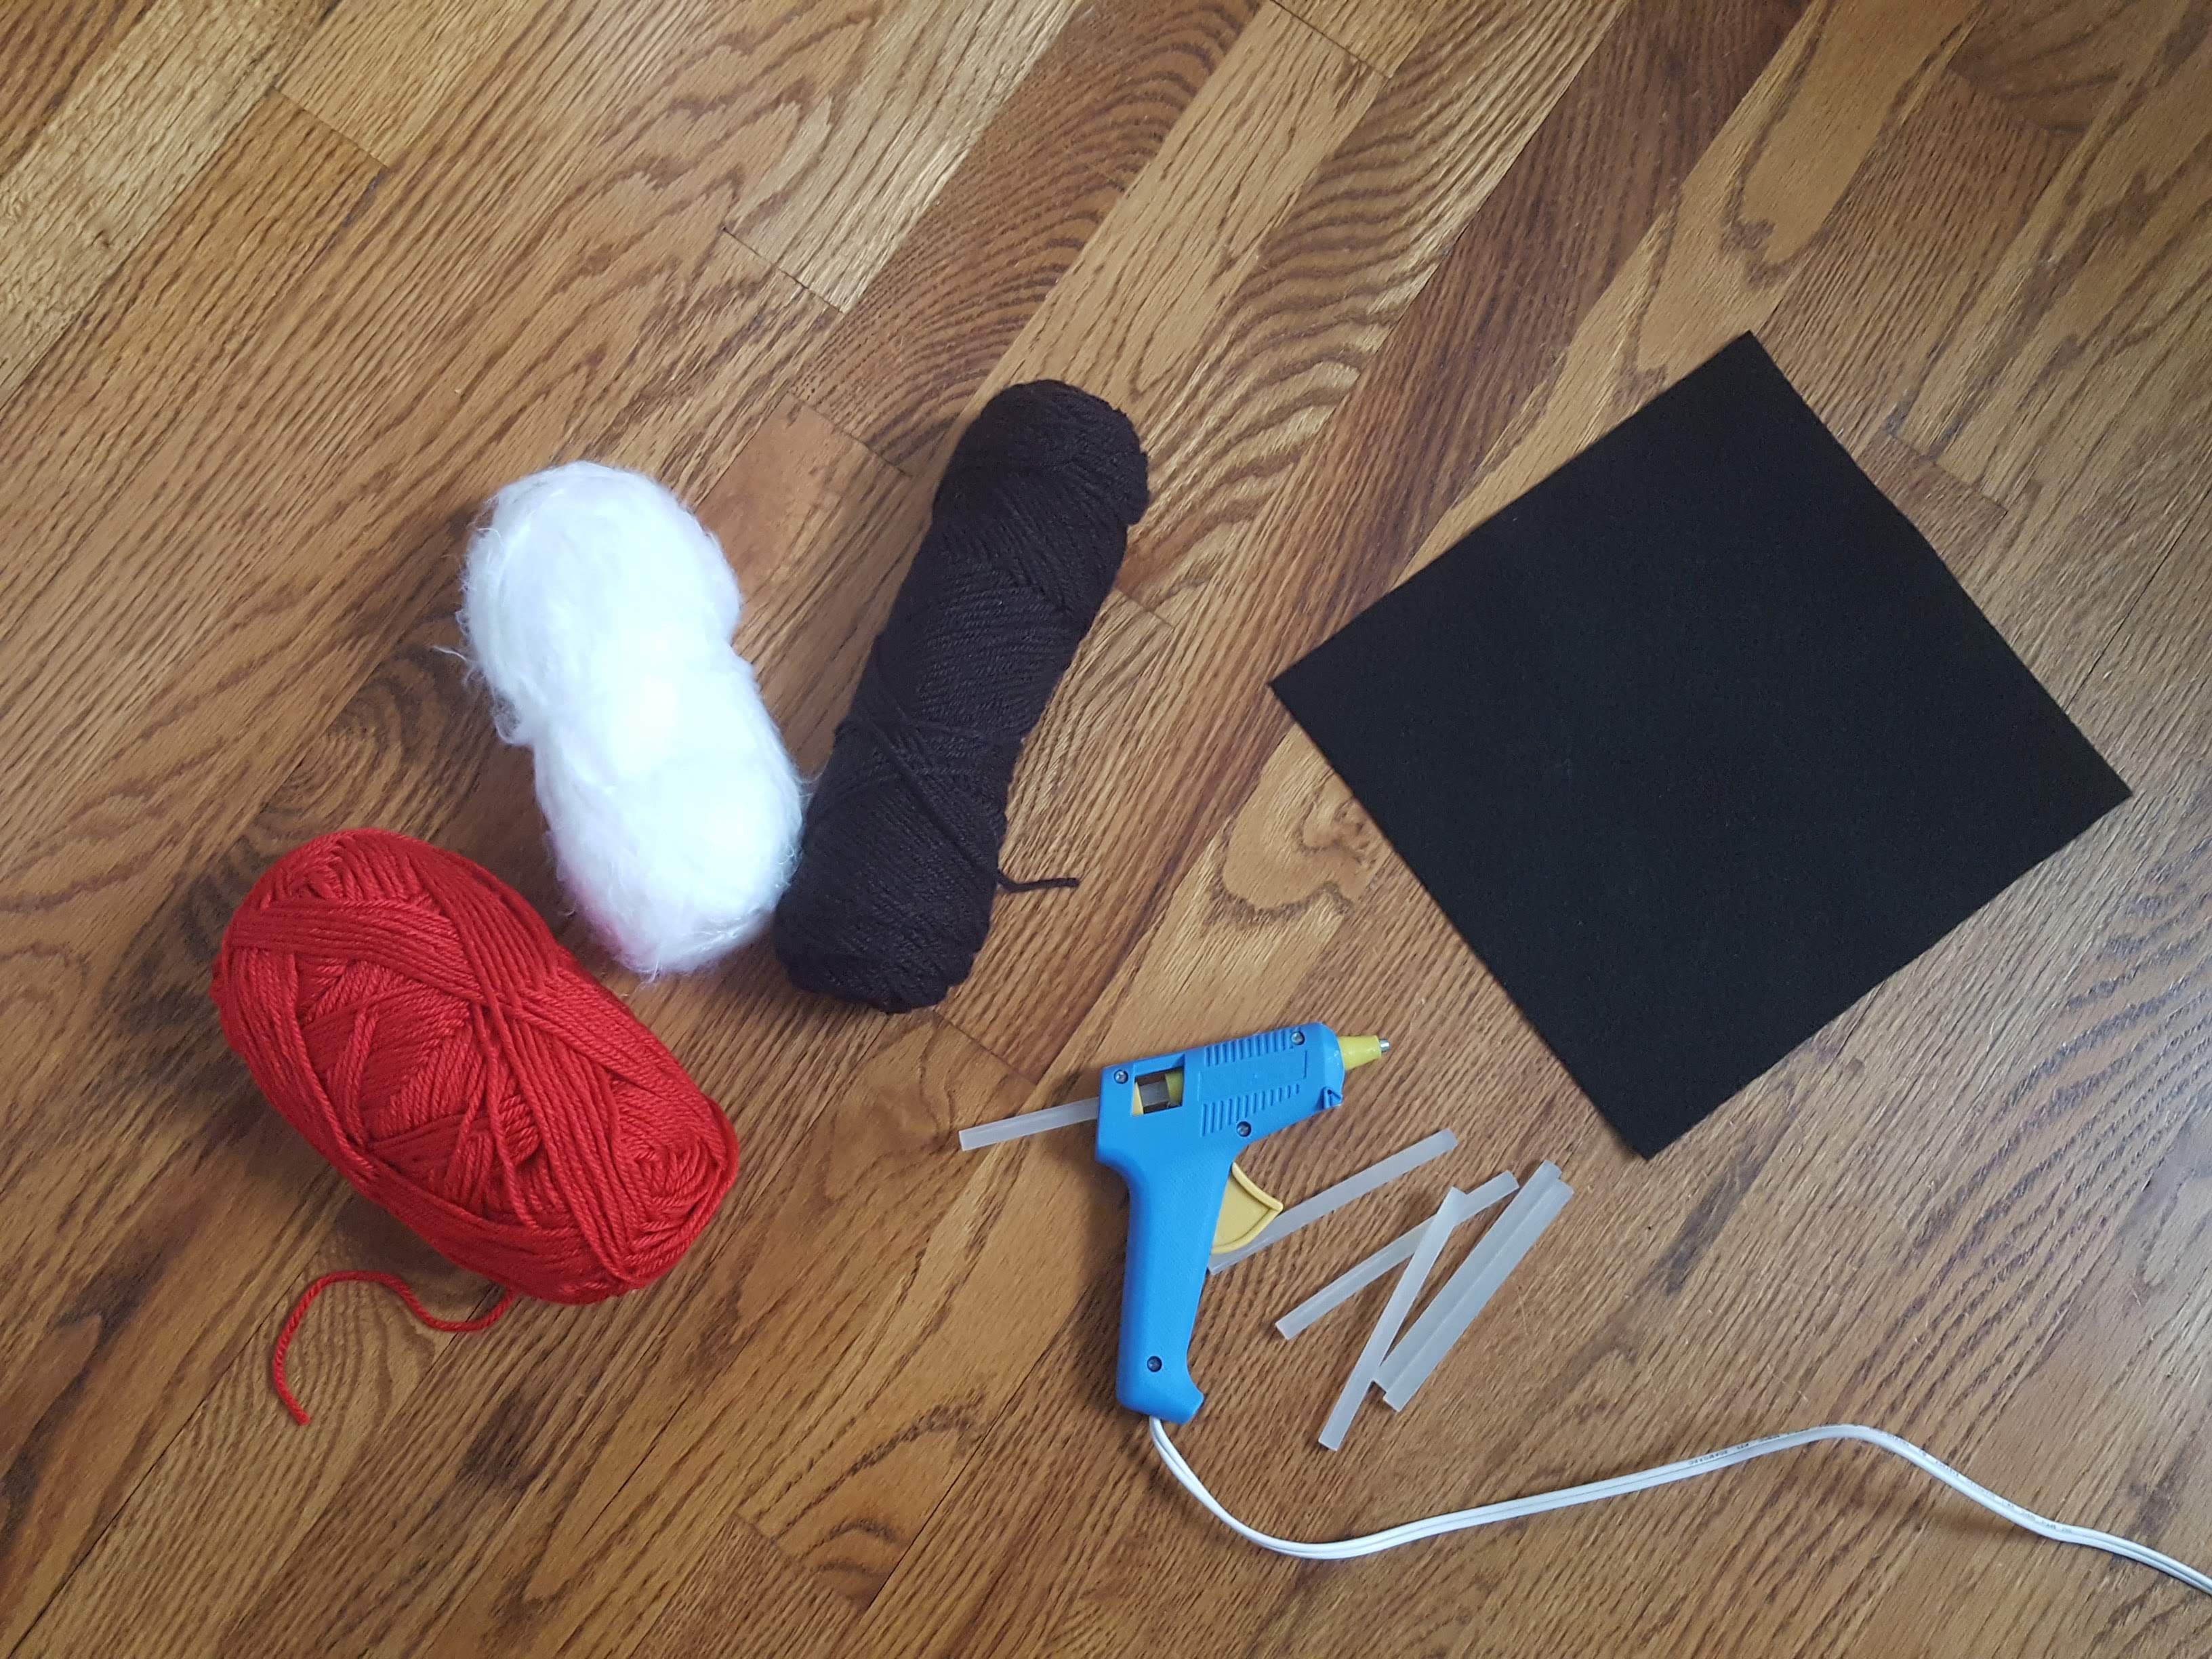
Step 1 – Collect the Supplies
Here’s what you need (from your local hobby / craft store):
- 3 colors of yarn
- Felt in a color to match
- Low temp hot glue gun
- Low temp glue sticks
- Scissors
Step 2 – Cut the felt
- Cut the felt into a square, a little bigger than the size of the coaster you want
- I used a coaster I had to estimate the size, and cut a 4” square

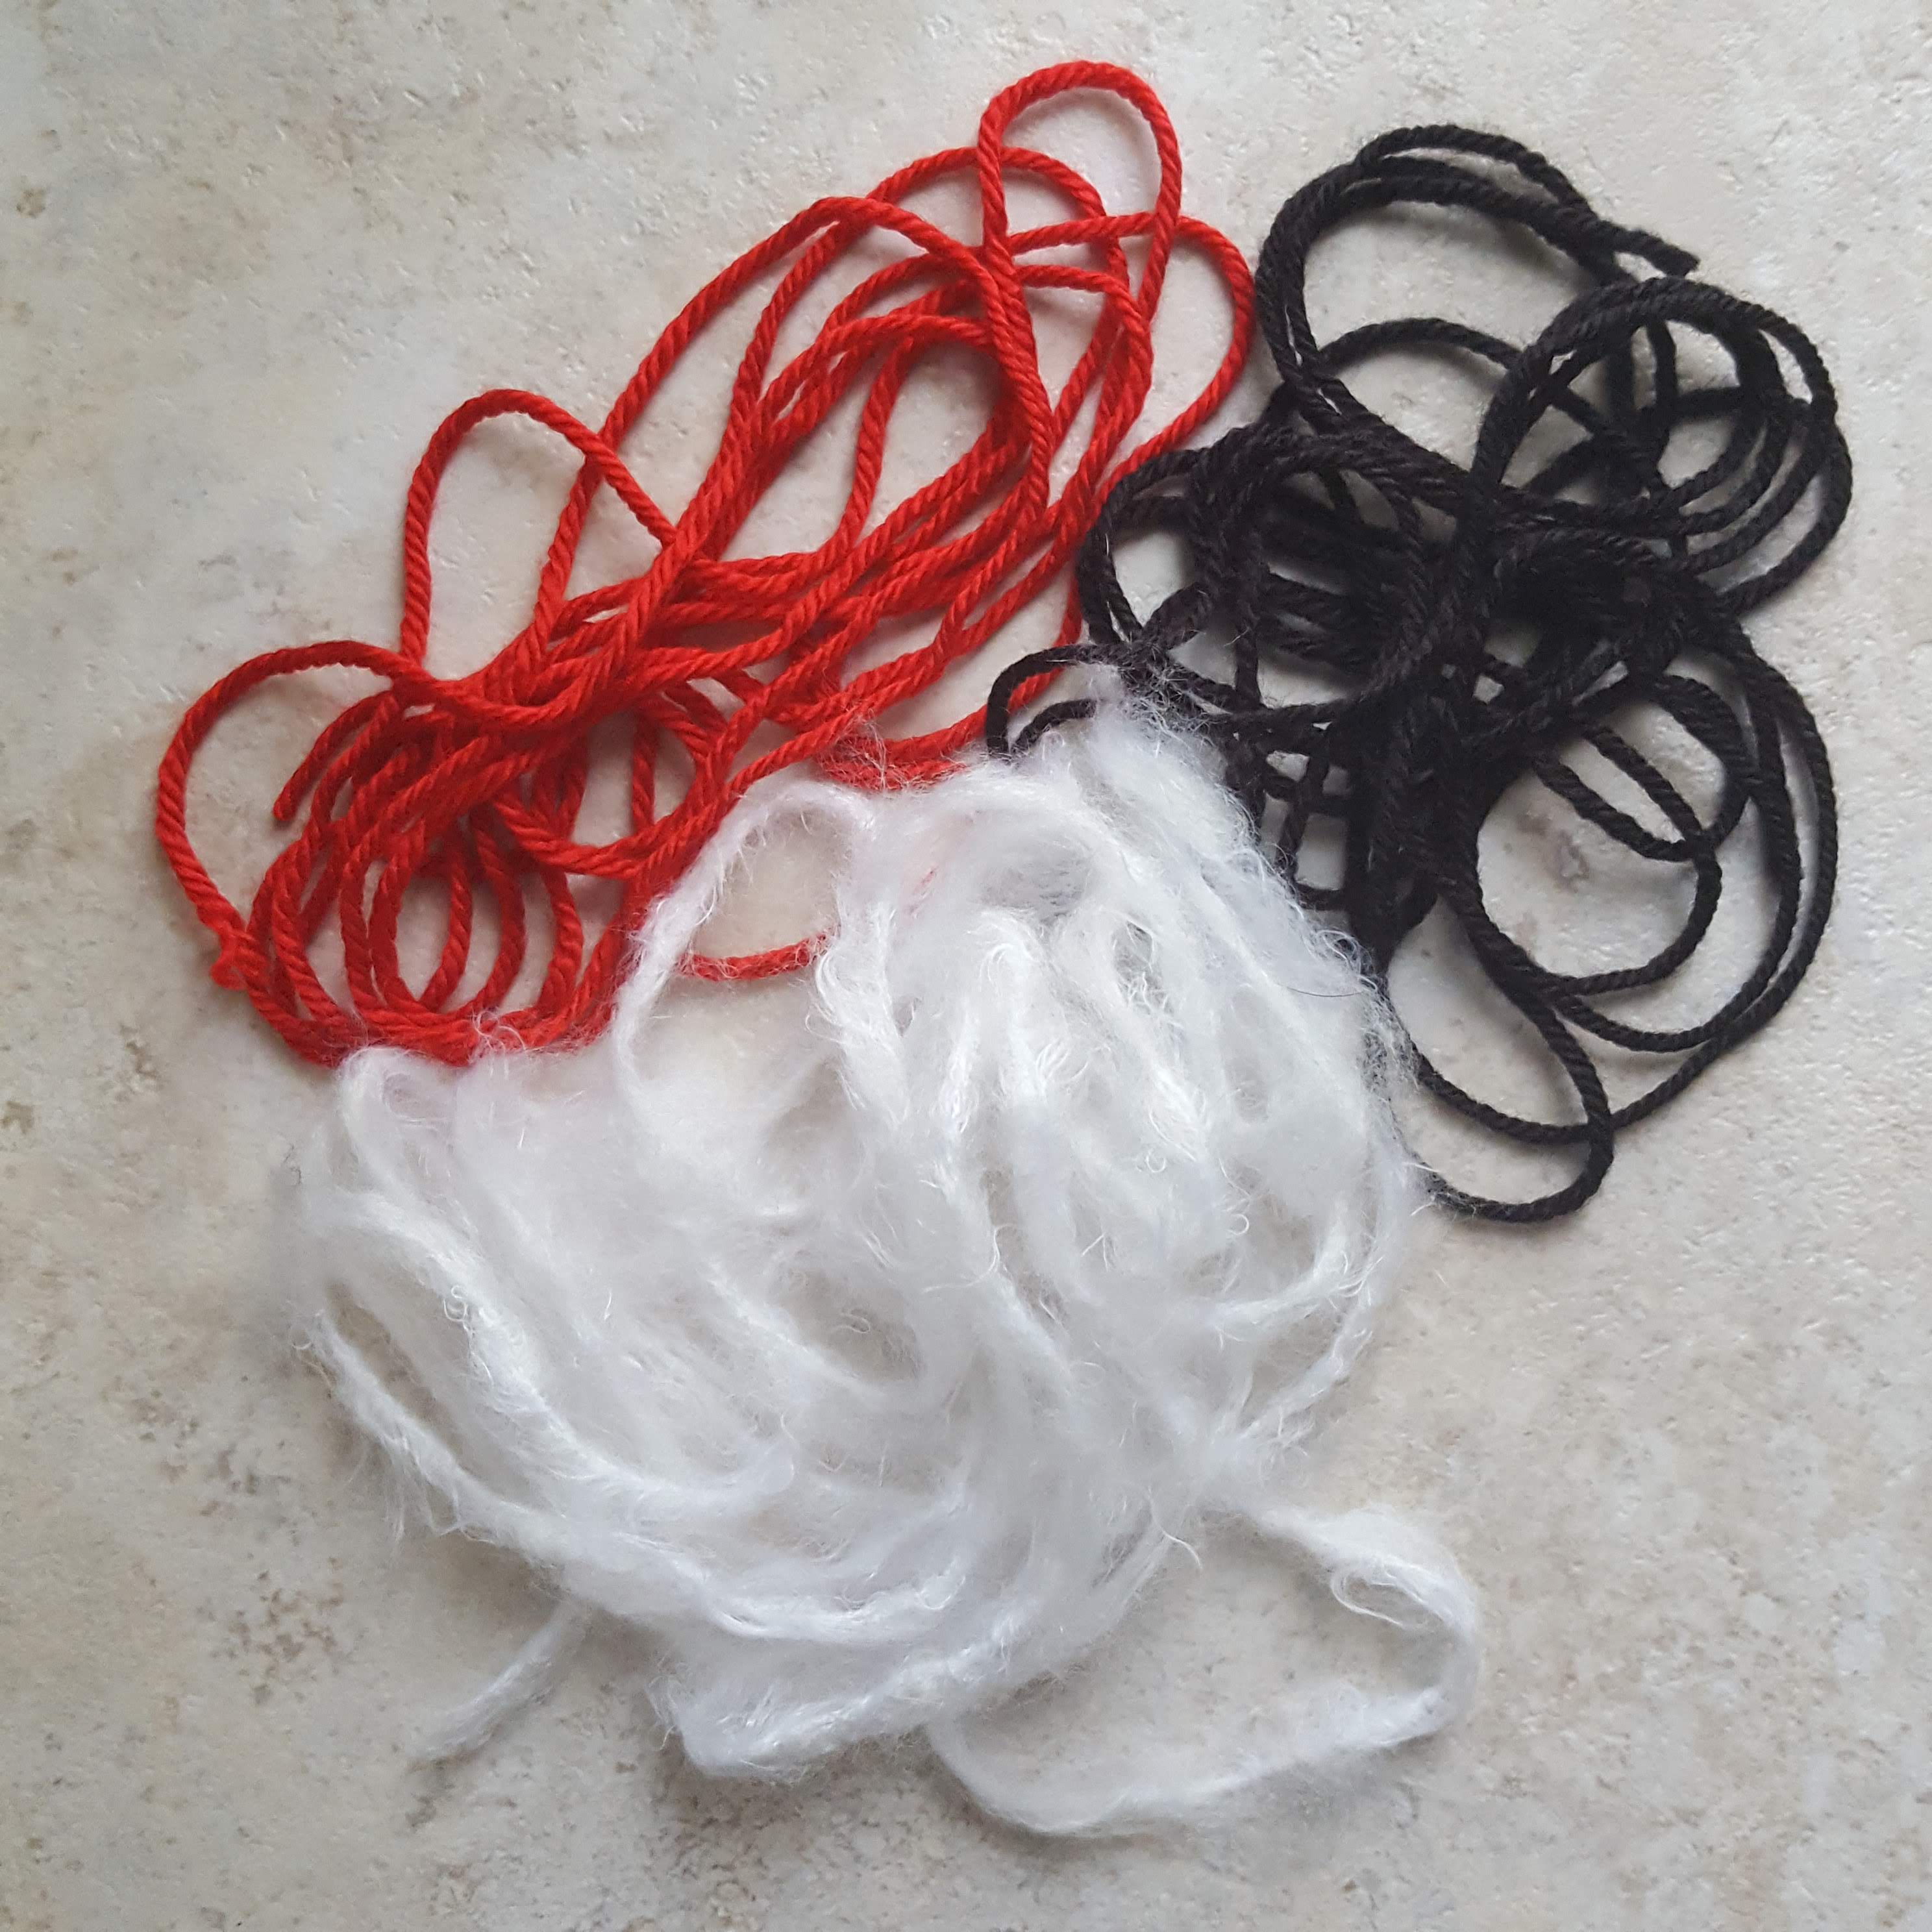
Step 3 – “Measure” the yarn
- You will need approximately 2 yards of each color of yarn
- The fastest way to “measure” a yard is to pull out about 2 arm’s length of yarn. Do this 2 times for each color (keep the yarn all in 1 piece)
- Repeat with the other yarn colors, so you have 3 pieces that are each 2 yards long
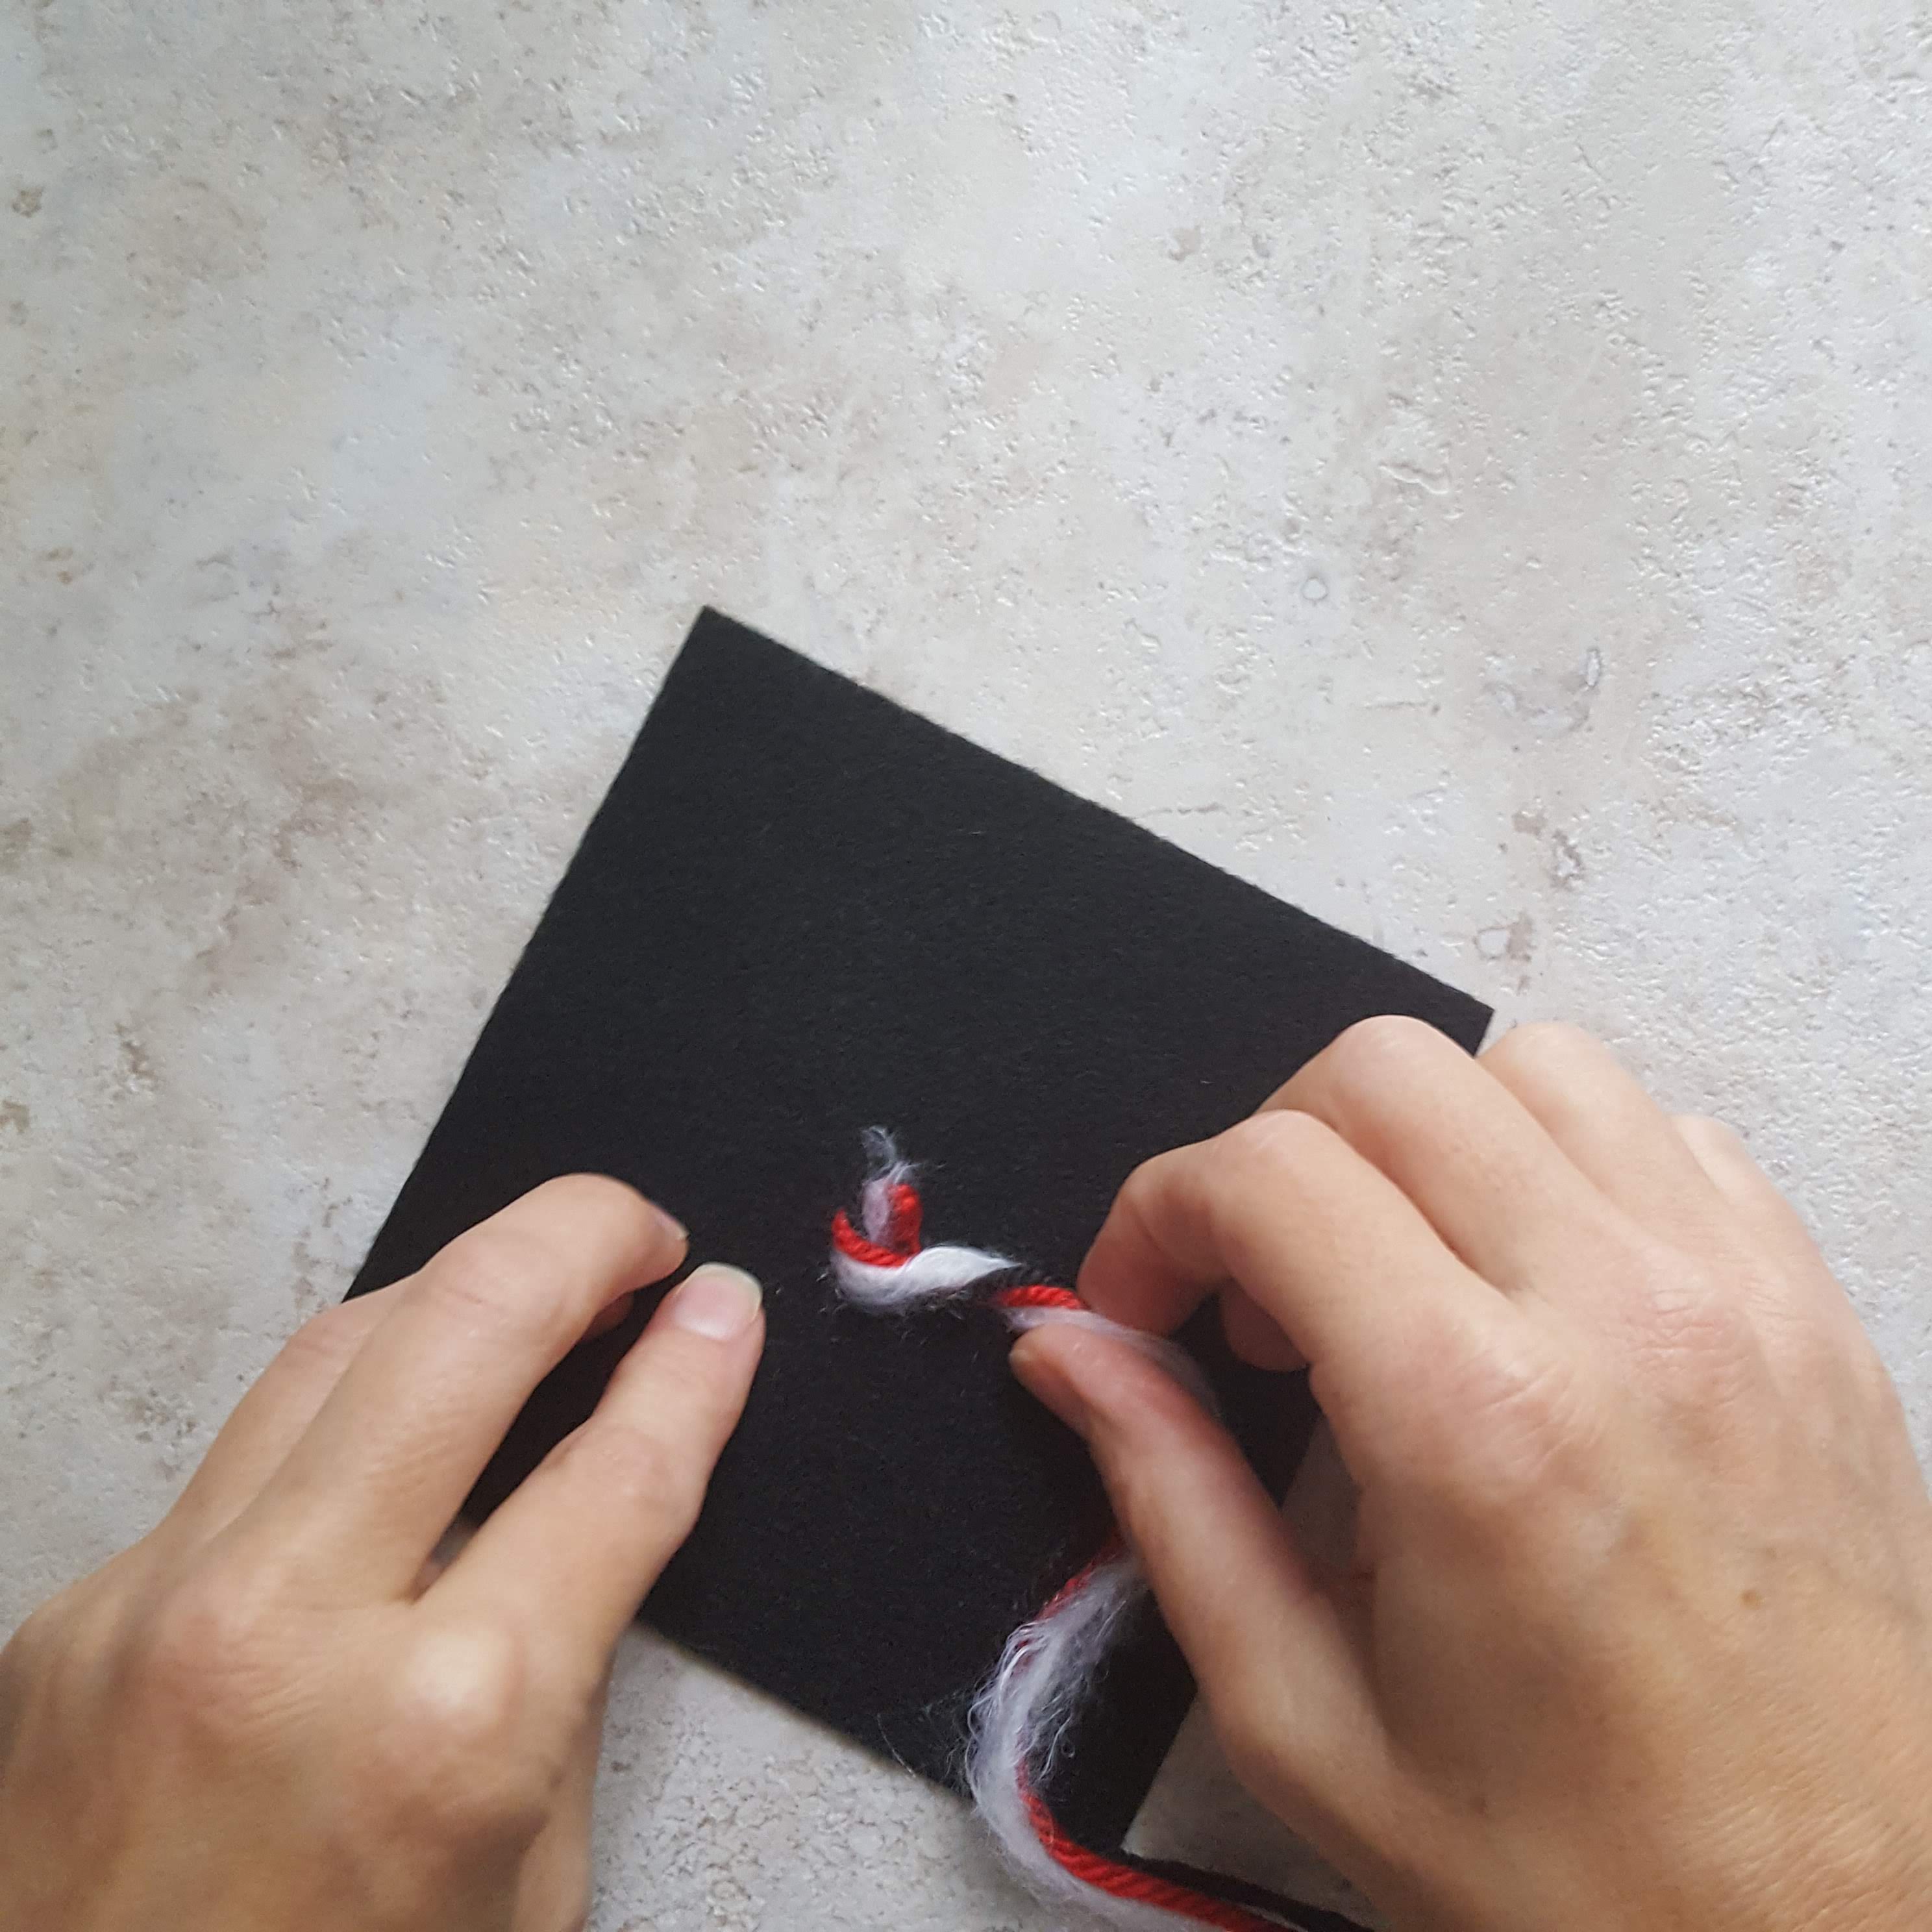
Step 4 – Glue the Yarn to the felt
- Plug in your glue gun to heat it up
- Put a small amount glue on the center of the felt.
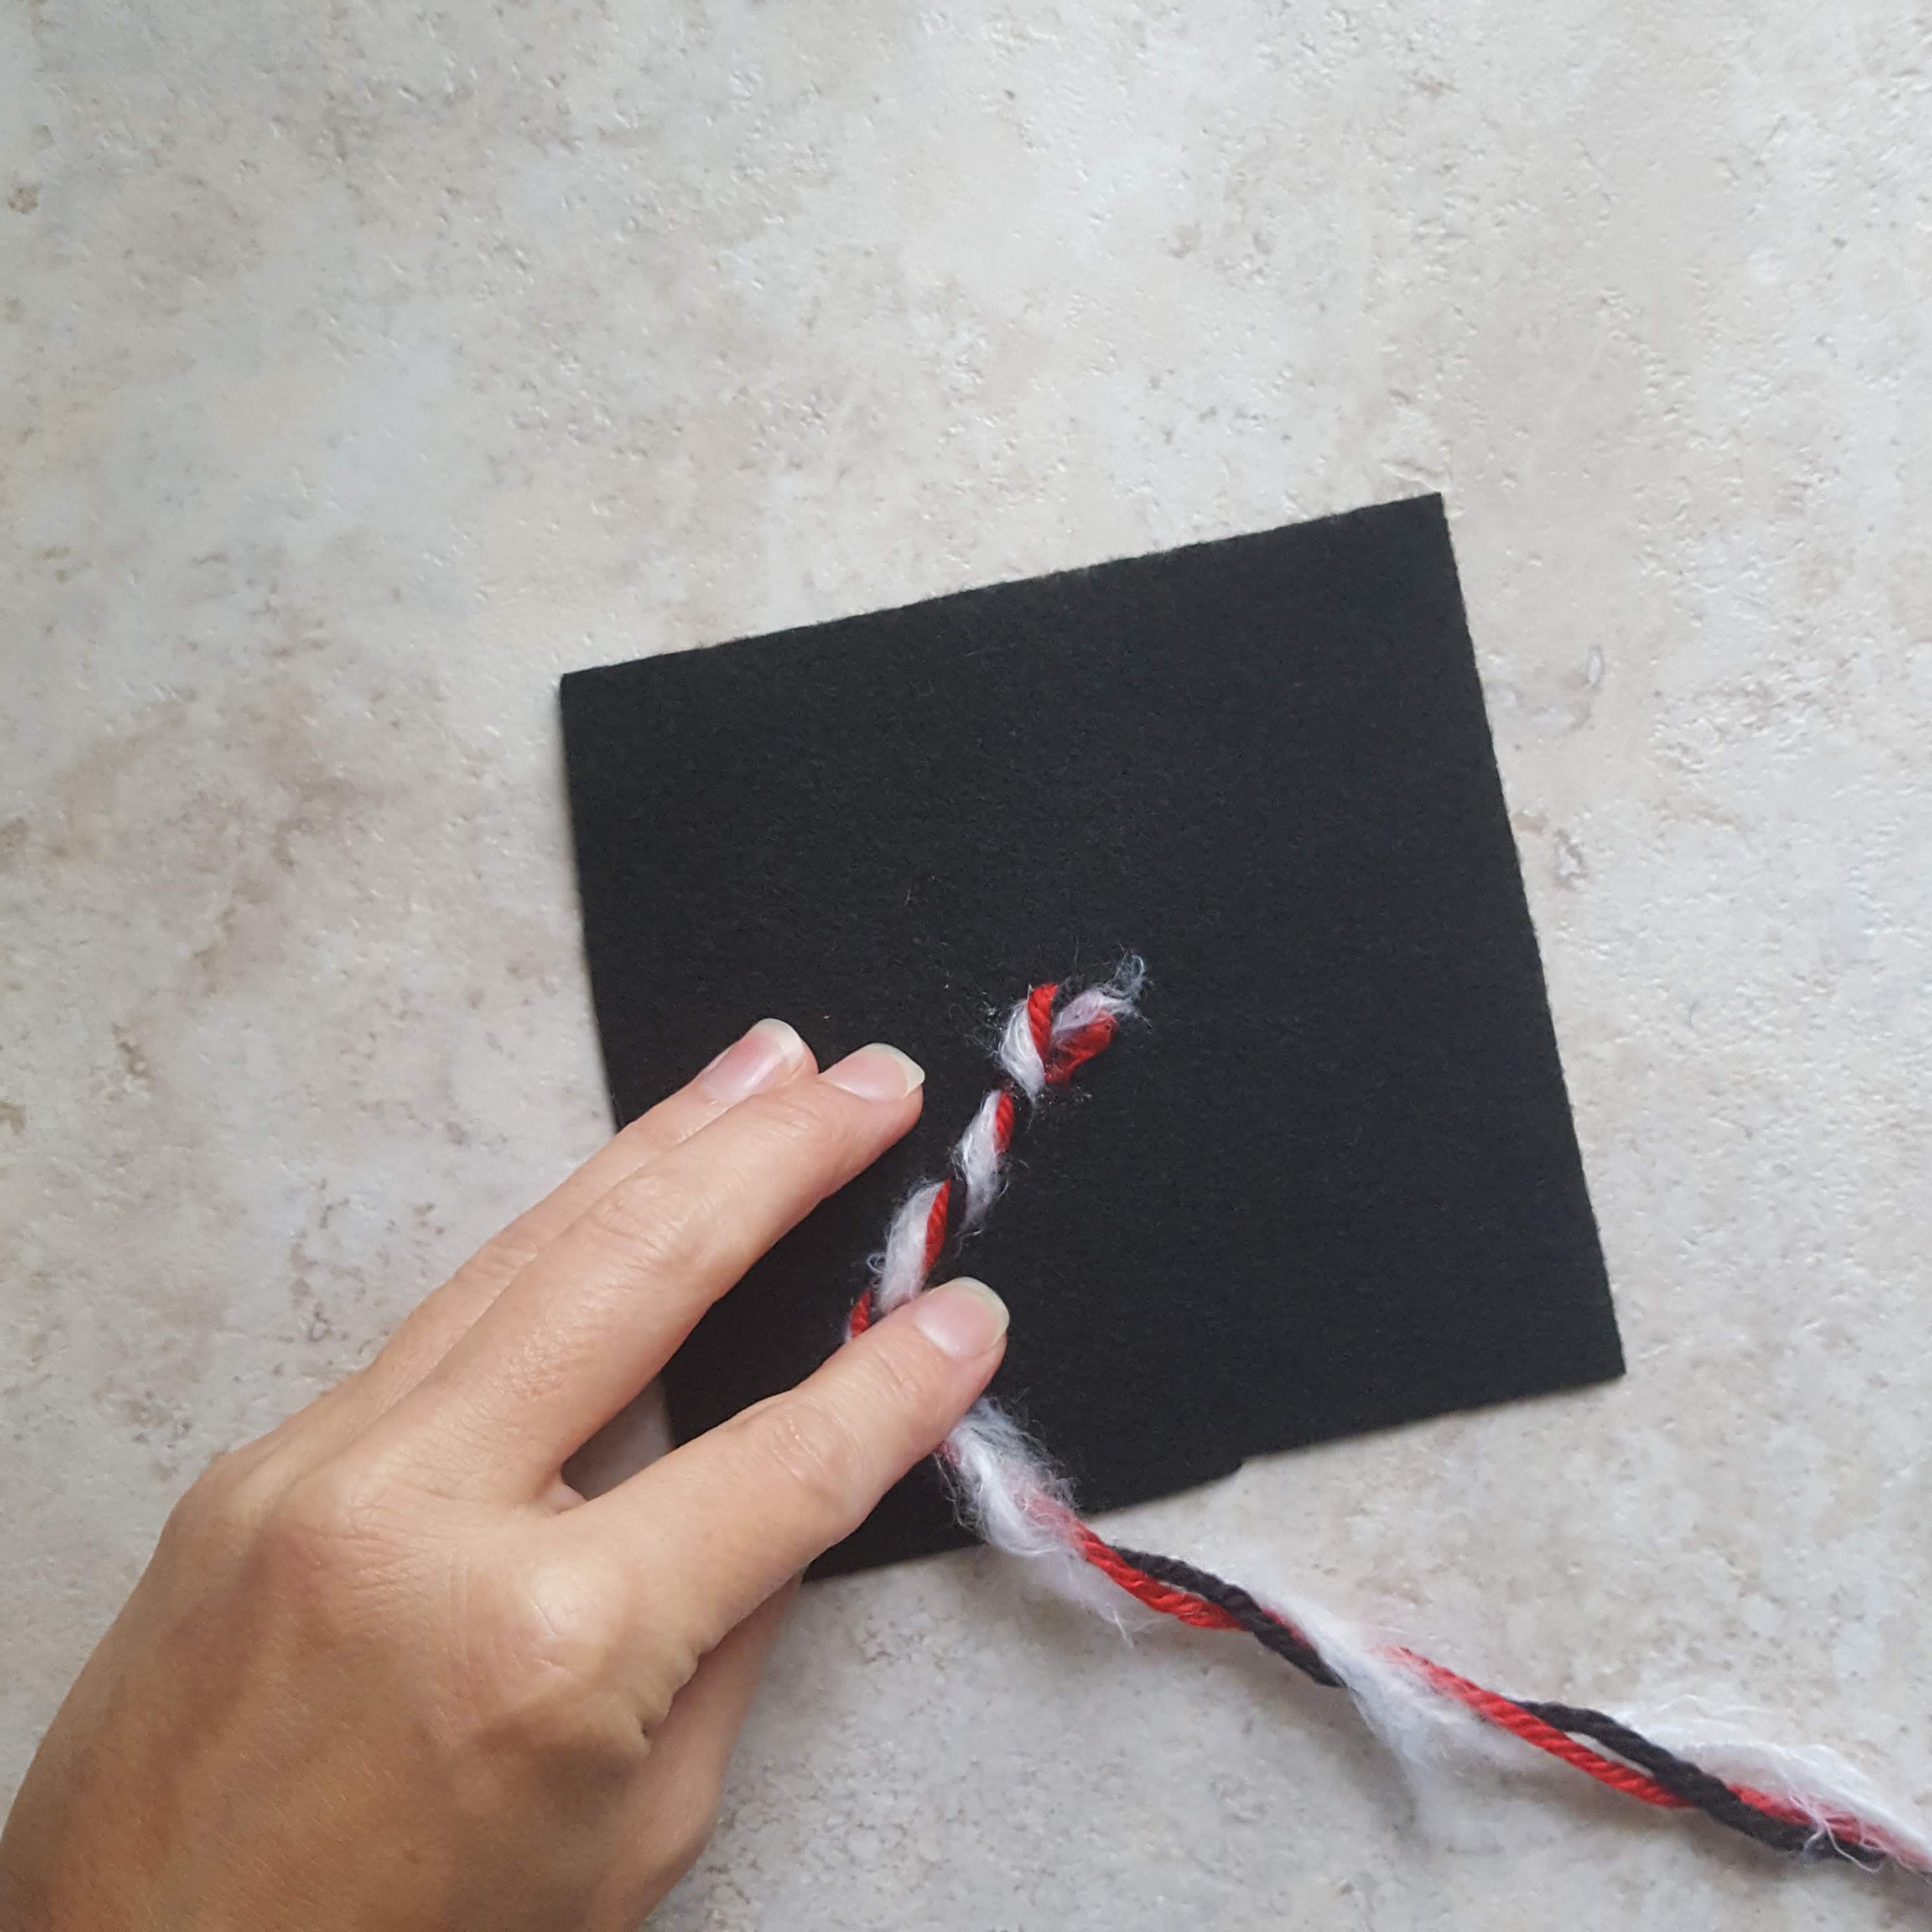
- Carefully place one end of each of the yarns onto the glue.
- Let cure for a few seconds

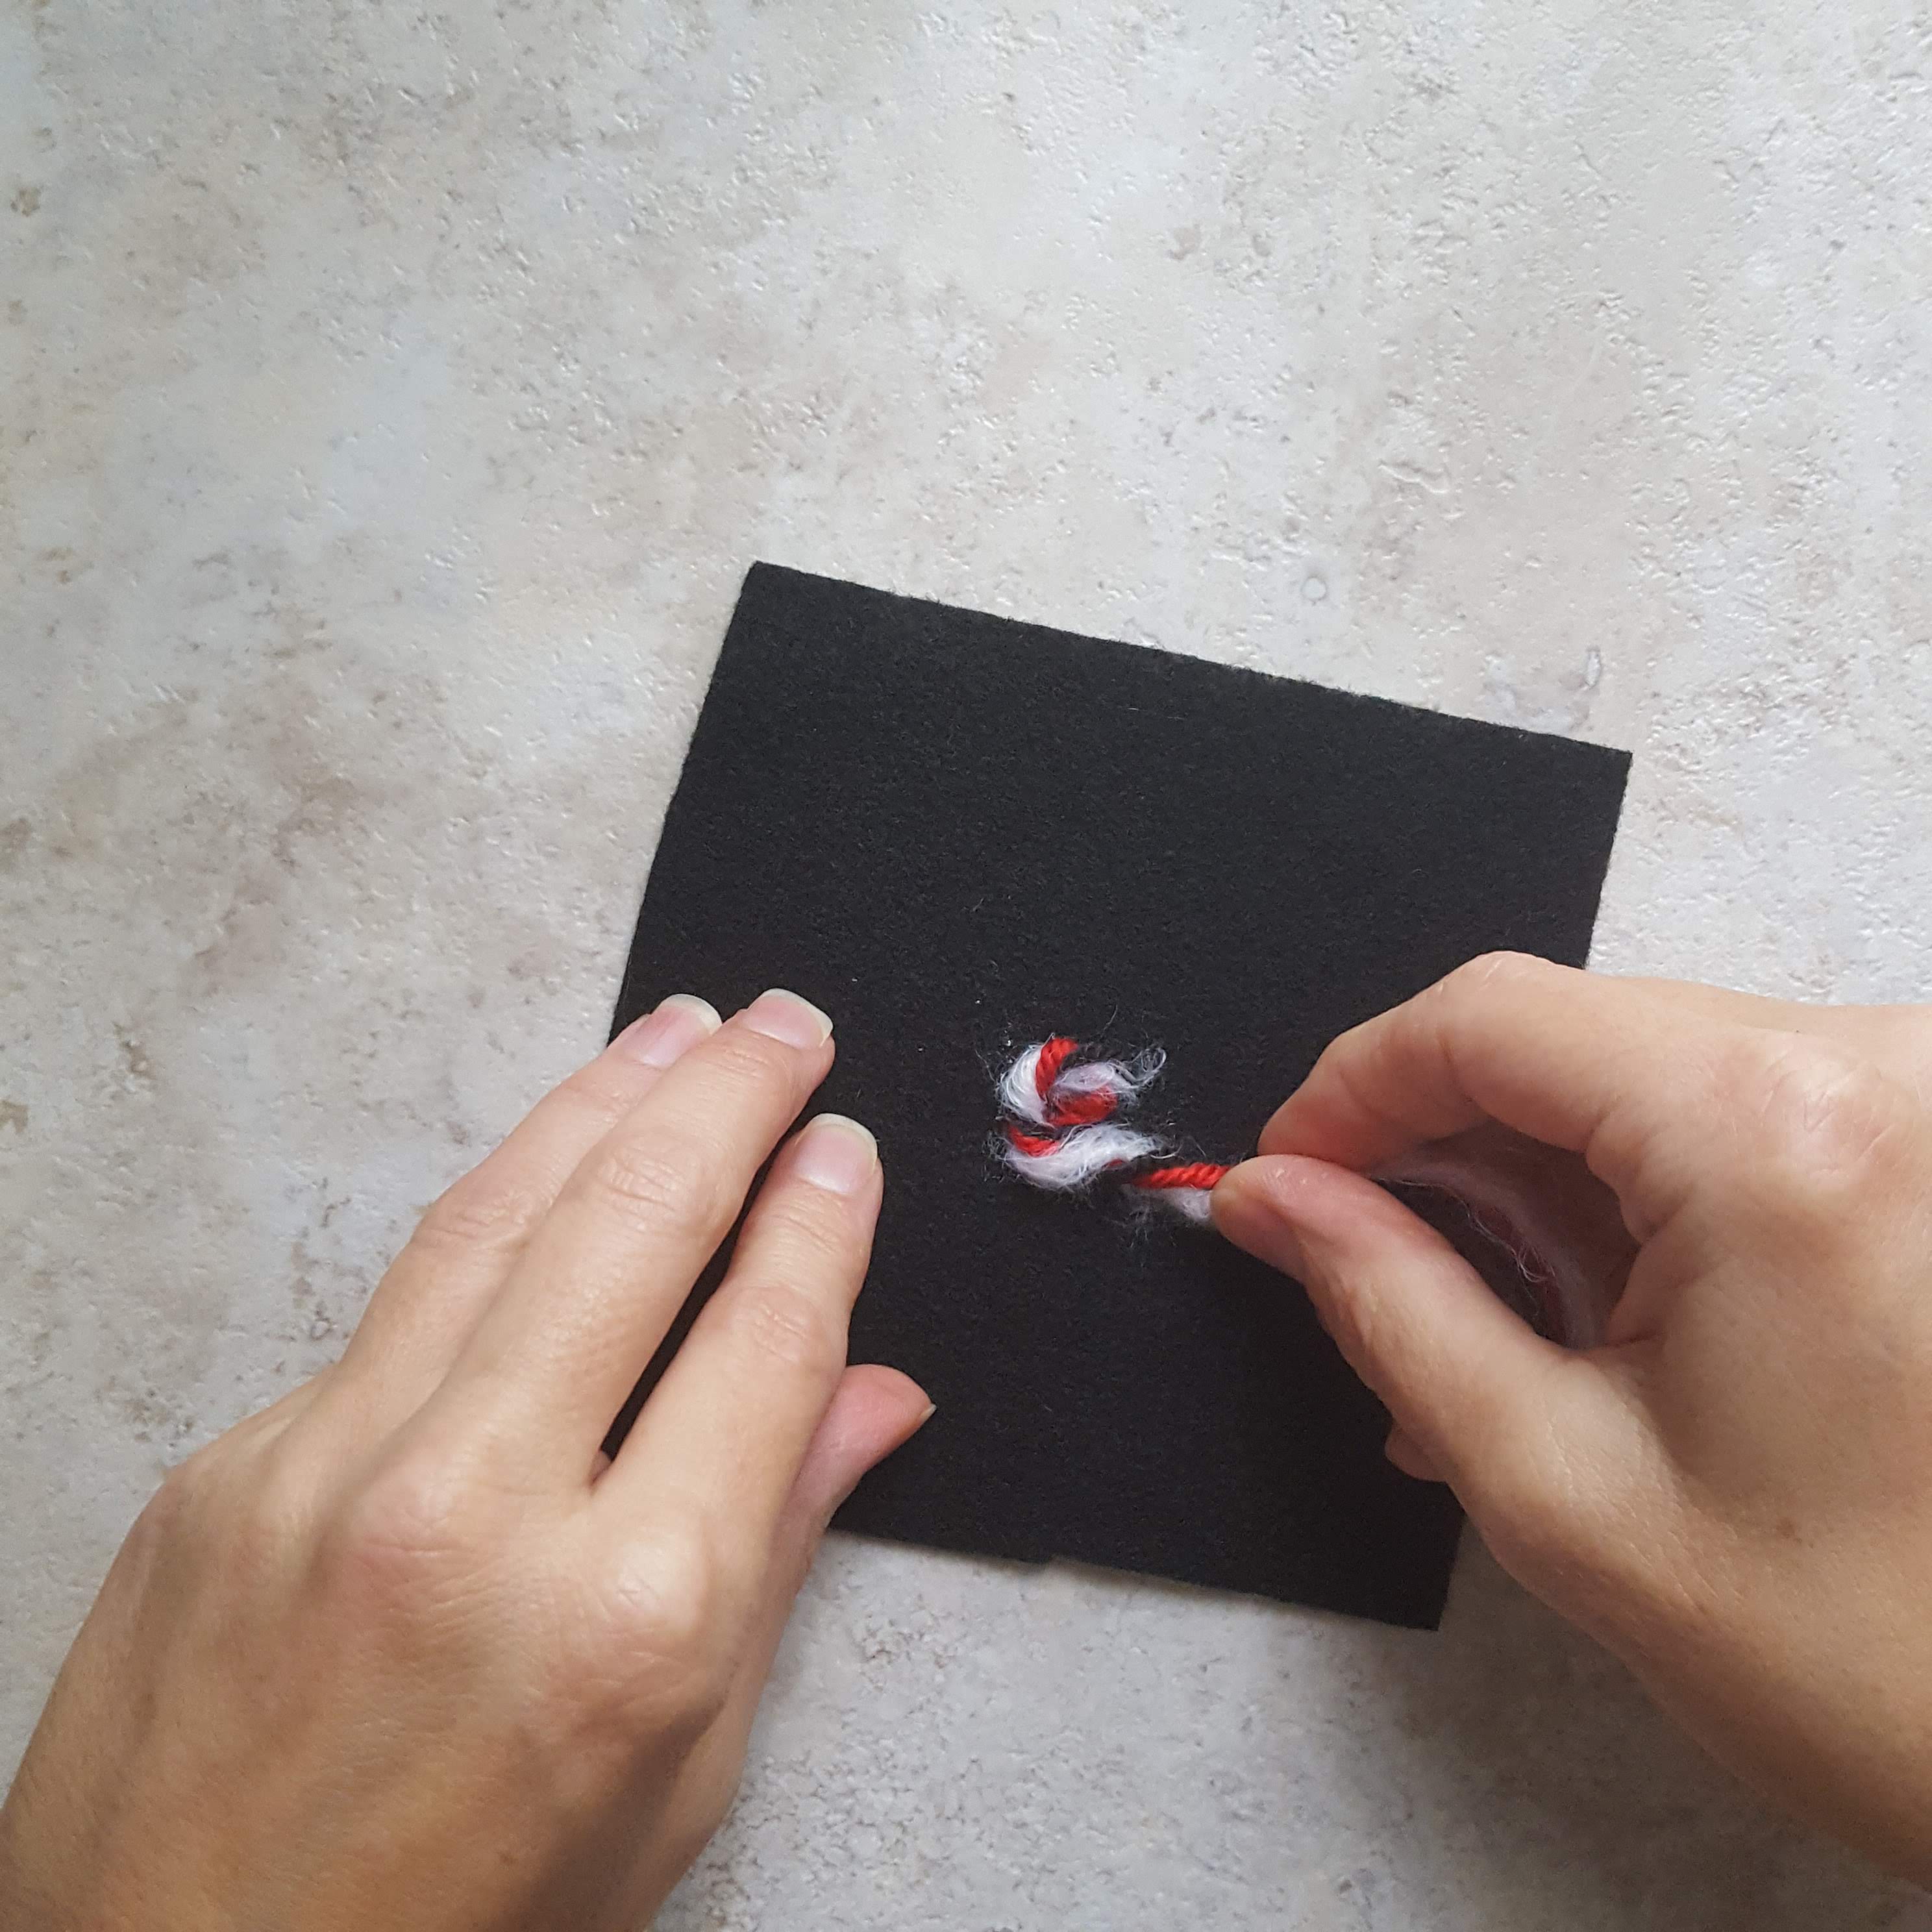
- Twist a small section of yarn (twirling the yarn over and over, toward the coaster)

- Hold the twisted yarn, add some hot glue, and glue the twisted yarn strands around the center
- Continue twisting small sections of yarn, and gluing one small section at a time
- Periodically straighten the loose ends of yarn, as they will try and untwist in the opposite direction you are twisting
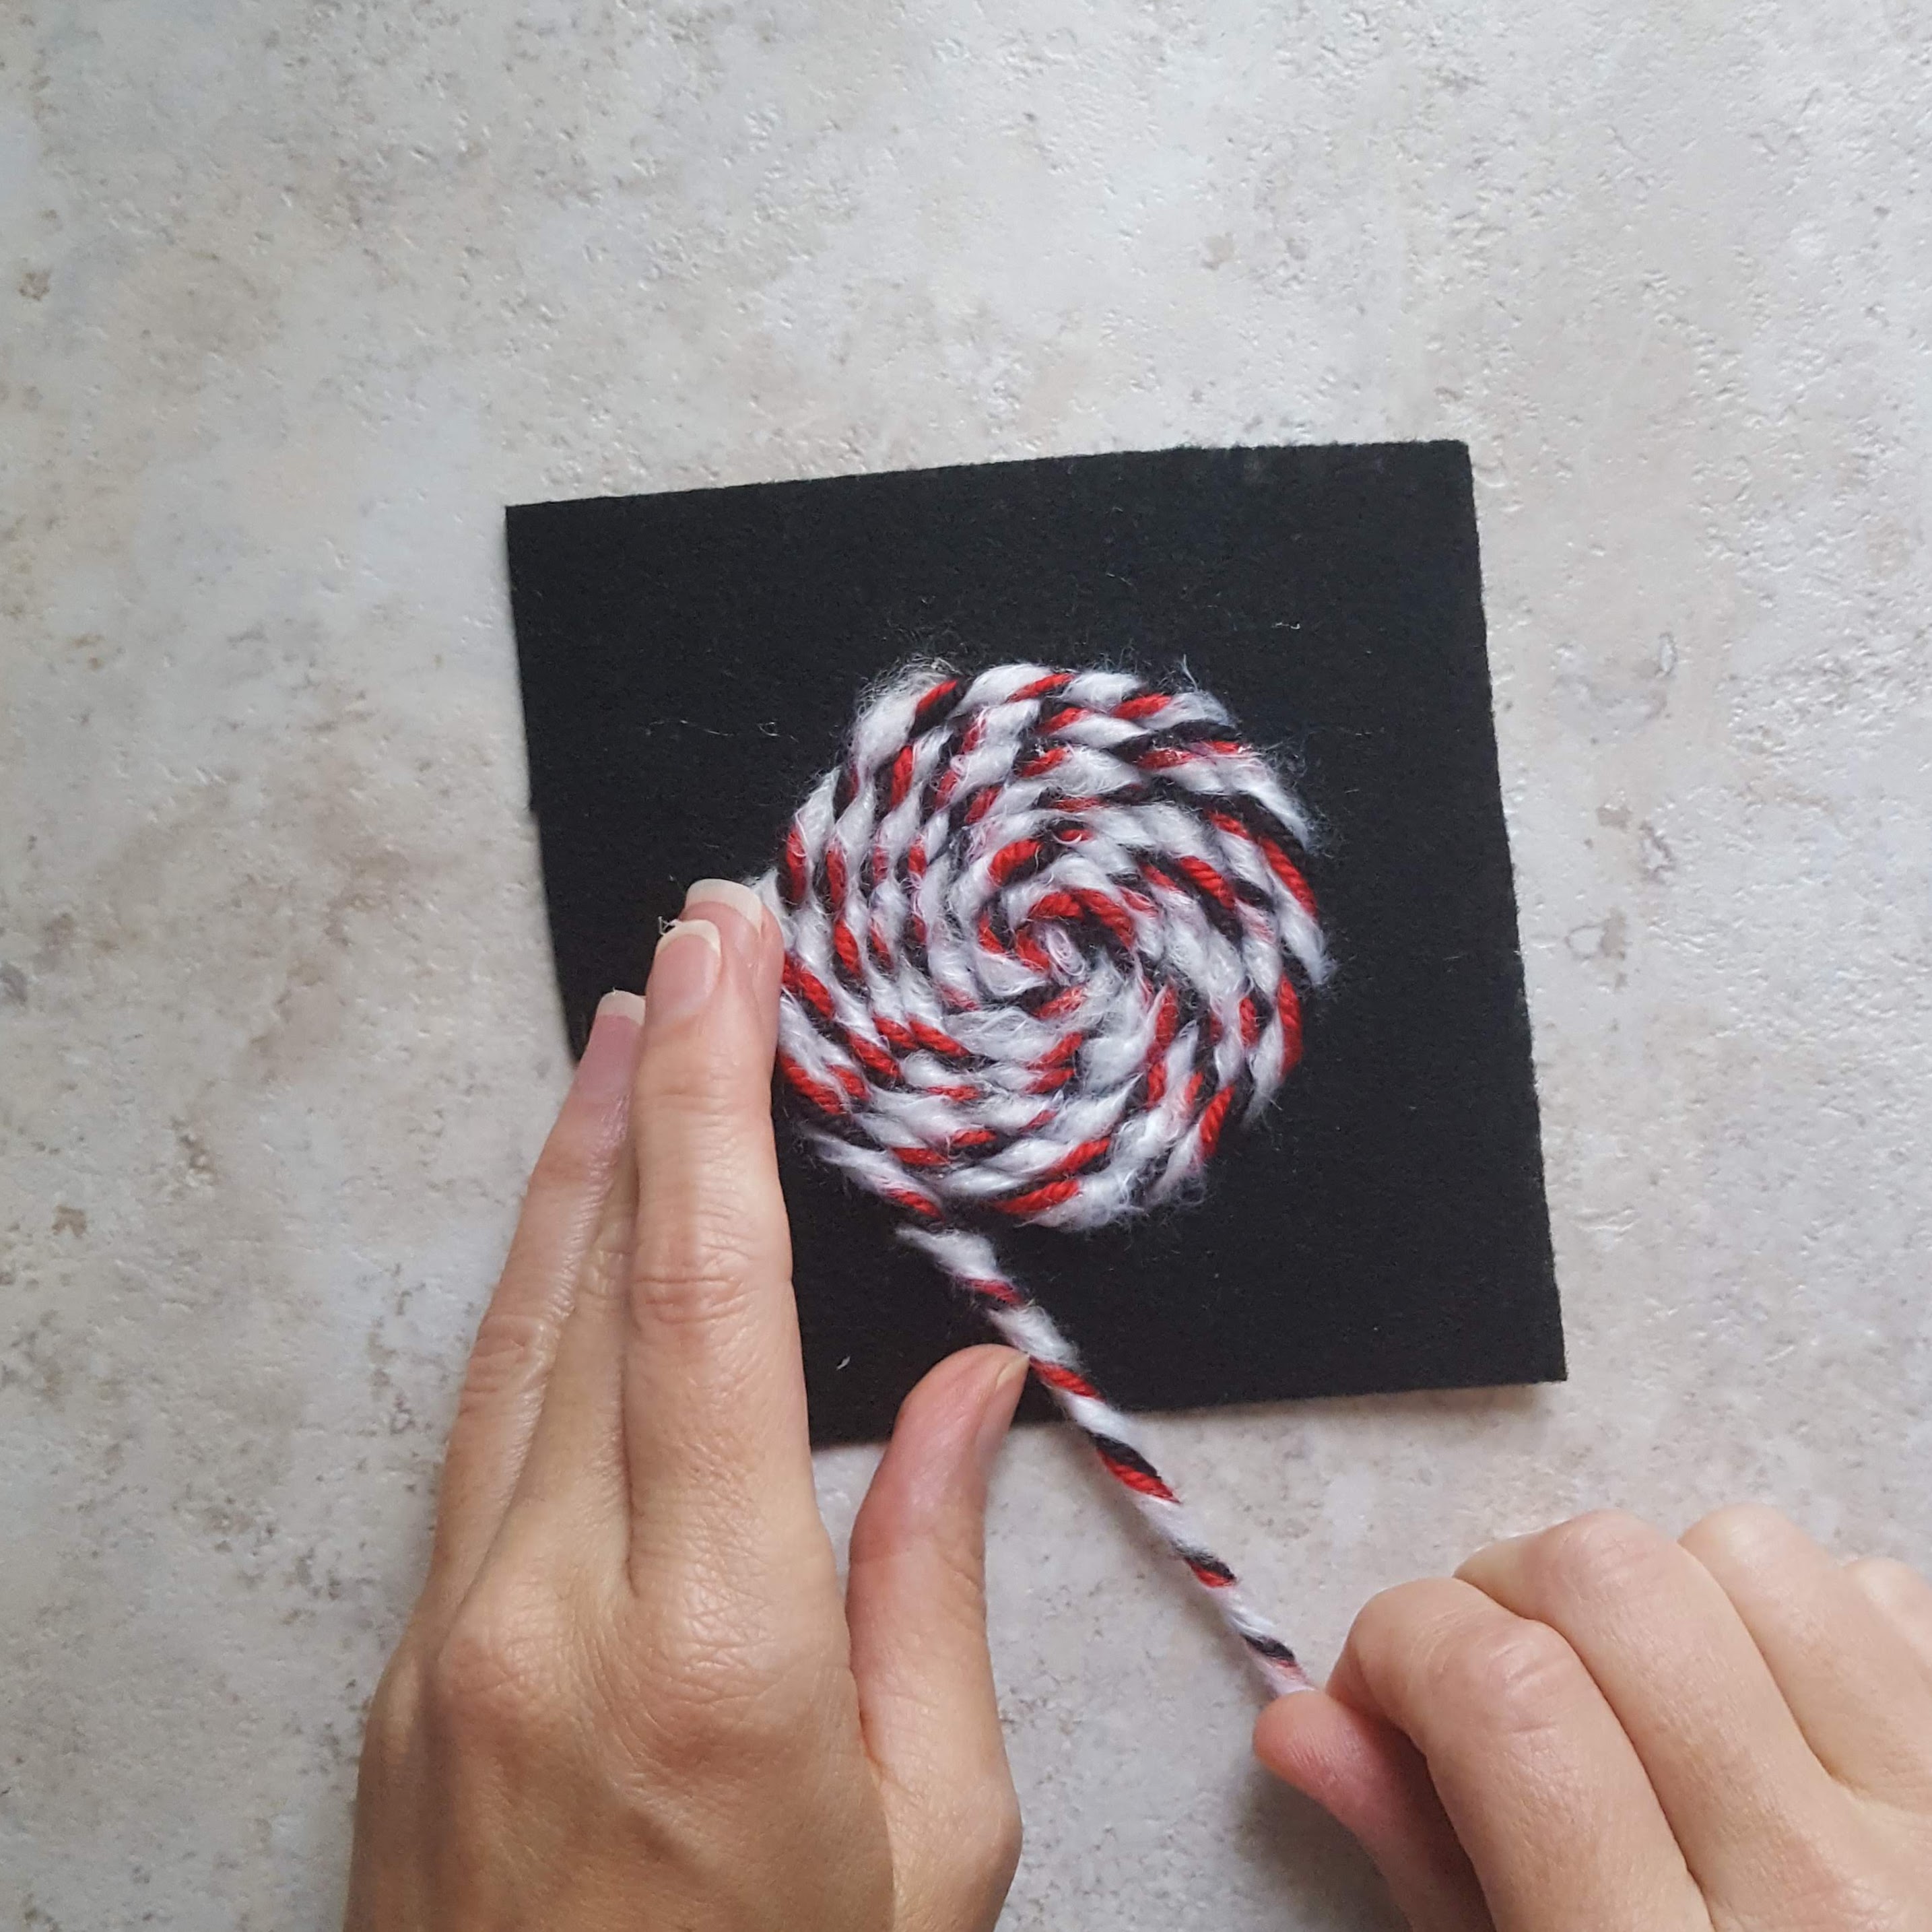
- Use your fingers and hand to keep the yarn as flat as possible as you go.
- Continue until you reach the size you want your coaster to be.

Step 5 – Finishing Up
- Tie a knot in the yarn, close to the coaster

- Add some glue, and push the knot into the glue

- Trim the excess yarn, leaving an inch or 2
- Unravel the yarn, to create a tassel

- Trim
the excess felt away from the yarn
- Be careful not to cut through the yarn
- It helps to hold the scissors at an angle
- NOTE: If your coaster is a little bumpy, just hold a warm iron on it for a few seconds to flatten it

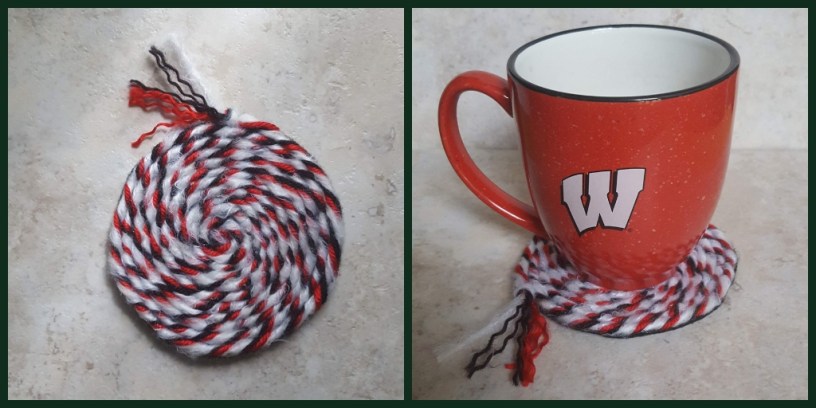
Wasn’t that fun and easy? These coasters are perfect for the den or the man cave (or on my desk in my office), and would even make a wonderful gift set for your favorite sports fan!
I made a set in red, white and black, to cheer on my Wisconsin Badgers during March Madness!

Until next week,
Carrie
PIN IT:


