Hey sports fans!
Are you hockey fans enjoying the Stanley Cup Playoffs? So far the Tampa Bay Lightning and the Vegas Golden Knights have secured spots in the Conference Finals. They are waiting for the results of the series between the Nashville Predators and the Winnepeg Jets, and the Pittsburgh Penguins and Washington Capitals, to see who they will play.
In professional basketball, the NBA Playoffs are well into the second round, and we are waiting to see who moves on to their conference finals. Will it be the 76ers, Cavaliers, Celtics, Jazz, Pelicans, Raptors, Rockets or Warriors?
On another note, Mother’s Day is coming up really soon! Last week I showed you how to make some easy clay bowls using air-dry clay. This week, I have an even easier clay project that would also make a great gift for Mom to hold jewelry, keys, coins or other trinkets.

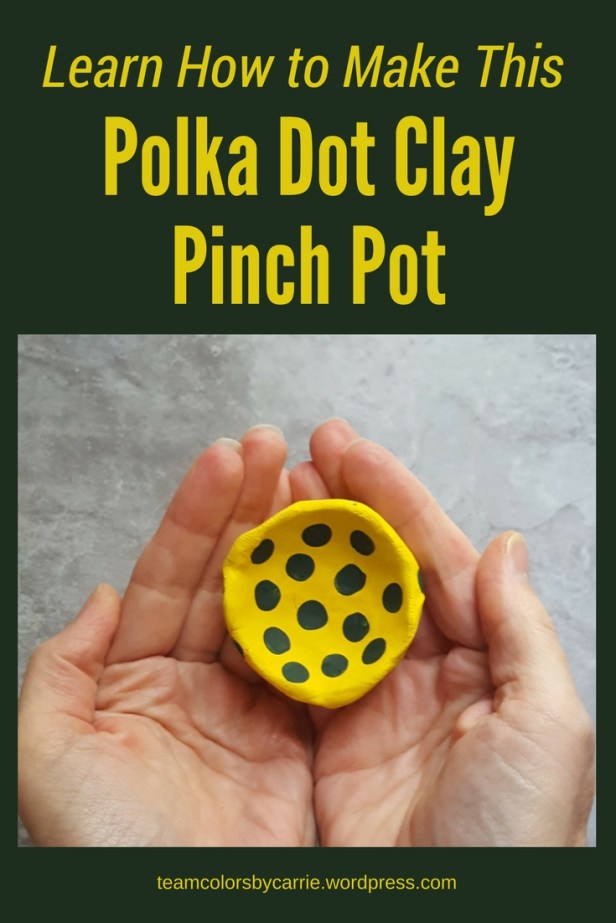
How about a Pinch Pot? And better yet, how about a polka dot pinch pot?
If you don’t know what a pinch pot is, never fear. It is simply a pot created by pinching the clay into the desired shape. Doesn’t that sound fun and easy?
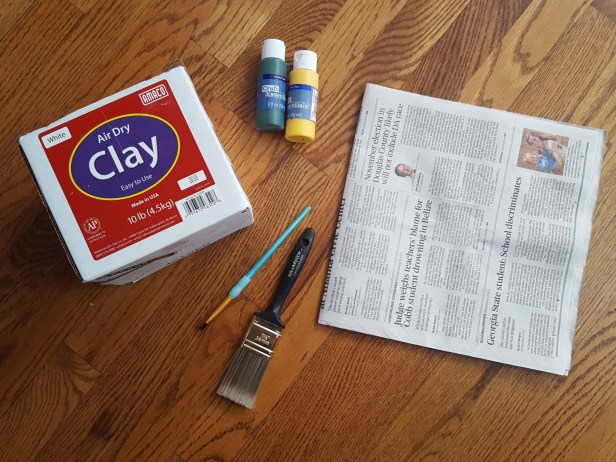
Step 1 – Collect the Supplies
Here’s what you need:
- Air Dry Clay
- Air-drying clay cures on its own without having to be baked in the oven or fired in a kiln.
- HOWEVER, the clay can’t be submerged or filled with a liquid as it will disintegrate.
- Newspaper to protect your work surface and prevent the clay from sticking
- Read the directions on your clay – some clays will do better on waxed paper or plastic wrap
- Paint(s) and paintbrushes
- Acrylic craft paints work great, and are easy to clean up with just water
- Choose your favorite team colors!
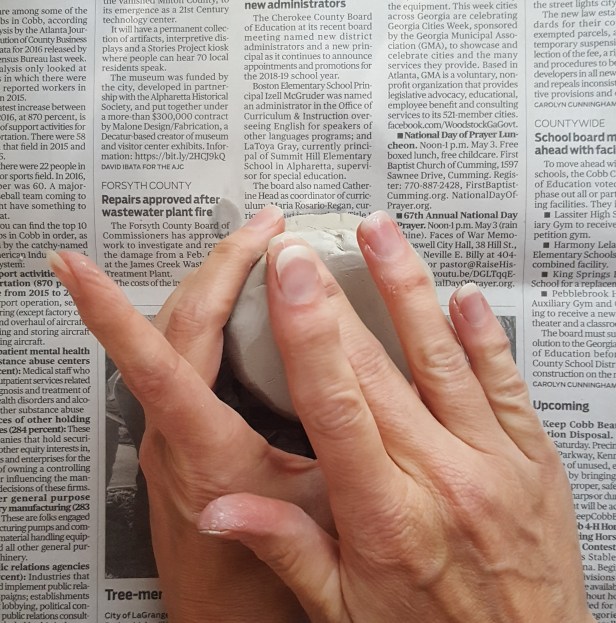
Step 2 – Make a Ball
- Cut off a chunk of the clay (and put the remaining clay into a Ziploc bag to keep it from drying out)
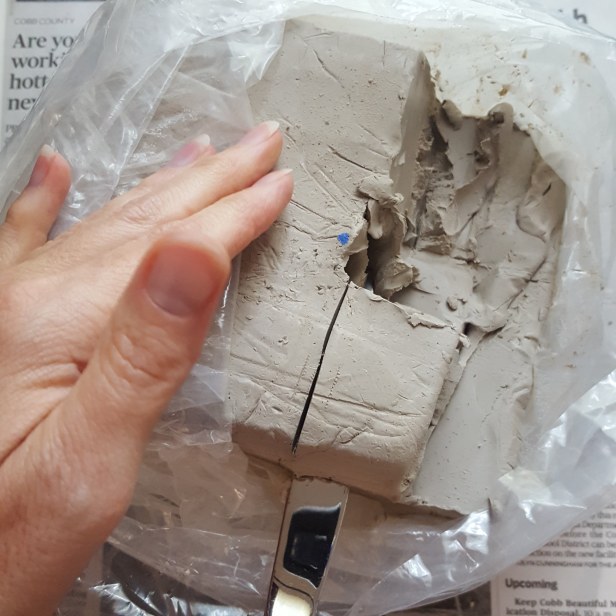
- Squish the clay a few times to soften it up
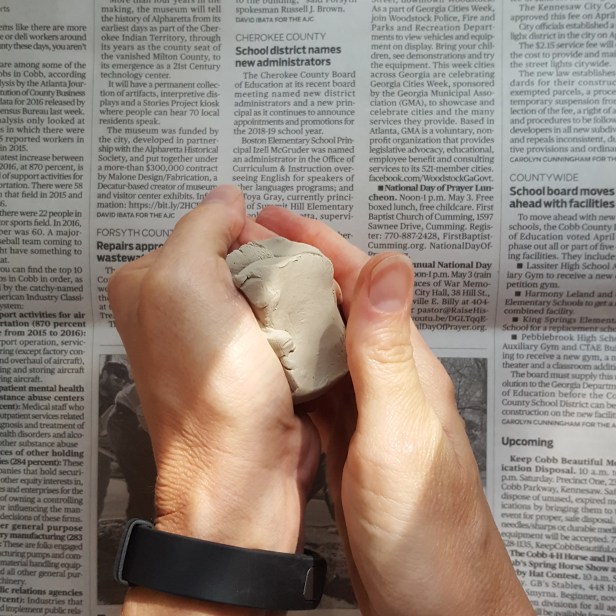
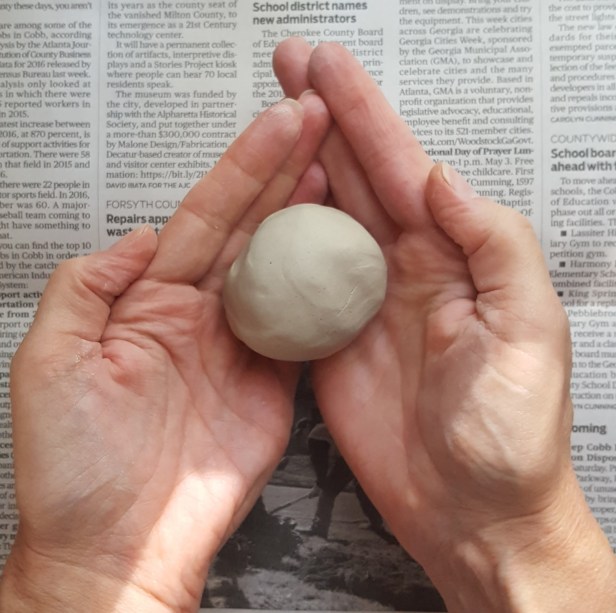
- Roll the chunk between your hands or against your work surface to form a ball.
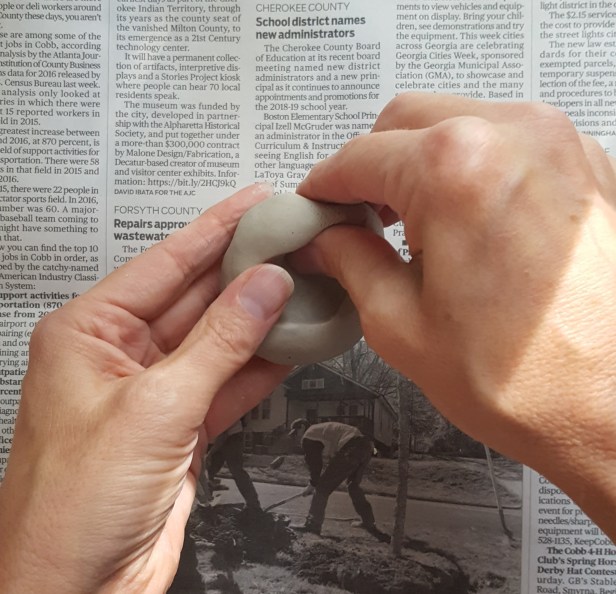
Step 3 – Create the Opening
- Gently press your thumb into the center of the ball to create an opening.
- Leave at least 3/8 of an inch of clay at the bottom to form the base of the pot.
- If you accidentally pinch through the base of the pot, roll the clay into a ball again and start over


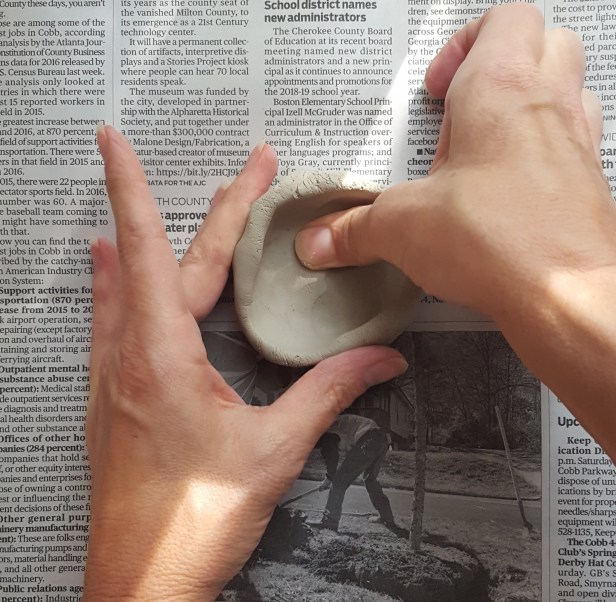
Step 4 – Pinch the Pot
- Gently pinch the clay between your thumb and forefinger to thin out the walls of the pot.
- Work in circles to thin out the sides evenly.
- Keep pinching until the walls are as thin as you’d like them.
- Don’t make them any thinner than 3/8 of an inch or they will collapse.


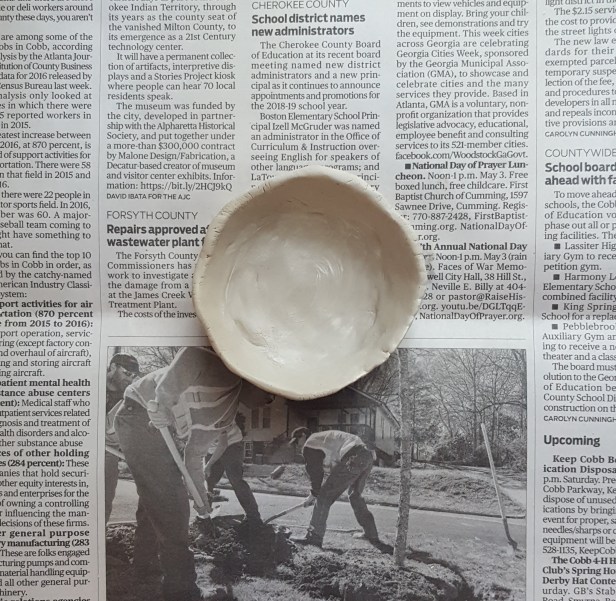
- Set the pot on the newspaper, and push gently on the bottom of the pot to flatten in out.
- Smooth out any cracks in the clay with a wet finger after you’ve finished forming the pot.
Step 5 – Allow to Dry
- Set your pot aside, and allow it to dry
- My clay takes 24 – 48 hours
- Read the label on the clay for your dry time
Step 5 – Paint!
- Turn the pot upside down, and squirt some paint on the bottom
- Use a wide paintbrush to spread the paint
- Add a second coat of paint if needed
- Allow to dry


- Turn the pot over, and paint the inside
- Add a second coat of paint if needed
- Allow to dry


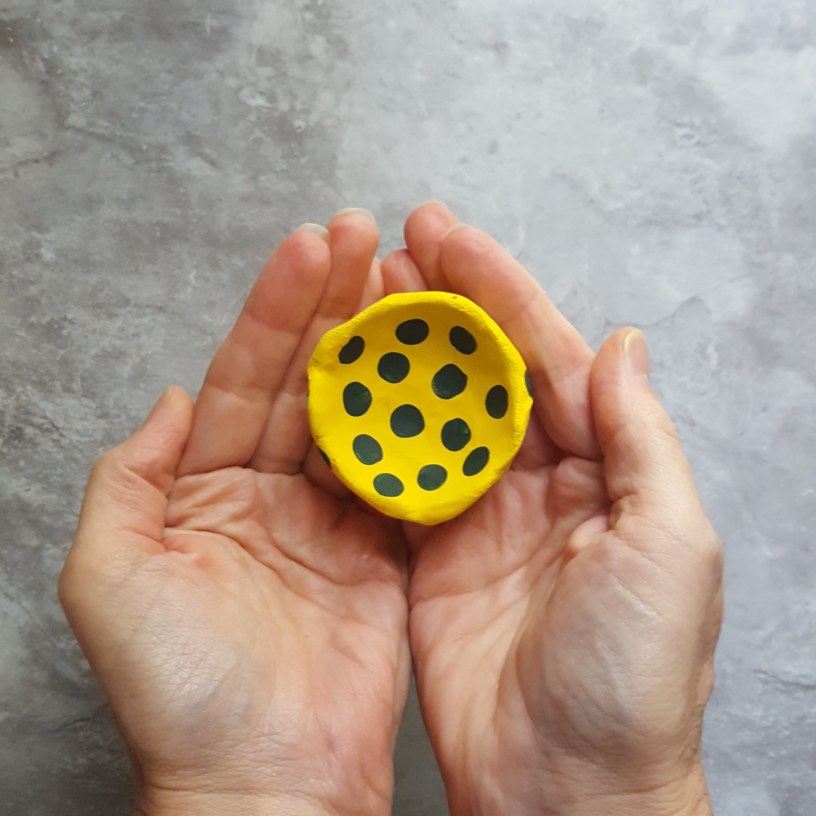
- Add the polka dots
- Squirt some paint onto the newspaper
- Dip the end of a small paintbrush into the paint, and paint small circles OR
- Dip the eraser end of a pencil into the paint, and create perfect circles every time!


That’s all there is to it! A polka dot pinch pot that you made yourself!
Until next week,
Carrie