
Hey there, crafty fans! If you’re ready to rock your creativity and score a slam dunk in the world of DIY projects, you’re in the right place. Today, I’m excited to share a fantastic crafting adventure with you – painting rocks to resemble basketballs.
Whether you’re a basketball fanatic or just looking for a fun and artistic way to bring a piece of the game into your life, this blog post is your playbook. Get ready to discover the step-by-step guide to turning ordinary rocks into mini basketball masterpieces. Let’s unleash our inner artists and take our love for the game to a whole new level!
.
Are you ready to get started? Let’s begin with a basketball rock!
Step 1 – Collect the Supplies
- Smooth Rocks
- Hunt for smooth rocks near water (oceans, rivers, lakes & streams)
- Or purchase from craft or home improvement stores in the garden department (I found my bag at the local craft store for about $5)
- Liquid acrylic paints in Orange and Black
- I prefer acrylic, because you can wash up with just water
- You could also get paint in your team colors, for solid color team spirit rocks
- Paintbrushes in various shapes and sizes
- I found the set of 4 at my local craft store for about $5
- Clear sealer (optional)
- Get something that is non-yellowing and marked specifically for exterior use if you plan to use your rocks outside.
- Newspaper (to protect your work surface)

Step 2 – Clean Your Rocks (if you hunted your rocks instead of buying them)
- Soak rocks in hot water for a few minutes
- Scrub away any dirt with a toothbrush or a sponge
- Pat with a towel and let air dry completely before painting
Step 3 – Paint the Base Coat
- Choose which side of the rock will be the front (use the smoother, flatter side)
- Turn the front side down on the work surface
- Shake the orange paint well
- Put a small puddle of paint on the back of the rock
- Use a larger brush to paint the back and sides of the rock
- Allow to dry
- Wash out your brush, and set aside to dry
- Turn the rock over, and repeat the steps to paint the front
- NOTE: You may need a second coat of paint to completely cover the color of the rock


Step 4 – Paint the Lines
- Shake the black paint well
- Put a small puddle of paint on the newspaper
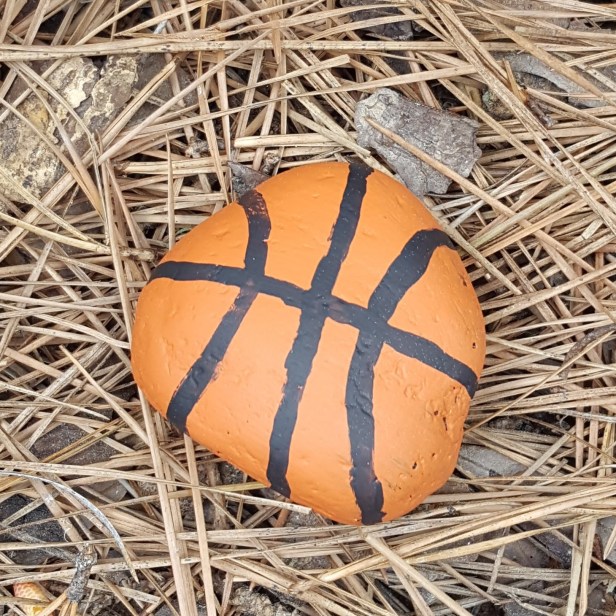
- Use a small brush to paint the lines (using the picture as a guide)
- You may want to draw your lines with a pencil first, to get them just right
- Or just wing it, like I did!
- Allow to dry
- Wash out your brush, and set aside to dry


Step 5 – Clear Coat (optional, but recommended for outside use)
- Spray your rock with the clear coat
- Make sure to read the directions, and complete this step outside!
- Allow to dry
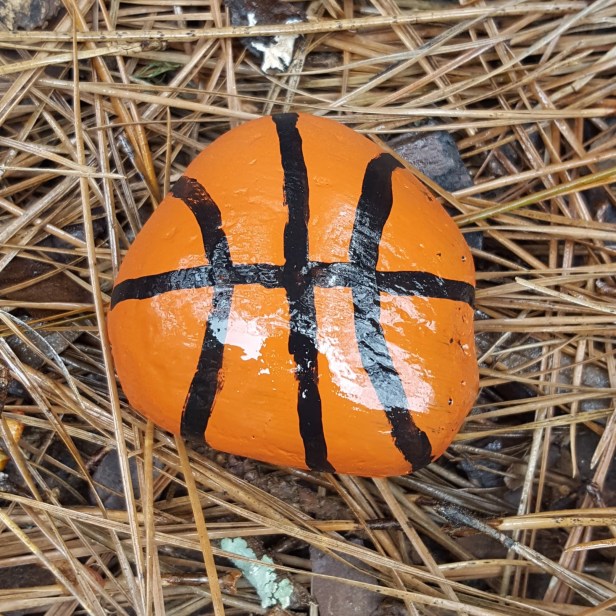
How fun is a painted basketball rock!
Comment below and let me know where you put yours, if you decided to make one!
And stay tuned, because there are more rocks where this one came from! Baseball, football and soccer ball coming up!
Until next week,
Carrie

